作为一个菜鸟表示真的很难吖。
这个插件就一个字:小巧!好用!
首先我是Vue+springboot的前后端分离
所以在查的时候结合文档和网上的一些例子,在此感谢帮助到我的大佬们!
因为富文本编辑框之后会在很多地方用到,所以我采用了把WangEditor单独拎出来做一个组件然后用父子模块通信的方式来实现富文本的编辑。
项目的文件结构如图:

然后这个WangEditor.vue可以把它理解成子模块,在新闻添加的vue文件
NewsAdd.vue里引入使用这个子模块,故NewsAdd.vue理解为父模块
下面是WangEditor.vue 源码
<template>
<div>
<div ref="editor" style="text-align:left"></div>
<button v-on:click="getContent">查看内容</button>
</div>
</template>
<script>
import E from 'wangeditor'
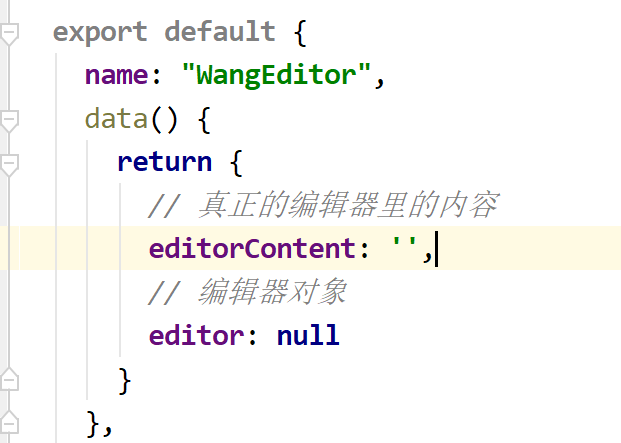
export default {
name: "WangEditor",
data() {
return {
// 真正的编辑器里的内容
editorContent: '',
// 编辑器对象
editor: null
}
},
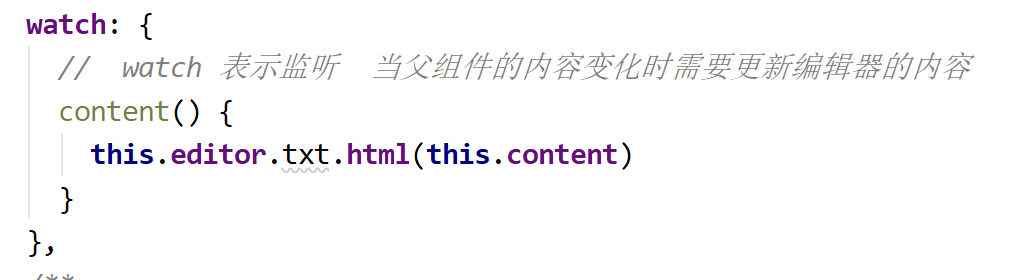
watch: {
// watch 表示监听 当父组件的内容变化时需要更新编辑器的内容
content() {
this.editor.txt.html(this.content)
}
},
/**
* 这里使用了 Vue 的 mounted 函数钩子,这属于 Vue 生命周期的一个阶段
*/
mounted() {
var editor = new E(this.$refs.editor)
// 当编辑器内容变化的时候通知父组件
editor.customConfig.onchange = (html) => {
this.editorContent = html
// 通知父级控件方法,富组件可以通过 editorContent 事件去获取最新的编辑器内容
this.$emit('editorContent', html)
}
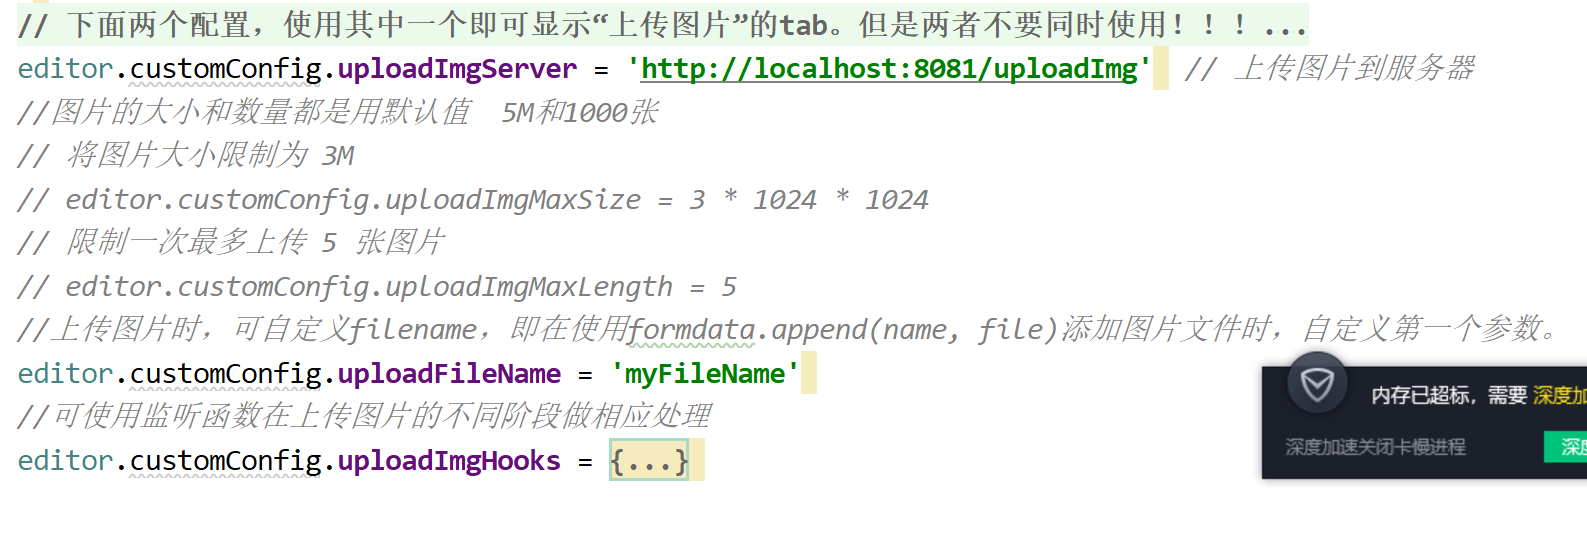
// 下面两个配置,使用其中一个即可显示“上传图片”的tab。但是两者不要同时使用!!!
// editor.customConfig.uploadImgShowBase64 = true // 使用 base64 保存图片
editor.customConfig.uploadImgServer = 'http://localhost:8081/uploadImg' // 上传图片到服务器
//图片的大小和数量都是用默认值 5M和1000张
// 将图片大小限制为 3M
// editor.customConfig.uploadImgMaxSize = 3 * 1024 * 1024
// 限制一次最多上传 5 张图片
// editor.customConfig.uploadImgMaxLength = 5
//上传图片时,可自定义filename,即在使用formdata.append(name, file)添加图片文件时,自定义第一个参数。
editor.customConfig.uploadFileName = 'myFileName'
//可使用监听函数在上传图片的不同阶段做相应处理
editor.customConfig.uploadImgHooks = {
// 图片上传并返回结果,图片插入成功之后触发
// xhr 是 XMLHttpRequst 对象,editor 是编辑器对象,result 是服务器端返回的结果
success: function (xhr, editor, result) {
},
customInsert: function (insertImg, result, editor) {
var url =result.data;//获取后台返回的url
insertImg(url);
}
}
editor.create()
editor.txt.html(this.content)
},
props: {
// 传递过来的编辑器内容参数,用于设置编辑器内容
content: {
type: String,
default: ''
}
},
methods: {
getContent: function () {
alert(this.content)
}
},
}
</script>
<style scoped>
.editor {
width: 100%;
margin: 0 auto;
position: relative;
z-index: 0;
}
.toolbar {
border: 1px solid #ccc;
}
.text {
border: 1px solid #ccc;
min-height: 500px;
}
</style>
下面是新闻添加模块的代码
<template>
<div>
新闻添加界面
<div>
标题:<input type="text" v-model="addNewInfoVo.ntitle" placeholder="请输入标题"/>
<br/>
作者:<input type="text" v-model="addNewInfoVo.nauthor" placeholder="请输入作者"/>
<br/>
供图:<input type="text" v-model="addNewInfoVo.npicture" placeholder="请输入供图人"/>
<br/>
审核:<input type="text" v-model="addNewInfoVo.nreview" placeholder="请输入审核人"/>
<br/>
</div>
<!-- Wangeditor的组件-->
<div>
<!-- 子组件将会在这里渲染出来 指定初始化的数据,以及监听数据更新的事件-->
<WangEditor v-model="content" v-bind:content="content" @editorContent="getEditorContent"/>
</div>
<!-- 保存新闻的按钮-->
<button v-on:click="savenew">保存</button>
<button v-on:click="msgth">保存</button>
</div>
</template>
<script>
import WangEditor from '@/components/wangeditor/WangEditor'
export default {
name: "NewsAdd",
data() {
return {
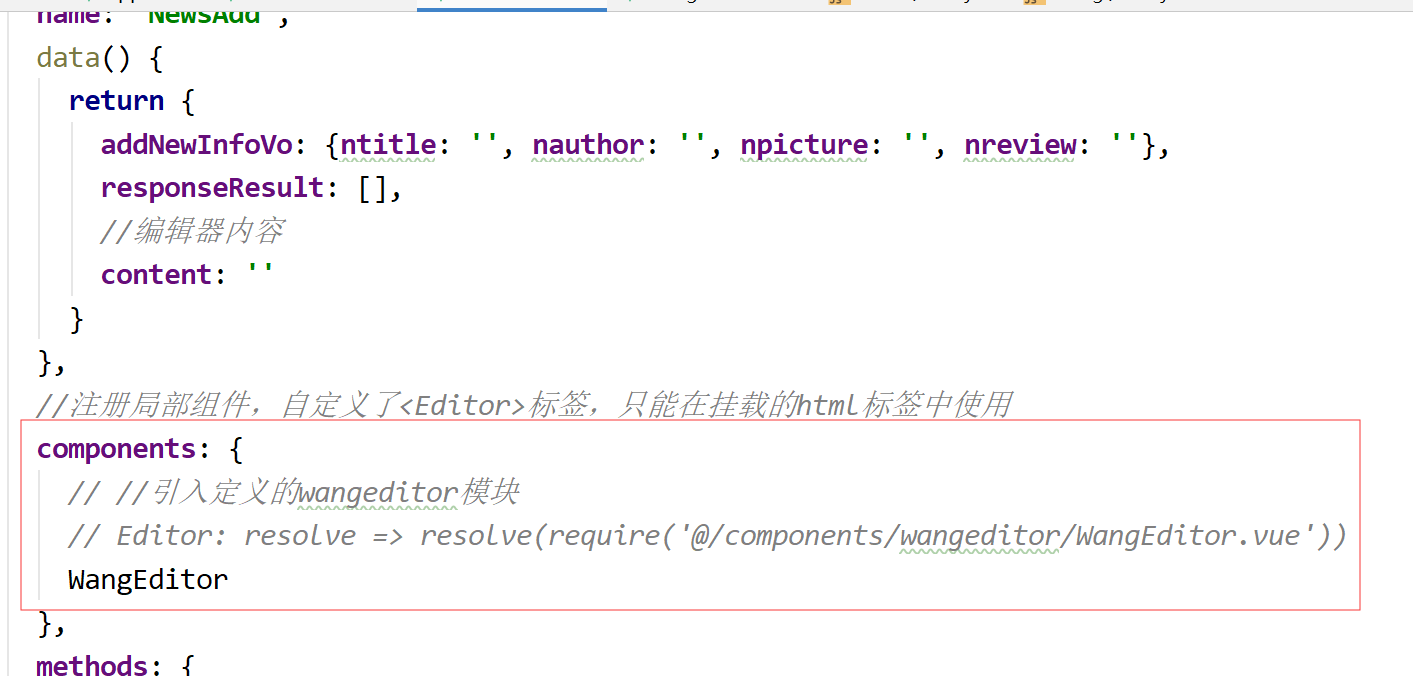
addNewInfoVo: {ntitle: '', nauthor: '', npicture: '', nreview: ''},
responseResult: [],
//编辑器内容
content: ''
}
},
//注册局部组件,自定义了<Editor>标签,只能在挂载的html标签中使用
components: {
// //引入定义的wangeditor模块
// Editor: resolve => resolve(require('@/components/wangeditor/WangEditor.vue'))
WangEditor
},
methods: {
//添加新闻的方法
savenew() {
this.$axios
.post('/addNew', {
title: this.addNewInfoVo.ntitle,
author: this.addNewInfoVo.nauthor,
pictureAuthor: this.addNewInfoVo.npicture,
review: this.addNewInfoVo.nreview
})
.then(successResponse => {
this.responseResult = JSON.stringify(successResponse)
console.log(successResponse)
if (successResponse.data.success === true) {
this.$router.replace({path: '/index'})
}
})
.catch(failResponse => {
})
},
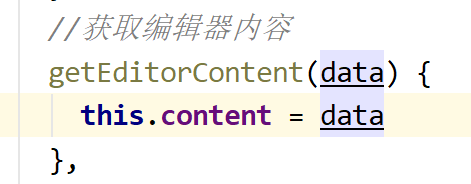
//获取编辑器内容
getEditorContent(data) {
this.content = data
},
msgth() {
alert(this.content)
}
},
}
</script>
<style lang="css">
</style>
首先引入组件

在这里注册局部组件,然后就可以在新闻添加界面使用WangEditor的组件了

对,到这里就可以显示了,但是现在,你新闻添加(父模块)并不能获得编辑框里的值(子模块可以获取到)
接下来我想提一下父子模块的通信,可以先了解一下再往下看
这里的data值返回的是编辑框里的内容
而这个内容我们想要在父模块获取只能通过同步过去
先事实检测看输入框中是否有变动,如果有变动就将值同步到Wangeditor组件的content中去
将Wangeditor组件的content发送到父模块中去
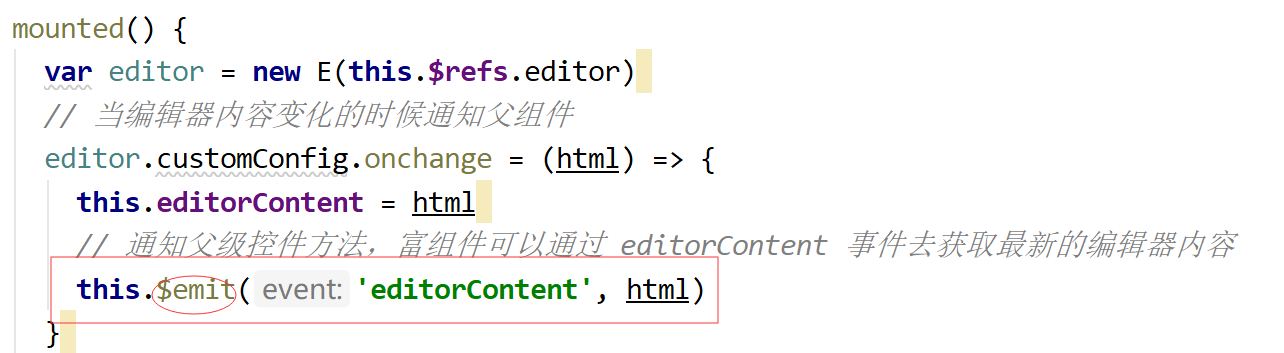
监听数据更新

父组件就获得子组件中的值了,而且能实现同步
然后就是上传图片,上传图片分为base64,和上传到服务器(就是后台)
base64:将图片以二进制存放在数据库中,这样的话图片就存不到多少
上传到服务器,数据库里存放的是地址。
首先前端配置一下就好
最为重要的是后端代码
先创建一个配置类
MyConfiguration.java
package com.csr.communist;

import org.springframework.context.annotation.Configuration;
import org.springframework.web.servlet.config.annotation.ResourceHandlerRegistry;
import org.springframework.web.servlet.config.annotation.WebMvcConfigurer;
import org.springframework.web.servlet.config.annotation.WebMvcConfigurerAdapter;

/**
 * @author Three
 * @version 1.0
 * @date 2019/12/8 10:44
 */
@Configuration
public class MyConfiguration implements WebMvcConfigurer {
    @Override
    public void addResourceHandlers(ResourceHandlerRegistry registry){
        //指向外部目录
        registry.addResourceHandler("imgUploads/**").addResourceLocations("file:D:/imgUploads/");
        WebMvcConfigurer.super.addResourceHandlers(registry);
    }
}
然后controller
UploadImageController.java
package com.csr.communist.controller;


import com.alibaba.fastjson.JSONArray;
import com.alibaba.fastjson.JSONObject;

import org.apache.logging.log4j.util.PropertiesUtil;
import org.springframework.web.bind.annotation.*;
import org.springframework.web.multipart.MultipartFile;

import javax.servlet.http.HttpServletRequest;
import javax.servlet.http.HttpServletResponse;
import java.io.BufferedOutputStream;
import java.io.File;
import java.io.FileOutputStream;
import java.io.PrintWriter;
import java.text.SimpleDateFormat;
import java.util.Date;
import java.util.HashMap;
import java.util.Map;
import java.util.UUID;

/**
 * @author Three
 * @version 1.0
 * @date 2019/12/13 13:53
 */
@CrossOrigin
@RestController
@RequestMapping("/")
public class UploadImageController {

    @RequestMapping("/uploadImg")
    @ResponseBody
    public Map<String, String> upload(@RequestParam(value="myFileName") MultipartFile file, HttpServletRequest request) {
        String separator = System.getProperty("file.separator");
        separator=separator.replaceAll("\\","/");
        String basePath = request.getScheme() + "://" + request.getServerName() + ":" + request.getServerPort() +           request.getContextPath()+ separator; //获取项目路径+端口号 比如:http://localhost:8080/

        try {
            String filePath="";
            //获取源文件
            filePath="D:/imgUploads/" ;//存储地址,此处也可以在application.yml中配置对象用@Value("${*.**}")注解注入内容
            String filename = file.getOriginalFilename();//获取图片名
            String[] names=filename.split("\.");//获取后缀格式
            String uploadFileName= UUID.randomUUID().toString()+"."+names[names.length-1];//生成新图片
            File targetFile = new File (filePath,uploadFileName);//目标文件
            if (!targetFile.getParentFile().exists()){
                targetFile.getParentFile().mkdirs();
            }
            //传图片一步到位
            file.transferTo(targetFile);
            Map<String, String> map = new HashMap<String, String>();
            map.put("data",basePath+"imgUploads/"+uploadFileName);//这里应该是项目路径,返回前台url
            return map;
        } catch (Exception e) {
            // TODO Auto-generated catch block
            e.printStackTrace();
            return  null;
        }
    }
}
以上,希望对你有帮助。
帮助文档可以看一下,但是没必要纠结于它,
又不是所有知识你都掌握了,所以看起来还是有些费力的
思路是这么回事,多找点技术博客看看吧
talk is cheap,show me the code
最后
以上就是动听月光最近收集整理的关于Vue集成WangEditor的初次使用的全部内容,更多相关Vue集成WangEditor内容请搜索靠谱客的其他文章。


发表评论 取消回复