目 录(本篇字数:1189)
介绍
一、onLayout()
二、onMeasure()
-
介绍
onLayout()、onMeasure()这两个方法是我们自定义View的关键,也许你知道它是怎么使用,但不知道它为什么要这样使用?我们在看一些书籍和源码的时候,经常会看到它的出现,今天,我们就来讲解它在自定义View中起到的真正作用。
一、onLayout()

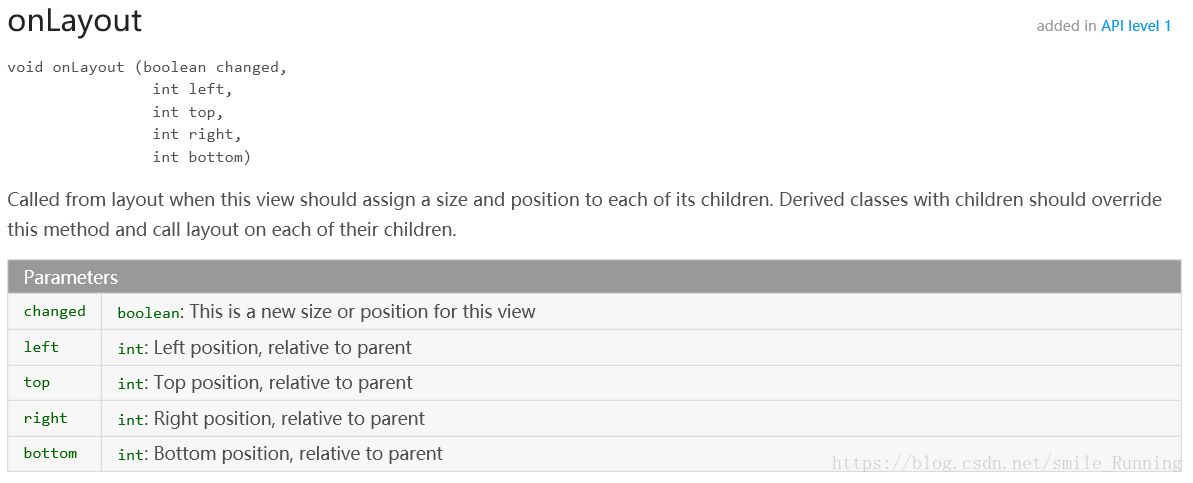
原意:当此视图应该为其每个子视图分配大小和位置时,从布局调用。带有子类的派生类应该重写此方法,并在每个子类上调用布局。
那么我通过一个简单的例子,来看看它起到哪些作用。我们新建一个MyViewGroup继承ViewGroup,然后默认不做任何处理。
/**
 * @Created by xww.
 * @Creation time 2018/8/15.
 */

public class MyViewGroup extends ViewGroup {

    public MyViewGroup(Context context, AttributeSet attrs) {
        super(context, attrs);
    }

    @Override
    protected void onLayout(boolean changed, int l, int t, int r, int b) {

    }

    /**
     * 切换页面
     */
    public void scrollPage(int index) {
        scrollTo(index * getWidth(), 0);
    }
}
我们在layout中引用我们的MyViewGroup控件,并对它进行视图添加。这里我们添加了三个子视图,分别是View1、View2和View3:
<ImageView xmlns:android="http://schemas.android.com/apk/res/android"
    android:layout_width="match_parent"
    android:layout_height="match_parent"
    android:src="@mipmap/ic_launcher" />
<FrameLayout xmlns:android="http://schemas.android.com/apk/res/android"
android:layout_width="match_parent"
android:layout_height="match_parent"
android:background="@android:color/holo_blue_bright">
<ImageView
android:layout_width="match_parent"
android:layout_height="match_parent"
android:src="@mipmap/ic_launcher" />
</FrameLayout><LinearLayout xmlns:android="http://schemas.android.com/apk/res/android"
android:layout_width="match_parent"
android:layout_height="match_parent"
android:background="@android:color/darker_gray"
android:orientation="vertical">
<TextView
android:layout_width="match_parent"
android:layout_height="wrap_content"
android:gravity="center"
android:text="textview测试1"
android:textSize="50sp" />
<TextView
android:layout_width="match_parent"
android:layout_height="wrap_content"
android:gravity="center"
android:text="textview测试2"
android:textSize="50sp" />
<TextView
android:layout_width="match_parent"
android:layout_height="wrap_content"
android:gravity="center"
android:text="textview测试3"
android:textSize="50sp" />
<TextView
android:layout_width="match_parent"
android:layout_height="wrap_content"
android:gravity="center"
android:text="textview测试4"
android:textSize="50sp" />
</LinearLayout>然后分别将View1、View2、View3添加进MyViewGroup,代码如下:
public class MainActivity extends AppCompatActivity {

    private MyViewGroup myView;
    private RadioGroup rg;

    @Override
    protected void onCreate(Bundle savedInstanceState) {
        super.onCreate(savedInstanceState);
        setContentView(R.layout.activity_main);
        initView();
    }

    private void initView() {
        myView = findViewById(R.id.myView);
        rg = findViewById(R.id.rg);

        View view1 = LayoutInflater.from(this).inflate(R.layout.view1, null);
        View view2 = LayoutInflater.from(this).inflate(R.layout.view2, null);
        View view3 = LayoutInflater.from(this).inflate(R.layout.view3, null);
        myView.addView(view1);
        myView.addView(view2);
        myView.addView(view3);

        for (int i = 0; i < 3; i++) {
            RadioButton radioButton = new RadioButton(this);
            if (i == 0) {
                radioButton.setChecked(true);
            }
            radioButton.setId(i);
            rg.addView(radioButton);
        }
        rg.setOnCheckedChangeListener(new RadioGroup.OnCheckedChangeListener() {
            @Override
            public void onCheckedChanged(RadioGroup group, int checkedId) {
                myView.scrollPage(checkedId);
            }
        });
    }
}
我们的主布局layout我做了一些处理,为了显得更加鲜明的对比,布局代码如下:
<LinearLayout xmlns:android="http://schemas.android.com/apk/res/android"
    xmlns:app="http://schemas.android.com/apk/res-auto"
    xmlns:tools="http://schemas.android.com/tools"
    android:layout_width="match_parent"
    android:layout_height="match_parent"
    android:orientation="vertical"
    tools:context="com.example.x.earthquakeclient.MainActivity">

    <RadioGroup
        android:id="@+id/rg"
        android:layout_width="match_parent"
        android:layout_height="wrap_content"
        android:gravity="center"
        android:orientation="horizontal" />

    <com.example.x.earthquakeclient.MyViewGroup
        android:id="@+id/myView"
        android:layout_width="match_parent"
        android:layout_height="match_parent" />
</LinearLayout>
那么运行一下项目,可以看到这样的效果:

可以看到什么都没有,我们明明添加了三个子视图给它的,怎么跑哪去了?原因就是因为我们虽然重写onLayout()方法,但是没有做任何处理,相当于没做任何对子视图布局的操作,它当然显示不出来了。
那么我修改MyViewGroup中的代码,在onLayout()方法中对子视图进行横向的一个布局操作:
    @Override
    protected void onLayout(boolean changed, int l, int t, int r, int b) {
        final int childCount = getChildCount();
        for (int i = 0; i < childCount; i++) {
            View childView = getChildAt(i);
            childView.layout(i * getWidth(), t, (i + 1) * getWidth(), b);
        }
    }
那再次运行看看我们的效果吧,为了区别我给它设置了背景颜色!

可以看到我们的子视图显示出来了,第一个页面ImageView显示的是没错了,因为我们只放了一个控件。但是问题来了,第二、第三个页面中的图片和文字跑哪去啦?原因是这样,在onLayout()方法中,它所布局的是最外层的一个父容器,所以我们的每一个父容器都可以显示出来,但是父容器里面的子视图就无法显示。既然这样,我们先放一边,来看看我们的另一个主角onMeasure()方法。
二、onMeasure()

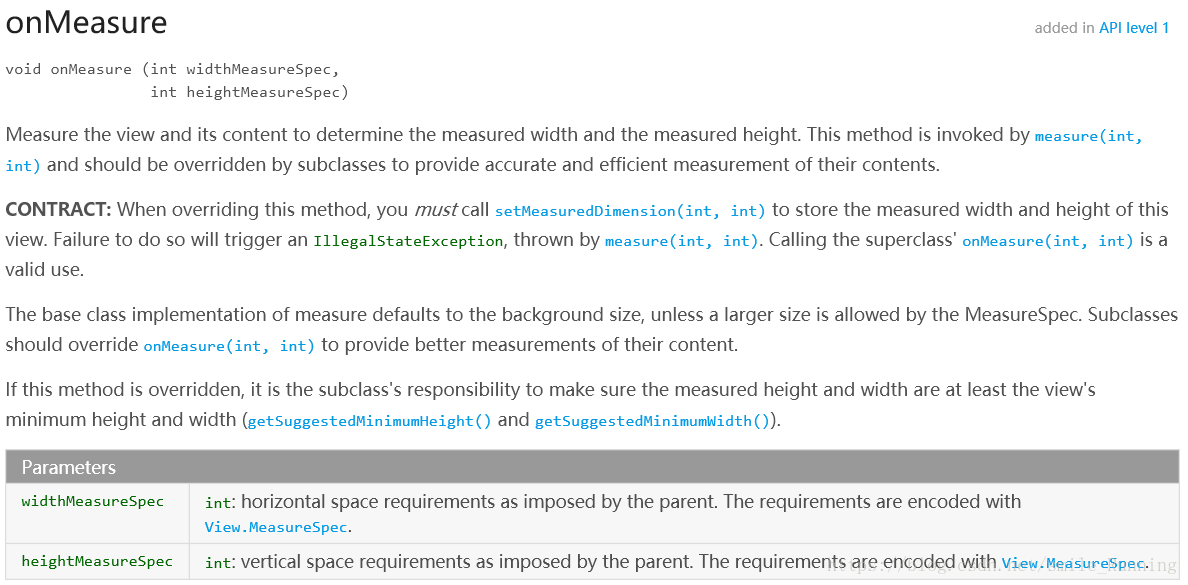
原意:测量视图及其内容,以确定测量的宽度和测量的高度。此方法由measure(int, int)调用,并且应该由子类覆盖,以提供其内容的准确和高效的度量。
onMeasure()即测量视图和视图里的内容,我们用这个方法循环遍历出视图内容,进行依次测量来设置它的宽和高,所以我修改MyViewGroup的代码,重写一下onMeasure()这个方法,代码如下:
    @Override
    protected void onMeasure(int widthMeasureSpec, int heightMeasureSpec) {
        super.onMeasure(widthMeasureSpec, heightMeasureSpec);
        final int childCount = getChildCount();
        for (int i = 0; i < childCount; i++) {
            View childView = getChildAt(i);
            childView.measure(widthMeasureSpec, heightMeasureSpec);
        }
    }
我再次运行项目,再来看看效果:

现在,效果和我们预想的一样了。通过这个例子,我们进一步理解了onLayout()、onMeasure()这两个方法在自定义View中起到的真正作用。
©原文链接:https://blog.csdn.net/smile_Running/article/details/81702314
@作者博客:_Xu2WeI
@更多博文:查看作者的更多博文
转载于:https://www.cnblogs.com/xww0826/p/10359502.html
最后
以上就是细腻冬瓜最近收集整理的关于一个小案例明白onLayout()、onMeasure()方法的作用目 录(本篇字数:1189)介绍的全部内容,更多相关一个小案例明白onLayout()、onMeasure()方法的作用目 内容请搜索靠谱客的其他文章。


发表评论 取消回复