声明交换机
@Bean
public TopicExchange exchange() {
    return new TopicExchange(exchange);
}
声明队列
@Bean
public Queue delayedQueue(){
    return new Queue(queue);
}
@Bean
public Queue delayedQueue1(){
    return new Queue(queue1);
}
队列绑定交换机
@Bean
public Binding queueBindingExchange(@Qualifier("delayedQueue") Queue queue,
                                    @Qualifier("exchange") Exchange exchange){
    return BindingBuilder.bind(queue).to(exchange).with("#").noargs();
}
配置文件:
rabbitmq:
  exchange: 交换器名称
  host: ip地址
  port: 端口号 默认5672
  username: 用户名
  password: 密码
  virtualHost: /
  queue: 队列名称
完整代码:
@Configuration
public class RabbitmqConfig {

    @Value("${rabbitmq.exchange}")
    private String exchange;

    @Value("${rabbitmq.host}")
    private String host;

    @Value("${rabbitmq.port}")
    private Integer port;

    @Value("${rabbitmq.username}")
    private String username;

    @Value("${rabbitmq.password}")
    private String password;

    @Value("${rabbitmq.virtual-host}")
    private String virtualHost;

    @Value("${rabbitmq.queue}")
    private String queue;


    @Bean
    public TopicExchange exchange() {
        return new TopicExchange(exchange);
    }


    @Bean
    public ConnectionFactory connectionFactory() {
        CachingConnectionFactory connectionFactory = new CachingConnectionFactory(host);
        connectionFactory.setUsername(username);
        connectionFactory.setPassword(password);
        connectionFactory.setPort(port);
        connectionFactory.setVirtualHost(virtualHost);
        return connectionFactory;
    }

    @Bean
    public AmqpAdmin amqpAdmin() {
        return new RabbitAdmin(connectionFactory());
    }

    @Bean
    public RabbitTemplate rabbitTemplate() {
        return new RabbitTemplate(connectionFactory());
    }

    @Bean
    public Queue delayedQueue(){
        return new Queue(queue);
    }

    @Bean
    public Binding queueBindingExchange(@Qualifier("delayedQueue") Queue queue,
                                        @Qualifier("exchange") Exchange exchange){
        return BindingBuilder.bind(queue).to(exchange).with("#").noargs();
    }

}
不管是本地还是虚拟机还是服务器部署了rabbitmq之后,启动服务:
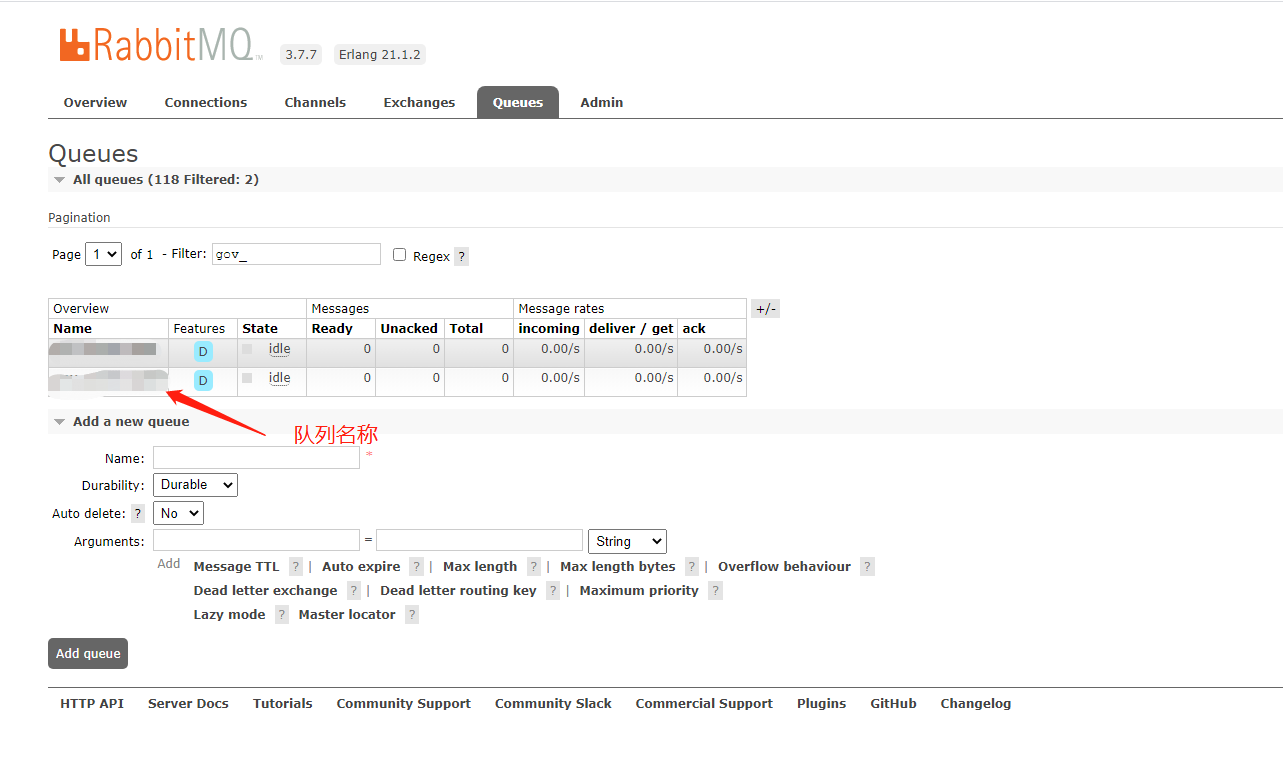
访问:http://ip地址:15672/#/queues
查看队列:
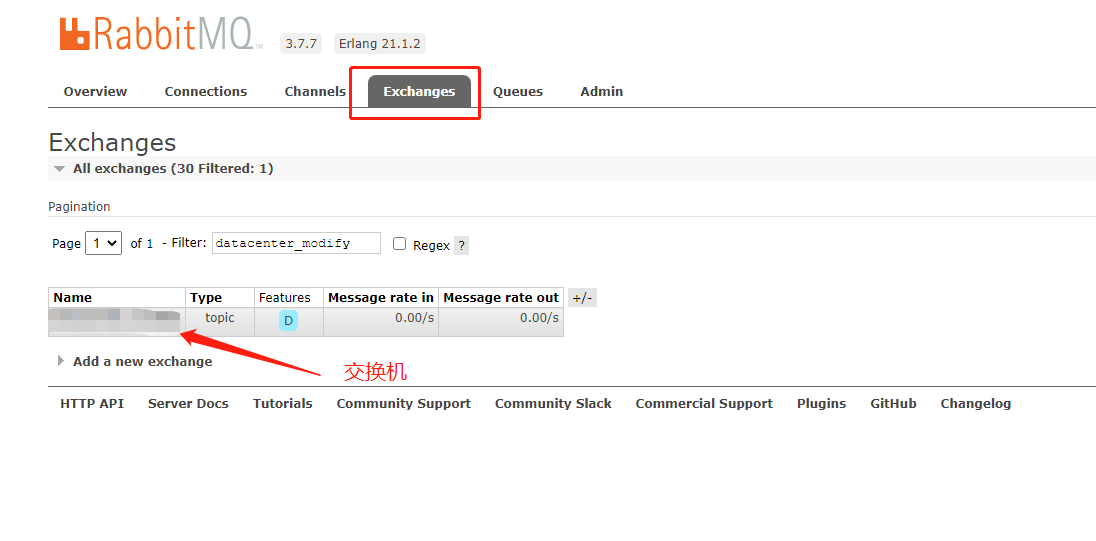
查看交换机:
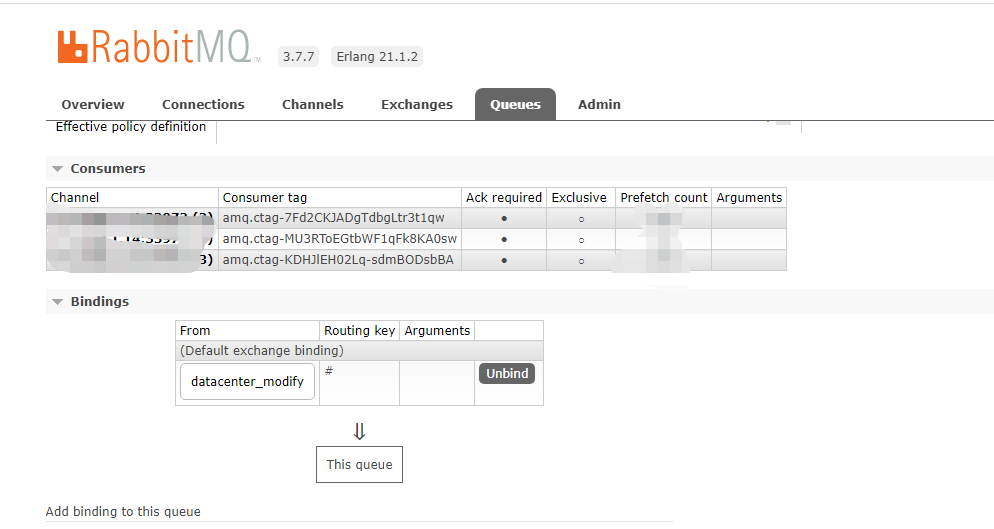
查看队列和交换机绑定情况:
最后
以上就是欣喜背包最近收集整理的关于RabbitMq创建队列绑定交换机的全部内容,更多相关RabbitMq创建队列绑定交换机内容请搜索靠谱客的其他文章。
本图文内容来源于网友提供,作为学习参考使用,或来自网络收集整理,版权属于原作者所有。

![Java整合rabbitmqFailed to declare queue:[springCloudBus.anonymous.iAletE1kTIC_khZhwMmfdA]新建用户报错默认用户正常](https://www.shuijiaxian.com/files_image/reation/bcimg15.png)


发表评论 取消回复