Powered by:NEFU AB-IN
Ubuntu 20.04配置
文章目录
- Ubuntu 20.04配置
- Ubuntu 20.04阿里云源
- Vim
- tmux
- Cpp自动运行脚本
- Python运行脚本
- Java自动运行脚本
- Alias脚本
- Git
-
Ubuntu 20.04阿里云源
sudo cp /etc/apt/sources.list /etc/apt/sources_init.list
sudo vim /etc/apt/sources.list
sudo apt-get update
sudo apt-get -f install #复损坏的软件包,尝试卸载出错的包,重新安装正确版本的。
sudo apt-get upgrade
deb http://mirrors.aliyun.com/ubuntu/ focal main restricted universe multiverse deb-src http://mirrors.aliyun.com/ubuntu/ focal main restricted universe multiverse deb http://mirrors.aliyun.com/ubuntu/ focal-security main restricted universe multiverse deb-src http://mirrors.aliyun.com/ubuntu/ focal-security main restricted universe multiverse deb http://mirrors.aliyun.com/ubuntu/ focal-updates main restricted universe multiverse deb-src http://mirrors.aliyun.com/ubuntu/ focal-updates main restricted universe multiverse deb http://mirrors.aliyun.com/ubuntu/ focal-proposed main restricted universe multiverse deb-src http://mirrors.aliyun.com/ubuntu/ focal-proposed main restricted universe multiverse deb http://mirrors.aliyun.com/ubuntu/ focal-backports main restricted universe multiverse deb-src http://mirrors.aliyun.com/ubuntu/ focal-backports main restricted universe multiverse -
Vim
有些教训写在这:
-
想写 f i l e h e a d e r fileheader fileheader,最好里面不要有中文,要不然 q u i c k f i x quickfix quickfix会一直报错
-
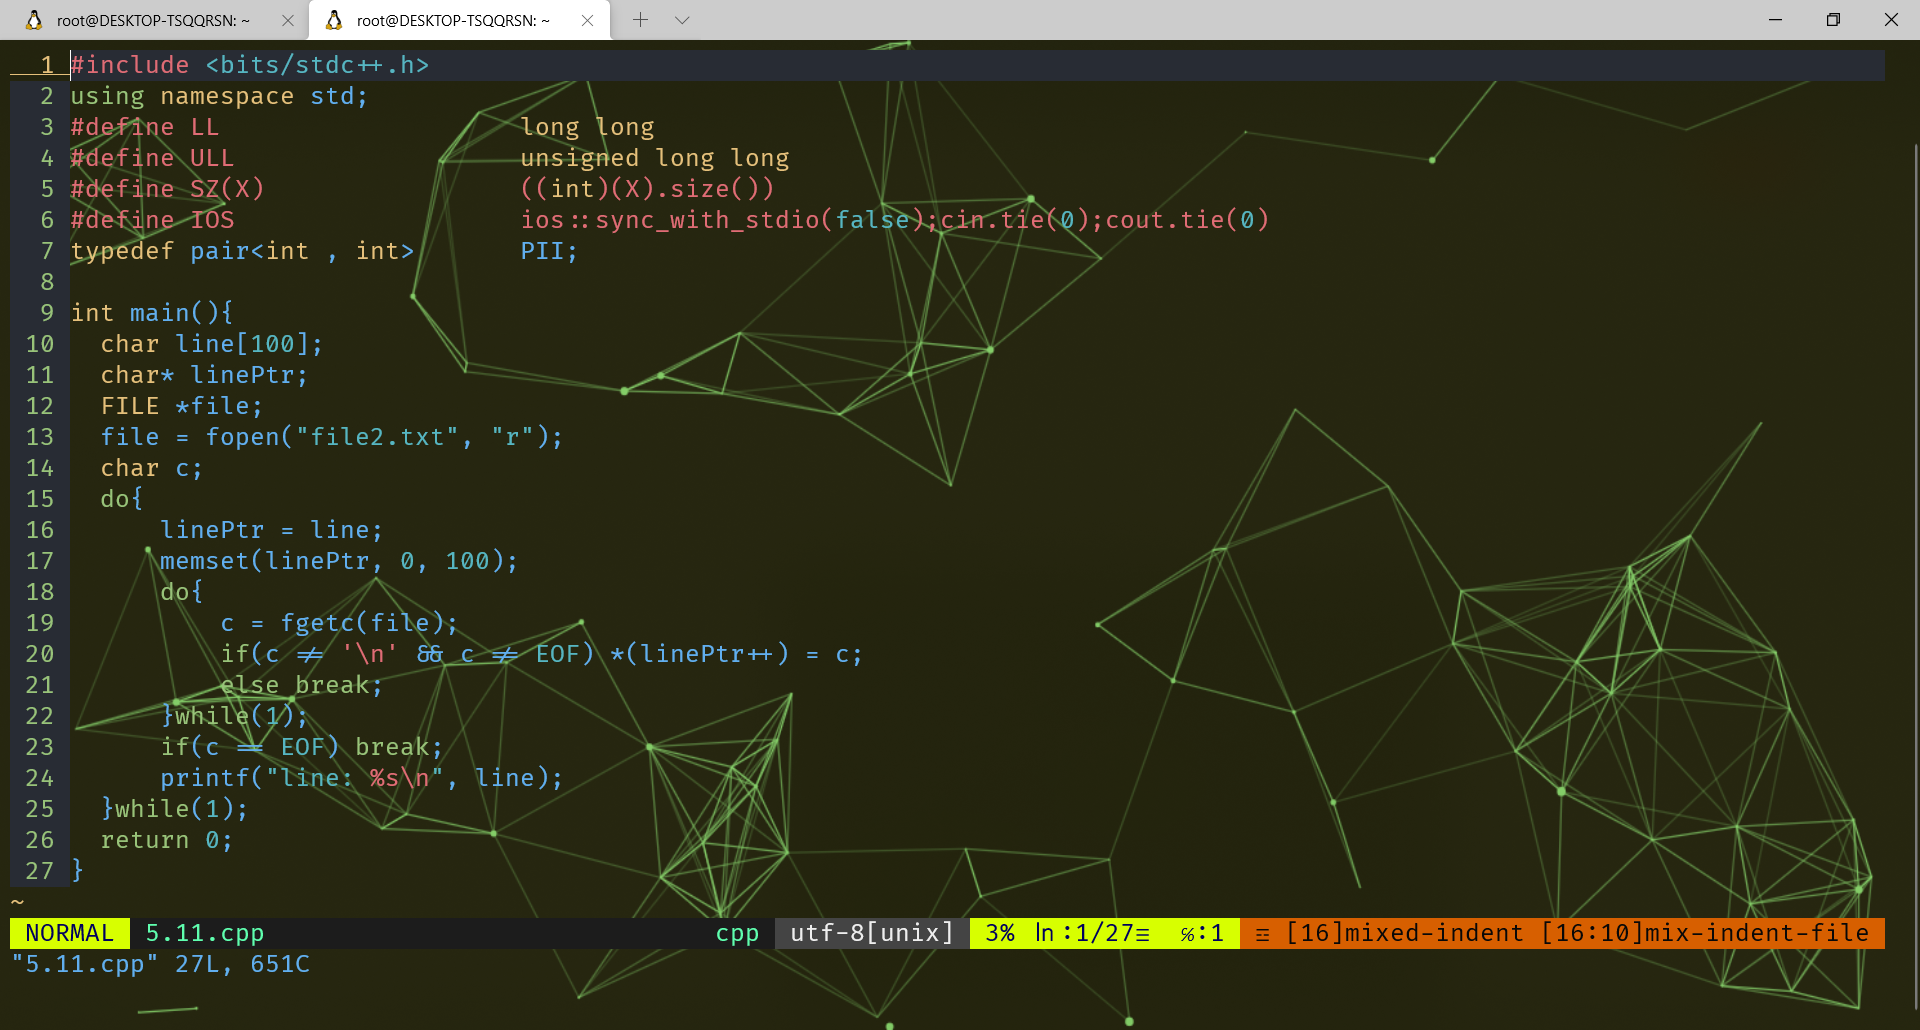
关于 v i m vim vim主题的选择,我选择的是 s o l a r i z e d solarized solarized
大约是这样的

选择它不单是颜值高,是感觉他有VSC的味了
关于背景问题,只有 l i g h t light light和 d a r k dark dark供选择,这是主题问题,如果你想用自己的背景图片的话,可以像我一样配置终端背景,然后vim背景配置成透明 -
相关的 v u n d l e vundle vundle插件的安装和加载,链接,之后在 v i m vim vim窗口输入
PluginInstall -
s o l a r i z e d solarized solarized的配置,链接
-
c l a n g _ c o m p l e t e clang_complete clang_complete的配置,链接1,链接2
-
. v i m r c .vimrc .vimrc配置
"配置clang_complete"
let g:clang_complete_copen=1
let g:clang_periodic_quickfix=1
let g:clang_snippets=1
let g:clang_close_preview=1
let g:clang_use_library=1
let g:clang_library_path='/usr/lib/llvm-10/lib/'
let g:neocomplcache_enable_at_startup = 1
set nocompatible              "这是必需的"
filetype off                  "这是必需的"

set encoding=utf-8

"配置YCM在此设置运行时路径"
set rtp+=~/.vim/bundle/Vundle

"vundle初始化"
call vundle#begin()
Plugin 'VundleVim/Vundle.vim'
Plugin 'Valloric/YouCompleteMe'
Plugin 'vim-airline/vim-airline'
call vundle#end()            "这是必需的"
filetype plugin indent on    "这是必需的"

hi MatchParen ctermbg=Red guibg=lightblue

"格式化代码"
cclose
set cmdheight=2
set nu
set tabstop=4
set softtabstop=4
set shiftwidth=4
set autoindent
set cursorline
set expandtab
inoremap ' ''<ESC>i
inoremap " ""<ESC>i
inoremap ( ()<ESC>i
inoremap [ []<ESC>i
inoremap { {<CR>}<ESC>O


"配置solarized"
set background=dark
syntax enable
colorscheme solarized
set t_Co=256
syntax on


" 当新建 .cpp文件时自动调用SetComment 函数
autocmd BufNewFile *.cpp exec ":call SetComment()"
" 加入注释
func SetComment()
    call setline(1,"/*")
    call append(line("."),   "*  @Copyright (C) ".strftime("%Y")." NEFU AB_IN. All rights reserved.")
    call append(line(".")+1, "*  @FileName:".expand("%:t"))
    call append(line(".")+2, "*  @Author:NEFU AB_IN")
    call append(line(".")+3, "*  @Date:".strftime("%Y.%m.%d"))
    call append(line(".")+4, "*  @Description:https://blog.csdn.net/qq_45859188")
    call append(line(".")+5, "*/")
    call append(line(".")+6, "")
    call append(line(".")+7,  "#include <bits/stdc++.h>")
    call append(line(".")+8, "using namespace std;")
    call append(line(".")+9, "#define LL                    long long")
    call append(line(".")+10, "#define MP                    make_pair")
    call append(line(".")+11, "#define SZ(X)                 ((int)(X).size())")
    call append(line(".")+12, "#define IOS                   ios::sync_with_stdio(false);cin.tie(0);cout.tie(0)")
    call append(line(".")+13, "typedef pair<int , int>       PII;")
    call append(line(".")+14, "")
    call append(line(".")+15, "int main(){")
    call append(line(".")+16, "    IOS;")
    call append(line(".")+17, "     ")
    call append(line(".")+18, "    return 0;")
    call append(line(".")+19, "}")
endfunc

"设置透明"
hi Normal guibg=NONE ctermbg=NONE
若遇到
The ycmd server SHUT DOWN (restart with ':YcmRestartServer').cd ~/.vim/bundle/YouCompleteMe apt-get install cmake apt-get install python3-dev /usr/bin/python3 install.py
-
-
tmux
tmux完整命令
- 把配置文件考过来之后,需要重启一下才能生效
- tmux这里从
Ctrl+b修改成了Ctrl+a - 支持鼠标选中不同的pane
tmux创建新的sessiontmux a[attach]进入到默认session(Ctrl+a)+d退出当前session(Ctrl+a)+%创造新的左右pane(Ctrl+a)+"创造新的上下pane- 按住
shift选择文本Ctrl+insert/ 鼠标右键 /Ctrl+c: 复制Shift+insert/鼠标右键 /Ctrl+v:粘贴
(Ctrl+a)+s选中不同的session,方向右键展开window,再展开pane,方向左键合上(Ctrl+a)+c创造新的window- 一般是一个session对应一个window,一个window对应多个pane
set-option -g status-keys vi setw -g mode-keys vi setw -g monitor-activity on # setw -g c0-change-trigger 10 # setw -g c0-change-interval 100 # setw -g c0-change-interval 50 # setw -g c0-change-trigger 75 set-window-option -g automatic-rename on set-option -g set-titles on set -g history-limit 100000 #set-window-option -g utf8 on # set command prefix set-option -g prefix C-a unbind-key C-b bind-key C-a send-prefix bind h select-pane -L bind j select-pane -D bind k select-pane -U bind l select-pane -R bind -n M-Left select-pane -L bind -n M-Right select-pane -R bind -n M-Up select-pane -U bind -n M-Down select-pane -D bind < resize-pane -L 7 bind > resize-pane -R 7 bind - resize-pane -D 7 bind + resize-pane -U 7 bind-key -n M-l next-window bind-key -n M-h previous-window set -g status-interval 1 # status bar set -g status-bg black set -g status-fg blue #set -g status-utf8 on set -g status-justify centre set -g status-bg default set -g status-left " #[fg=green]#S@#H #[default]" set -g status-left-length 20 # mouse support # for tmux 2.1 # set -g mouse-utf8 on set -g mouse on # # for previous version #set -g mode-mouse on #set -g mouse-resize-pane on #set -g mouse-select-pane on #set -g mouse-select-window on #set -g status-right-length 25 set -g status-right "#[fg=green]%H:%M:%S #[fg=magenta]%a %m-%d #[default]" # fix for tmux 1.9 bind '"' split-window -vc "#{pane_current_path}" bind '%' split-window -hc "#{pane_current_path}" bind 'c' new-window -c "#{pane_current_path}" # run-shell "powerline-daemon -q" # vim: ft=conf -
Cpp自动运行脚本
#!/bin/bash cppname=$1 outname=${cppname%.*} outname=$outname".out" g++ $cppname -o $outname ./$outname -
Python运行脚本
#!/bin/bash pyname=$1 python3 -u $1 -
Java自动运行脚本
#!/bin/bash javaname=$1 javac $1 outname=${javaname%.*} java $outname -
Alias脚本
然后给脚本加一个执行的权力
之后
vim ~/.bashrc在里面实现一个
alias即可之后如果想在任何路径都能运行,就在实现
alias的同时,把shell脚本的地址加入 P A T H PATH PATH -
Git
- g i t l f s git lfs git lfs 可以处理大文件,同时在 c o n f i g config config需要改一下缓存的大小
- 没事别 c o m m i t commit commit回退版本,会覆盖你目前目录下的所有文件
- 如果你要本地和远程库里的内容差距过大,版本跨度太大,会有fatal问题。需要解决冲突
- 如果想保留远程库,可以用
git pull origin master --allow-unrelated-histories,我用了这个命令之后,导致我本地的和远程库的一样了,差点数据丢失,最好别轻易用 - 如果想把本地全上传至库,就不管冲突什么的了,
git push --force origin master即可 - 最好的建议是新建一个分支,然后切换分支上传
- 血淋淋的教训啊,一定要记得commit记录回退版本,但也别随便回退。
- 如果想保留远程库,可以用
最后
以上就是安静电源最近收集整理的关于Ubuntu 20.04 配置Ubuntu 20.04配置的全部内容,更多相关Ubuntu内容请搜索靠谱客的其他文章。


发表评论 取消回复