1、安装gdal库、rasterio库
conda install -c conda-forge rasterio
或者
pip install rasterio
gdal安装的比较麻烦,不推荐使用pip安装,最好使用conda或者去网站下载好whl文件,然后手动安装。
conda install gdal
或者
pip install 路径./GDAL-3.0.2-cp37-cp37m-win_amd64.whl

2、案例
2.1 可视化tif文件
本文所涉及的tif文件为网络公开数据,相关链接在:
链接: https://pan.baidu.com/s/1k8laOKEclg2PKLiWXOriTw 提取码: cemw
import matplotlib.pyplot as plt
from pylab import *
import xarray as xr
from matplotlib import rcParams
config = {"font.family":'Times New Roman',"font.size":16,"mathtext.fontset":'stix'}
rcParams.update(config)
dem = xr.open_rasterio('/Users/liuhuanhuan/Desktop/srtm_55_05/srtm_55_05.tif')
dem = dem[0] #getting the first band
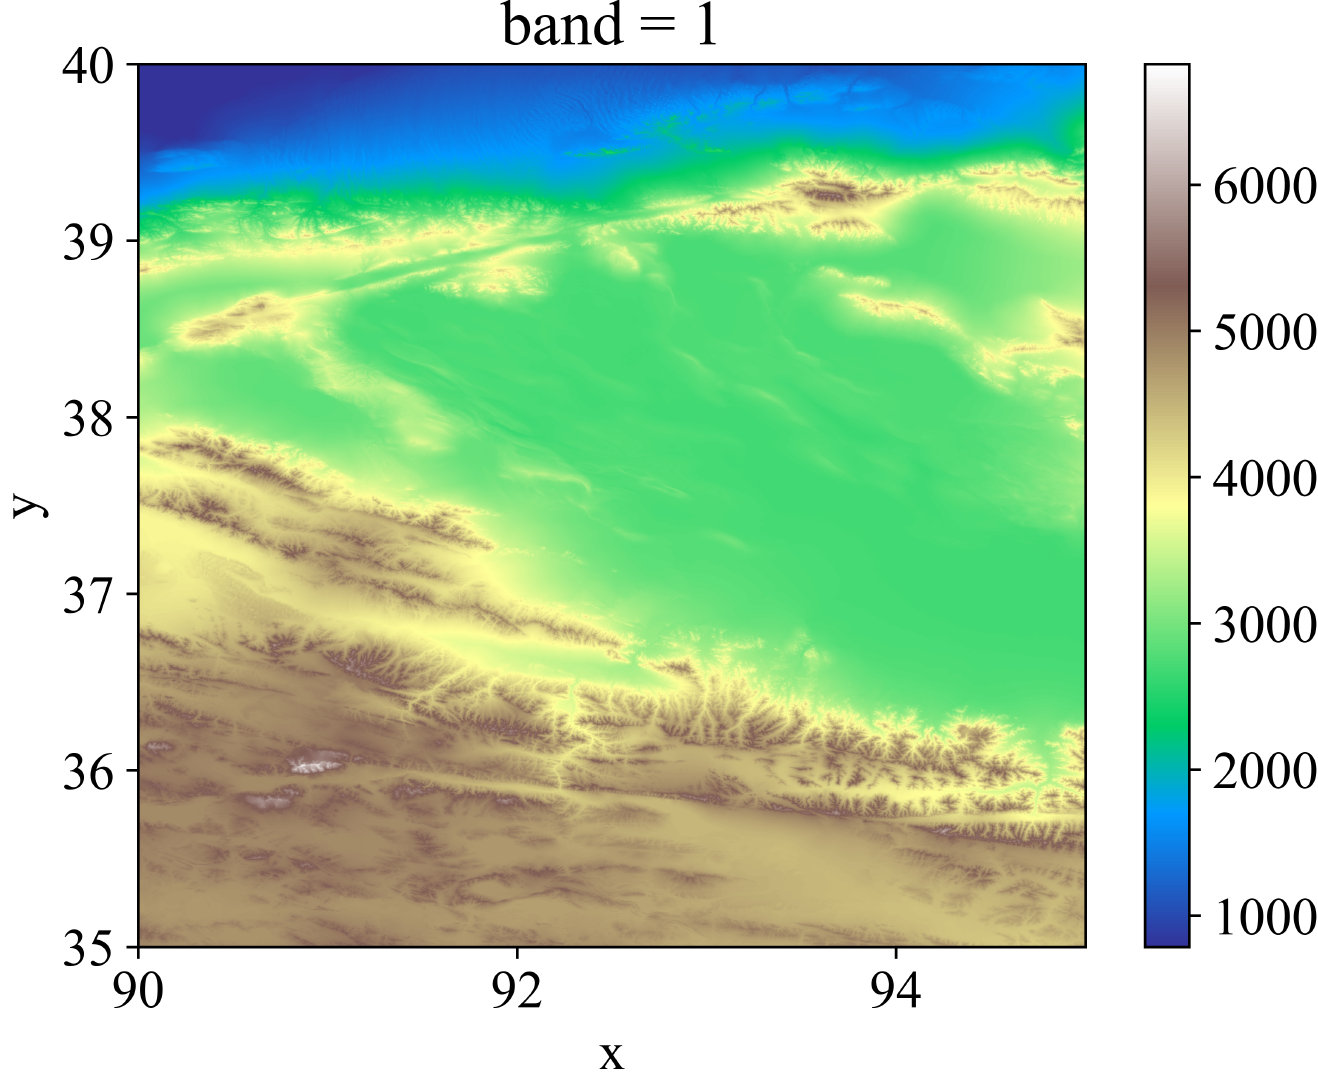
dem.plot(cmap='terrain')
plt.savefig('1.png',dpi=800,bbox_inches='tight',pad_inches=0)
plt.show()
效果图:

import proplot as plot
import matplotlib.pyplot as plt
import xarray as xr
from matplotlib import rcParams
config = {"font.family":'Times New Roman',"font.size":13,"mathtext.fontset":'stix'}
rcParams.update(config)
dem = xr.open_rasterio('/Users/liuhuanhuan/Desktop/srtm_55_05/srtm_55_05.tif')
dem = dem[0]
# Define extents
lat_min = dem.y.min()
lat_max = dem.y.max()
lon_min = dem.x.min()
lon_max = dem.x.max()
#Starting the plotting
fig, axs = plot.subplots(figsize=(16,10))
axs.format(land=False,labels=True,innerborders=False)
#Plot
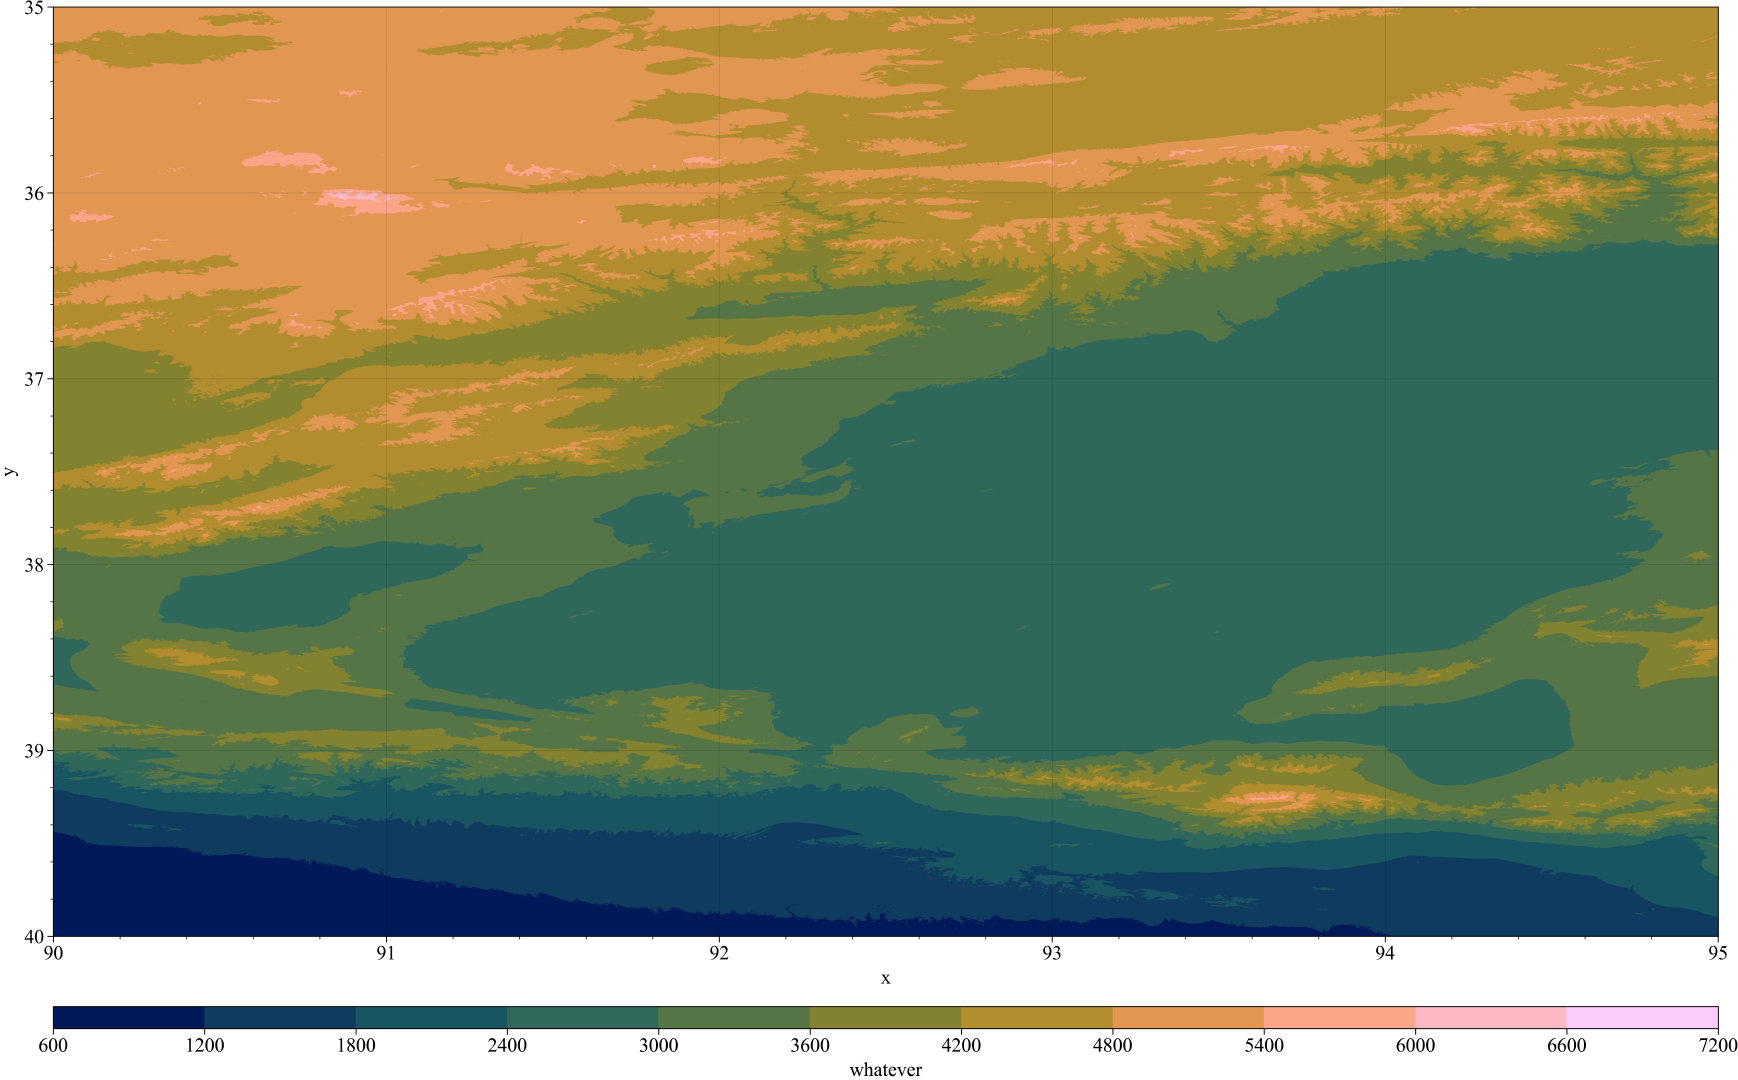
m = axs.pcolorfast(dem, cmap='batlow')
cbar = fig.colorbar(m, loc='b', label='whatever') #Adding colorbar with label
plt.savefig('2.png',dpi=800,bbox_inches='tight',pad_inches=0)
plt.show()
效果图:

地图可视化:
# Plot!
fig = plt.figure(figsize=(16,12))
ax = fig.add_subplot(111, projection=crs)
ax.coastlines(resolution='10m',alpha=0.1)
shp_path = r'F:/Rpython/lp30/data/'
proj = ccrs.PlateCarree()
reader = Reader(shp_path+'HeNan1.shp')
provinces = cfeature.ShapelyFeature(reader.geometries(),proj,edgecolor='k',facecolor='none',alpha=1)
ax.add_feature(provinces, linewidth=0.65)
lev=np.arange(0,2400,200)
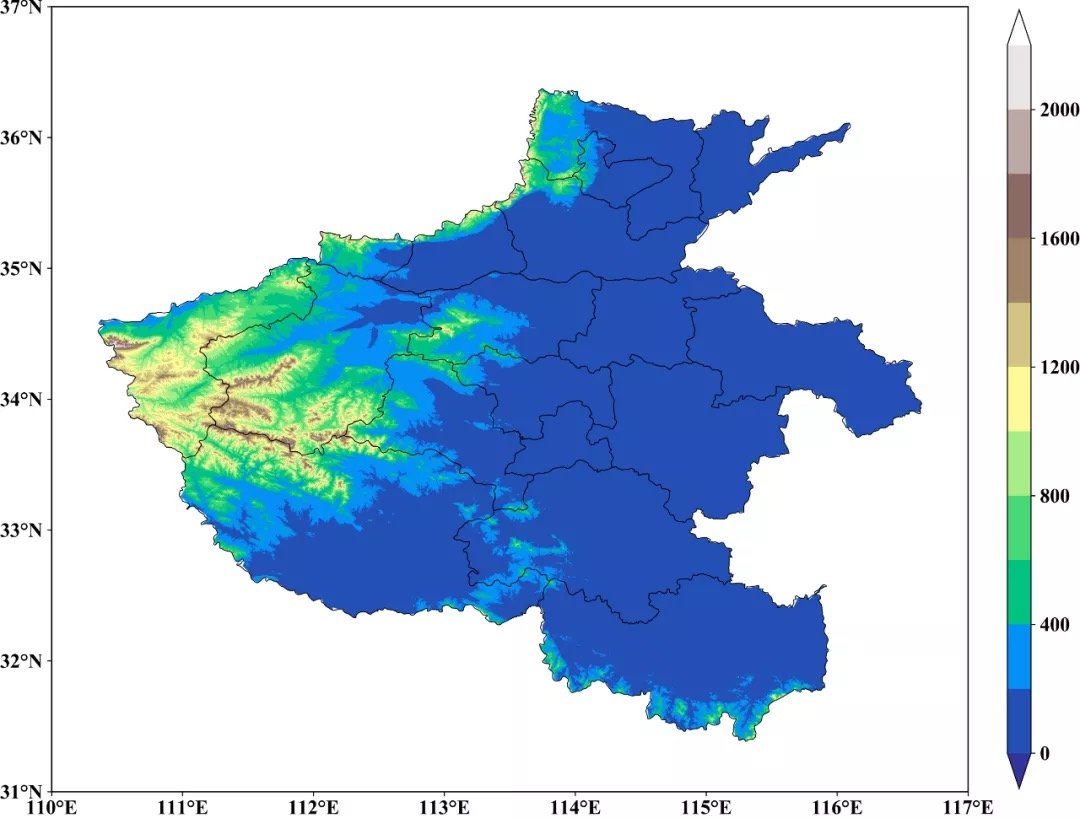
cf=ax.contourf(x,y,da.variable.data[0],levels=lev,extend='both',transform=ccrs.PlateCarree(),cmap=cmaps.MPL_terrain)
b=plt.colorbar(cf,shrink=0.93,orientation='vertical',extend='both',pad=0.035,aspect=30)
proj=ccrs.PlateCarree()
extent=[110,117,31,37]
ax.set_extent([lon_min,lon_max,lat_min,lat_max])
ax.set_xticks(np.arange(extent[0], extent[1] + 1, 1), crs = proj)
ax.set_yticks(np.arange(extent[-2], extent[-1] + 1, 1), crs = proj)
ax.xaxis.set_major_formatter(LongitudeFormatter(zero_direction_label=False))
ax.yaxis.set_major_formatter(LatitudeFormatter())
plt.savefig('F:/Rpython/lp36/plot111.png',dpi=800,bbox_inches='tight',pad_inches=0)
plt.show()
效果图:

3.proplot库使用
#encoding=utf-8
import matplotlib.pyplot as plt
from pylab import *
import xarray as xr
from matplotlib import rcParams
config = {"font.family":'Times New Roman',"font.size":16,"mathtext.fontset":'stix'}
rcParams.update(config)
import proplot as plot
da = xr.tutorial.open_dataset('air_temperature').air-273.15
clim = da.groupby(da['time.season']).mean('time')
f, axs = plot.subplots(proj='cyl', ncols=2, nrows=2)
for i, ax in enumerate(axs):
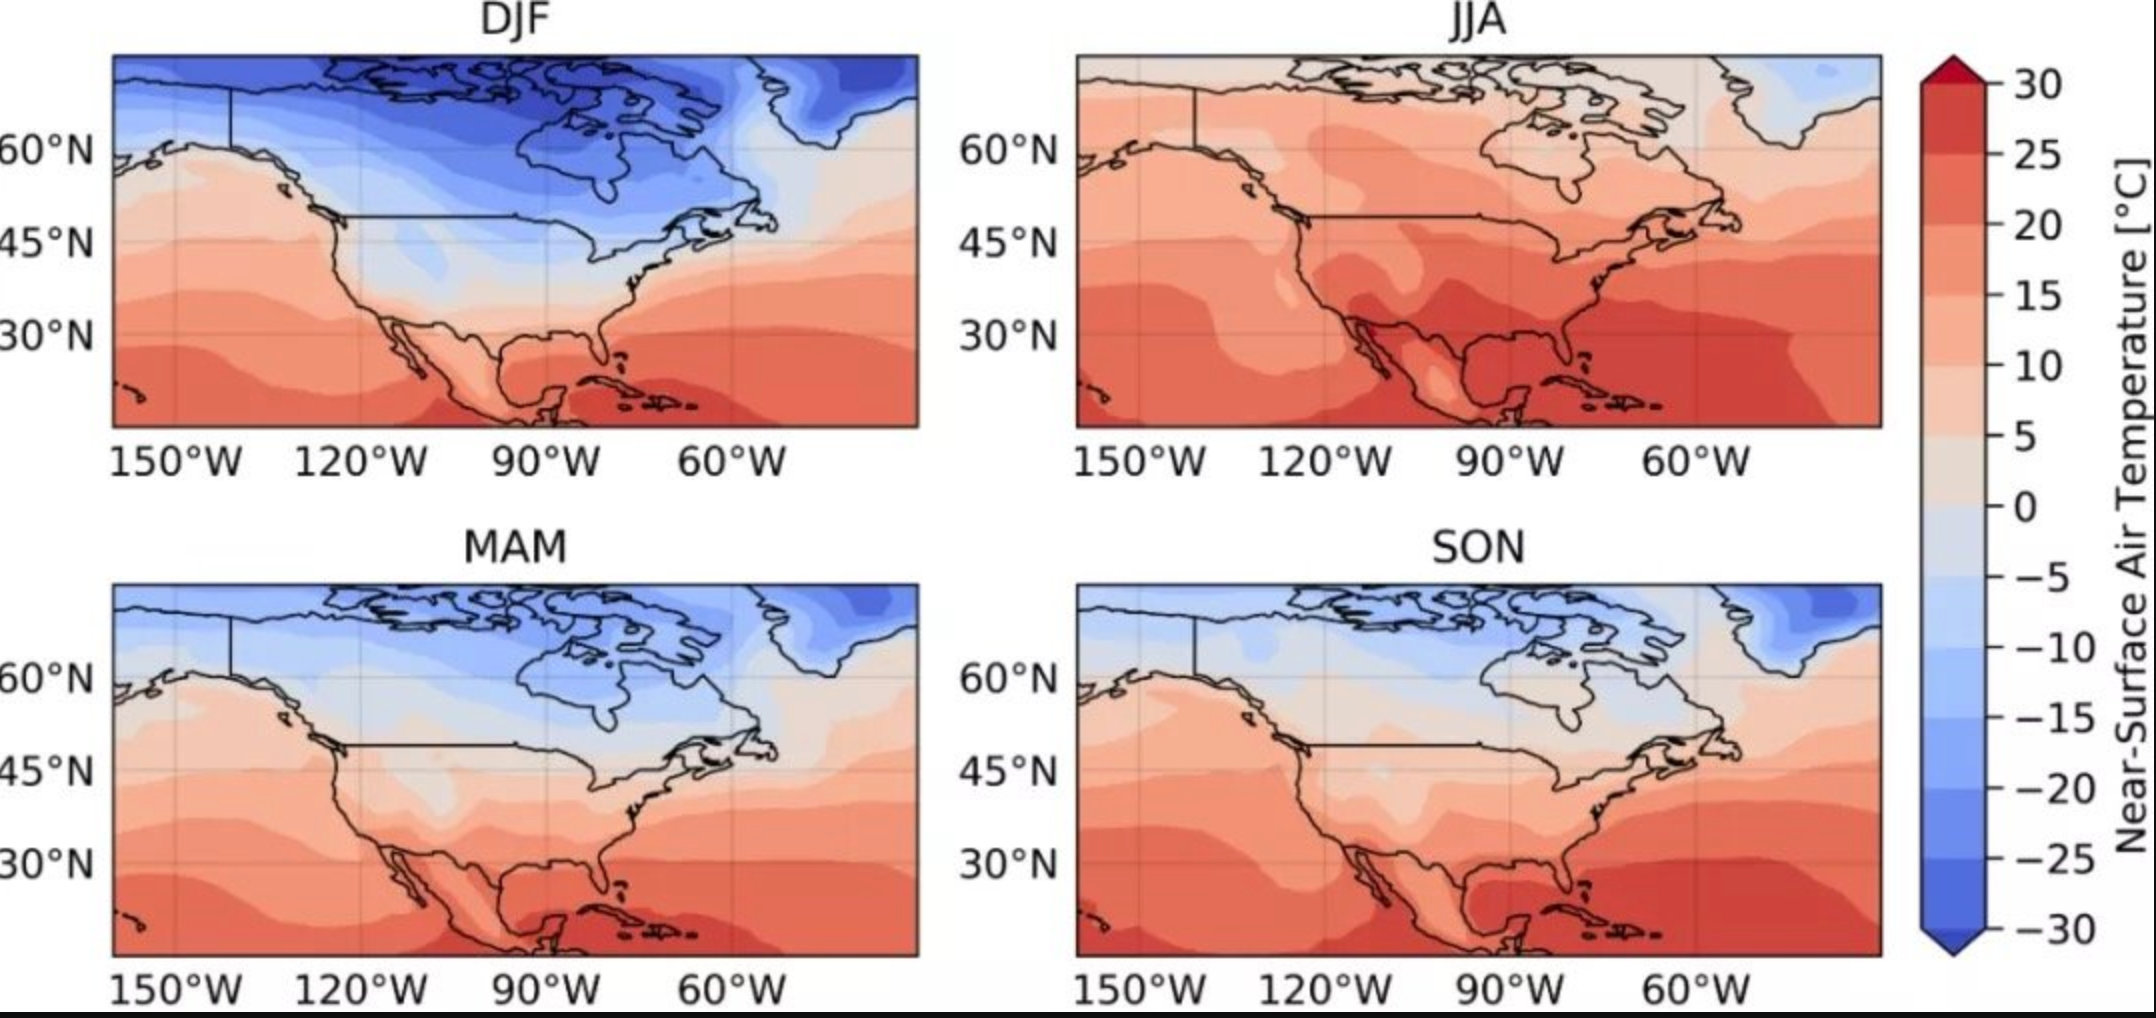
    m = ax.contourf(clim.isel(season=i),levels=plot.arange(-30,30,5),extend='both',cmap='CoolWarm')
    ax.format(labels = True, coast = True, borders = True, lonlines=30, latlines=15,
        latlim=(clim.lat.min().values, clim.lat.max().values),
        lonlim=(clim.lon.min().values, clim.lon.max().values),title=clim.isel(season=i).season.values)
f.colorbar(m,label='Near-Surface Air Temperature [°C]')
plt.savefig('four.png',dpi=200,bbox_inches='tight',pad_inches=0)
plt.show()
效果图:

参考文章:https://mp.weixin.qq.com/s/wxTiX4bOD3Oq-L53-LmcrA
最后
以上就是悲凉彩虹最近收集整理的关于【Python气象可视化】使用proplot和rasterio可视化tif的全部内容,更多相关【Python气象可视化】使用proplot和rasterio可视化tif内容请搜索靠谱客的其他文章。
本图文内容来源于网友提供,作为学习参考使用,或来自网络收集整理,版权属于原作者所有。


发表评论 取消回复