VSCode调试Html网页(使用本机 Chrome调试),调试js,lanch.json配置
第一步:在VSCode中打开你的代码目录
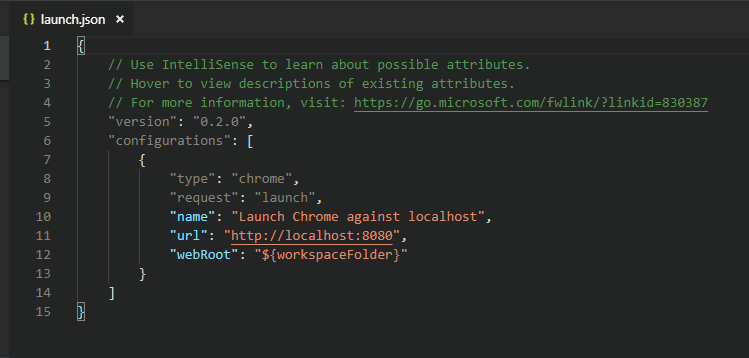
第二步:Debug->Start Debugging->选择Chrome


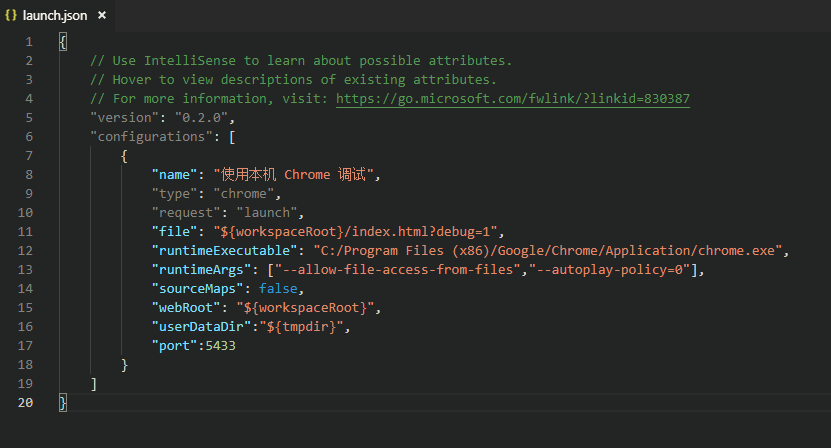
第三步:编辑launch.json如下:


代码如下:
{
    // Use IntelliSense to learn about possible attributes.
    // Hover to view descriptions of existing attributes.
    // For more information, visit: https://go.microsoft.com/fwlink/?linkid=830387
    "version": "0.2.0",
    "configurations": [
        {
            "name": "使用本机 Chrome 调试",
            "type": "chrome",
            "request": "launch",
            "file": "${workspaceRoot}/index.html?debug=1",
            "runtimeExecutable": "C:/Program Files (x86)/Google/Chrome/Application/chrome.exe",
            "runtimeArgs": ["--allow-file-access-from-files","--autoplay-policy=0"],
            "sourceMaps": false,
            "webRoot": "${workspaceRoot}",
            "userDataDir":"${tmpdir}",
            "port":5433
        }
    ]
}
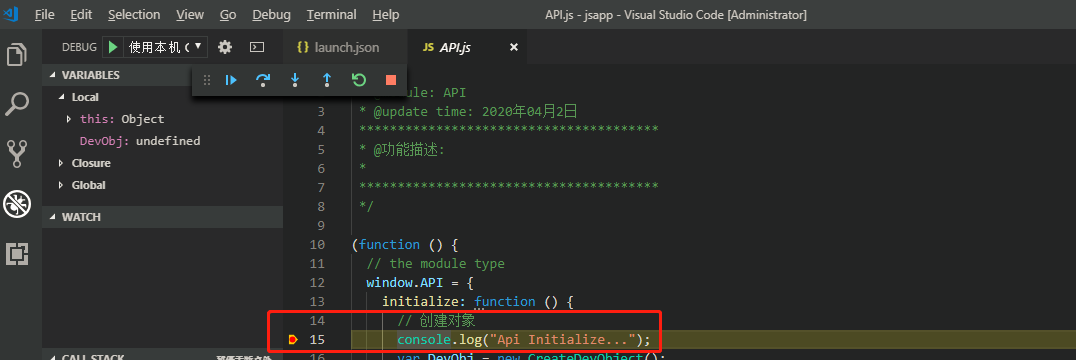
第四步:选择使用本机Chrome调试

第五步:设置断点,按F5就可以自由地玩耍了

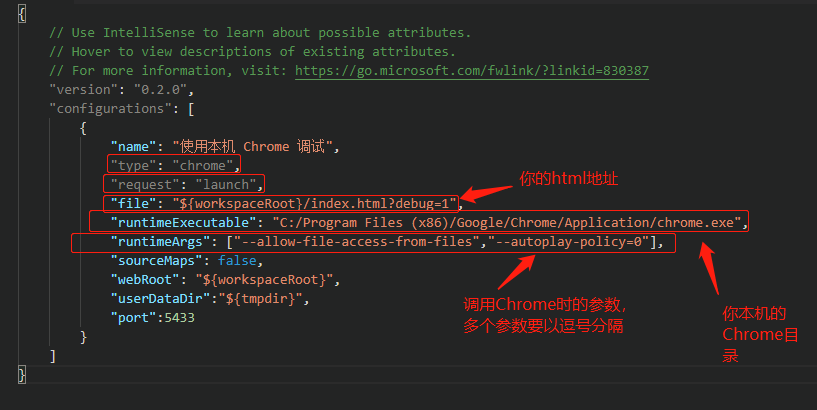
配置说明:
配置说明:
${workspaceRoot} VS Code当前打开的文件夹
${file} 当前打开的文件
${relativeFile} 相对于workspaceRoot的相对路径
${fileBasename} 当前打开文件的文件名
${fileDirname} 所在的文件夹,是绝对路径
${fileExtname} 当前打开文件的拓展名,如.json
最后
以上就是健忘草莓最近收集整理的关于VSCode调试Html网页(使用本机 Chrome调试)的全部内容,更多相关VSCode调试Html网页(使用本机内容请搜索靠谱客的其他文章。
本图文内容来源于网友提供,作为学习参考使用,或来自网络收集整理,版权属于原作者所有。


发表评论 取消回复