Vue.js中关于组件封装的学习总结
首先需要先了解什么是Vue组件:
- 组件(Component)是 Vue.js 最强大的功能之一。
- 组件可以扩展 HTML 元素,封装可重用的代码。
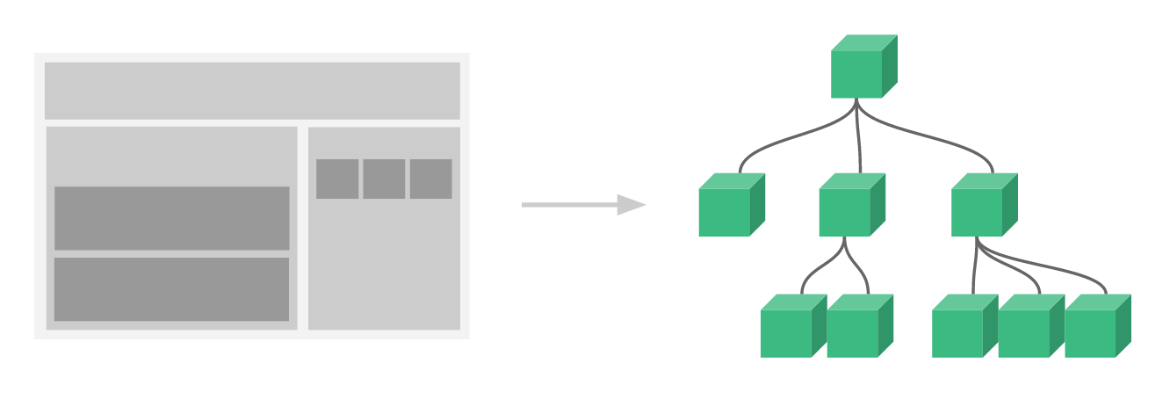
- 组件系统让我们可以用独立可复用的小组件来构建大型应用,几乎任意类型的应用的界面都可以抽象为一个组件树:
举例来说:假如我们现在需要使用ElementUI中的Dialog对话框和Checkbox 多选框来写一个具有多选功能的弹出框。而在整体项目中不止一处需要用到这个“多选弹出框”。为了代码的简洁性和可复用性,这时候我们就可以将此“多选弹出框”单独封装成一个组件来使用。
组件封装步骤
组件封装为三个步骤:
- 创建组件:
 <template>
  <el-dialog title="选择子设备"
             :visible.sync="visibleDialog"
             @close="close"
             width="500px">
    <el-radio-group v-model="device_id" @change="changeID(device_id)">
      <el-radio v-for="item in Device_List" :label="item.device_id" :key="device_id">{{item.name}}</el-radio>
    </el-radio-group>
    <span slot="footer" class="dialog-footer">
    <el-button  @click="close" >取 消</el-button>
    <el-button type="primary" @click="selectOk">确 定</el-button>
  </span>
  </el-dialog>
</template>
- 父组件中引入组件并注册:
 import {
        getVirtualDeviceList,
        getVirtualTempList,
        addVirtualDevice,
        getDeviceByType,
        editSubDevice,
        editVirtualDevice,
        testReadFun,
    } from '@/assets/js/api'
    // import EncapsulatingComponents from '../../../components/pages/Encapsulating_components'
    // import Test from '../../../components/common/test.vue'

    export default {
        // components: {
        //   EncapsulatingComponents
        //   // Test
        // },
- 利用props向子组件传递数据:
父组件中引用:
 <encapsulating-components ref="selectDevice" :device_type="device_type"
                                  @changeID="changeID"></encapsulating-components>
子组件中在props中定义:
  props: {
      device_type: ''
    },
- 子组件向父组件传递数据,可以使用$emit()方法进行:
子组件传递数据:
 selectOk(){
        this.$emit('changeID',this.device_id)
        this.visibleDialog = false
      },
父组件接收数据:
  changeID(value) {
                  this.device_id = parseInt(value)
                  console.log('子设备设备ID:' + this.device_id)
              },
使用组件封装在日常开发中是非常方便的,基本使用就是以上步骤。
最后
以上就是搞怪曲奇最近收集整理的关于Vue.js的学习总结——组件封装的全部内容,更多相关Vue.js内容请搜索靠谱客的其他文章。
本图文内容来源于网友提供,作为学习参考使用,或来自网络收集整理,版权属于原作者所有。


发表评论 取消回复