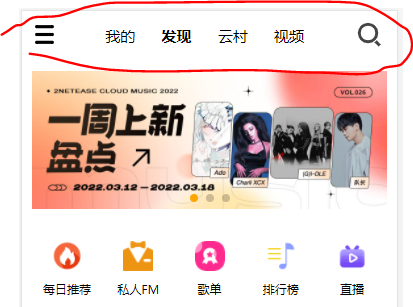
实现下图标注区域:
流程:
1.新建子组件topNav.vue
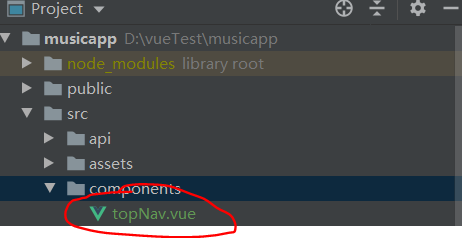
topNav.vue:
如果不理解代码中svg引入图标部分的代码,可以参考(iconfont 阿里巴巴矢量图标库 在线引入图标_Zhichao_97的博客-CSDN博客)
<template>
    <div class="topNav">
        <div class="topLeft">
            <svg class="icon" aria-hidden="true">
                <use xlink:href="#icon-danlieliebiao"></use>
            </svg>
        </div>
        <div class="topCenter">
            <span class="navBtn">我的</span>
            <span class="navBtn active">发现</span>
            <span class="navBtn">云村</span>
            <span class="navBtn">视频</span>
        </div>
        <div class="topRight">
            <svg class="icon sousuo" aria-hidden="true">
                <use xlink:href="#icon-sousuo"></use>
            </svg>
        </div>
    </div>
</template>

<script>
    export default {
        name: "topNav"
    }
</script>

<style scoped>
    .topNav{
        width: 7.5rem;
        height: 1rem;
        display: flex;  /*水平布局*/
        justify-content: space-between;  /*平均分布*/
        align-items: center;  /*侧轴居中*/
        padding: 0 0.2rem;  /*内边距:上下为0,左右为0.2rem*/
    }
    .icon{
        width: 0.5rem;
        height: 0.5rem;
    }
    .sousuo{
        width: 0.7rem;
        height: 0.7rem;
    }
    .topCenter{
        width: 4.5rem;
        display: flex;
        justify-content: space-around;  /*平均分布*/
    }
    .active{
        font-weight: 900;
    }
</style>
2.在父组件HomeView.vue中引入topNav.vue
topNav.vue:
<template>
  <div class="home">
    <top-nav></top-nav>
  </div>
</template>

<script>
  import topNav from "../components/topNav.vue";

  export default {

    name: 'HomeView',

    components: {
      topNav,
    },


  }
</script>

<style lang="less" scoped>

</style>
音乐app项目 下一节:
使用网易云api、Vue 和swiper实现轮播图_Zhichao_97的博客-CSDN博客
最后
以上就是明理冥王星最近收集整理的关于头部导航(音乐app项目-第1步)流程:的全部内容,更多相关头部导航(音乐app项目-第1步)流程内容请搜索靠谱客的其他文章。
本图文内容来源于网友提供,作为学习参考使用,或来自网络收集整理,版权属于原作者所有。


发表评论 取消回复