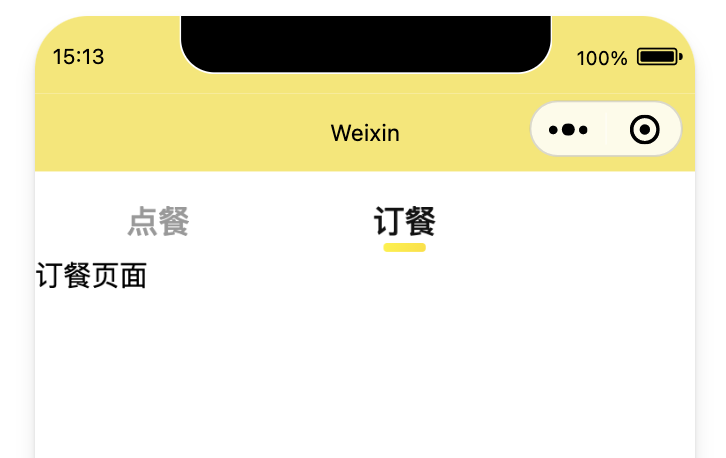
效果图

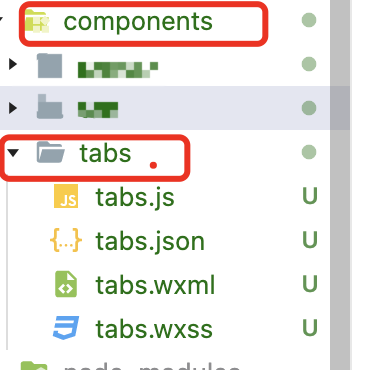
先在components里面新建组件

tabs.js代码
Component({
	//允许slot
	options: {
		multipleSlots: true
	},
	/**
	 * 组件的属性列表
	 */
	properties: {
		//接收父组件传递值
		tabTitle: {
			type: Array,
			value: []
		}
	},
	lifetimes: {
		attached: function () {
			//查看父组件传递的值
			console.log("父组件传递的值------------>", this.properties.tabTitle)
		}
	},

	/**
	 * 组件的初始数据
	 */
	data: {
		current: 0
	},

	/**
	 * 组件的方法列表
	 */
	methods: {
		swichNav(e) {
			if (this.data.current == e.currentTarget.dataset.index) {
				return false
			} else {
				this.setData({
					current: e.currentTarget.dataset.index
				})
			}
		}
	}
})
tabs.wxml代码
<view>
	<view class="order-list-tit">
		<view class="sel {{current==index?'on':''}}" data-index="{{index}}" wx:for="{{tabTitle}}" wx:key="*this"
			bindtap="swichNav">{{item}}</view>
	</view>
	<view>
		<view wx:for="{{tabTitle}}" wx:key="*this" class="{{current==index?'show':'hidden'}}">
			<slot name="{{index}}"></slot>
		</view>
	</view>
</view>
tabs.wxcc代码
.order-list-tit {
	width: 100%;
	height: 48px;
	border-radius: 12px 12px 0px 0px;
	display: flex;
}

.sel {
	font-size: 17px;
	font-family: PingFangSC-Regular, PingFang SC;
	font-weight: 400;
	color: #666666;
	margin-top: 13px;
	margin-left: 24px;
	text-align: center;
	position: relative;
}

.on {
	font-size: 18px;
	font-family: PingFangSC-Medium, PingFang SC;
	font-weight: 500;
	color: #303133;
	color: #121212;
	text-align: center;
}
.show {
  display: block;
}

.hidden {
  display: none;
}

.on:after {
	content: '';
	position: absolute;
	width: 24px;
	height: 5px;
	background: var(--themeItem);
	border-radius: 3px;
	top: 80%;
	left: 50%;
	transform: translate(-50%, -50%);
}
需要用到组件的页面进行导入JSON
conp.json代码
{
  "usingComponents": {
    "tabs":"../../components/tabs/tabs"
  }
}
conp.js代码
Page({
	data: {
		tabTitle:['点餐','订餐'],
	},
})
conp.wxml代码
<tabs tabTitle="{{tabTitle}}" tabs="{{tabs}}">
	<view slot="0">
		点餐页面
	</view>
	<view slot="1">
		订餐页面
	</view>
</tabs>
最后
以上就是开心学姐最近收集整理的关于微信小程序tab切换组件封装的全部内容,更多相关微信小程序tab切换组件封装内容请搜索靠谱客的其他文章。
本图文内容来源于网友提供,作为学习参考使用,或来自网络收集整理,版权属于原作者所有。


发表评论 取消回复