SpringBoot整合Knife4j
POM依赖
注意: 不能与Swagger2依赖一起使用,否则会报错
<dependency>
    <groupId>com.github.xiaoymin</groupId>
    <artifactId>knife4j-spring-boot-starter</artifactId>
    <version>3.0.2</version>
</dependency>
开启Knife4j配置
@SpringBootApplication
@EnableKnife4j
public class RedisDemo {
    public static void main(String[] args) {
        SpringApplication.run(RedisDemo.class,args);
    }
}
编写Knife4j配置类
Knife4j配置类与Swagger2配置类差不多,Knife4j是在Swagger2基础上美化了接口文档界面。
注意:.apis(RequestHandlerSelectors.basePackage(“com.x.controller”)) == 自行修改
/**
 * SwaggerUI配置
 */
@Configuration
public class SwaggerUIConfig {
    @Bean
    public Docket docket() {
        return new Docket(DocumentationType.SWAGGER_2)
                .apiInfo(apiInfo())
                .select()
                .apis(RequestHandlerSelectors.basePackage("com.x.controller")) // 自行修改!
                .paths(PathSelectors.any())
                .build();
    }

    /**
     * 项目基本信息配置
     */
    private ApiInfo apiInfo() {
        return new ApiInfoBuilder()
                .title("项目标题")
                .description("项目描述")
                .termsOfServiceUrl("http://www.example.com")
                //填写项目联系人信息(名称、网址、邮箱)
                .contact(new Contact("czk", "czk.com", "czk@163.com"))
                //填写项目版本号
                .version("1.0")
                .build();
    }
}
常用注解使用
- @APi:用于控制层
- @ApiOperation:接口方法
- @ApiImplicitParams:接口参数(多参数,方法上)
- @ApiImplicitParam:接口参数(单参数,方法上)
- @ApiParam:接口参数(参数上)
- @ApiModel:数据类上
- @ApiModelProperty:数据类属性上
@RestController
@RequestMapping("user")
@Api(tags = "College控制器")
public class UserController {
@Resource
IUserService userService;
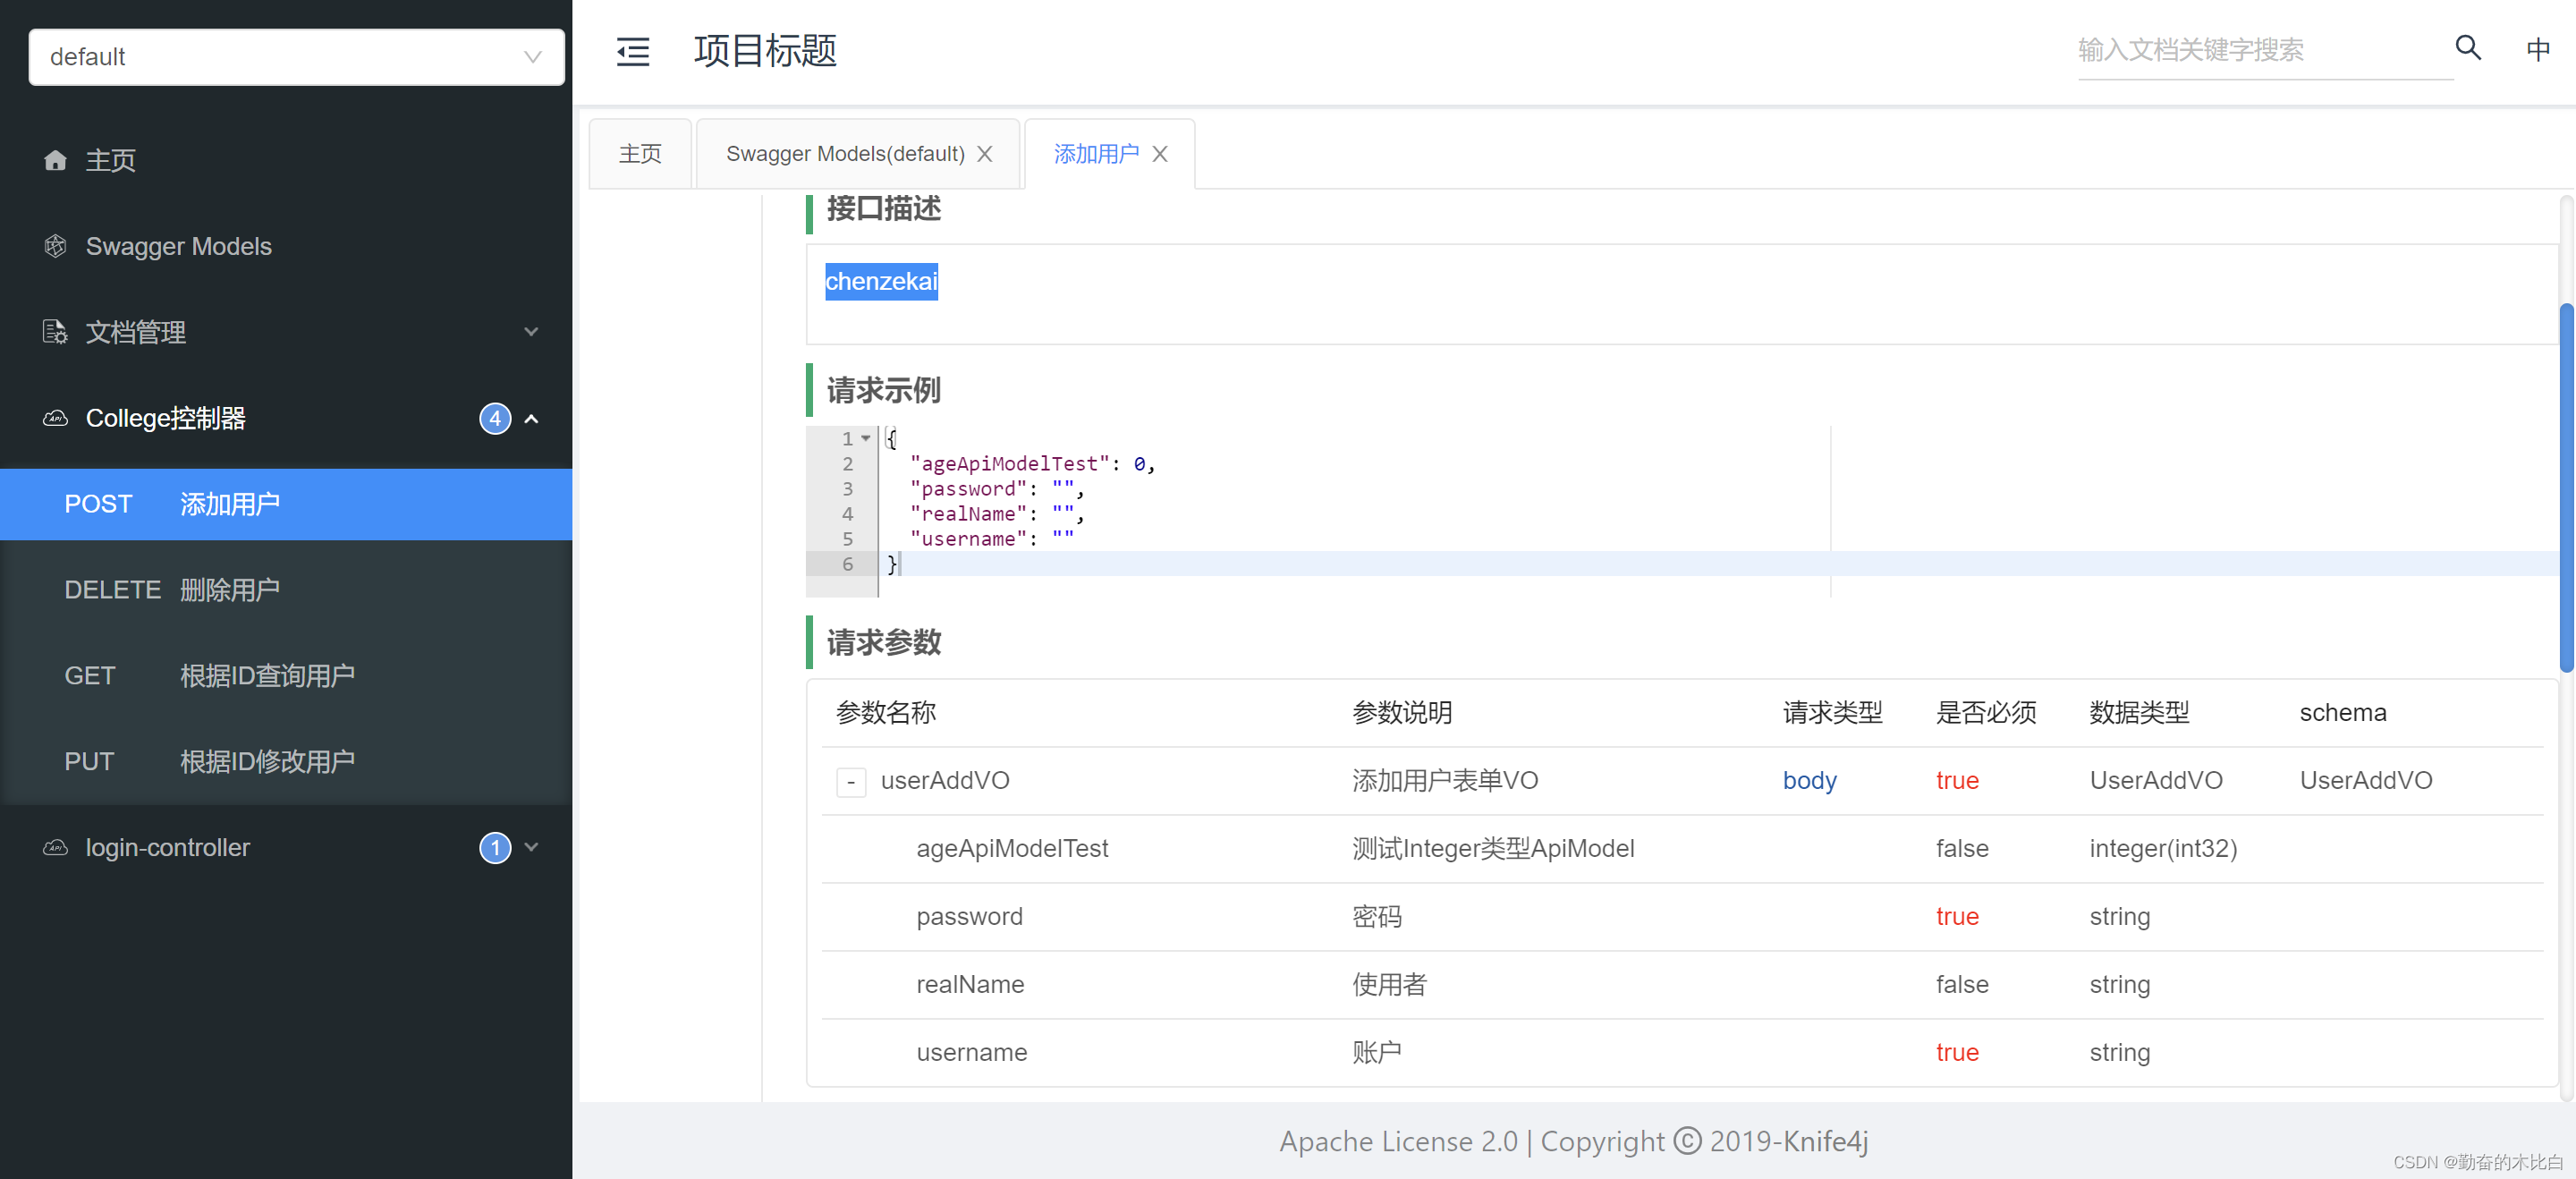
@PostMapping("add")
@ApiOperation(value = "添加用户",notes = "czk")
public ResponseData add( @RequestBody UserAddVO userAddVO) {
}
@DeleteMapping("delete/{uid}")
@ApiOperation(value = "删除用户",notes = "czk")
@ApiImplicitParam(name = "uid",value = "用户ID",required = true,paramType = "path")
public ResponseData delete(@PathVariable("uid") Integer uid) {
}
@PutMapping("update")
@ApiOperation(value = "根据ID修改用户",notes = "czk")
public ResponseData update(@RequestBody UserUpdateVO userUpdateVO) {
}
@GetMapping("queryById")
@ApiOperation(value = "根据ID查询用户",notes = "czk")
public ResponseData queryById(@RequestParam("uid") Integer uid) {
}
}
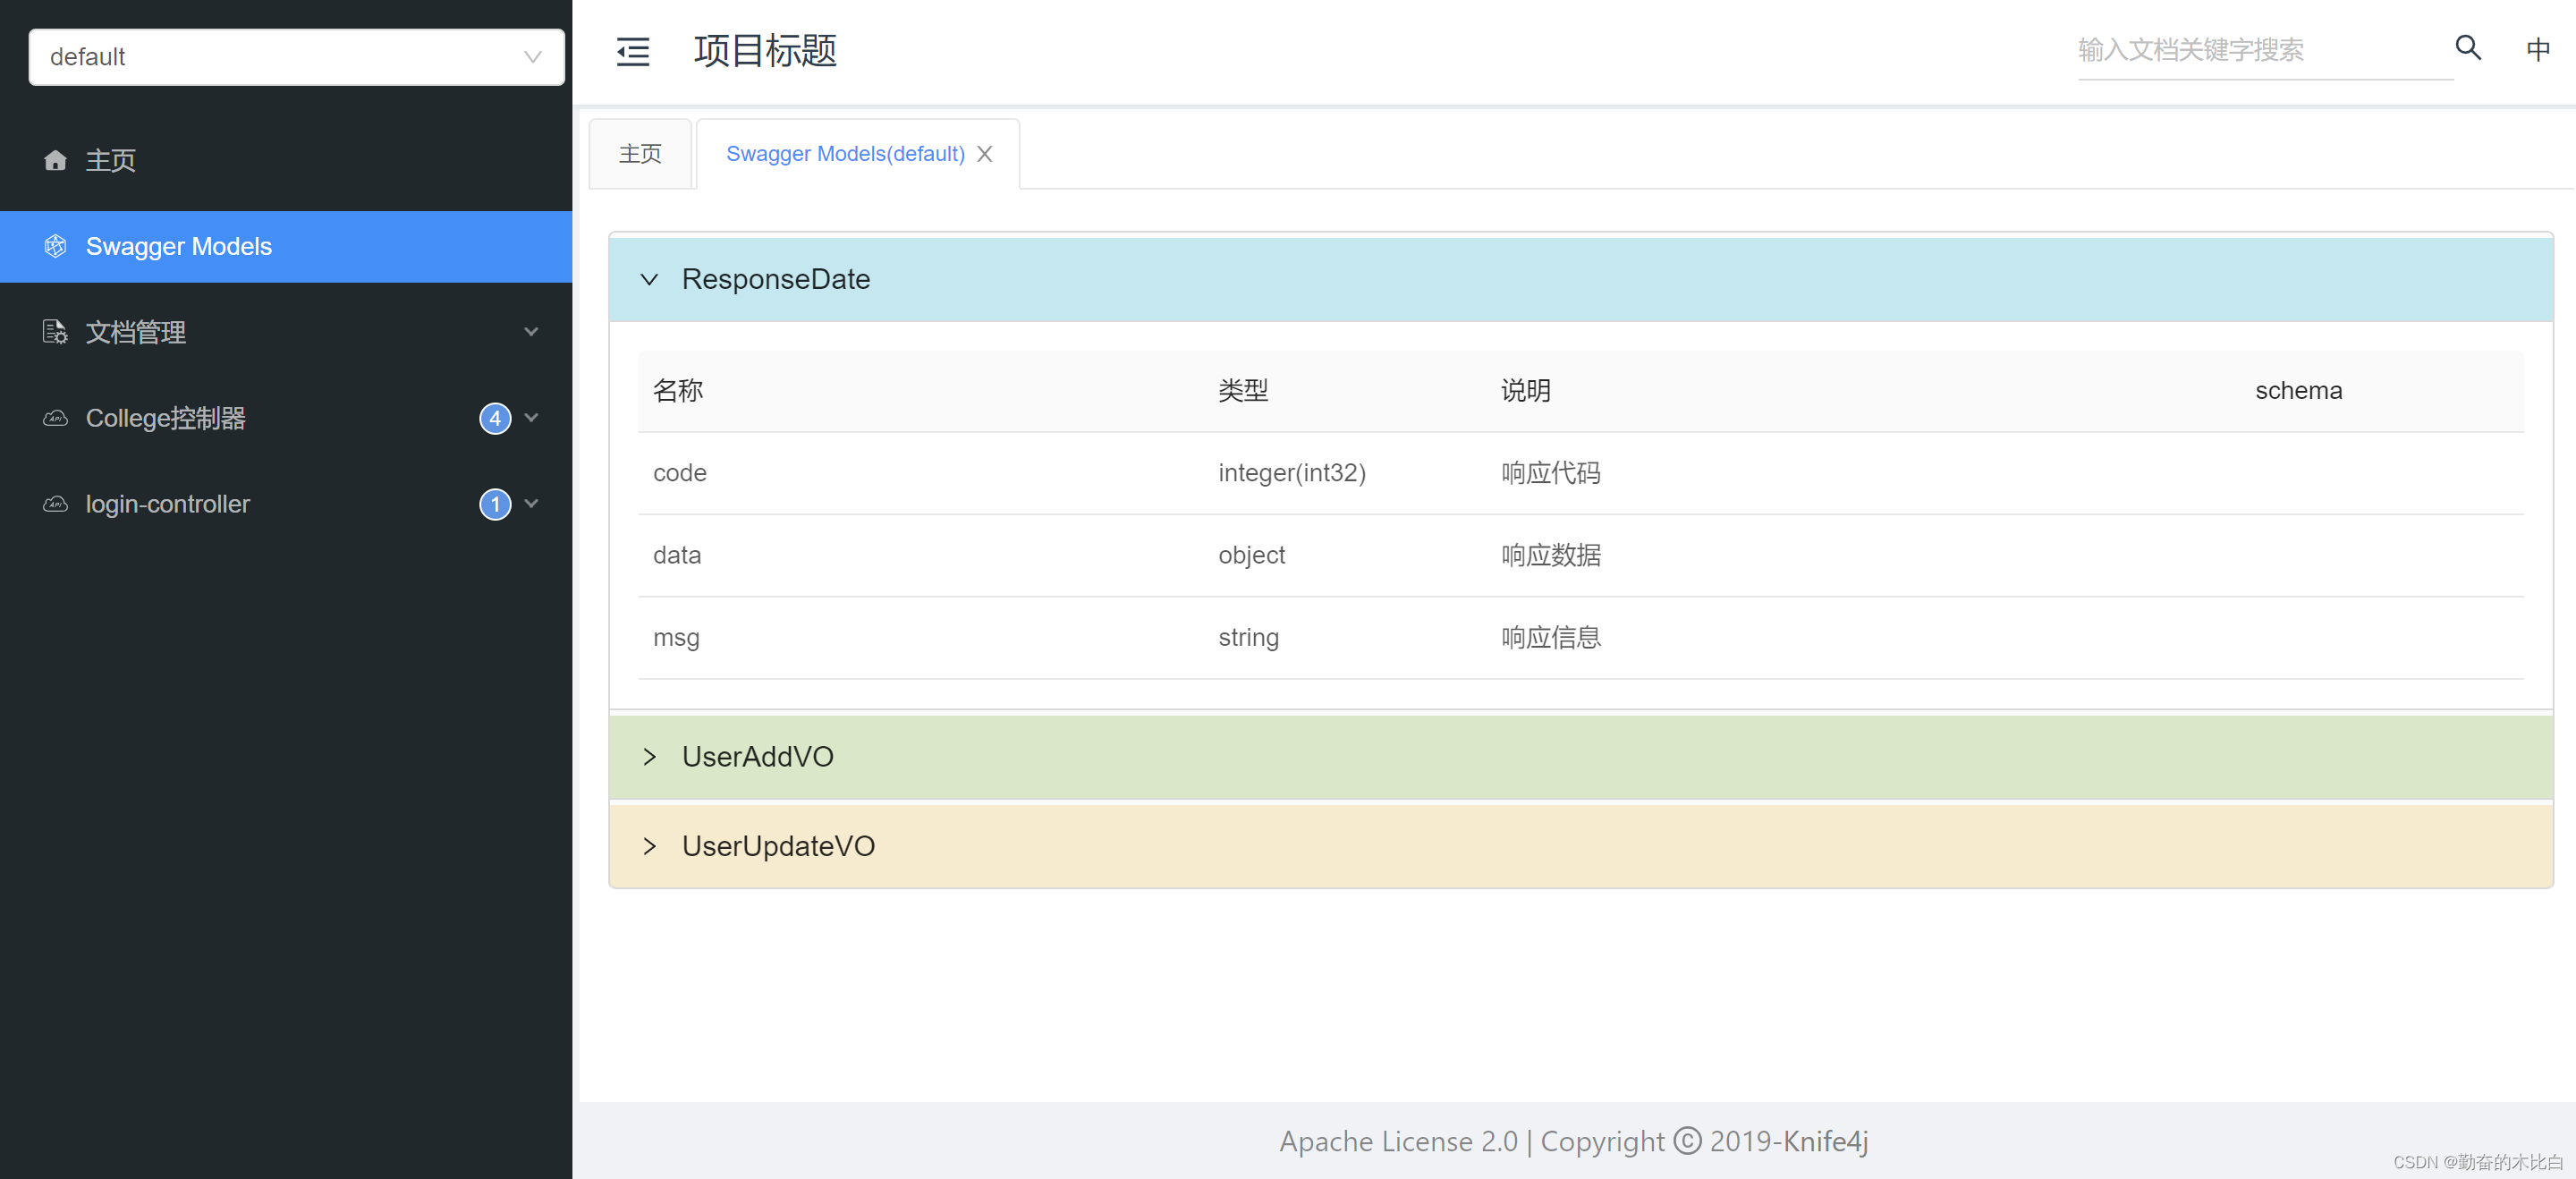
@ApiModel(value = "ResponseDate",description = "统一前端响应格式")
public final class ResponseData<T> {
    @ApiModelProperty(name = "code",value = "响应代码", example = "200")
    private Integer code;
    @ApiModelProperty(name = "msg",value = "响应信息",example = "添加成功")
    private String msg;
    @ApiModelProperty(name = "data",value = "响应数据",example = "响应数据/空")
    private T data;
}
@Data
@ApiModel(value = "UserAddVO" ,description = "添加用户表单VO")
public class UserAddVO {

    @ApiModelProperty(name = "username",value = "账户",required = true)
    private String username;

    @ApiModelProperty(name = "password",value = "密码",required = true)
    private String password;

    @ApiModelProperty(name = "realName",value = "使用者")
    private String realName;

    @ApiModelProperty(name = "ageApiModelTest",value = "测试Integer类型ApiModel",required = false,allowEmptyValue = true,allowableValues = "range(1,150)")
    private Integer ageApiModelTest;
}
@Data
@ApiModel(value = "UserUpdateVO" ,description = "更新用户表单VO")
public class UserUpdateVO {

    @ApiModelProperty(name = "password",value = "密码",required = true)
    private Long uid;

    @ApiModelProperty(name = "password",value = "密码",required = true)
    private String password;

    @ApiModelProperty(name = "realName",value = "使用者")
    private String realName;
}
结果展示
最后
以上就是温婉烧鹅最近收集整理的关于SpringBoot整合Knife4jSpringBoot整合Knife4j的全部内容,更多相关SpringBoot整合Knife4jSpringBoot整合Knife4j内容请搜索靠谱客的其他文章。
本图文内容来源于网友提供,作为学习参考使用,或来自网络收集整理,版权属于原作者所有。


发表评论 取消回复