准备工作:
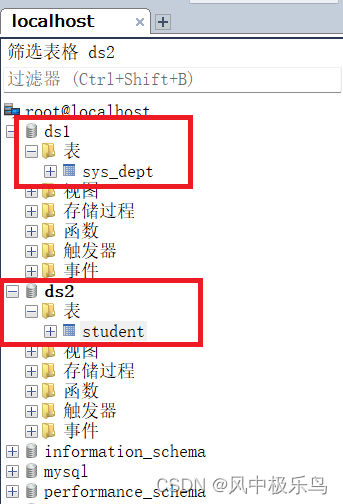
配置多数据之前,先准备好数据库。之前已经有一个数据库ds1了,还需要再添加一个数据库ds2。
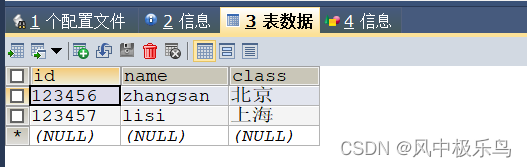
创建数据库ds2并添加一张表:
CREATE TABLE `student` (
  `id` varchar(16) COLLATE utf8_bin NOT NULL,
  `name` varchar(64) COLLATE utf8_bin DEFAULT NULL,
  `class` varchar(255) COLLATE utf8_bin DEFAULT NULL,
  PRIMARY KEY (`id`) USING BTREE
) ENGINE=InnoDB DEFAULT CHARSET=utf8 COLLATE=utf8_bin ROW_FORMAT=DYNAMIC
添加两条测试数据:
 测试mysql库结构:
配置多数据源
01、修改项目数据库连接配置
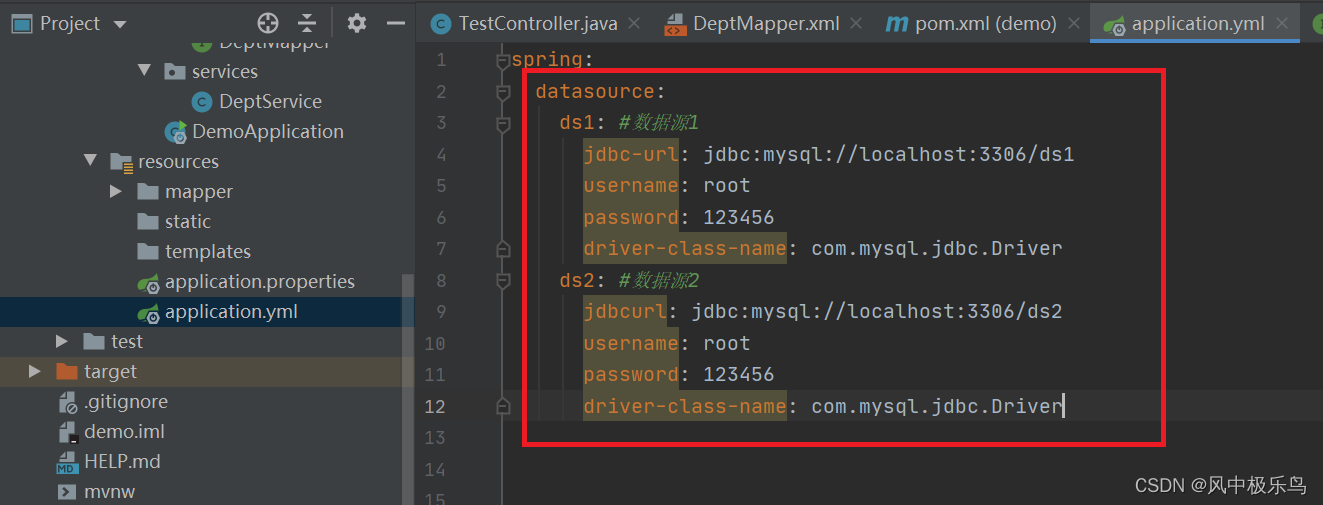 application.yml
spring:
  datasource:
    ds1: #数据源1
      jdbc-url: jdbc:mysql://localhost:3306/ds1
      username: root
      password: 123456
      driver-class-name: com.mysql.jdbc.Driver
    ds2: #数据源2
      jdbcurl: jdbc:mysql://localhost:3306/ds2
      username: root
      password: 123456
      driver-class-name: com.mysql.jdbc.Driver


# 配置mybatis规则
mybatis:
  #  config-location: classpath:mybatis/mybatis-config.xml
  mapper-locations: classpath:mapper/*.xml
  configuration:
    map-underscore-to-camel-case: false
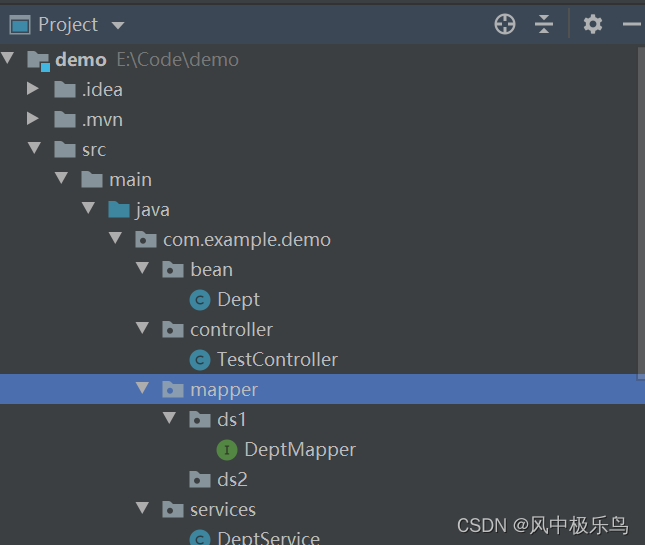
02、在mapper文件夹下创建两个文件夹,分别为ds1和ds2,同时将DeptMapper文件移动到ds1中。
ds1中的mapper文件使用的是数据源1;ds2中的则是数据源2。
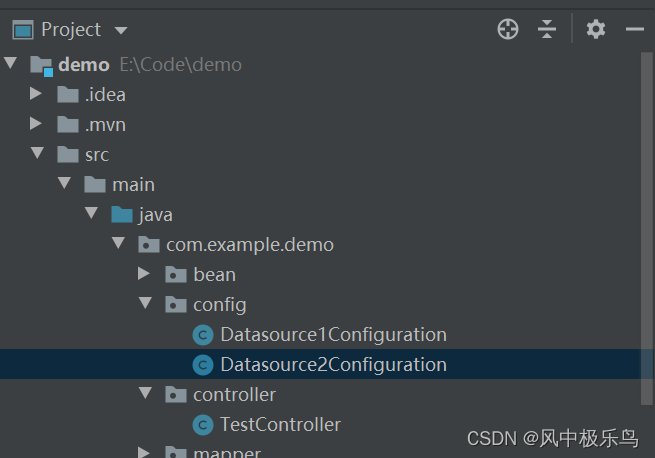
 03、创建相关数据源配置文件。
新建config文件夹,以后所有的配置文件都统一放在这里。
在此文件夹下创建两个配置文件:
Datasource1Configuration.java
package com.example.demo.config;
import org.apache.ibatis.session.SqlSessionFactory;
import org.mybatis.spring.SqlSessionFactoryBean;
import org.mybatis.spring.SqlSessionTemplate;
import org.mybatis.spring.annotation.MapperScan;
import org.springframework.beans.factory.annotation.Qualifier;

import org.springframework.beans.factory.annotation.Value;
import org.springframework.boot.context.properties.ConfigurationProperties;
import org.springframework.boot.jdbc.DataSourceBuilder;
import org.springframework.context.annotation.Bean;
import org.springframework.context.annotation.Configuration;

import org.springframework.core.io.support.PathMatchingResourcePatternResolver;
import org.springframework.jdbc.datasource.DataSourceTransactionManager;

import javax.sql.DataSource;

@Configuration
@MapperScan(basePackages = {"com.example.demo.mapper.ds1"}, sqlSessionFactoryRef = "sqlSessionFactory1")
public class Datasource1Configuration {
    @Value("${mybatis.mapper-locations}")
    private String mapperLocation;

    @Bean(name = "dataSource1")
    @ConfigurationProperties(prefix = "spring.datasource.ds1") //读取application.yml中的配置参数映射成为一个对象
    public DataSource dataSource() {
        return DataSourceBuilder.create().build();
    }

    @Bean("sqlSessionFactory1")
    public SqlSessionFactory sqlSessionFactory(@Qualifier("dataSource1") DataSource dataSource) throws Exception {
        SqlSessionFactoryBean bean = new SqlSessionFactoryBean();
        bean.setDataSource(dataSource);
        // mapper的xml形式文件位置必须要配置,不然将报错:no statement (这种错误也可能是mapper的xml中,namespace与项目的路径不一致导致)
        bean.setMapperLocations(new PathMatchingResourcePatternResolver().getResources(mapperLocation));
        return bean.getObject();
    }

    @Bean("sqlSessionTemplate1")
    public SqlSessionTemplate sqlSessionTemplate(@Qualifier("sqlSessionFactory1") SqlSessionFactory sqlSessionFactory) {
        return new SqlSessionTemplate(sqlSessionFactory);
    }

    @Bean("transactionManager1")
    public DataSourceTransactionManager transactionManager(@Qualifier("dataSource1")DataSource dataSource) {
        return new DataSourceTransactionManager(dataSource);
    }
}
Datasource2Configuration.java
package com.example.demo.config;

import org.apache.ibatis.session.SqlSessionFactory;
import org.mybatis.spring.SqlSessionFactoryBean;
import org.mybatis.spring.SqlSessionTemplate;
import org.mybatis.spring.annotation.MapperScan;
import org.springframework.beans.factory.annotation.Qualifier;

import org.springframework.beans.factory.annotation.Value;
import org.springframework.boot.context.properties.ConfigurationProperties;
import org.springframework.boot.jdbc.DataSourceBuilder;
import org.springframework.context.annotation.Bean;
import org.springframework.context.annotation.Configuration;

import org.springframework.core.io.support.PathMatchingResourcePatternResolver;
import org.springframework.jdbc.datasource.DataSourceTransactionManager;

import javax.sql.DataSource;


@Configuration
@MapperScan(basePackages = {"com.example.demo.mapper.ds2"}, sqlSessionFactoryRef = "sqlSessionFactory2")
public class Datasource2Configuration {
    @Value("${mybatis.mapper-locations}")
    private String mapperLocation;

    @Bean(name = "dataSource2")
    @ConfigurationProperties(prefix = "spring.datasource.ds2") //读取application.yml中的配置参数映射成为一个对象
    public DataSource dataSource() {
        return DataSourceBuilder.create().build();
    }

    @Bean("sqlSessionFactory2")
    public SqlSessionFactory sqlSessionFactory(@Qualifier("dataSource2") DataSource dataSource) throws Exception {
        SqlSessionFactoryBean bean = new SqlSessionFactoryBean();
        bean.setDataSource(dataSource);
        // mapper的xml形式文件位置必须要配置,不然将报错:no statement (这种错误也可能是mapper的xml中,namespace与项目的路径不一致导致)
        bean.setMapperLocations(new PathMatchingResourcePatternResolver().getResources(mapperLocation));
        return bean.getObject();
    }

    @Bean("sqlSessionTemplate2")
    public SqlSessionTemplate sqlSessionTemplate(@Qualifier("sqlSessionFactory2") SqlSessionFactory sqlSessionFactory) {
        return new SqlSessionTemplate(sqlSessionFactory);
    }

    @Bean("transactionManager2")
    public DataSourceTransactionManager transactionManager(@Qualifier("dataSource2") DataSource dataSource) {
        return new DataSourceTransactionManager(dataSource);
    }
}
 到此,多数据源已经配置好了。下面就测试一下效果。
测试多数据源
数据源1已经有调用了,再补充一个调用数据源2的mapper。
首先在bean目录下创建实体类:
Student.java
package com.example.demo.bean;
import lombok.Data;
@Data
public class Student {
    public String id;
    public String name;
    public String _class;
}
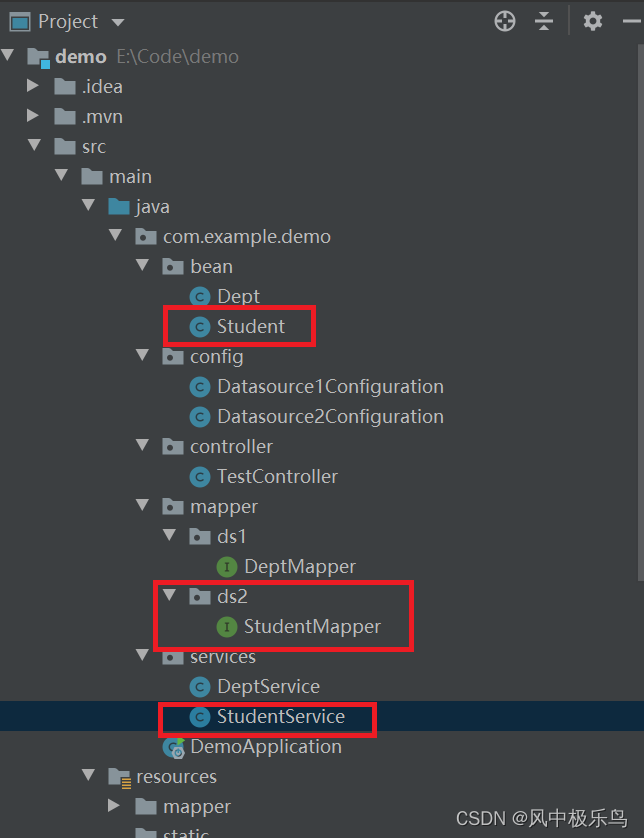
然后在ds2 文件夹下创建StudentMapper文件。
StudentMapper.java
package com.example.demo.mapper.ds2;

import com.example.demo.bean.Student;
import org.apache.ibatis.annotations.Mapper;
import org.apache.ibatis.annotations.Select;

@Mapper
public interface StudentMapper {

    @Select("SELECT id,name,class as _class FROM `student` WHERE id=#{id}")
    public Student getStudentById(String id);
}
最后在services文件夹下创建StudentService.java
package com.example.demo.services;

import com.example.demo.bean.Student;
import com.example.demo.mapper.ds2.StudentMapper;
import org.springframework.beans.factory.annotation.Autowired;
import org.springframework.stereotype.Service;

@Service
public class StudentService {

    @Autowired
    StudentMapper studentMapper;
    public Student getStudentById(String id)
    {
        return studentMapper.getStudentById(id);
    }
}
现在的项目目录结构如下:
 为了测试双数据源,在TestController中写一个新的测试接口:
@Autowired
    StudentService studentService;

    @GetMapping("/get2Db")
    public String get2DB(String id)
    {
        Student ss=  studentService.getStudentById(id);

        Dept dept=deptService.getDeptById("101");

        return "数据源1中数据:"+dept.toString()+";数据源2中数据:"+ss.toString();
    }
完整TestController.java
package com.example.demo.controller;

import com.example.demo.bean.Dept;
import com.example.demo.bean.Student;
import com.example.demo.services.DeptService;
import com.example.demo.services.StudentService;
import org.springframework.beans.factory.annotation.Autowired;
import org.springframework.web.bind.annotation.*;

import java.util.List;

@RestController
public class TestController {
    @RequestMapping(value="/Hello",method = RequestMethod.GET)
    public String Hello(String pra){
        return "Hello world !"+pra;
    }

    @Autowired
    DeptService deptService;
    //测试注解方式操作数据库
    @ResponseBody
    @GetMapping("/getDept")
    public List<Dept> getDept(){
        return deptService.getDept();
    }


    //XML方式
    @ResponseBody
    @RequestMapping("/getDeptById")
    public Dept getTheDept(@RequestParam("id") String id){

        return deptService.getDeptById(id);
    }


    @Autowired
    StudentService studentService;

    @GetMapping("/get2Db")
    public String get2DB(String id)
    {
        Student ss=  studentService.getStudentById(id);

        Dept dept=deptService.getDeptById("101");

        return "数据源1中数据:"+dept.toString()+";数据源2中数据:"+ss.toString();
    }
}
启动运行项目:
在浏览器地址栏中输入:http://localhost:8080/get2Db?id=123456
响应如图:
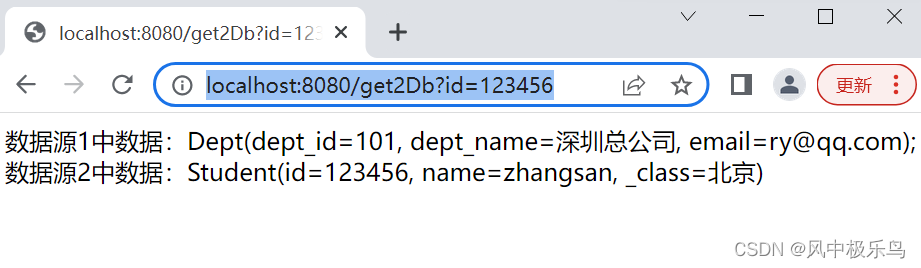 可知,双数据源中的数据已经全部可以正常取出来了。
最后,集成druid
安装依赖:
在pom文件中增加:
     <dependency>
            <groupId>com.alibaba</groupId>
            <artifactId>druid-spring-boot-starter</artifactId>
            <version>1.1.17</version>
        </dependency>
更新安装依赖。
配置druid:
 druid:
      aop-patterns: com.example.demo.*  #监控SpringBean
      filters: stat,wall     # 底层开启功能,stat(sql监控),wall(防火墙)

      stat-view-servlet:   # 配置监控页功能
        enabled: true
        login-username: admin
        login-password: admin
        resetEnable: false

      web-stat-filter:  # 监控web
        enabled: true
        urlPattern: /*
        exclusions: '*.js,*.gif,*.jpg,*.png,*.css,*.ico,/druid/*'


      filter:
        stat:    # 对上面filters里面的stat的详细配置
          slow-sql-millis: 1000
          logSlowSql: true
          enabled: true
        wall:
          enabled: true
          config:
            drop-table-allow: false
此时完整的配置文件
applaction.yml
spring:
  datasource:
    ds1: #数据源1
      jdbc-url: jdbc:mysql://localhost:3306/ds1
      username: root
      password: 123456
      driver-class-name: com.mysql.jdbc.Driver
    ds2: #数据源2
      jdbcurl: jdbc:mysql://localhost:3306/ds2
      username: root
      password: 123456
      driver-class-name: com.mysql.jdbc.Driver

    druid:
      aop-patterns: com.example.demo.*  #监控SpringBean
      filters: stat,wall     # 底层开启功能,stat(sql监控),wall(防火墙)

      stat-view-servlet:   # 配置监控页功能
        enabled: true
        login-username: admin
        login-password: admin
        resetEnable: false

      web-stat-filter:  # 监控web
        enabled: true
        urlPattern: /*
        exclusions: '*.js,*.gif,*.jpg,*.png,*.css,*.ico,/druid/*'


      filter:
        stat:    # 对上面filters里面的stat的详细配置
          slow-sql-millis: 1000
          logSlowSql: true
          enabled: true
        wall:
          enabled: true
          config:
            drop-table-allow: false

# 配置mybatis规则
mybatis:
  #  config-location: classpath:mybatis/mybatis-config.xml
  mapper-locations: classpath:mapper/*.xml
  configuration:
    map-underscore-to-camel-case: false
现在重启运行项目,之后在浏览器地址栏中输入:http://localhost:8080/druid/login.html
打开页面如图:
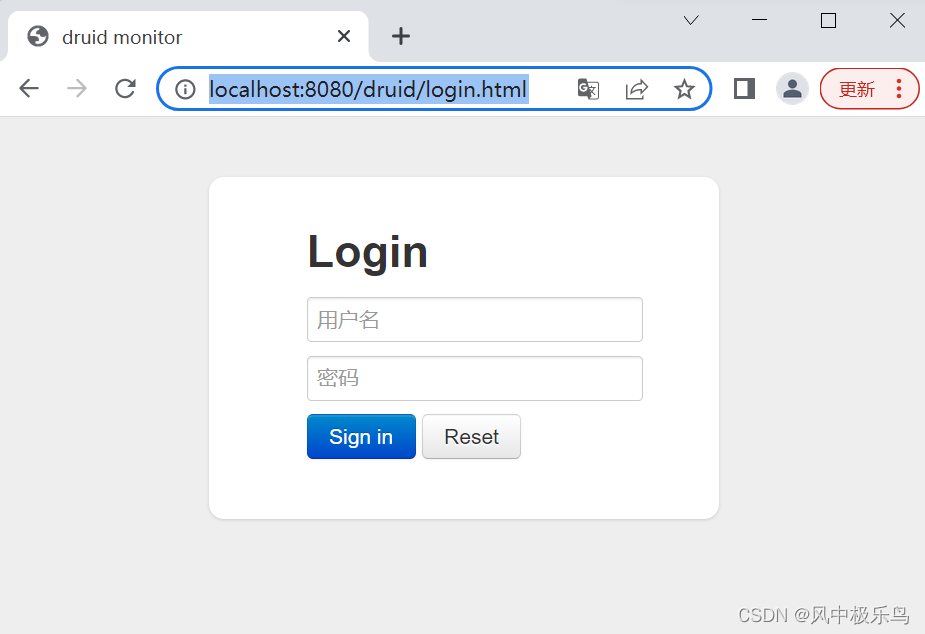 输入admin/admin登录:

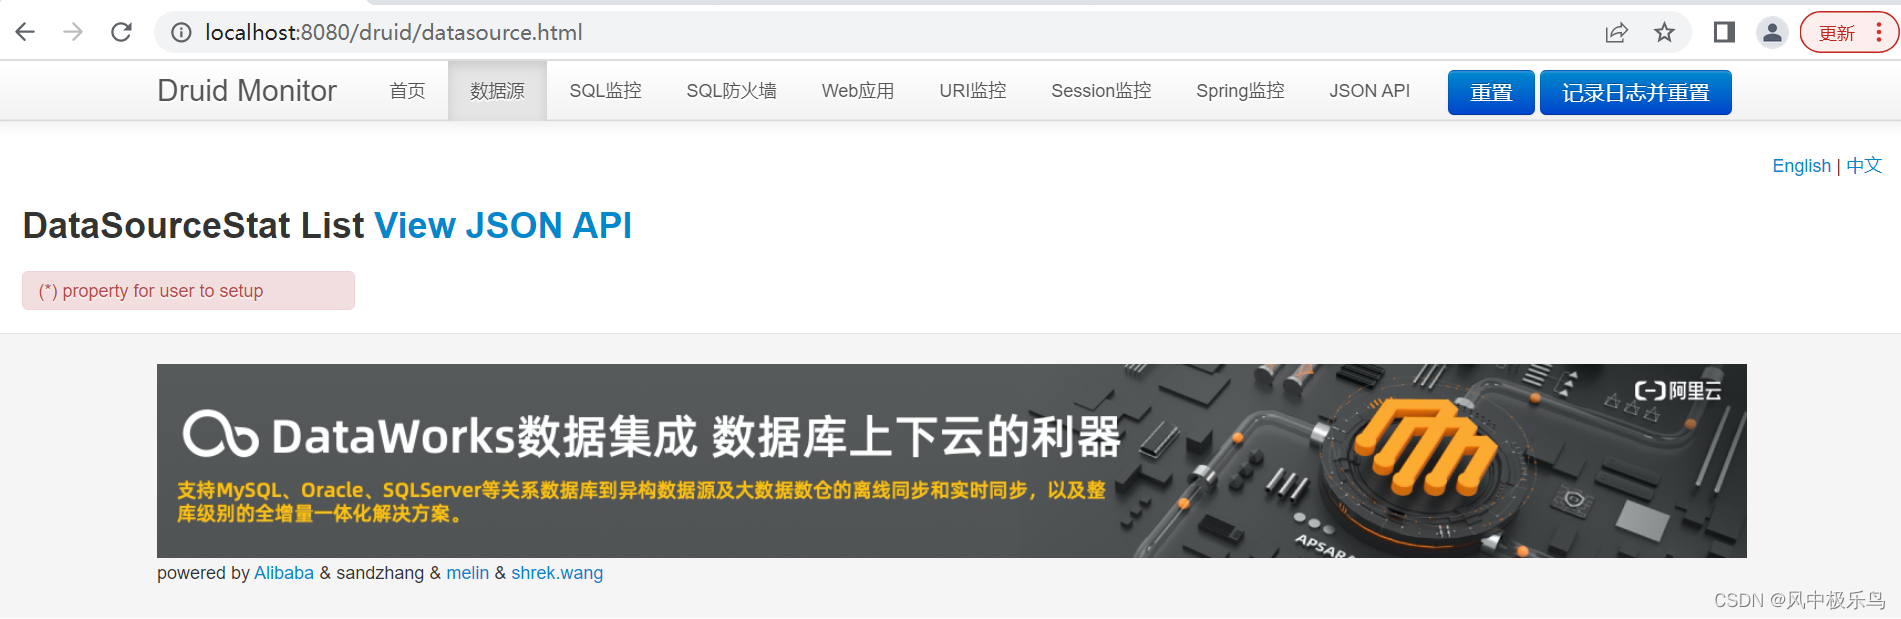
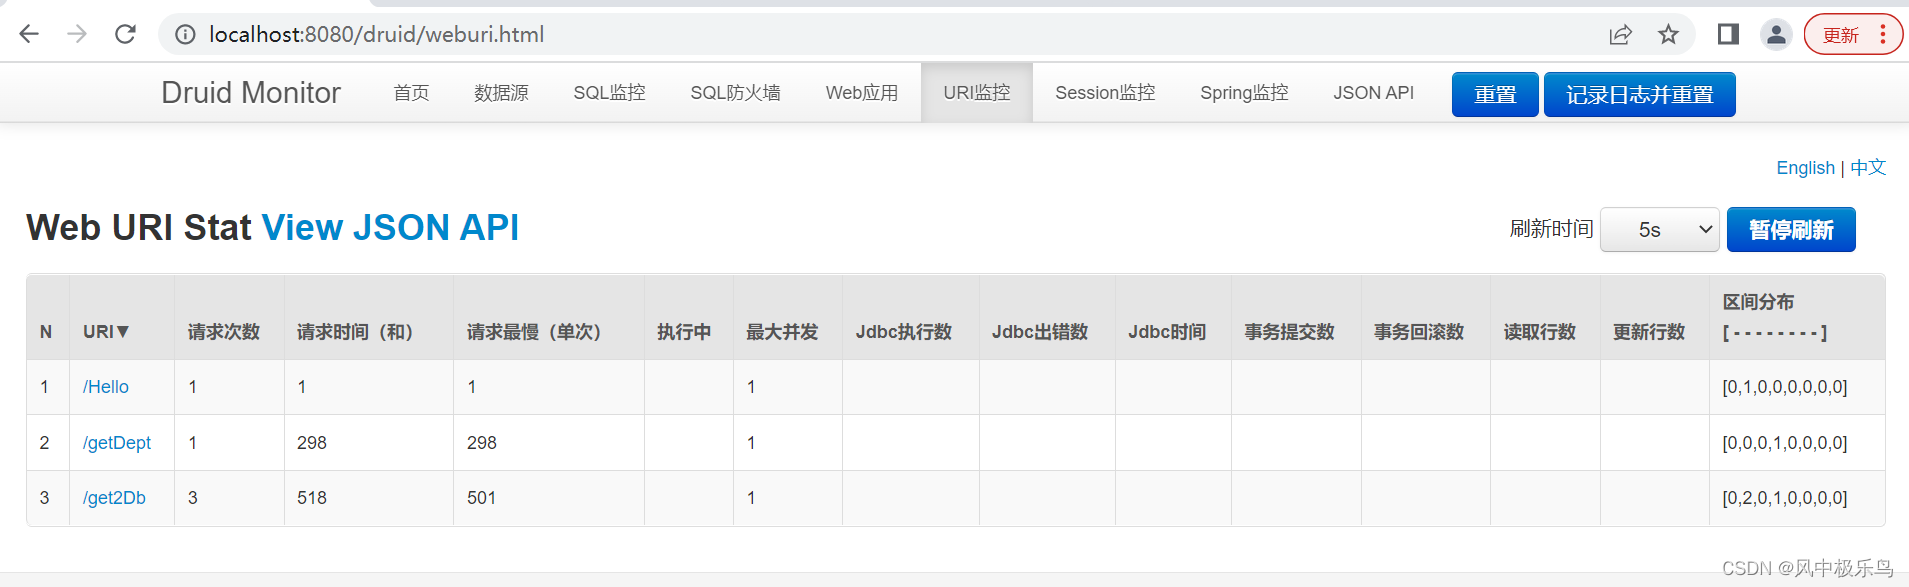 可以看到,普通的监控都是可以的,但是,数据源监控有问题,sql监控也不管用 。如果是单数据源的话,就没有这些问题。因此,还需要改进。具体怎么整,下一篇接着说。循序渐渐,不要嫌啰嗦。
最后
以上就是漂亮小土豆最近收集整理的关于【03】idea搭建SpringBoot服务demo:集成mybaits+knief4j+netty-socketio的全部内容,更多相关【03】idea搭建SpringBoot服务demo内容请搜索靠谱客的其他文章。


发表评论 取消回复