opencv教程(三)轮廓检测c++
边缘检测函数
1)c++:void findContours( InputOutputArray image, OutputArrayOfArrays contours,int mode, int method, Point offset = Point());
2)c++:void findContours( InputOutputArray image, OutputArrayOfArrays contours,OutputArray hierarchy,int mode, int method, Point offset = Point());
函数解析:image输入图像,8位单通道二值图像;contours为检测到的轮廓,每一个轮廓都在向量中;hierarchy为包含图像拓扑结构的信息;mode为可选获取轮廓的方法,常用的有CV_RETR_EXTERNAL,CV_RETR_LIST为检测所有轮廓的不包含继承关系,CV_RETR_TREE为检测所有轮廓的包含继承关系,CV_RETR_CCOMP为检测所有轮廓,但是仅仅建立两层包含关系;method为轮廓近似方法,参数设置为CV_CHAIN_APPROX_NONE表示把轮廓上所有的点存储,CV_CHAIN_APPROX_SIMPLE表示只存储水平,垂直及对角直线的起始点;offset为可选的偏移量。
Canny:边缘检测算子,边缘检测步骤:1.消除噪声2.计算梯度幅度与方向3.非极大值抑制4.用滞后阈值算法求解图像边缘
Canny函数
c++:void Canny( InputArray image, OutputArray edges,double threshold1, double threshold2,int apertureSize = 3, bool L2gradient = false );
函数解析:image为输入函数,单通道8bit;edges为输出图像,与输入同类型同尺寸;threshold1为第一滞后过程阈值;threshold2为第二滞后过程阈值;apertureSize为索贝尔操作的尺寸因子;L2gradient为标志位,表示是否使用L2范数来计算图像梯度大小。
代码示例
#include<opencv2/core/core.hpp>
#include<opencv2/imgproc/imgproc.hpp>
#include<opencv2/highgui/highgui.hpp>
#include<iostream>
using namespace cv;
using namespace std;

int main(){
    Mat img;
    Mat img_gray;
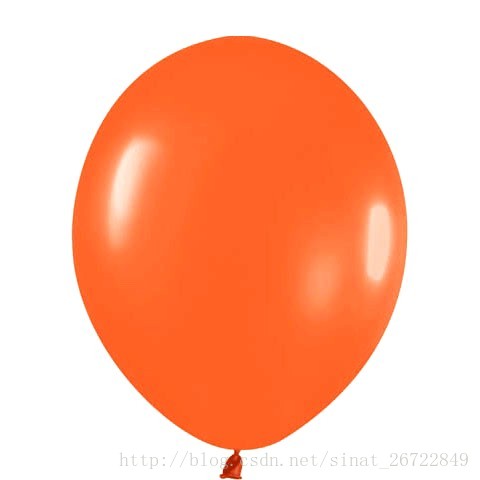
    img = imread("ball.jpg");
    cvtColor(img, img_gray, CV_BGR2GRAY);
    vector<vector<Point>> contours;
    Mat img_output;
    //用canny算子检测边缘
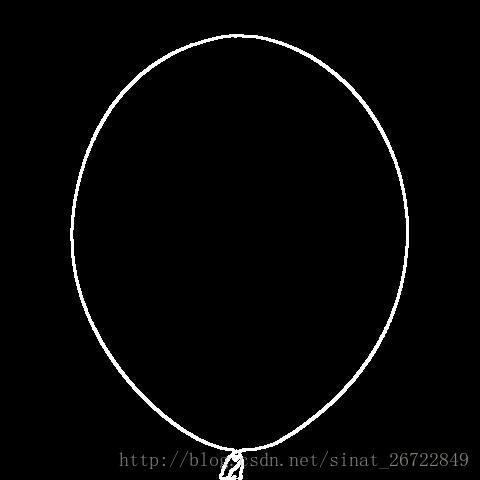
    Canny(img_gray,img_output,100,200,3);
    imshow("canny", img_output);
    findContours(img_output, contours, CV_RETR_TREE, CV_CHAIN_APPROX_SIMPLE);
    //mat::zeros返回一个特定大小和类型的零数组
    Mat drawing= Mat::zeros(img_output.size(), CV_8UC3);
    for (int i = 0; i < contours.size(); i++){
        drawContours(drawing, contours, i, Scalar(255.0, 255.0, 255.0), 2, 8);
    }
    imshow("contours", drawing);
    waitKey(0);
    return 0;

}

承接上个教程,轮廓检测(检测行驶的车辆)
#include<opencv2/core/core.hpp>
#include<opencv2/imgproc/imgproc.hpp>
#include<opencv2/highgui/highgui.hpp>
#include<iostream>
using namespace cv;
using namespace std;

int main(){
    VideoCapture capVideo;
    Mat frame_1;
    Mat frame_2;
    Mat frame_difference;
    Mat frame_threshold;
    Point crossingLine[2];
    capVideo.open("CarsDrivingUnderBridge.mp4");

    if (!capVideo.isOpened()){
        cout << "Failed to open the video" << endl;
        return -1;
    }

    while (true){
        capVideo.read(frame_1);
        if (frame_1.empty()) break;
        capVideo.read(frame_2);

        cvtColor(frame_1, frame_1, CV_BGR2GRAY);
        cvtColor(frame_2, frame_2, CV_BGR2GRAY);
        //高斯滤波,输入像素点与高斯内核进行卷积,卷积和当作输出像素值。size(,,)用于定义内核大小
        GaussianBlur(frame_1, frame_1, Size(5, 5), 0);
        GaussianBlur(frame_2, frame_2, Size(5, 5), 0);
        Calculates the per-element absolute difference between two arrays or between an array and a scalar.
        absdiff(frame_1, frame_2, frame_difference);
        threshold(frame_difference, frame_threshold, 30, 255.0, CV_THRESH_BINARY);
        imshow("threshold", frame_threshold);
        //Returns a structuring element of the specified size and shape for morphological operations.
        cv::Mat structuringElement3x3 = cv::getStructuringElement(cv::MORPH_RECT, cv::Size(3, 3));
        cv::Mat structuringElement5x5 = cv::getStructuringElement(cv::MORPH_RECT, cv::Size(5, 5));
        cv::Mat structuringElement7x7 = cv::getStructuringElement(cv::MORPH_RECT, cv::Size(7, 7));
        cv::Mat structuringElement15x15 = cv::getStructuringElement(cv::MORPH_RECT, cv::Size(15, 15));

        for (unsigned int i = 0; i < 2; i++) {
            //Dilates(扩展) an image by using a specific structuring element.
            cv::dilate(frame_threshold, frame_threshold, structuringElement5x5);
            cv::dilate(frame_threshold, frame_threshold, structuringElement5x5);
            cv::erode(frame_threshold, frame_threshold, structuringElement5x5);
        }
        std::vector<std::vector<cv::Point> > contours;
        Mat frame_thresholdCopy = frame_threshold.clone();
        cv::findContours(frame_thresholdCopy, contours, cv::RETR_EXTERNAL, cv::CHAIN_APPROX_SIMPLE);
        cv::Mat image(frame_threshold.size(), CV_8UC3, Scalar(0.0, 0.0, 0.0));
        cv::drawContours(image, contours, -1, Scalar(255.0, 255.0, 255.0), -1);
        cv::imshow("imgContours", image);

        if (char(waitKey(1)) == 'q'){
            break;
        }
    }
    capVideo.release();
    return 0;
}
最后
以上就是清秀可乐最近收集整理的关于opencv教程(三)c++的全部内容,更多相关opencv教程(三)c++内容请搜索靠谱客的其他文章。


发表评论 取消回复