效果图
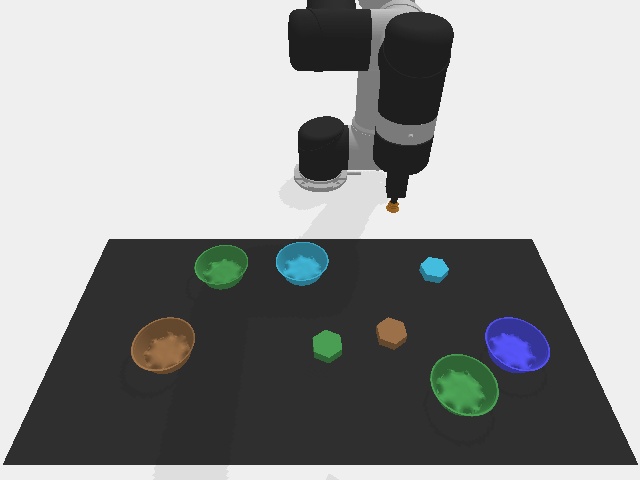
变换前
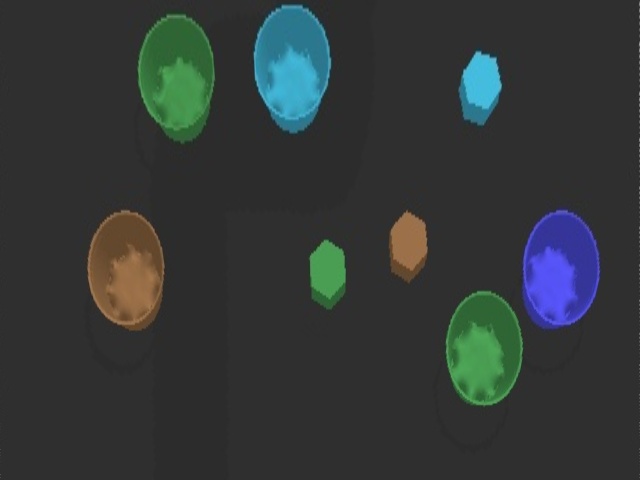
变换后
代码
import cv2
import numpy as np

img = cv2.imread('img.jpg')
h,w,c = img.shape				# 480, 640, 3

# 依序是左上、右上、右下、左下 (顺序不重要)
before = np.array([[110,240],[532,240],[637,464],[3,464]], dtype='float32')
after = np.array([[0,0],[w-1,0],[w-1,h-1],[0,h-1]], dtype='float32')

M, _ = cv2.findHomography(before, after)
res = cv2.warpPerspective(img, M, dsize=(640,480))
cv2.imwrite('img2.jpg', res)
注意h,w的顺序,不是非常直观
参考网站 https://www.wongwonggoods.com/python/python_opencv/opencv-warpperspective/
最后
以上就是瘦瘦小海豚最近收集整理的关于cv2射影变换的全部内容,更多相关cv2射影变换内容请搜索靠谱客的其他文章。
本图文内容来源于网友提供,作为学习参考使用,或来自网络收集整理,版权属于原作者所有。


发表评论 取消回复