这次来使用webview输出网页型数据。因为这样的数据好使用富文本编辑器,有各种各样的拓展。
上代码:
package controller.hzl.com.testcall;

import android.content.Intent;
import android.support.v7.app.AppCompatActivity;
import android.os.Bundle;
import android.webkit.WebView;
import android.webkit.WebViewClient;
import android.widget.Toast;

public class MainActivity extends AppCompatActivity {

  private WebView webView;

  @Override
  protected void onCreate(Bundle savedInstanceState) {
    super.onCreate(savedInstanceState);
    setContentView(R.layout.activity_main);

    String webs = ""<!DOCTYPE html>n" +
        "<html>n" +
        "<head>n" +
        "<meta charset="utf-8">n" +
        "<title>hello tomcat</title>n" +
        "</head>n" +
        "<body>n" +
        "  <h1>1</h1>n" +
        "  <p>2</p>" +
        "tel:13800138000" +
        "</body>n" +
        "</html>"" ;

    webView = (WebView) findViewById( R.id.webview );

    //webview
    webView.loadDataWithBaseURL( null, webs , "text/html", "UTF-8", null ) ;


  }


}
页面代码:
<?xml version="1.0" encoding="utf-8"?>
<RelativeLayout xmlns:android="http://schemas.android.com/apk/res/android"
  xmlns:tools="http://schemas.android.com/tools"
  android:layout_width="match_parent"
  android:layout_height="match_parent"
  android:fitsSystemWindows="true"
  tools:context=".MainActivity">

  <WebView
    android:id="@+id/webview"
    android:layout_width="match_parent"
    android:layout_height="match_parent">
  </WebView>

</RelativeLayout>
这里提示一点,如果想要拿网页进行显示的话,需要加一行代码,不然显示不了。
  </application>
  <uses-permission android:name="android.permission.INTERNET" />
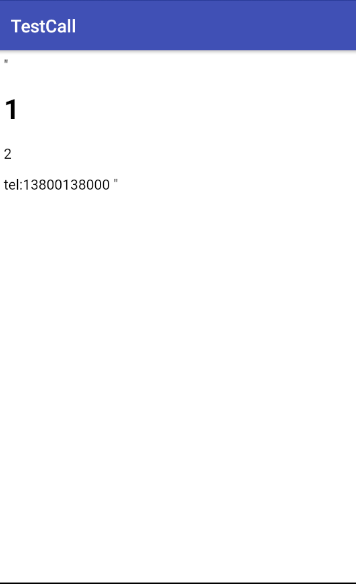
代码完毕,放结果:
以上就是本文的全部内容,希望对大家的学习有所帮助,也希望大家多多支持靠谱客。
最后
以上就是斯文发卡最近收集整理的关于Android webView如何输出自定义网页的全部内容,更多相关Android内容请搜索靠谱客的其他文章。
本图文内容来源于网友提供,作为学习参考使用,或来自网络收集整理,版权属于原作者所有。


发表评论 取消回复