RabbitMQ是什么及如何安装就不再赘述,百度一下就知道了,只是在配置方面要多加注意。
话不多说,先直接上一个简示例代码
发送端:
            ConnectionFactory factory = new ConnectionFactory { HostName = "hostname", UserName = "root", Password = "root001", VirtualHost = "hostserver" };
                       using (IConnection conn = factory.CreateConnection())
            {                using (IModel im = conn.CreateModel())
                {
                    im.ExchangeDeclare("rabbitmq_route", ExchangeType.Direct);
                    im.QueueDeclare("rabbitmq_query", false, false, false, null);
                    im.QueueBind("rabbitmq_query", "rabbitmq_route", ExchangeType.Direct, null);
                    for (int i = 0; i < 1000; i++)
                    {                        byte[] message = Encoding.UTF8.GetBytes("Hello Lv");
                        im.BasicPublish("rabbitmq_route", ExchangeType.Direct, null, message);
                        Console.WriteLine("send:" + i);
                    }
                }
            }登录后复制
接收端:
            ConnectionFactory factory = new ConnectionFactory { HostName = "hostname", UserName = "root", Password = "root001", VirtualHost = "hostserver" };
                       using (IConnection conn = factory.CreateConnection())
            {                using (IModel im = conn.CreateModel())
                {                    while (true)
                    {
                        BasicGetResult res = im.BasicGet("rabbitmq_query", true);
                        if (res != null)
                        {
                            Console.WriteLine("receiver:"+UTF8Encoding.UTF8.GetString(res.Body));
                        }
                    }
                }
            }登录后复制
发送端一次性发送一千条,发送过程很快,接收时相对要慢一些。

上述DEMO只限一个接收着,那相同的发送量,多个接收者会出现什么情况,添加一个新的接收端,直接复制DEMO中接收端即可。

附上运行结果:
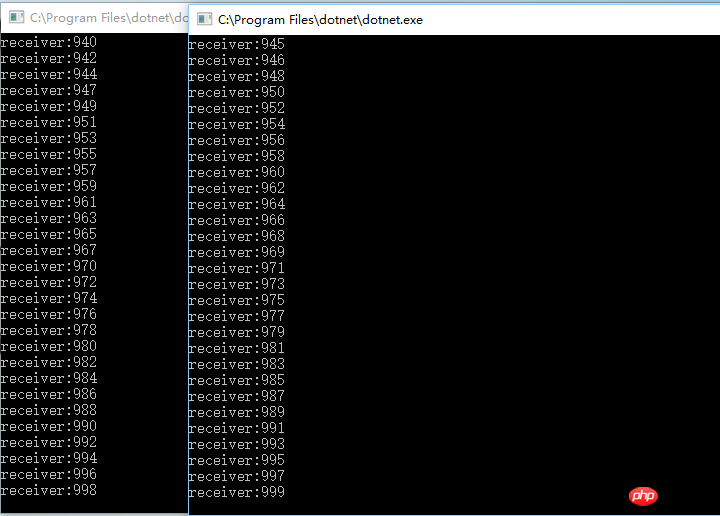
可以看到,在两个接收端同时运行时,RabbitMQ 会按顺序的分发每个消息。当每个收到确认后,会将该消息删除,然后将下一个分发到下一个接收者,主要是因为RabbitMQ的循环分发机制。
上面简单说了一下,在多个接收者时,因为循环分发的原因,消息几乎是两个接收端对分的。
那么如何将相同的消息分发到多个接收端。
对发送端代码进行修改:
            ConnectionFactory factory = new ConnectionFactory { HostName = "hostname", UserName = "root", Password = "root001", VirtualHost = "host" };
                       using (IConnection conn = factory.CreateConnection())
            {                using (IModel im = conn.CreateModel())
                {
                    im.ExchangeDeclare("rabbitmq_route_Fanout", ExchangeType.Fanout);// 路由
                    int i = 0;
                    while (true)
                    {
                        Thread.Sleep(1000);
                        ++i;
                        byte[] message = Encoding.UTF8.GetBytes(i.ToString());
                        im.BasicPublish("rabbitmq_route_Fanout", "", null, message);
                        Console.WriteLine("send:" + i.ToString());
                    }
                }
            }登录后复制
与上种方式比较,会发现在代码注释后面少两段代码,在设置了Fanout方式后,不需要再指定队列名称。停一秒是为了方便看结果,以免刷新太快。
再来看看接收端代码:
            ConnectionFactory factory = new ConnectionFactory { HostName = "hostname", UserName = "root", Password = "root001", VirtualHost = "host" };
                      using (IConnection conn = factory.CreateConnection())
            {                using (IModel im = conn.CreateModel())
                {
                    im.ExchangeDeclare("rabbitmq_route_Fanout", ExchangeType.Fanout);
                    var queueOk = im.QueueDeclare();//1
                    im.QueueBind(queueOk.QueueName, "rabbitmq_route_Fanout", "");//2
                    var consumer = new QueueingBasicConsumer(im);//3
                    im.BasicConsume(queueOk.QueueName, true, consumer);//4
                    while (true)
                    {var _result = (BasicDeliverEventArgs)consumer.Queue.Dequeue();//5
                    var body = _result.Body;
                    var message = Encoding.UTF8.GetString(body);
                        Console.WriteLine("received:{0}", message);
                    }
                }登录后复制
当一个新的接收端连接时(消费者),需要一个申报一个新的队列,注释1处代码,RabbitMQ在申报队列时,如果不指定名称会自动生成一个,这还是不错的。
两个接收端时运行结果,符合预期。
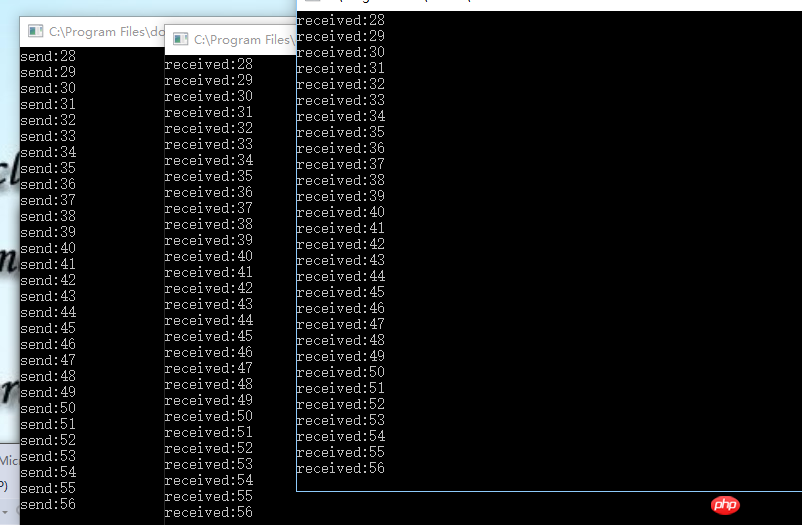
至于广播方式有什么不好之处,亲自运行下就知道了.
以上就是C#中关于RabbitMQ应用的图文代码详解 的详细内容,更多请关注靠谱客其它相关文章!

最后
以上就是温柔金鱼最近收集整理的关于C#中关于RabbitMQ应用的图文代码详解 的全部内容,更多相关C#中关于RabbitMQ应用的图文代码详解内容请搜索靠谱客的其他文章。


发表评论 取消回复