- 在此只关注v3的安装及使用,如果想了解v2可移步到其官网:https://element.eleme.io/#/zh-CN/component/installation
- v3官网:https://element-plus.org/zh-CN/guide/installation.html
- 使用element ui时vue2和vue3的区别
- 安装命令
main.js中引入文件有所不同
使用icon时v2不需要安装,v3需安装
v2和v3在vue文件中使用icon时编写方式有所不同
icon在v2中使用的是字体,v3中使用的是svg
安装Element ui
- 使用npm安装
npm install element-plus --save
icon图标需安装
npm install @element-plus/icons-vue
- 使用
在main.js中全局转入
import elementPlus from 'element-plus'
import 'element-plus/dist/index.css'
import '@/assets/css/index.scss'
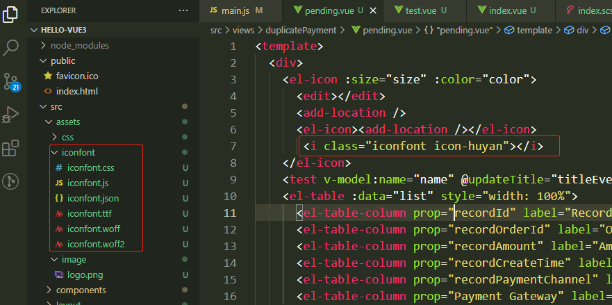
//引入外部矢量图
import '@/assets/iconfont/iconfont.css'
const app = createApp(App);
app.config.globalProperties.axios = axios;
app
.use(elementPlus)
.mount('#app');
按照Element ui中规定标签的写法,正常编写代码
vue文件使用icon图标
<el-icon :size="size" :color="color"> <edit></edit> </el-icon>
或
<edit></edit>
<add-location/>
//矢量图
<i class="iconfont icon-huyan"></i>
//引入需要使用的icon(svg)
import {Edit,AddLocation} from '@element-plus/icons-vue'
components:{ Edit, AddLocation }
项目中引入矢量图
下载
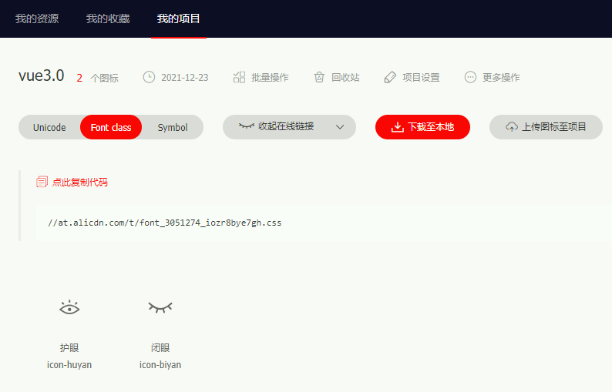
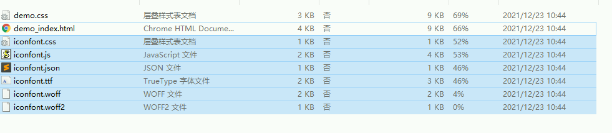
- 使用
将这六个文件拷贝到项目中,在main.js中引入后再进行使用
到此这篇关于vue3.0安装Element ui及矢量图使用的文章就介绍到这了,更多相关vue3.0安装Element ui内容请搜索靠谱客以前的文章或继续浏览下面的相关文章希望大家以后多多支持靠谱客!
最后
以上就是体贴柠檬最近收集整理的关于vue3.0安装Element ui及矢量图使用方式的全部内容,更多相关vue3内容请搜索靠谱客的其他文章。
本图文内容来源于网友提供,作为学习参考使用,或来自网络收集整理,版权属于原作者所有。


发表评论 取消回复