一、CentOS简介
CentOS是Linux的发行版之一,它安全、稳定、高效,是我最喜欢的Linux发行版之一。CentOS根据Red Hat Enterprise Linux开放源代码编译而成,与RedHat Linux并没有什么本质上的差别。但Red Hat Enterprise Linux是商业软件,使用必须向RedHat公司付费,而CentOS并没有任何使用上的限制。如果你需要企业级操作系统的稳定性,又不想付费去获得服务支持,CentOS绝对会是你最好的选择。
二、CentOS下载
目前CentOS最新版本是6.2,下载地址:
32位: http://isoredirect.centos.org/centos/6/isos/i386/
64位: http://isoredirect.centos.org/centos/6/isos/x86_64/
三、CentOS安装步骤
下载完成后得到两个安装镜像文件(CentOS-6.2-i386-bin-DVD1、CentOS-6.2-i386-bin-DVD2),安装系统只用到第一个镜像文件(CentOS-6.2-i386-bin-DVD1),另一个镜像文件(CentOS-6.2-i386-bin-DVD2)是附带的软件包。为了方便演示,我用VMware workstation 8来进行安装。具体的硬件配置
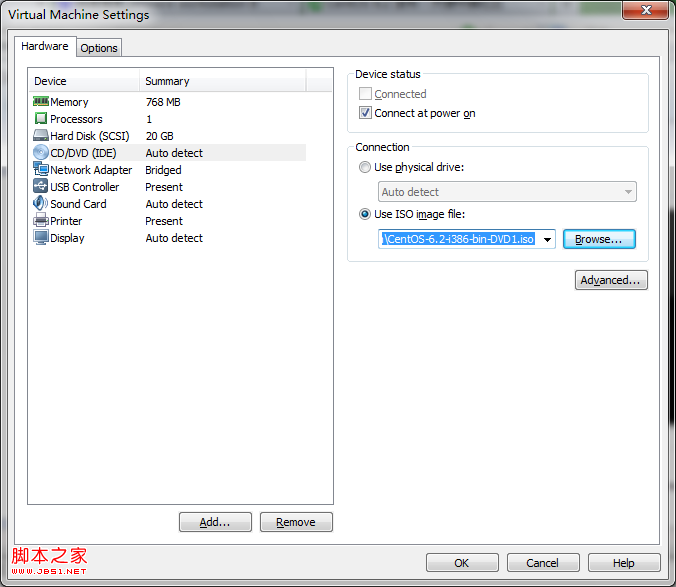
加载镜像文件,启动电源开始安装CentOS 6.2。
进入欢迎界面
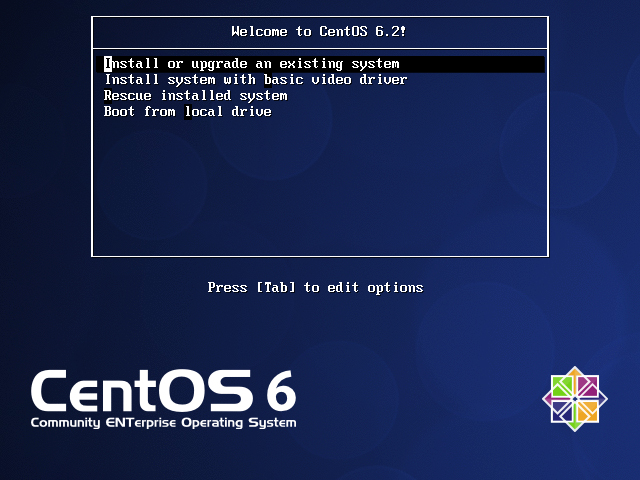
选择第一项即可进行安装(直接回车),各项具体含义:
安装或升级现有系统
用基本的显卡驱动安装系统
进入系统修复模式
硬盘启动
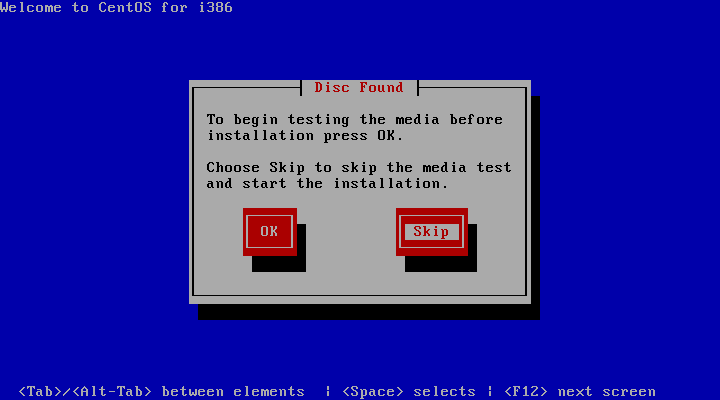
是否对安装镜像进行测试 (直接就过即可)
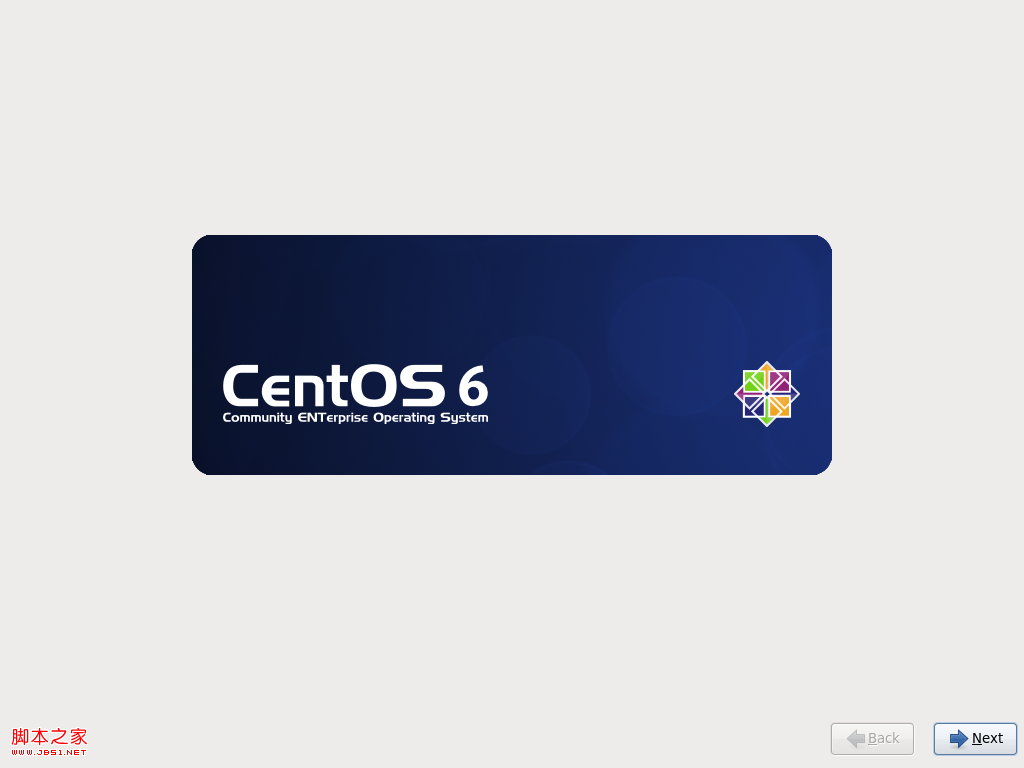
开始设置CentOS 6.2 (直接Next)
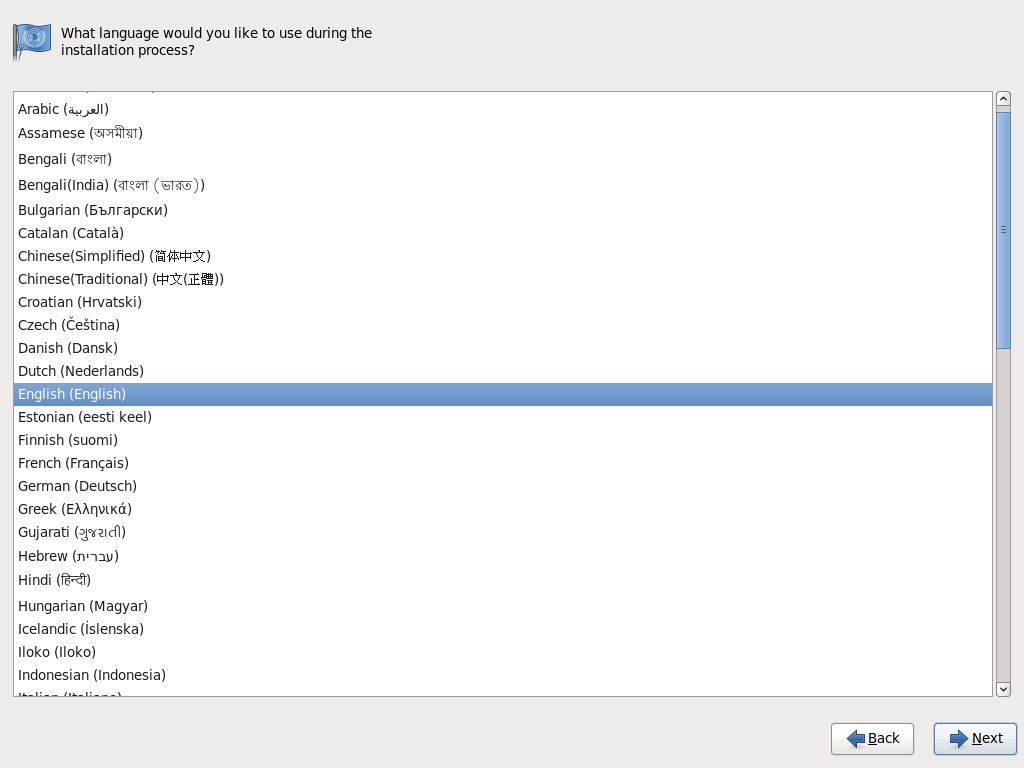
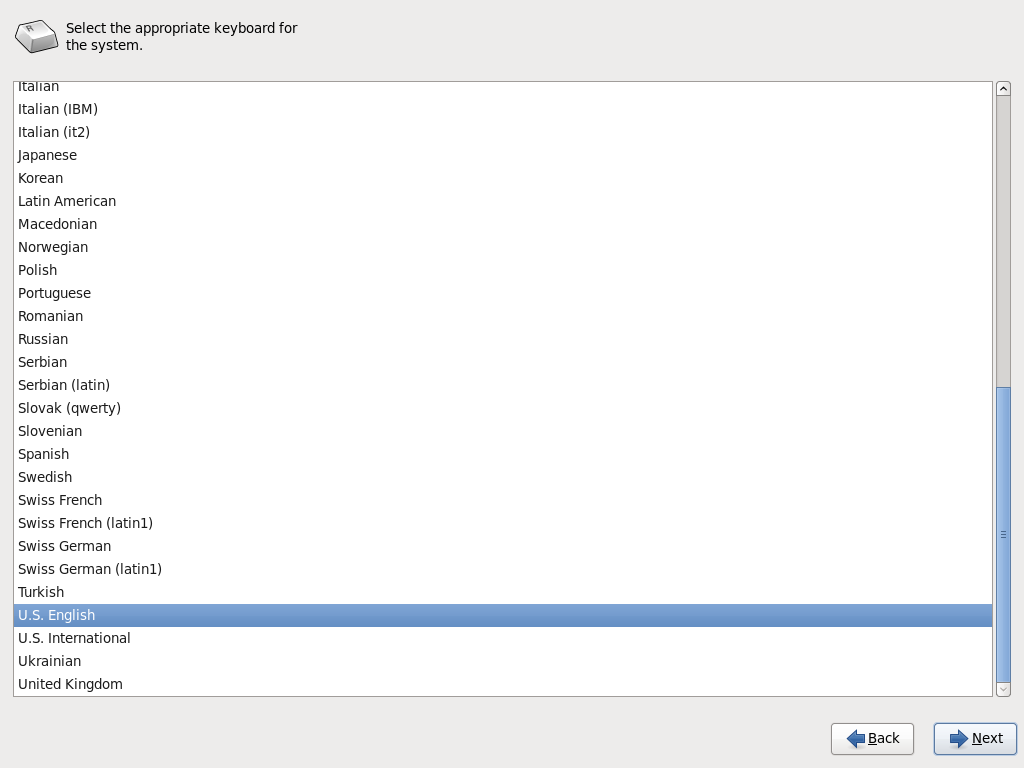
设置安装过程显示的语言、键盘类型(这里我选择英语,当然也可以选择中文。键盘类型保持默认即可)
选择存储设备类型(默认选第一项:基本存储设备)

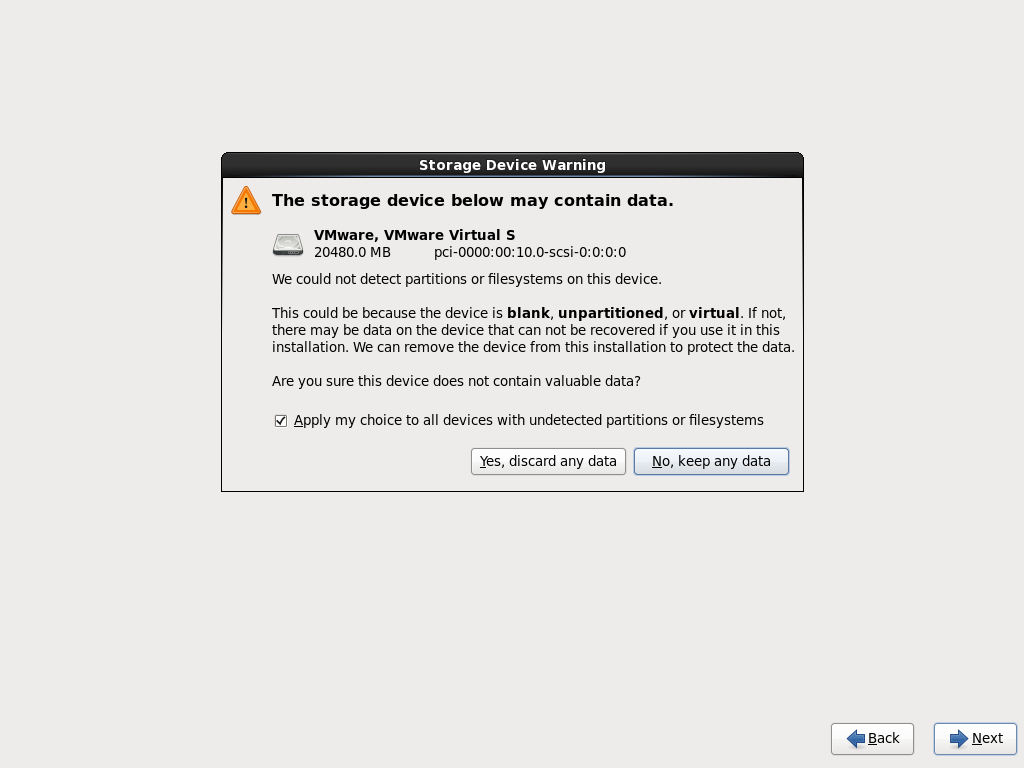
格式化硬盘(选 Yes,discart any data)
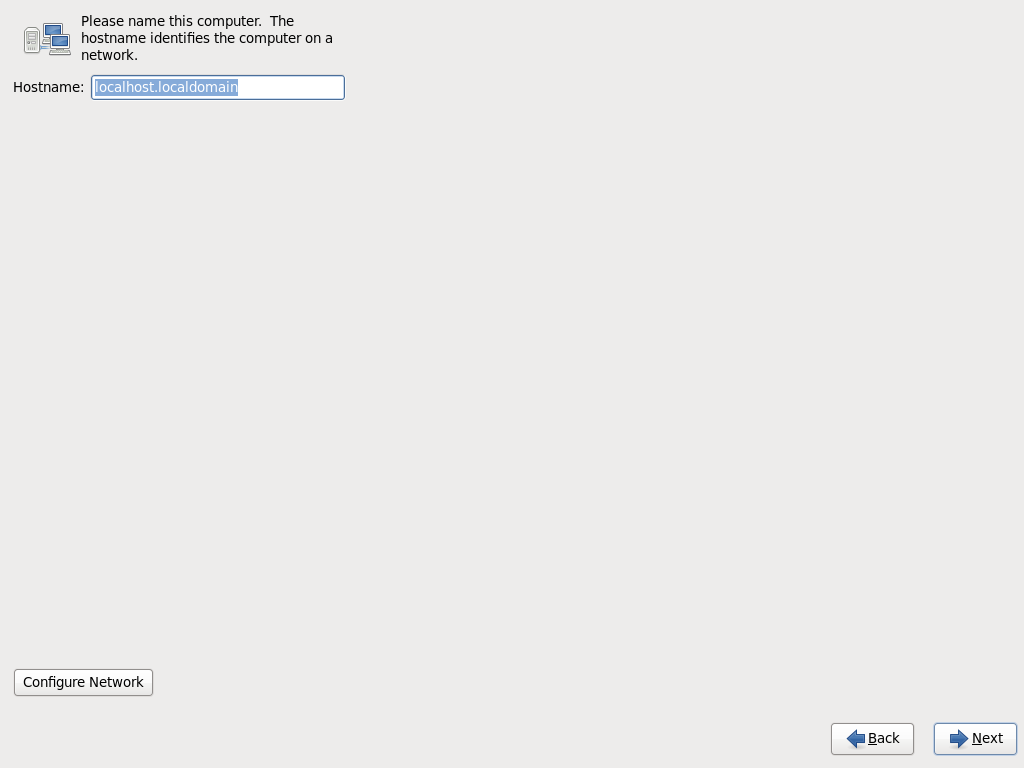
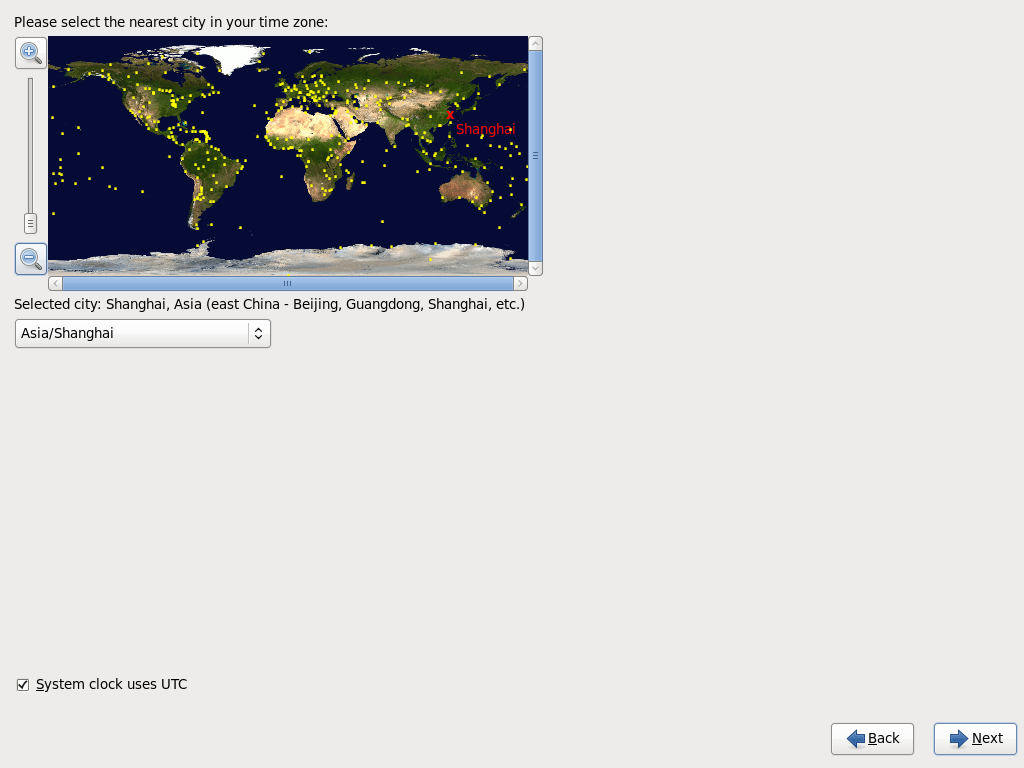
设置计算机名(随便起个名字就行,如果懒得起,默认吧) 选择时区(选亚洲/上海就行了)
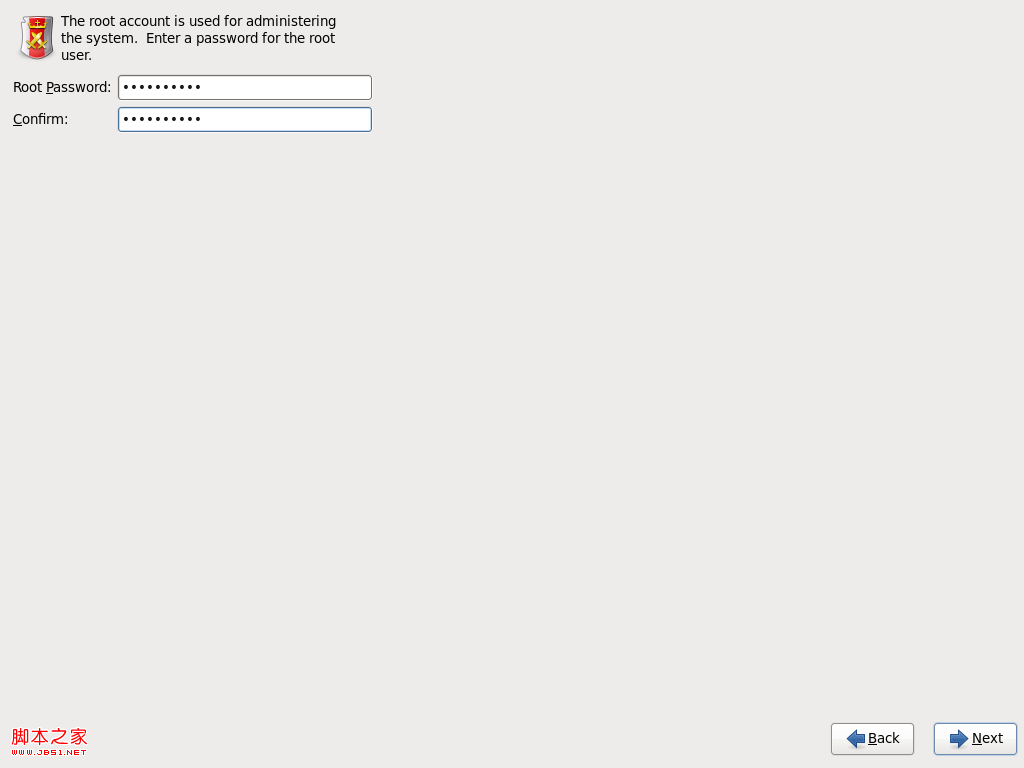
设置root用户密码
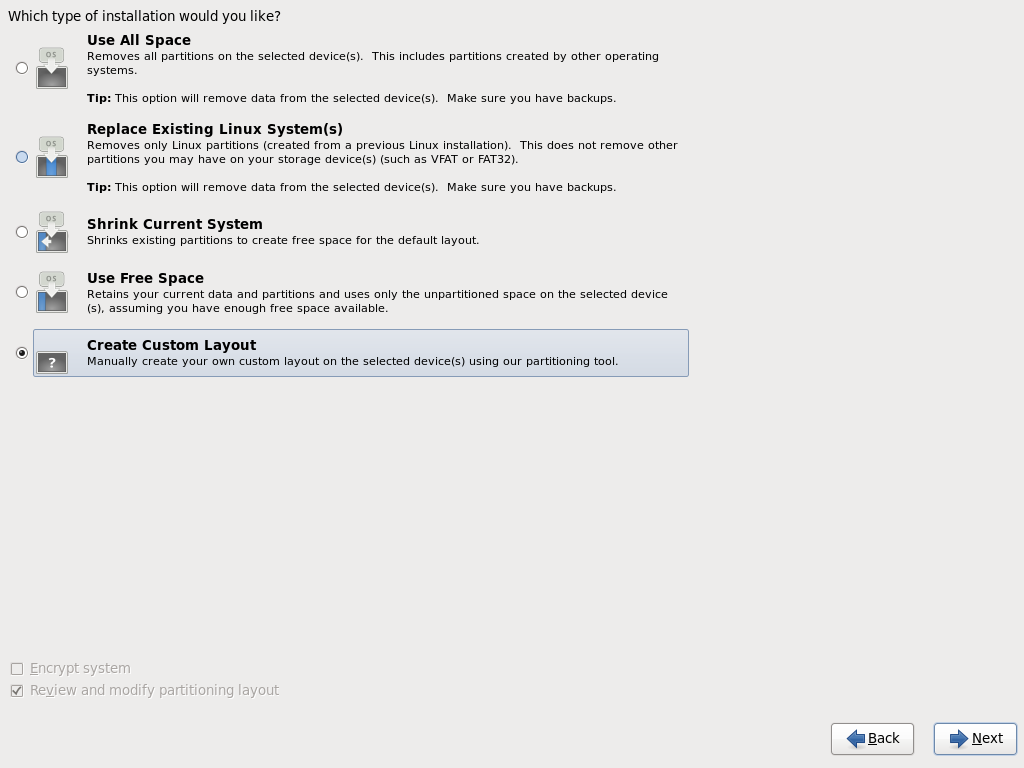
选择安装(分区)方式(手动设置挂载分区,选Create Custom Layout)
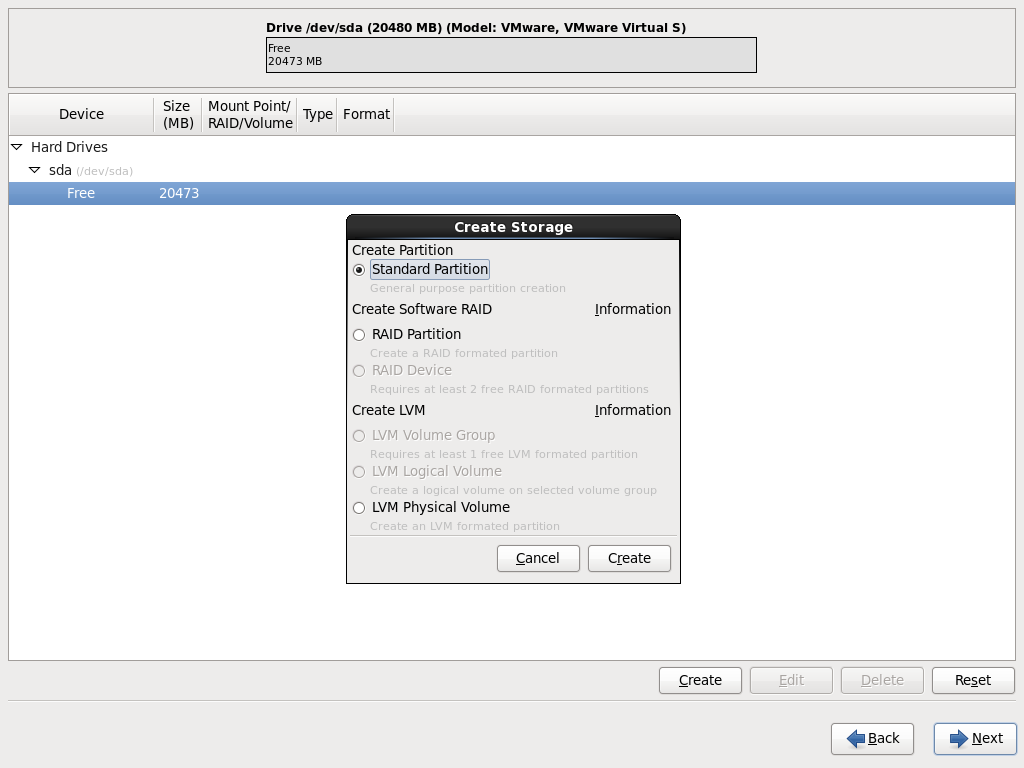
挂载分区 (点Create创建一个分区,默认选择Stantard Partition(标准分区),选择挂载点、分区大小即可创建分区)
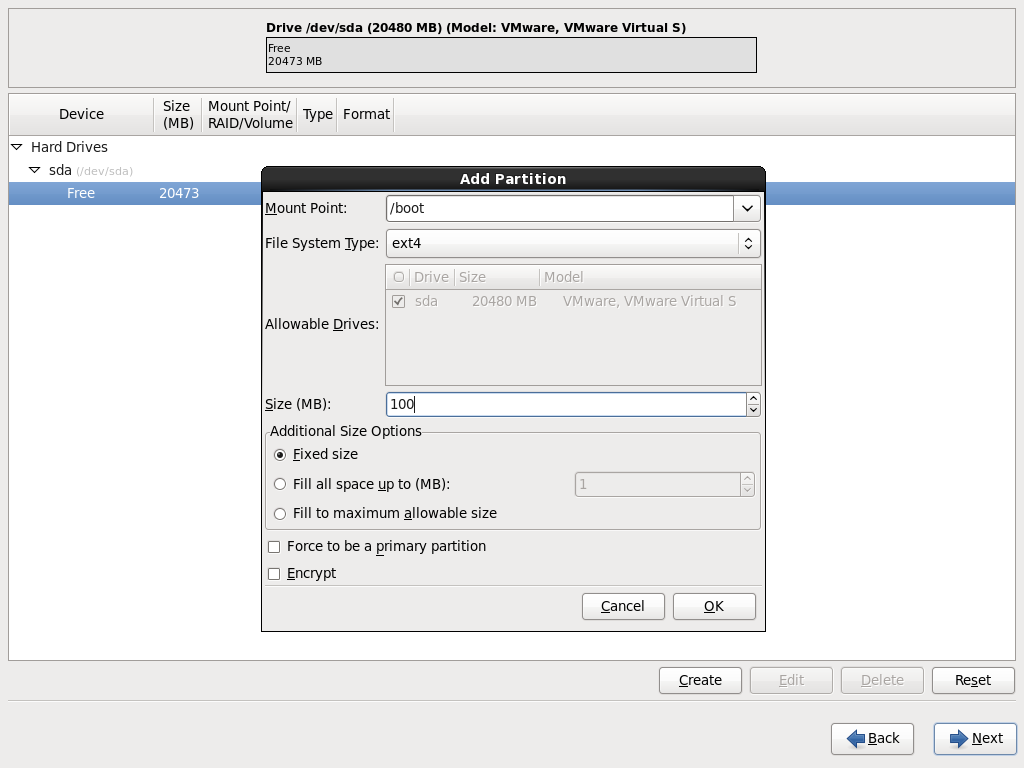
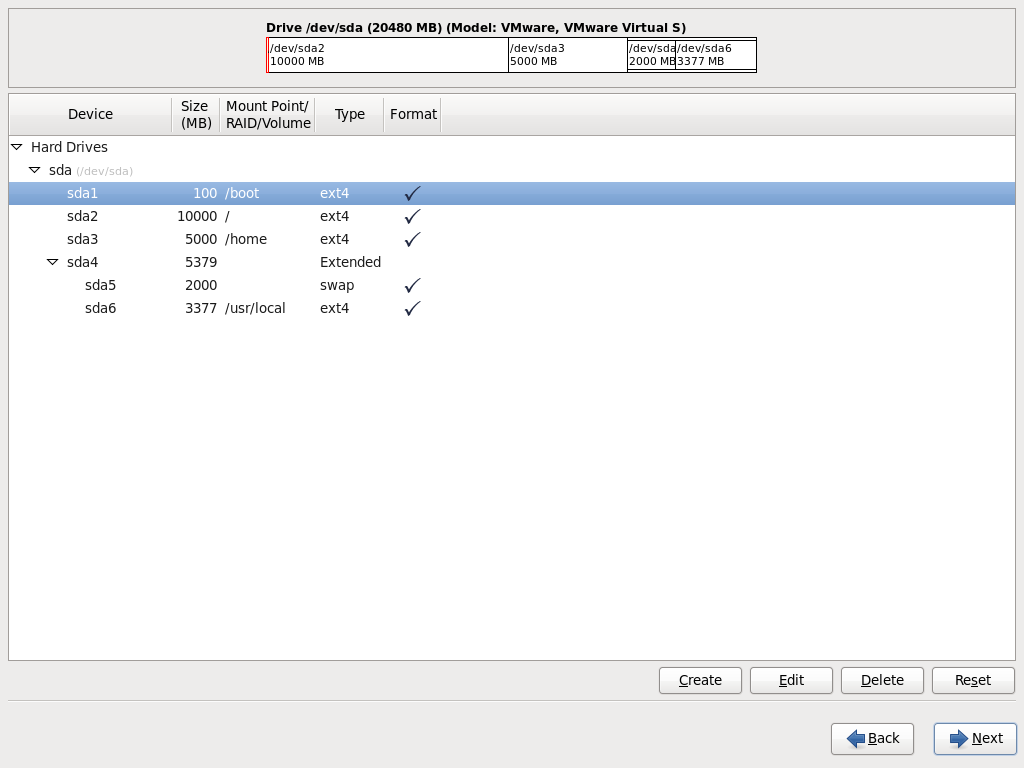
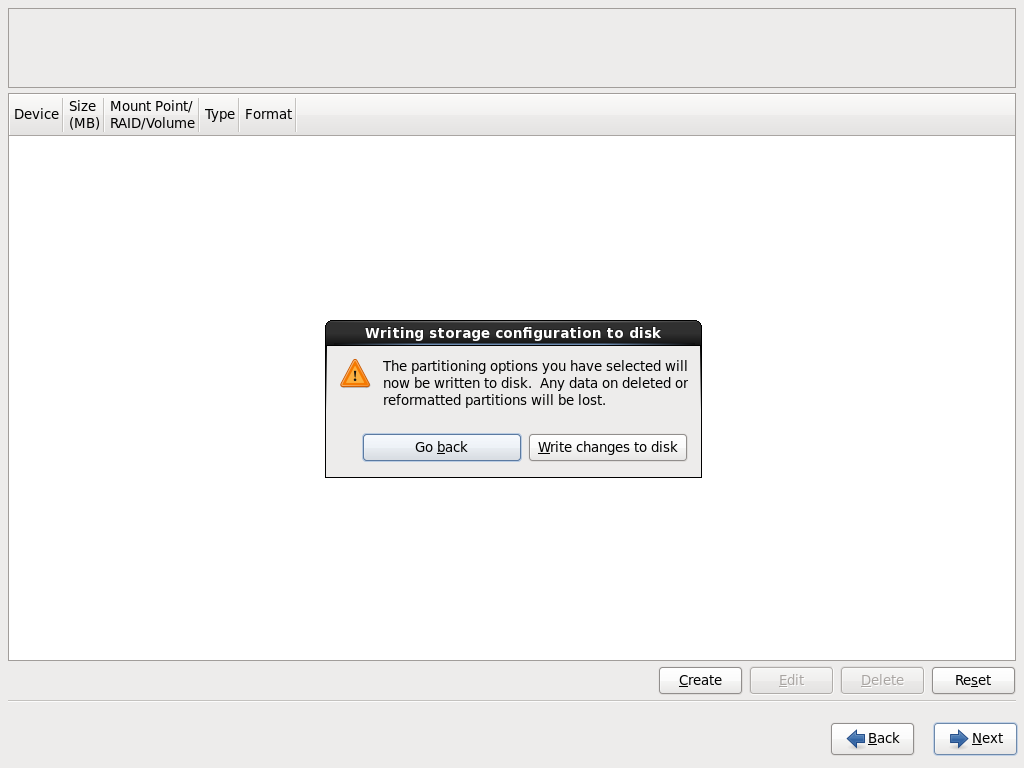
下面是我的分区方式(不同的用途可以选择不同的分区,最后不要忘记swap分区哦),点Next,选择Format(格式化),再选Write Change to disk(把分区表写入硬盘)

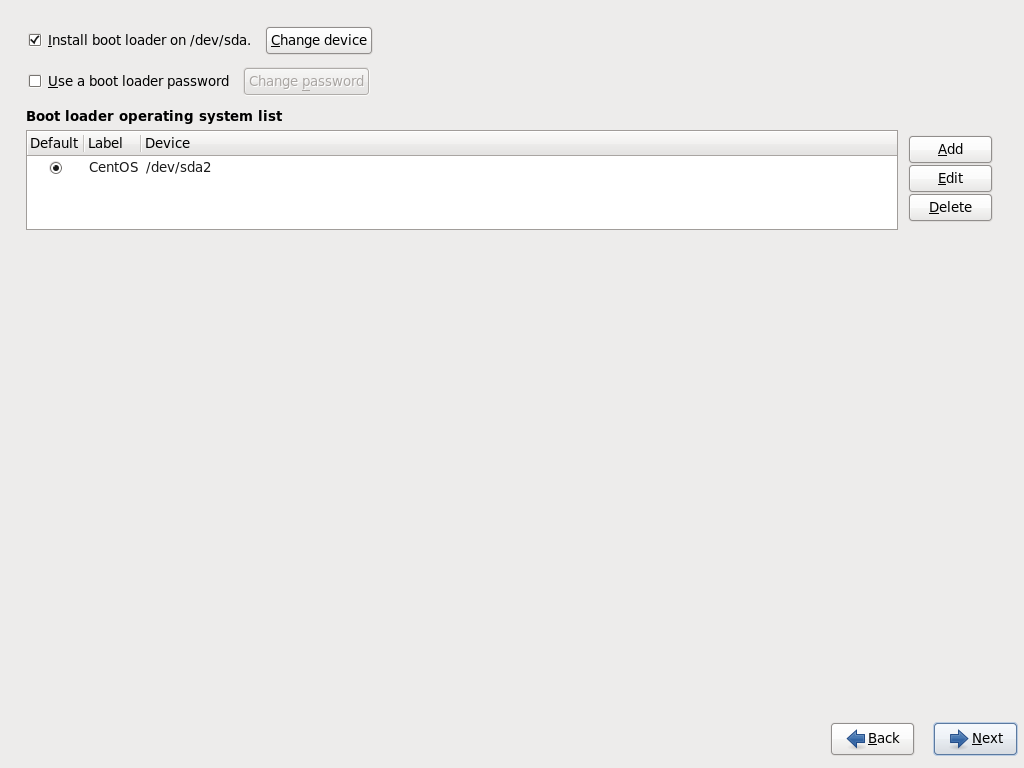
安装 装载引导程序(默认即可)
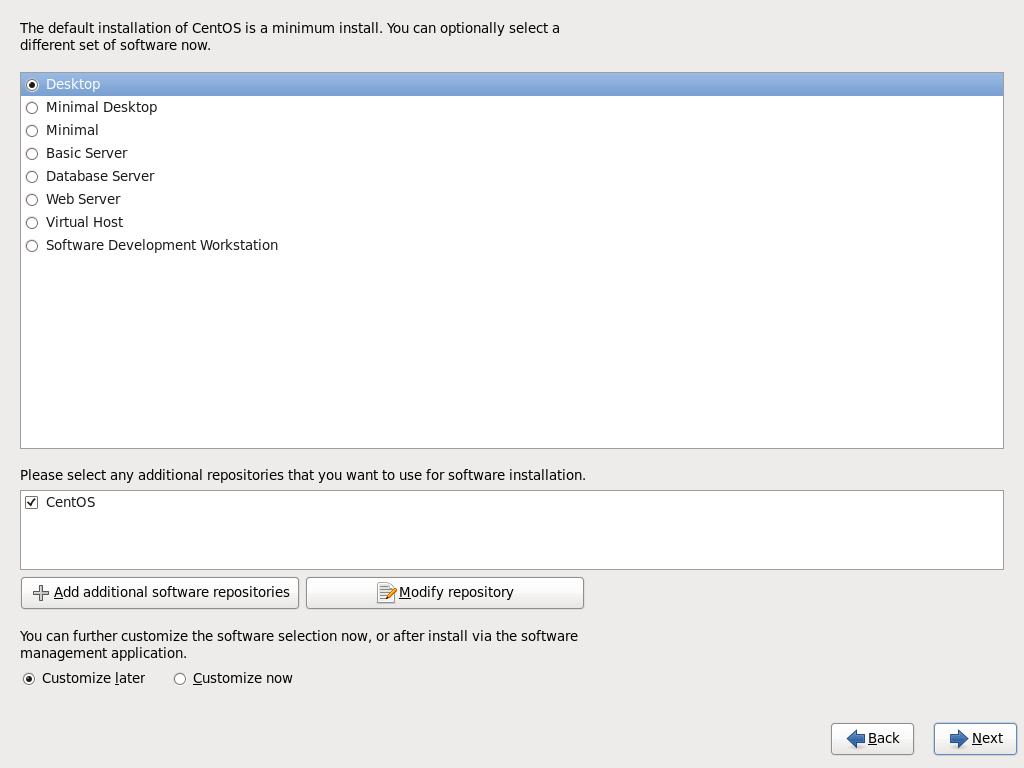
选择安装的软件(默认是最小安装,如果需要安装桌面,就选第一项Desktop),点Next就开始安装系统

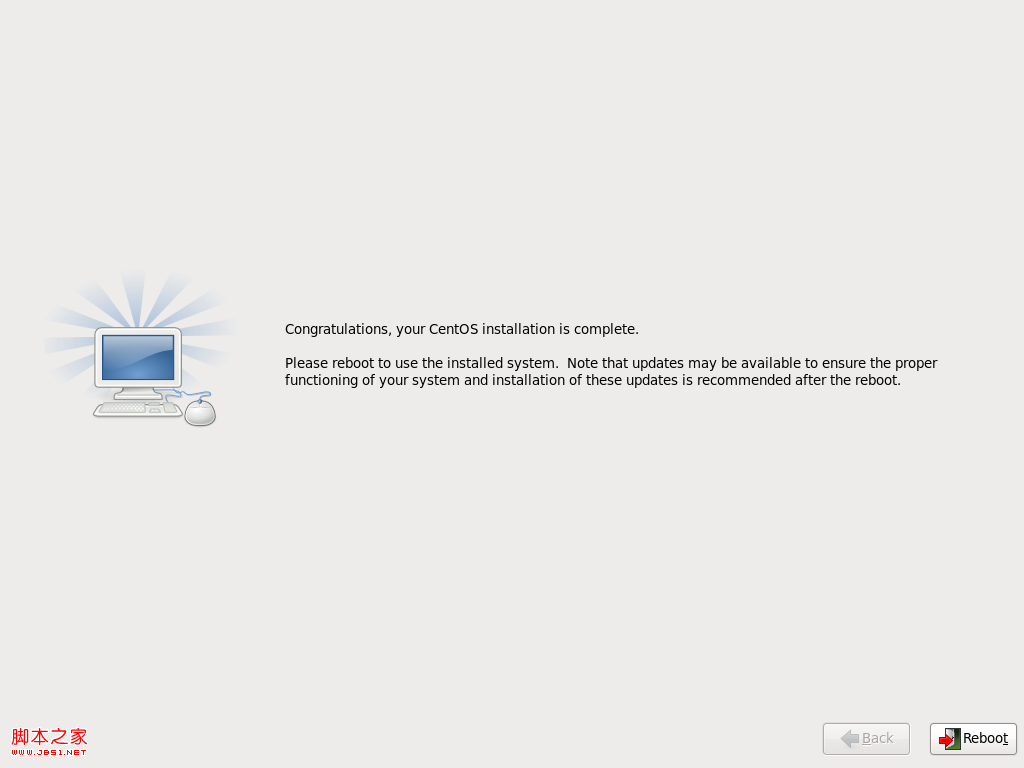
安装完成,点Reboot重新启动
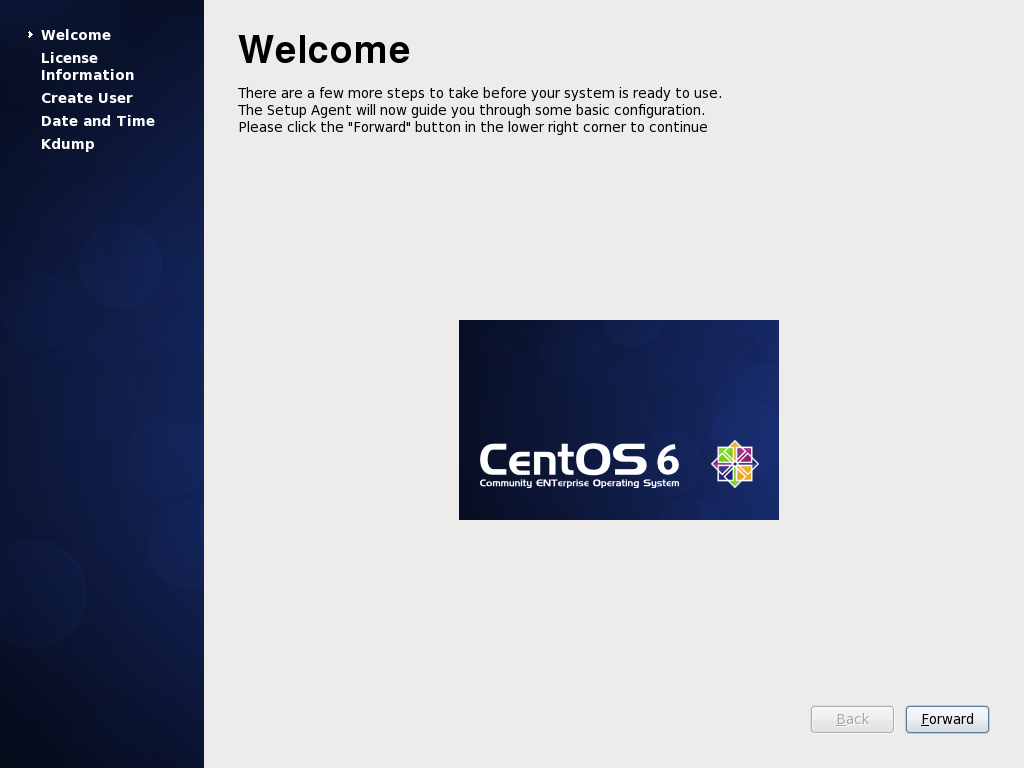
第一次启动CentOS需要对CentOS进行一些常规设置直接点Forward就行了
创建一个普通用户,Linux并不推荐用Root用户对系统就行操作,Root权限太高,误操作可能会导致系统崩溃。所以建议使用普通用户,如果需要root用户权限时再进行切换

设置系统时间

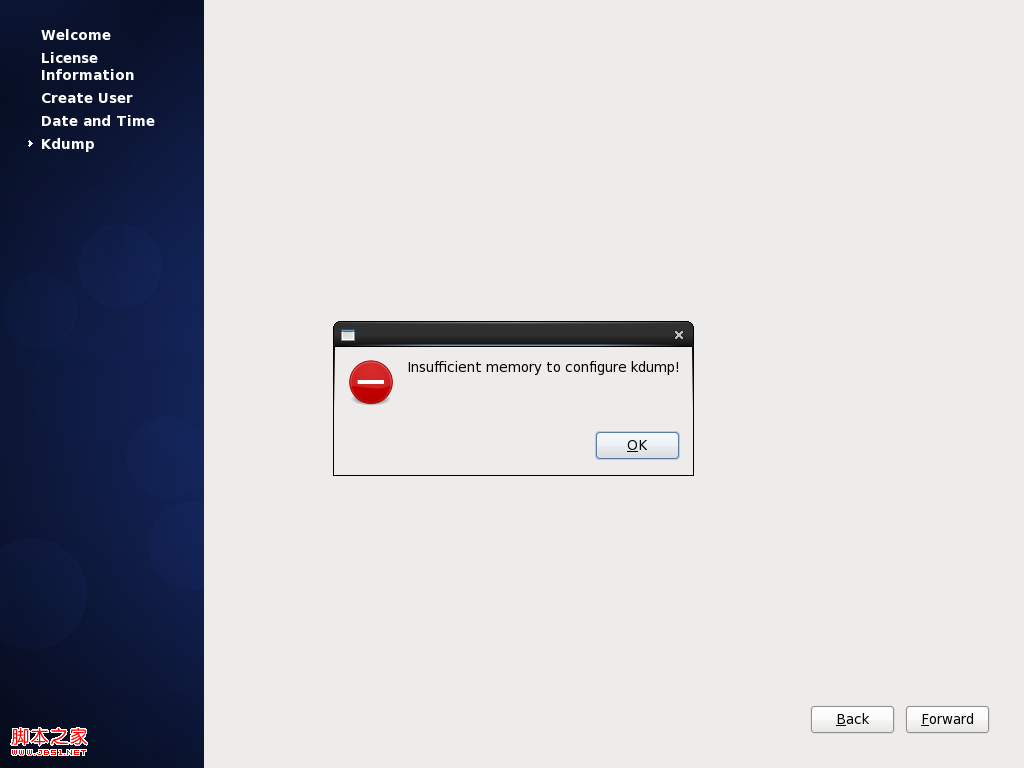
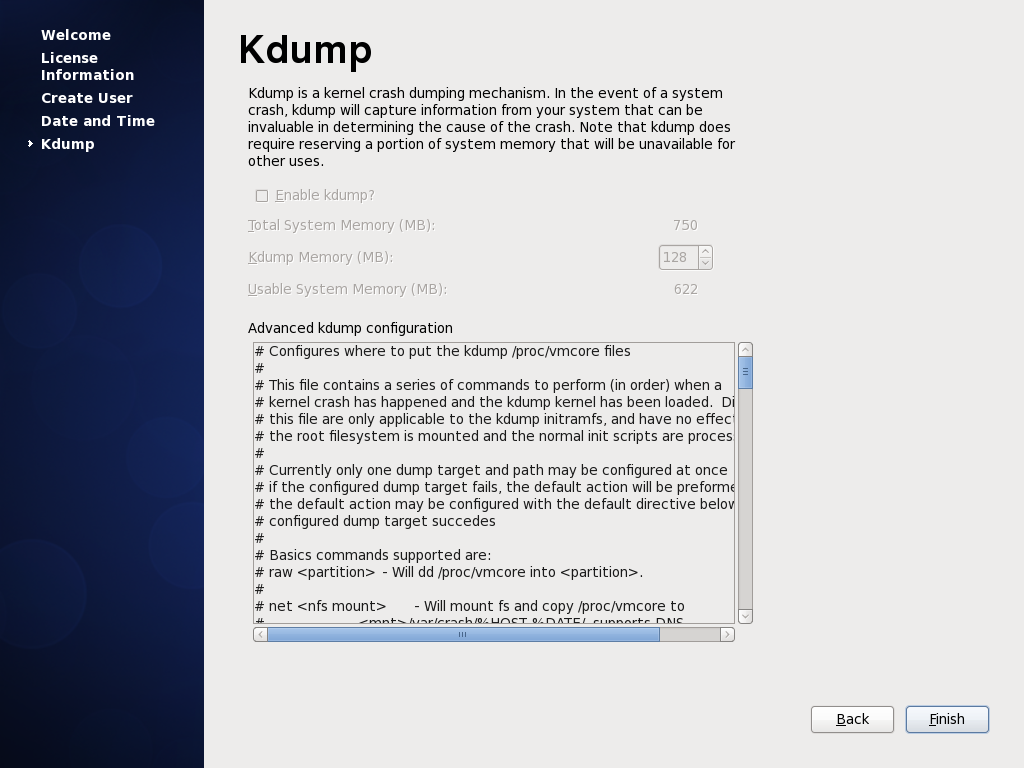
设置Kdump,这里弹出了警告,不用管。(其实我暂时用不到Kdump,所以不用设置,直接Finish)。
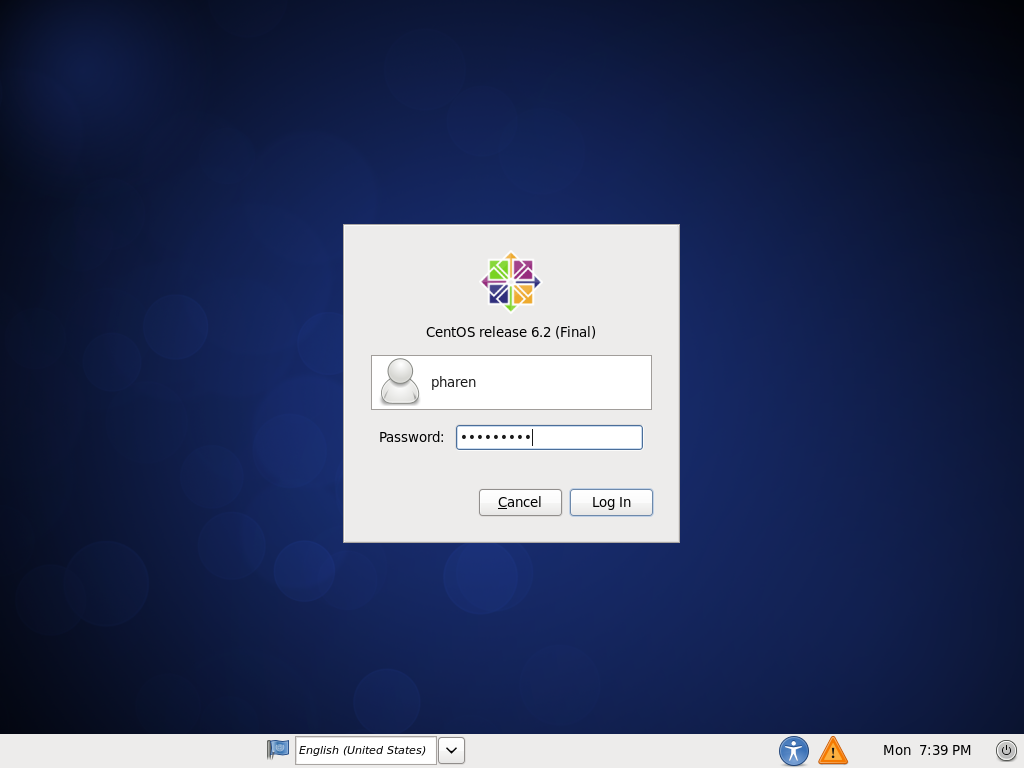
接着就到了登录页面,输入用户名、密码,进入CentOS桌面,安装完成。

最后
以上就是正直小熊猫最近收集整理的关于CentOS 6.2(32位/64位) 安装步骤图文详解的全部内容,更多相关CentOS内容请搜索靠谱客的其他文章。


发表评论 取消回复