使用服务器中的Jupyter
服务器端 jupyter设置
1. 安装jupyter
pip install jupyter
2. 生成配置文件
jupyter notebook --generate-config
3. 修改配置文件
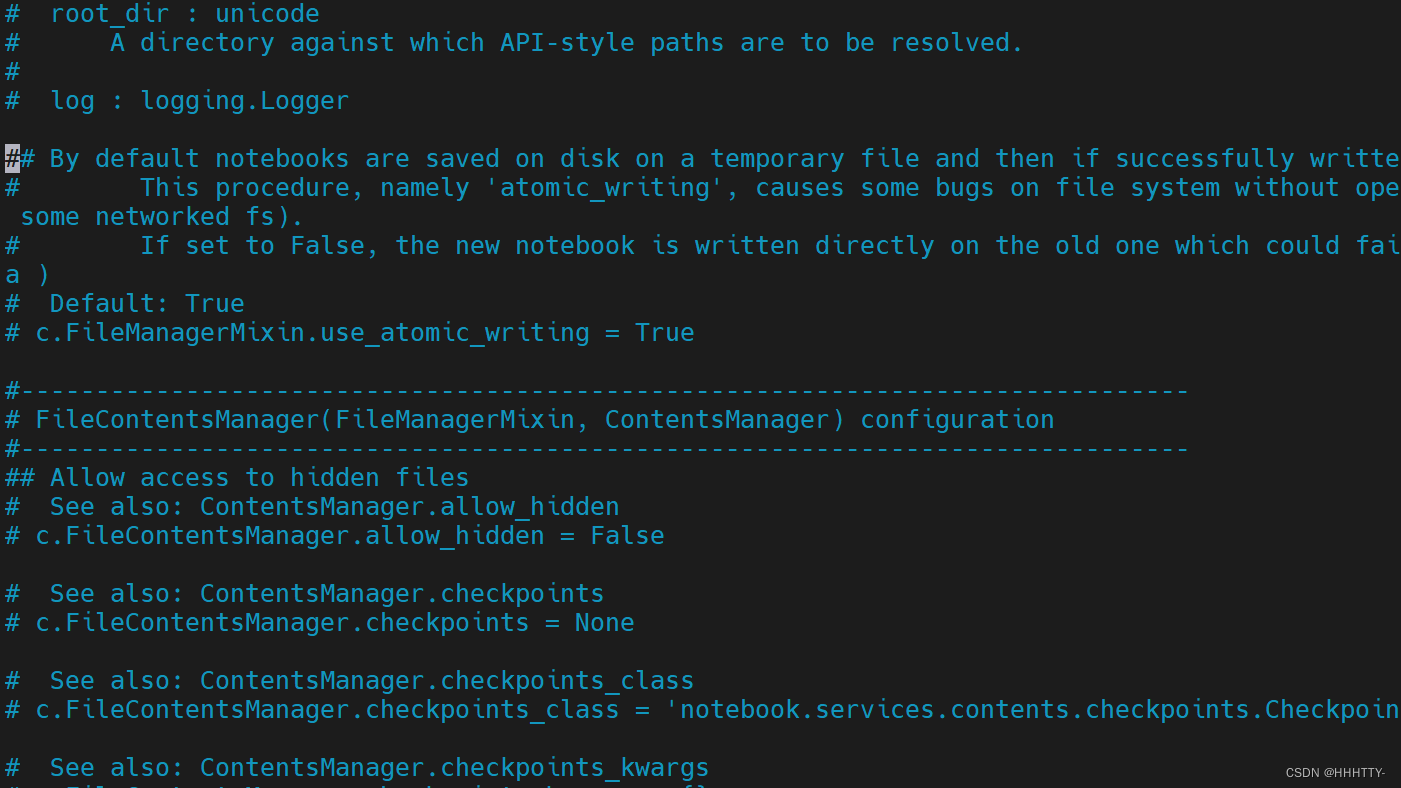
3.1 打开配置文件
vim ~/.jupyter/jupyter_notebook_config.py
- 文件内容大致如下:

3.2 修改配置文件的内容
- linux中可使用
:$进行索引定位到文件底部 - 添加以下格式的内容
c.NotebookApp.ip = '*'
c.NotebookApp.open_browser = False
c.NotebookApp.port = 8888
c.NotebookApp.allow_remote_access = True
- #允许所有IP都可访问
c.NotebookApp.ip = ‘*’- #将开启jupyter后在服务器上打开浏览器的选项设置为False
c.NotebookApp.open_browser = False- #指定访问端口
c.NotebookApp.port = 8888- #允许远程访问
c.NotebookApp.allow_remote_access = True
3.3 设置密码
jupyter notebook password
- 输出如下:

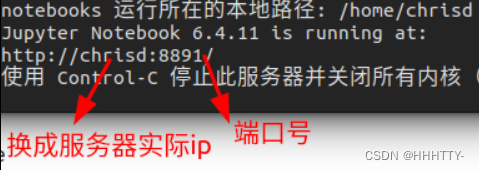
4. 启动jupyter服务
- 终端输入命令启动服务
jupyter notebook
- 如下

5. 本地浏览器访问
- 在浏览器中输入上图ip地址
- 出现:

- 输入配置时输入的密码
- 登录
6. Jupyter NoteBook 更改Kernel
jupyter notebook访问的时候
- 默认使用了anaconda的base环境
- 需要更换环境!
终端中输入如下命令
python -m ipykernel install --user --name 要添加的环境 --display-name "jupyter中显示的kernel名字"
例如
python -m ipykernel install --user --name Pytorch --display-name "Pytorch"
- 查看kernel
通过命令jupyter kernelspec list查看kernel

- 通过命令
jupyter kernelspec remove要删除的kernel删除指定Kernel
7. 其他
- 配置文件的内容
- 设置默认工作目录
c.NotebookApp.notebook_dir = '/home/deepblue/xyf_work/'
- 启用 MathJax
c.NotebookApp.enable_mathjax = True
- 将密钥写进password中
c.NotebookApp.password = '........'
- 密钥生成方法
- 进入python环境
# 键入ipython
>>> python
>>> from notebook.auth import passwd
>>> passwd()
# 输入2次密码后,复制输出的那一串字符串===》密钥
>>>exit()

Pycharm使用服务器中的Jupyter
- pycharm professional版本
- 服务器: 安装jupyter notebook(conda命令,pip命令)
- pycharm 已经远程连接服务器
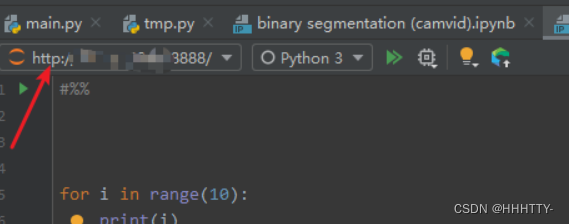
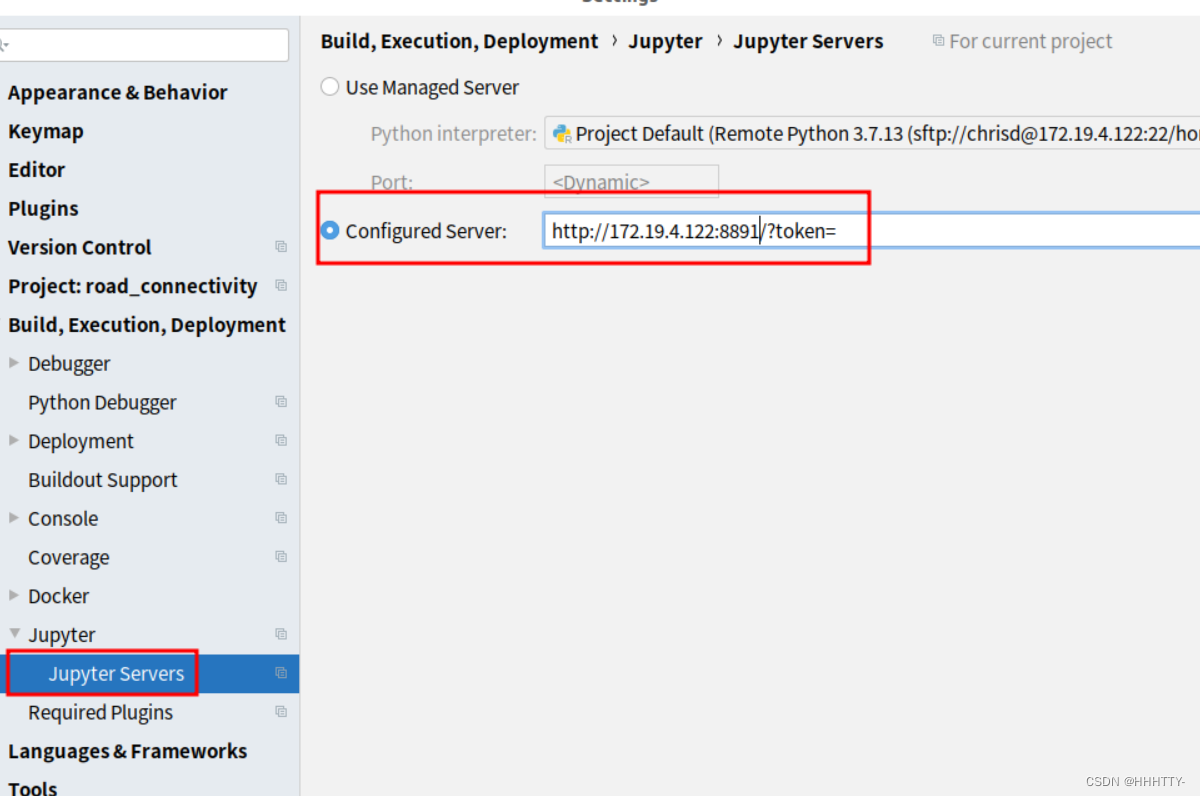
- 进入设置


- 将浏览器 URL 链接复制到输入框
- 输入服务器ip地址(别忘记加上端口号)
- 按下图配置,方框里填的是jupyter notebook的IP地址
- 用户名换成服务器的IP地址


- 弹出密码进行输入
- 回到打开的jupyter中,等待弹出密码进行输入
- 运行时会让你再次输入密码
sift+enter弹出对话框中输入密码,完成设置


附录
- 查看CUDA是否可用
torch.cuda.is_available()
>>> import torch
>>> torch.cuda.is_available()
True
- 查看GPU数量
 torch.cuda.device_count()
>>> torch.cuda.device_count()
3
- 查看gpu的内存使用情况:
nvidia-smi

最后
以上就是细心爆米花最近收集整理的关于本地使用服务器中的Jupyter使用服务器中的Jupyter的全部内容,更多相关本地使用服务器中内容请搜索靠谱客的其他文章。
本图文内容来源于网友提供,作为学习参考使用,或来自网络收集整理,版权属于原作者所有。


发表评论 取消回复