我是靠谱客的博主 靓丽荔枝,这篇文章主要介绍lnmt架构搭建lnmt架构搭建1.安装nginx服务2.安装mysql服务3.tomcat服务安装4.nginx反向代理5.发布jenkins项目,现在分享给大家,希望可以做个参考。
文章目录
- lnmt架构搭建
- 1.安装nginx服务
- 2.安装mysql服务
- 3.tomcat服务安装
- 4.nginx反向代理
- 5.发布jenkins项目
lnmt架构搭建
环境说明:
| 系统平台 | 安装的服务 |
|---|---|
| centos7、redhat7 | nginx-1.16.1、mysql-5.7、tomcat |
1.安装nginx服务
1.首先搭建yum网络源
[root@localhost ~]# rpm -ivh http://mirror.centos.org/centos/7/os/x86_64/Packages/wget-1.14-18.el7_6.1.x86_64.rpm
[root@localhost ~]# cd /etc/yum.repos.d/
[root@localhost yum.repos.d]# wget http://mirrors.163.com/.help/CentOS7-Base-163.repo
[root@localhost yum.repos.d]# sed -i 's/$releasever/7/g' /etc/yum.repos.d/CentOS7-Base-163.repo
[root@localhost yum.repos.d]# yum -y install epel-release vim
2.安装开发工具包
[root@localhost ~]# yum groups mark install 'Development Tools'
3.创建nginx组和用户
[root@localhost ~]# groupadd -r nginx
[root@localhost ~]# useradd -r -M -s /sbin/nologin -g nginx nginx
4.安装依赖包
[root@localhost ~]# yum -y install openssl-devel pcre-devel expat-devel libtool gcc gcc-c++ gd-devel
5.下载nginx包并解压(到/usr/local目录中)
[root@localhost ~]# cd /usr/src/
[root@localhost src]# wget http://nginx.org/download/nginx-1.16.1.tar.gz
[root@localhost src]# ls
debug  kernels  nginx-1.16.1.tar.gz
[root@localhost src]# tar xf nginx-1.16.1.tar.gz -C /usr/local/
[root@localhost src]# cd /usr/local/
[root@localhost local]# ls
bin  etc  games  include  lib  lib64  libexec  nginx-1.16.1  sbin  share  src
6.编译安装
[root@localhost local]# cd nginx-1.16.1/
[root@localhost nginx-1.16.1]# ./configure
--prefix=/usr/local/nginx
--user=nginx
--group=nginx
--with-debug
--with-http_ssl_module
--with-http_realip_module
--with-http_image_filter_module
--with-http_gunzip_module
--with-http_gzip_static_module
--with-http_stub_status_module
--http-log-path=/var/log/nginx/access.log
--error-log-path=/var/log/nginx/error.log
[root@localhost nginx-1.16.1]#  make -j $(grep 'processor' /proc/cpuinfo | wc -l) && make install
8. 配置环境变量并启动服务
[root@localhost ~]# echo 'export PATH=/usr/local/nginx/sbin:$PATH' > /etc/profile.d/nginx.sh[root@localhost ~]# . /etc/profile.d/nginx.sh
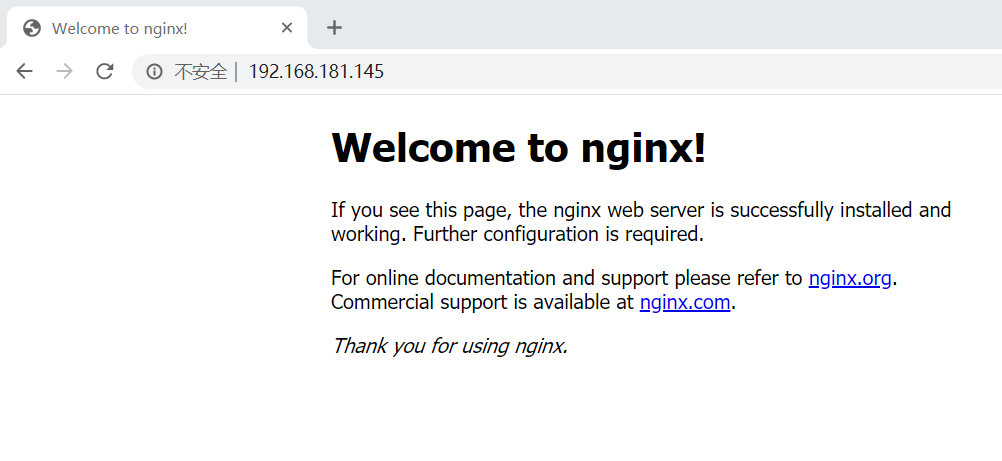
[root@localhost ~]# nginx
[root@localhost ~]# ss -antl
State      Recv-Q Send-Q Local Address:Port                Peer Address:Port
LISTEN     0      128                *:80                             *:*
LISTEN     0      128                *:22                             *:*
LISTEN     0      100        127.0.0.1:25                             *:*
LISTEN     0      128               :::22                            :::*
LISTEN     0      100              ::1:25                            :::*
9. 关闭防火墙和selinux
 [root@localhost ~]# systemctl disable firewalld
Removed symlink /etc/systemd/system/multi-user.target.wants/firewalld.service.
Removed symlink /etc/systemd/system/dbus-org.fedoraproject.FirewallD1.service.
[root@localhost ~]# systemctl stop firewalld
[root@localhost ~]# vim /etc/selinux/config
SELINUX=disabled
[root@localhost ~]# setenforce 0
[root@localhost ~]# getenforce
Permissive
验证
2.安装mysql服务
1.安装依赖包
[root@localhost ~]# yum -y install ncurses-devel openssl-devel openssl cmake mariadb-devel
2.创建用户和组
[root@localhost src]# groupadd -r -g 306 mysql
[root@localhost src]# useradd -r -M -s /sbin/nologin -g 306 -u 306 mysql
3.解压安装包并创建软链接
[root@localhost ~]# cd /usr/src/
[root@localhost src]# wget https://downloads.mysql.com/archives/get/file/mysql-5.7.22-linux-glibc2.12-x86_64.tar.gz
[root@localhost src]# ls
debug  kernels  mysql-5.7.22-linux-glibc2.12-x86_64.tar.gz  nginx-1.16.1.tar.gz
[root@localhost src]# tar xf mysql-5.7.22-linux-glibc2.12-x86_64.tar.gz -C /usr/local/
[root@localhost src]# cd /usr/local/
[root@localhost local]# ln -sv mysql-5.7.22-linux-glibc2.12-x86_64/ mysql
"mysql" -> "mysql-5.7.22-linux-glibc2.12-x86_64/"
4.修改属主、组,定义环境变量
[root@localhost local]# echo 'export PATH=/usr/local/mysql/bin:$PATH' > /etc/profile.d/mysql.sh
[root@localhost local]# . /etc/profile.d/mysql.sh
[root@localhost local]# chown -R mysql.mysql /usr/local/mysql
5.创建存放数据库目录
[root@localhost ~]# mkdir /opt/data
[root@localhost ~]# chown -R mysql.mysql /opt/data/
[root@localhost ~]# ll /opt/
总用量 0
drwxr-xr-x. 2 mysql mysql 6 12月 29 12:22 data
6.数据库初始化
[root@localhost local]# /usr/local/mysql/bin/mysqld --initialize --user=mysql --datadir=/opt/data
2020-01-07T11:18:09.896167Z 0 [Warning] TIMESTAMP with implicit DEFAULT value is deprecated. Please use --explicit_defaults_for_timestamp server option (see documentation for more details).
2020-01-07T11:18:10.101104Z 0 [Warning] InnoDB: New log files created, LSN=45790
2020-01-07T11:18:10.146900Z 0 [Warning] InnoDB: Creating foreign key constraint system tables.
2020-01-07T11:18:10.227765Z 0 [Warning] No existing UUID has been found, so we assume that this is the first time that this server has been started. Generating a new UUID: 63064595-313f-11ea-b8c1-000c29be5e1b.
2020-01-07T11:18:10.228450Z 0 [Warning] Gtid table is not ready to be used. Table 'mysql.gtid_executed' cannot be opened.
2020-01-07T11:18:10.229048Z 1 [Note] A temporary password is generated for root@localhost: VayQvHu/w1pl
7. 配置mysql
[root@localhost ~]# ln -sv /usr/local/mysql/include/ /usr/local/include/mysql
"/usr/local/include/mysql" -> "/usr/local/mysql/include/"
[root@localhost ~]# echo '/usr/local/mysql/lib' > /etc/ld.so.conf.d/mysql.conf
[root@localhost ~]# ldconfig
8. 生成配置文件
[root@localhost ~]# cat > /etc/my.cnf <<EOF
[mysqld]
basedir = /usr/local/mysql
datadir = /opt/data
socket = /tmp/mysql.sock
port = 3306
pid-file = /opt/data/mysql.pid
user = mysql
skip-name-resolve
EOF
9. 配置服务启动脚本
[root@localhost ~]# cp -a /usr/local/mysql/support-files/mysql.server /etc/init.d/mysqld
[root@localhost ~]# vim /etc/init.d/mysqld
basedir=/usr/local/mysql
datadir=/opt/data
10.  启动mysql
[root@localhost ~]# service mysqld start
Starting MySQL.Logging to '/opt/data/localhost.localdomain.err'.
. SUCCESS!
[root@localhost ~]# ss -antl
State      Recv-Q Send-Q Local Address:Port                Peer Address:Port
LISTEN     0      128                *:22                             *:*
LISTEN     0      100        127.0.0.1:25                             *:*
LISTEN     0      128               :::22                            :::*
LISTEN     0      100              ::1:25                            :::*
LISTEN     0      80                :::3306                          :::*
11. 修改密码
[root@localhost opt]# mysql -uroot -p'VayQvHu/w1pl'
mysql: [Warning] Using a password on the command line interface can be insecure.
Welcome to the MySQL monitor.  Commands end with ; or g.
Your MySQL connection id is 2
Server version: 5.7.22
mysql> set password = password('lishan');
Query OK, 0 rows affected, 1 warning (0.01 sec)
3.tomcat服务安装
1. 下载依赖包
[root@localhost ~]# yum -y install java-1.8.0-openjdk java-1.8.0-openjdk-devel
[root@localhost ~]# java -version
openjdk version "1.8.0_232"
OpenJDK Runtime Environment (build 1.8.0_232-b09)
OpenJDK 64-Bit Server VM (build 25.232-b09, mixed mode)
2.下载tomcat
[root@localhost ~]# cd /usr/src/
[root@localhost src]# wget http://mirror.bit.edu.cn/apache/tomcat/tomcat-9/v9.0.24/bin/apache-tomcat-9.0.30.tar.gz
[root@localhost src]# ls
apache-tomcat-9.0.30.tar.gz  mysql-5.7.22-linux-glibc2.12-x86_64.tar.gz
debug                        nginx-1.16.1.tar.gz
kernels
3.解压压缩包,并做软连接
[root@localhost src]# tar xf apache-tomcat-9.0.30.tar.gz -C /usr/local/
[root@localhost src]# cd /usr/local/
[root@localhost local]# ls
apache-tomcat-9.0.30  games    lib64    mysql-5.7.22-linux-glibc2.12-x86_64  sbin
bin                   include  libexec  nginx                                share
etc                   lib      mysql    nginx-1.16.1                         src
[root@localhost local]# ln -s apache-tomcat-9.0.30/ tomcat
[root@localhost local]# ll
总用量 0
drwxr-xr-x   9 root  root  220 1月   8 10:02 apache-tomcat-9.0.30
drwxr-xr-x.  2 root  root    6 3月  10 2016 bin
drwxr-xr-x.  2 root  root    6 3月  10 2016 etc
drwxr-xr-x.  2 root  root    6 3月  10 2016 games
drwxr-xr-x.  2 root  root   19 1月   7 19:21 include
drwxr-xr-x.  2 root  root    6 3月  10 2016 lib
drwxr-xr-x.  2 root  root    6 3月  10 2016 lib64
drwxr-xr-x.  2 root  root    6 3月  10 2016 libexec
lrwxrwxrwx.  1 mysql mysql  36 1月   7 19:15 mysql -> mysql-5.7.22-linux-glibc2.12-x86_64/
drwxr-xr-x.  9 root  root  129 1月   7 19:14 mysql-5.7.22-linux-glibc2.12-x86_64
drwxr-xr-x. 11 root  root  151 1月   7 18:56 nginx
drwxr-xr-x.  9  1001  1001 186 1月   7 18:42 nginx-1.16.1
drwxr-xr-x.  2 root  root    6 3月  10 2016 sbin
drwxr-xr-x.  5 root  root   49 12月 24 23:31 share
drwxr-xr-x.  2 root  root    6 3月  10 2016 src
lrwxrwxrwx   1 root  root   21 1月   8 10:03 tomcat -> apache-tomcat-9.0.30/
2. 开启服务
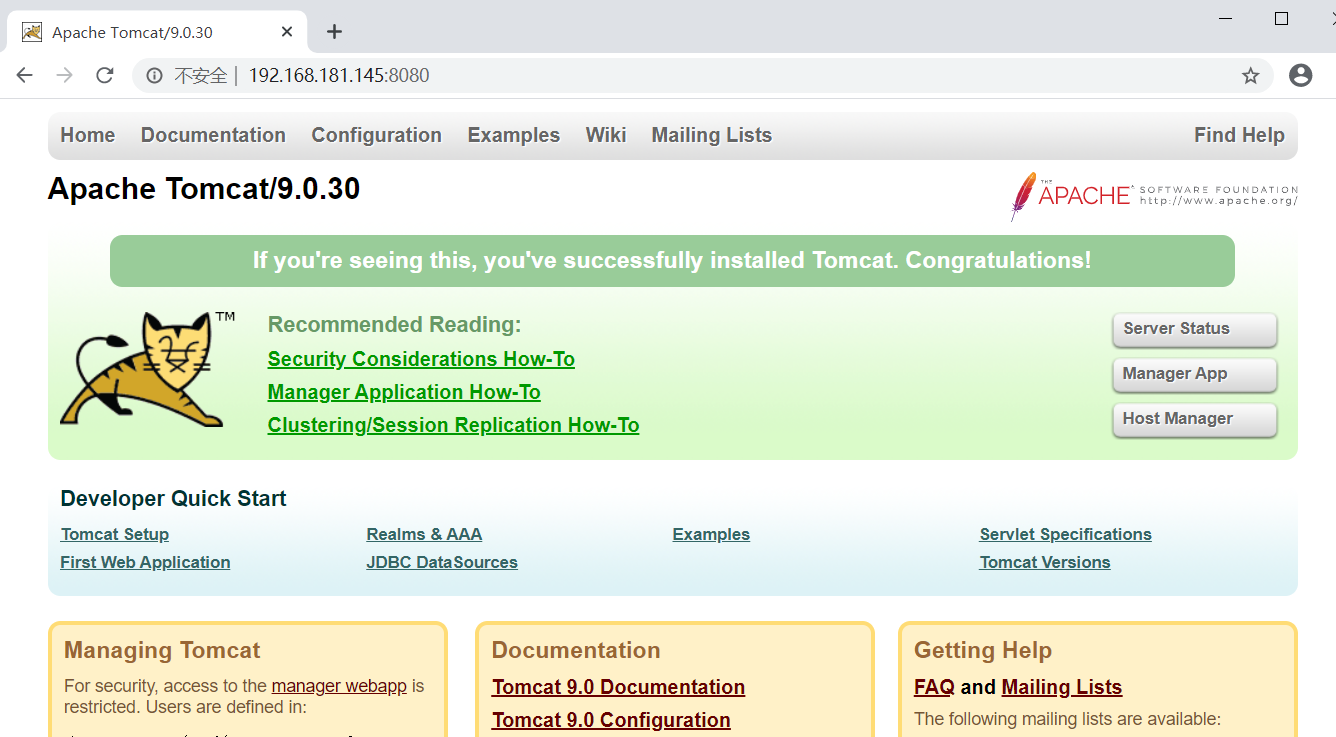
[root@localhost ~]# /usr/local/tomcat/bin/catalina.sh start
Using CATALINA_BASE:   /usr/local/tomcat
Using CATALINA_HOME:   /usr/local/tomcat
Using CATALINA_TMPDIR: /usr/local/tomcat/temp
Using JRE_HOME:        /usr
Using CLASSPATH:       /usr/local/tomcat/bin/bootstrap.jar:/usr/local/tomcat/bin/tomcat-juli.jar
Tomcat started.
验证
4.nginx反向代理
[root@localhost ~]# vim /usr/local/nginx/conf/nginx.conf
........//修改一下内容做反向代理
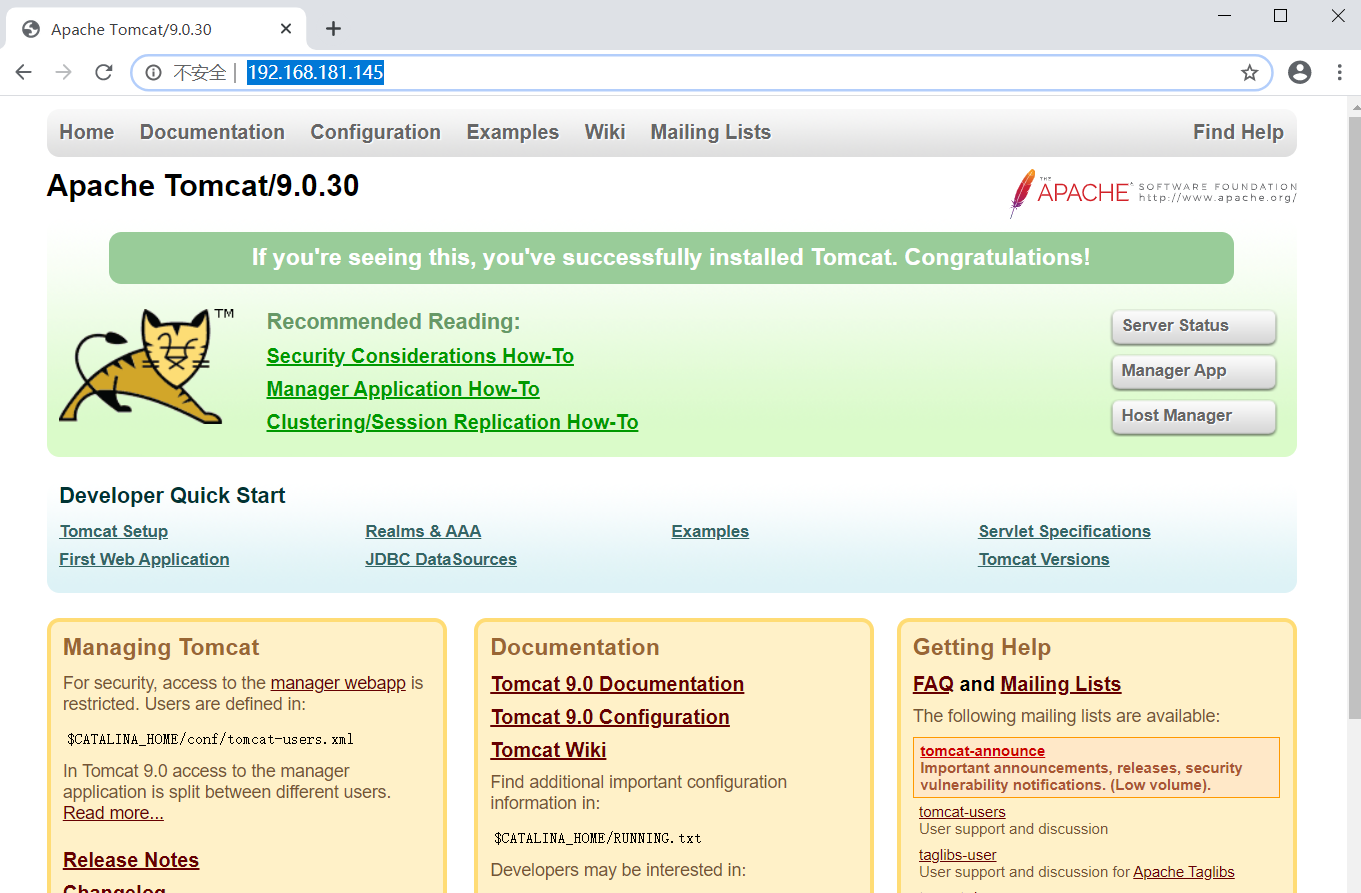
location / {
            proxy_pass http://127.0.0.1:8080;
        }
[root@localhost ~]# nginx -s stop
[root@localhost ~]# nginx
在地址栏输入IP
[root@localhost text]# vim /usr/local/nginx/conf/nginx.conf
location / {
            root   html;
            index  index.html index.htm;
        }
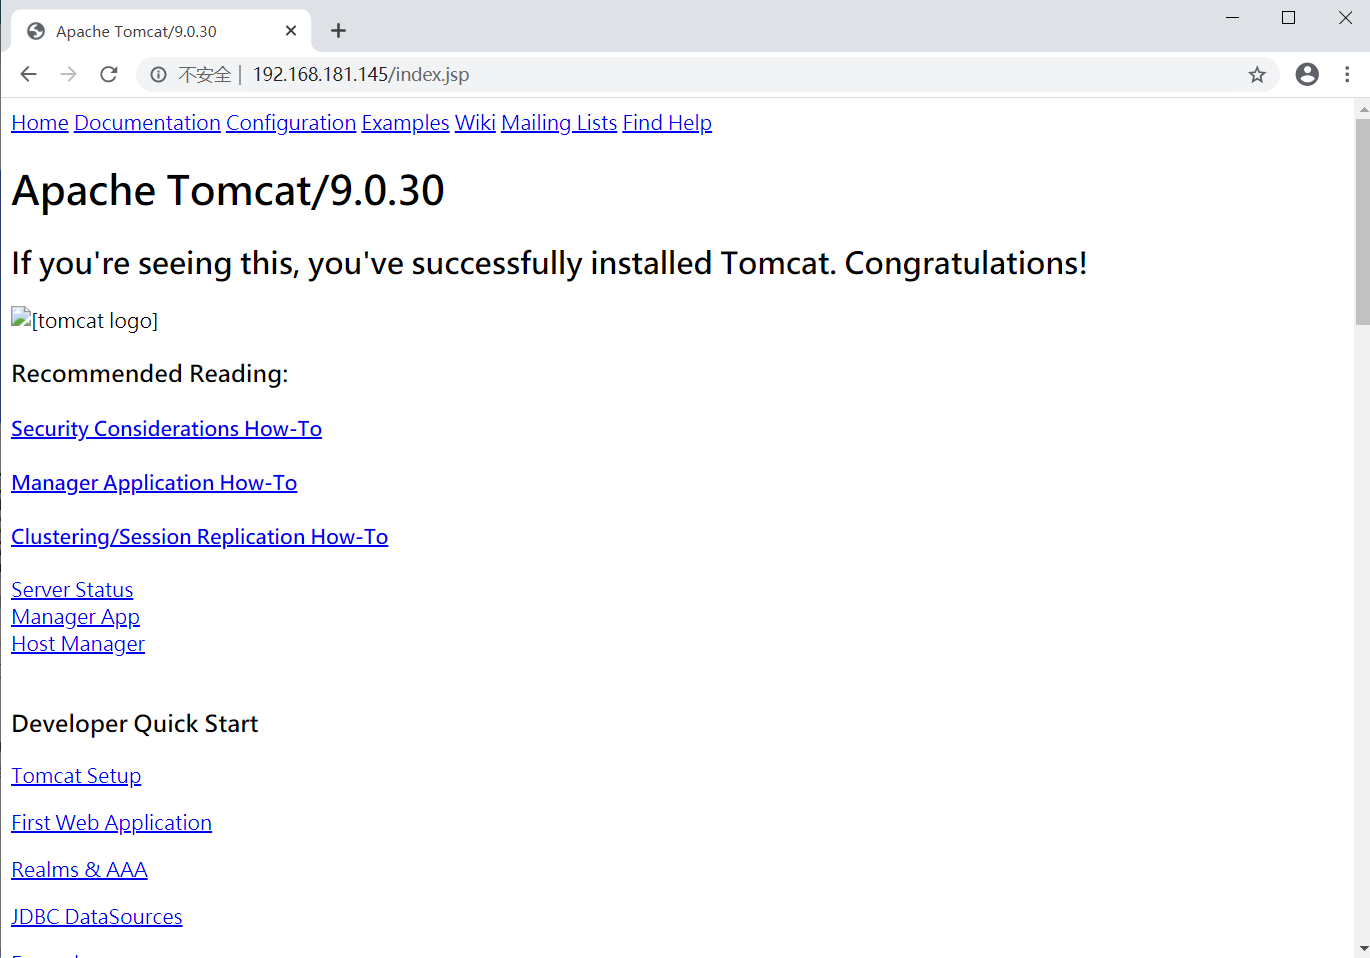
        location ~* .(jsp|do)$ {
            proxy_pass http://127.0.0.1:8080; //反向代理,tomcat支持动态访问,静态交给nginx访问
        }
[root@localhost text]# nginx -s stop
[root@localhost text]# nginx
[root@localhost text]# cd /usr/local/tomcat/
[root@localhost tomcat]# cd webapps/
[root@localhost webapps]# ls
docs  examples  host-manager  manager  ROOT  text
[root@localhost webapps]# cd text/
[root@localhost text]# ls
index.jsp
[root@localhost text]# cat index.jsp
<html>
<head>
        <title>test page</title>
</head>
<body>
        <%
            out.println("Hellow World");
        %>
</body>
</html>

5.发布jenkins项目
[root@localhost webapps]# ls
docs  examples  host-manager  jenkins  jenkins.war  manager  ROOT  text
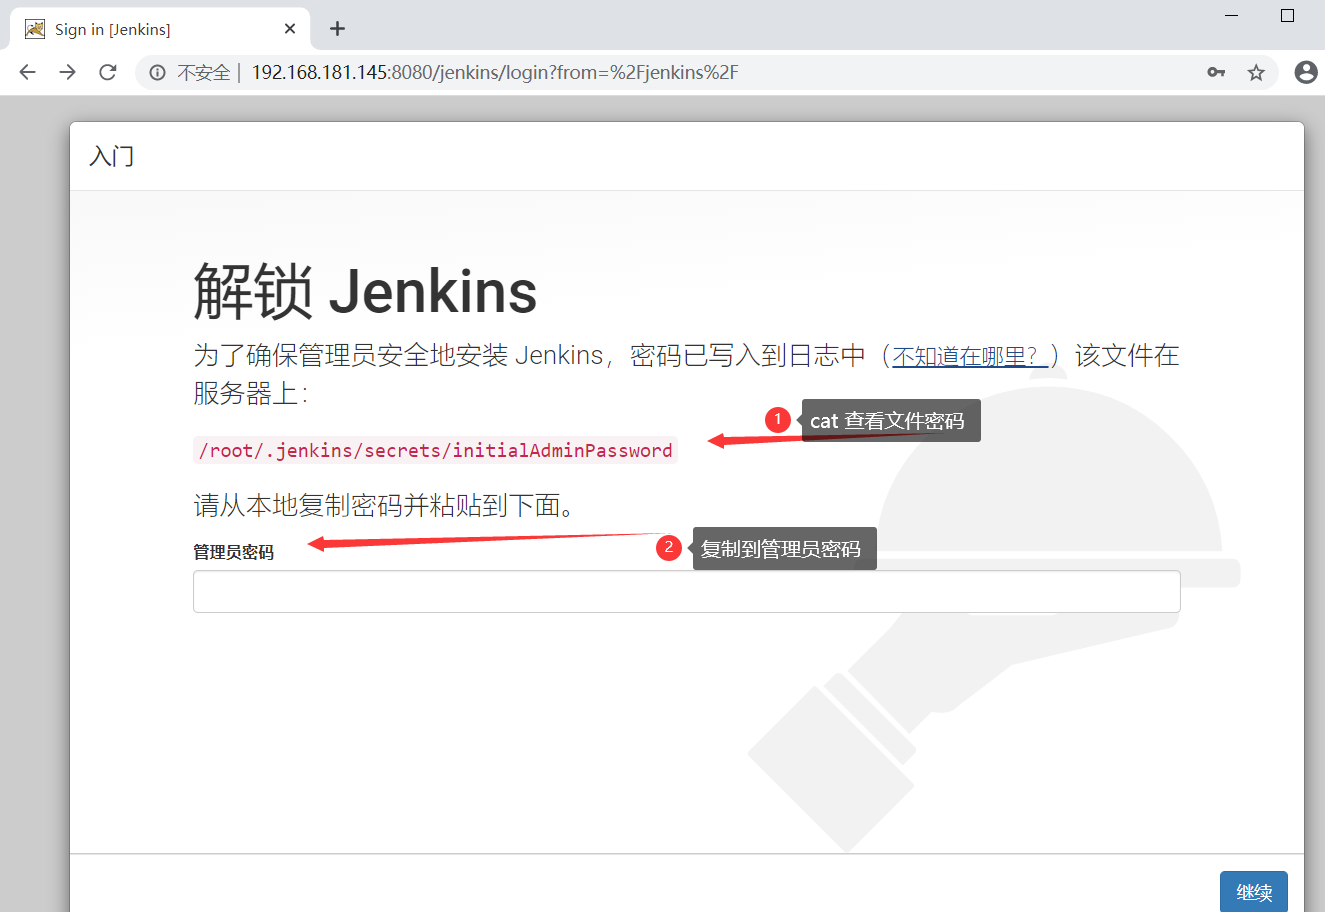
[root@localhost webapps]# cat /root/.jenkins/secrets/initialAdminPassword
dca435ea98844f69adad99d1501412db
最后
以上就是靓丽荔枝最近收集整理的关于lnmt架构搭建lnmt架构搭建1.安装nginx服务2.安装mysql服务3.tomcat服务安装4.nginx反向代理5.发布jenkins项目的全部内容,更多相关lnmt架构搭建lnmt架构搭建1内容请搜索靠谱客的其他文章。
本图文内容来源于网友提供,作为学习参考使用,或来自网络收集整理,版权属于原作者所有。


发表评论 取消回复