Springboot+mybatis+layui+thymeleaf实现图片的上传,存储和修改
再layui官方文档有提供相关的模块加载名称:upload,
具体可见官方文档:layui图片上传官方文档
首先需要添加一个上传图片按钮
<div class="layui-form-item">
<label for="L_repass" class="layui-form-label">
上传头像
</label>
<div class="layui-input-inline">
<button type="button" class="layui-btn" id="test1">
<i class="layui-icon"></i>上传图片
</button>
<img id="img_headpic" src="/images/head.jpg" width="100px" height="100px">
<input type="hidden" id="headpic" name="headpic" value="default.jpg"/>
</div>
</div>
使用 upload 模块必须与 upload.render(options) 方法打交道,其中的 options即为基础参数,它是一个对象。
js详细代码:
layui.use('upload', function(){
        var upload = layui.upload;

        //执行实例
        var uploadInst = upload.render({
            elem: '#test1' //绑定元素
            ,url: '/user/uploadHeadPic' //上传接口
            ,done: function(res){
                //上传完毕回调
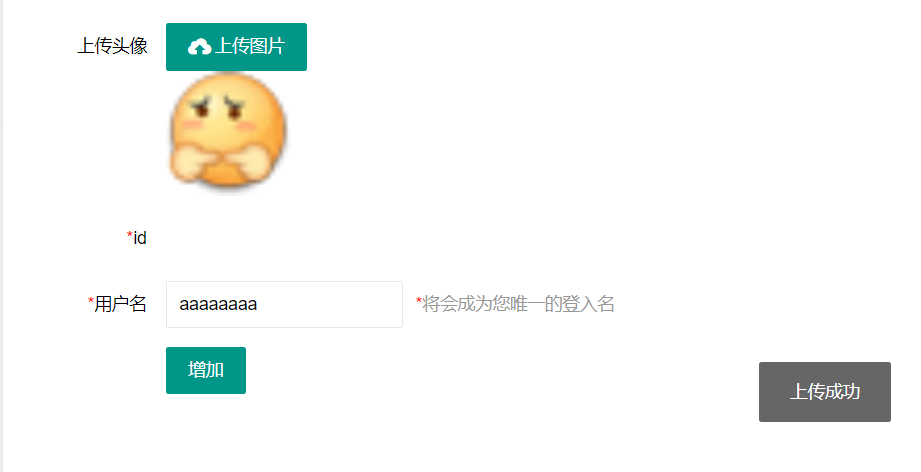
                layer.msg("上传成功");
                var headpic=res.data.src;
                $("#img_headpic").attr("src","/user/"+headpic);
                $("#headpic").val(headpic);
            }
            ,error: function(){
                //请求异常回调
                layer.msg("上传失败");
            }
        });
    });
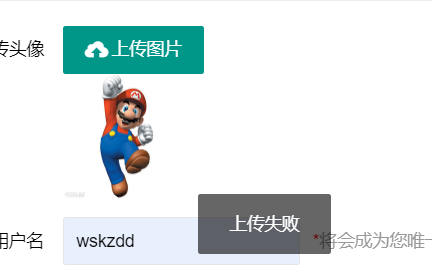
这个时候添加图片的话会显示,接口异常,并且上传失败

ps(马里奥图片为我设置的默认图片)
所以我们就需要去编写后端的代码,再control类中接收这个请求,然后将图片上传至本地,再返回一个合法的JSON数据。
@RequestMapping("/user/uploadHeadPic")
    public Result uploadHeadPic(@RequestParam("file") MultipartFile file) throws IOException {
        // 项目路径
        File projectPath = new File(ResourceUtils.getURL("classpath:").getPath());
        System.out.println("projectPath="+projectPath);
        // 绝对路径=项目路径+自定义路径
        File upload = new File(projectPath.getAbsolutePath(), "static/user/");
        if (!upload.exists())
            upload.mkdirs();
        Result result=null;
        if (file.isEmpty()) {
            result=ResultUtils.error(-1,"上传失败");
        }
        else{
            //获取文件名称
            String fileName=file.getOriginalFilename();
            System.out.println("dest="+upload.getAbsolutePath()+"\"+fileName);
            File dest=new File(upload.getAbsolutePath()+"\"+fileName);
            //文件IO
            file.transferTo(dest);
            result=ResultUtils.success();
            result.setCode(0);
            result.setMsg("上传成功");
            Map<String,String> map=new HashMap<>();
            map.put("src",fileName);
            result.setData(map);
        }

        return result;
    }
可以看出,我们需要先获得一个图片存储的地址,我本人将图片存在项目target-classes-static-user路径下,所以我需要先获得项目的地址,ResourceUtils.getURL(“classpath:”).getPath(),
接下去就是自定义的路径,加上自定路径/static/user,
new File(projectPath.getAbsolutePath(), “static/user/”)
如果存在该路径则跳过,不存在则创建该文件夹,最后再加上图片名称即可,上传文件的方式则是利用springmvc封装好的接口transferTo()进行存储,
void transferTo(File var1) throws IOException, IllegalStateException;
通过源码可以看出,需要将文件传入,所以我们将前面拼接好的file传入,即可再本地上传,最后返回一个合法的json数据即可。接着再前端修改图片路径,将默认路径修改为我们上传图片的路径,并且显示出预览
 $("#img_headpic").attr("src","/user/"+headpic);
 $("#headpic").val(headpic);


接着就是将信息存入数据库即可,相对比前一篇文章,只需要再数据库和User类中多添加一个字段即可,headpic。
编辑修改头像
编辑头像,在我们打开编辑页面是,我们需要先将我们原本的头像显示到该页面中,再对他进行修改,所以我是用thymeleaf模板引擎,控制器添加addobject图片的地址,然后用img标签来显示,具体代码如下:
controller代码:
@RequestMapping("/user/toEdit")
    public ModelAndView toEdit(Integer id){

        System.out.println(id);
        User user = userService.getUser(id);
        ModelAndView mv = new ModelAndView();
        mv.setViewName("user_edit");

        //设置数据
        mv.addObject("user",user);
        mv.addObject("url","/user/"+user.getHeadpic());
        return mv;
    }
这里需要注意的是,只需要声明再user路径下即可。
利用模板引擎获得图片信息
<img id="img_headpic" th:src="@{${url}}" width="100px" height="100px">
<input type="hidden" id="headpic" name="headpic" th:src="${user.headpic}"/>
修改图片操作,即跟上述的上传图片为一致的。

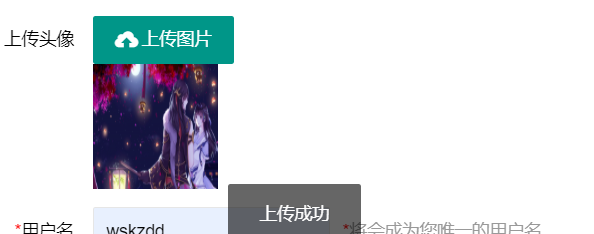
修改头像上传

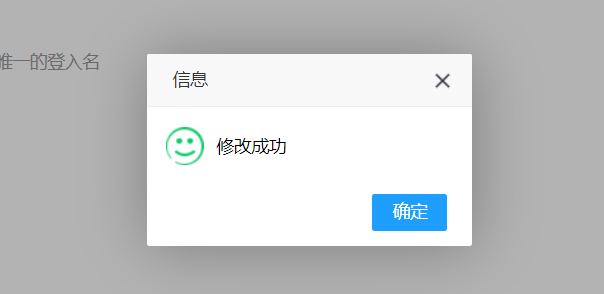
修改成功


图片在layui自动渲染的表格中显示
完整的tabel.render代码如下
table.render({
                    elem: '#demo'
                    , height: 312
                    , url: '/user/searchUsers?id=' + data.field.id //数据接口
                    , page: true //开启分页
                    , cols: [
                        [ //表头
                            {field: 'id', title: 'ID', width: 80, sort: true, fixed: 'left'}
                            , {field: 'uname', title: '用户名', width: 150}
                            , {field: 'upass', title: '密码', width: 100, sort: true}
                            , {
                            title: '状态', width: 120, templet: function (d) {
                                return "<button type="button" class="layui-btn-sm layui-btn-danger">启用</button>";
                            }
                        }
                            ,{field: 'headpic',title: '头像',width: 100,templet:'<div><img src="{{ d.headpic }}" ></div>'}
                            , {fixed: 'right', width: 250, align: 'center', toolbar: '#barDemo'}

                        ]
                    ]

                });
其中,{field: 'headpic',title: '头像',width: 100,templet:'<div><img src="{{ d.headpic }}" ></div>'}为显示图片的代码块,d为返回的数据,.headpic为你定义的变量名字。这样就能将图片在你的表格中显示,
<style type="text/css">
    .layui-table-cell {
        height: auto !important;
        white-space: normal;
    }
</style>
这段代码为我修改图片显示的样式,可以将整张图片显示完整,直接用即可。
最后
以上就是轻松刺猬最近收集整理的关于Springboot+mybatis+layui+thymeleaf实现图片的上传,存储和修改Springboot+mybatis+layui+thymeleaf实现图片的上传,存储和修改的全部内容,更多相关Springboot+mybatis+layui+thymeleaf实现图片内容请搜索靠谱客的其他文章。


发表评论 取消回复