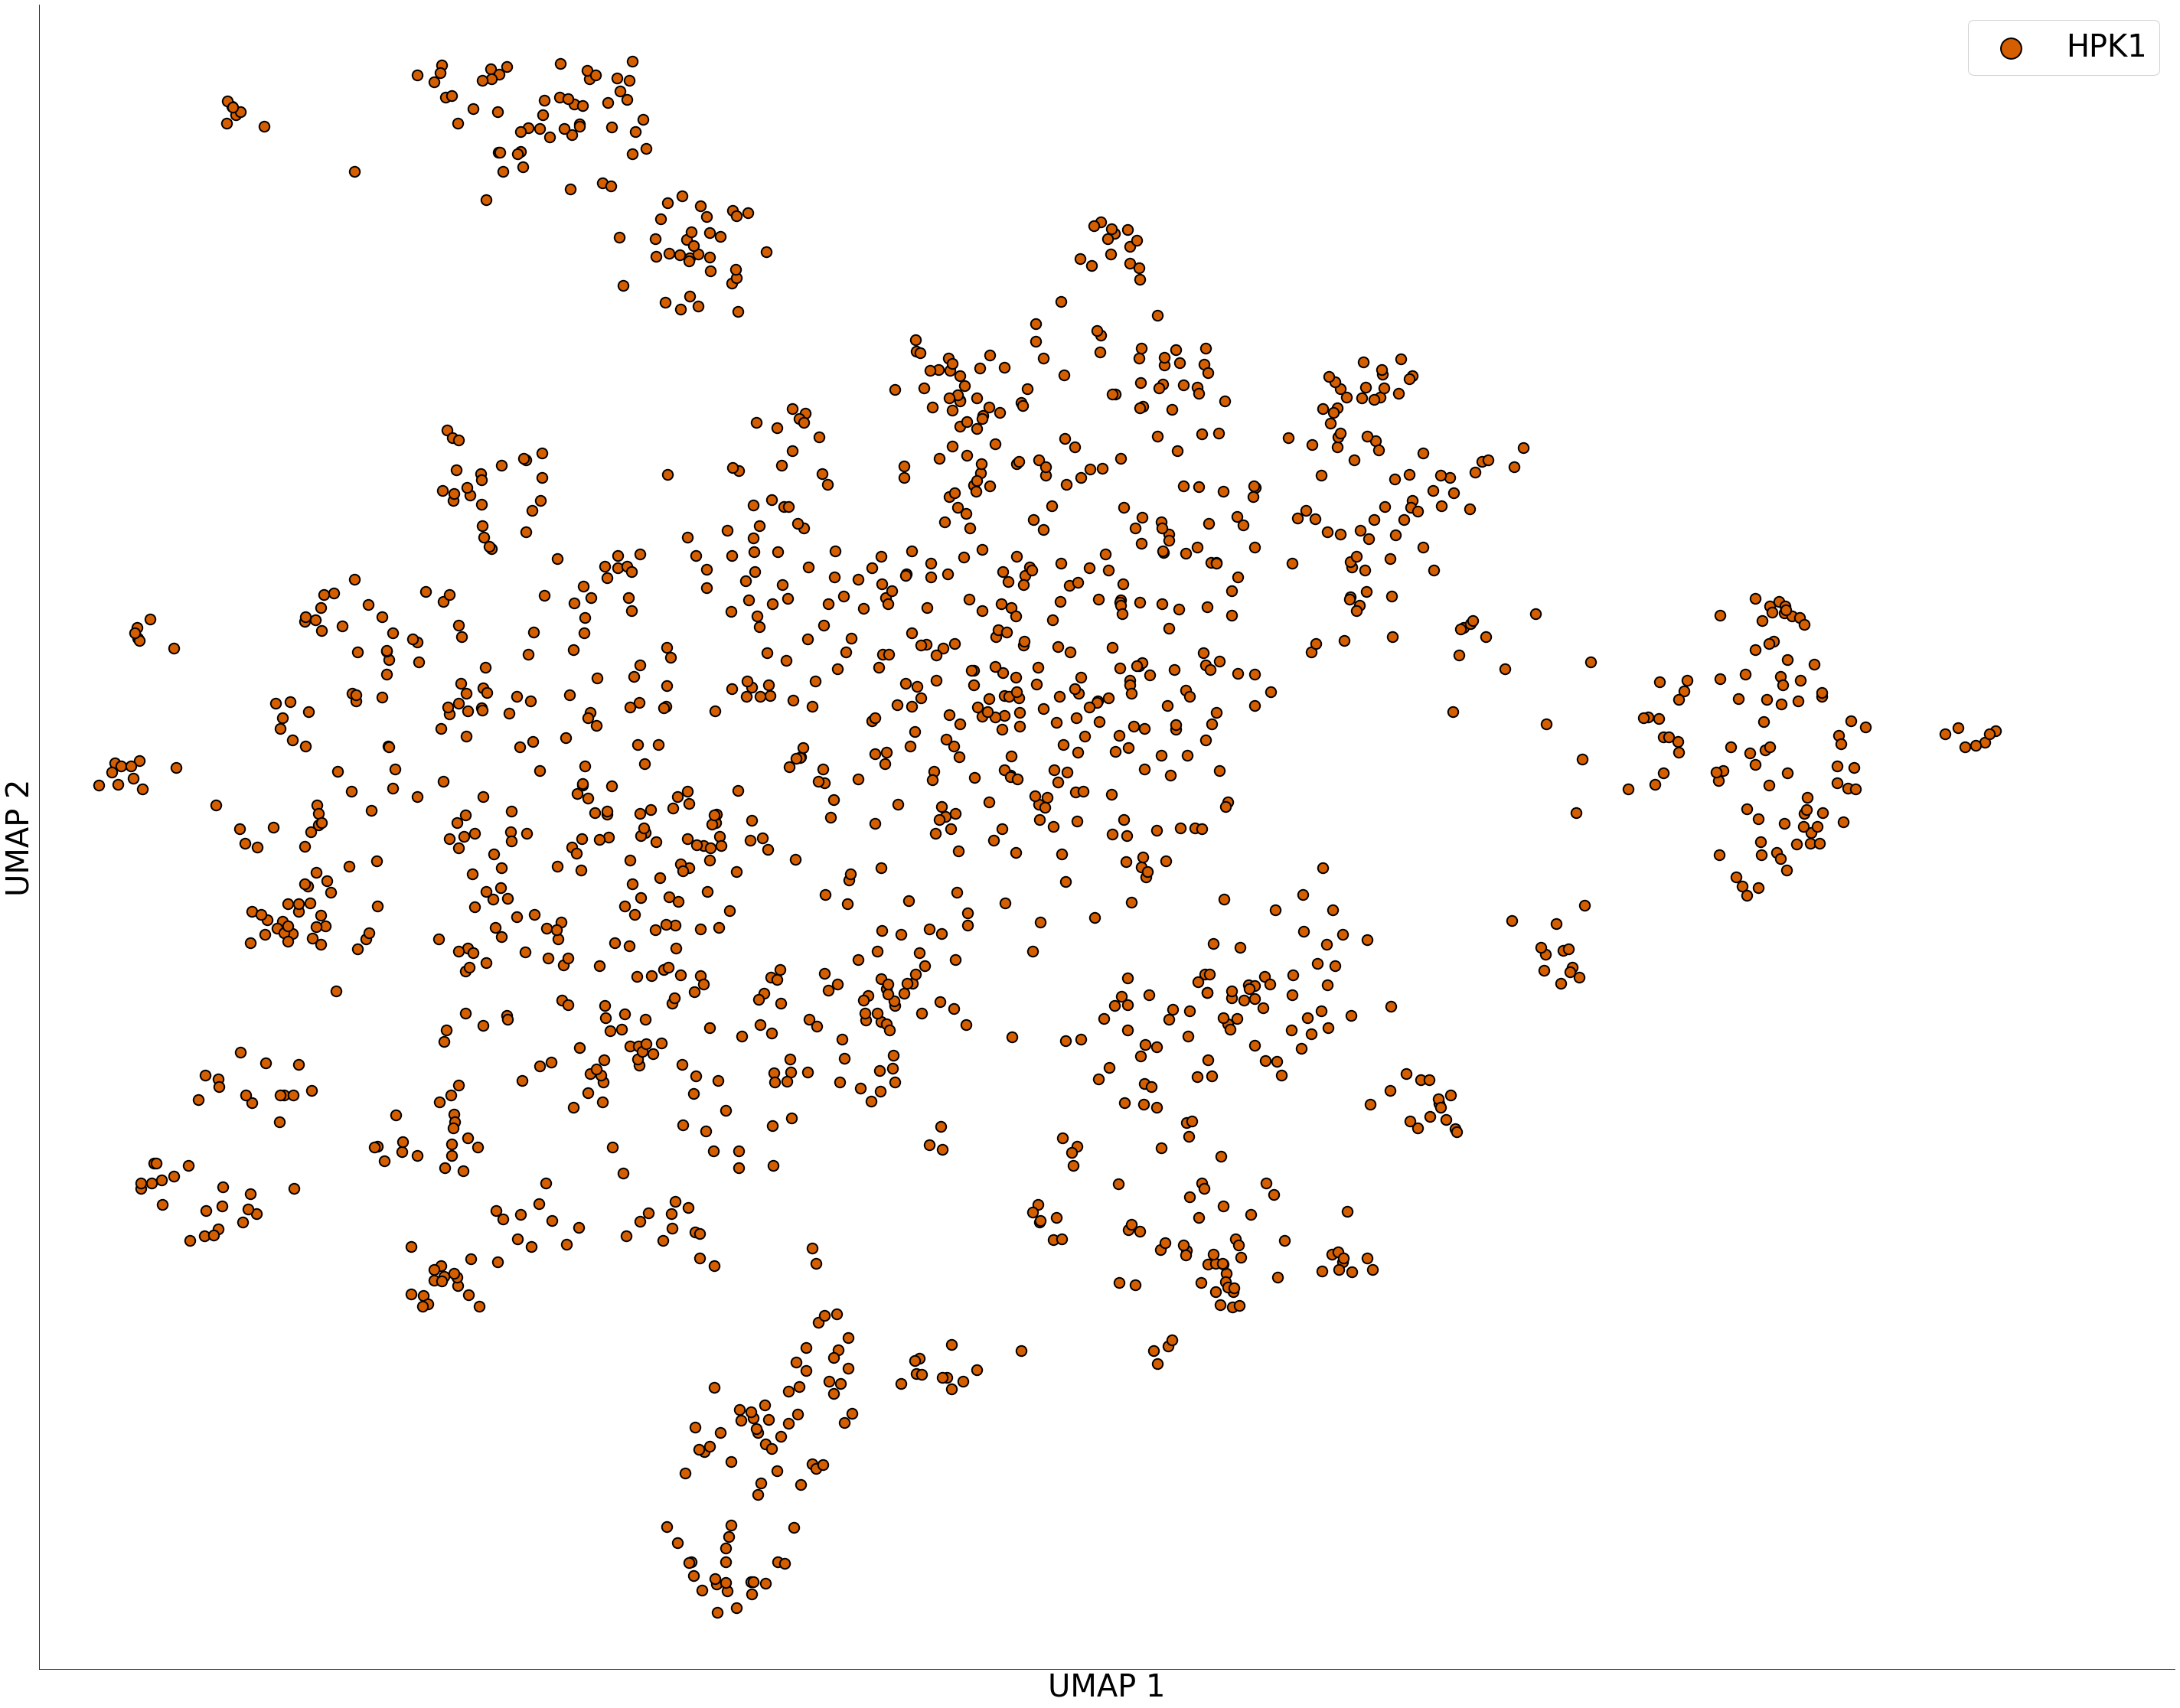
利用umap画出分子化学空间分布图
安装
pip install umap-learn
下面是用一个数据集举的例子
import torch
import umap
import pandas as pd
import numpy as np
import matplotlib.pyplot as plt
import seaborn as sns
from sklearn.manifold import TSNE
from rdkit.Chem import AllChem as Chem
from sklearn.preprocessing import StandardScaler

def get_fp(list_of_smi):
    """ Function to get fingerprint from a list of SMILES"""
    fingerprints = []
    mols = [Chem.MolFromSmiles(x) for x in list_of_smi]
    # if rdkit can't compute the fingerprint on a SMILES
    # we remove that SMILES
    idx_to_remove = []
    for idx,mol in enumerate(mols):
        try:
            fprint = Chem.GetMorganFingerprintAsBitVect(mol, 2, useFeatures=False)
            fingerprints.append(fprint)
        except:
            idx_to_remove.append(idx)

    smi_to_keep = [smi for i,smi in enumerate(list_of_smi) if i not in idx_to_remove]
    return fingerprints, smi_to_keep
def get_embedding(data):
    """ Function to compute the UMAP embedding"""
    data_scaled = StandardScaler().fit_transform(data)

    embedding = umap.UMAP(n_neighbors=10,
                          min_dist=0.5,
                          metric='correlation',
                          random_state=16).fit_transform(data_scaled)

    return embedding
def draw_umap(embedding_hp1):
    fig, ax = plt.subplots(figsize=(50, 40))
    contour_c='#444444'
    plt.xlim([np.min(embedding_hp1[:,0])-0.5, np.max(embedding_hp1[:,0])+1.5])
    plt.ylim([np.min(embedding_hp1[:,1])-0.5, np.max(embedding_hp1[:,1])+0.5])
    labelsize = 40
    plt.xlabel('UMAP 1', fontsize=labelsize)
    plt.ylabel('UMAP 2', fontsize=labelsize)
    ax.spines['right'].set_visible(False)
    ax.spines['top'].set_visible(False)
    plt.scatter(embedding_hp1[:, 0], embedding_hp1[:, 1], lw=0, c='#D55E00', label='HPK1', alpha=1.0, s=180, marker="o", edgecolors='k', linewidth=2)
    leg = plt.legend(prop={'size': labelsize}, loc='upper right', markerscale=2.00)
    leg.get_frame().set_alpha(0.9)
    plt.setp(ax, xticks=[], yticks=[])
    plt.show()
def main():
    hpk1 = pd.read_csv("/y/Aurora/Fergie/data/preprocessed/HPK1_preprocess.csv")
    smiles_h1 = hpk1["SMILES"]
    fp_hp1, sm_for_hp1 = get_fp(smiles_h1)
    fp_hp1 = np.array(fp_hp1)

    embedding_hp1 = get_embedding(fp_hp1)
    draw_umap(embedding_hp1)

if __name__ == '__main__':
    main()
在jupyter notebook上运行成功,结果如下:
 可用于对比不同数据集的化学空间,以下是三个数据集化学空间的分布图
 Reference:
https://github.com/ETHmodlab/virtual_libraries
最后
以上就是激情牛排最近收集整理的关于python画出分子化学空间分布(UMAP)的全部内容,更多相关python画出分子化学空间分布(UMAP)内容请搜索靠谱客的其他文章。
本图文内容来源于网友提供,作为学习参考使用,或来自网络收集整理,版权属于原作者所有。


发表评论 取消回复