Three 之 three.js (webgl)碰撞检测(非官方的简单的碰撞检测,使用局限性,仅供思路参考)
目录
Three 之 three.js (webgl)碰撞检测(非官方的简单的碰撞检测,使用局限性,仅供思路参考)
一、简单介绍
二、实现原理
三、注意事项
四、效果预览
五、效果案例 实现步骤
六、关键代码
一、简单介绍
Three js 开发的一些知识整理,方便后期遇到类似的问题,能够及时查阅使用。
本节介绍, three.js (webgl) 中 进行碰撞检测,其实,网上有方法介绍,使用射线,或者也可以使用官方的方法 ammo.js,这里由于自己使用的一些情况特殊,所以并没有使用官方的方法和射线方法,而是使用包围盒 + 位置判断的方法,来简单判断是否发生碰撞;该方法使用有局限性,仅思路仅供参考。其中,如果有不足之处,欢迎指出,或者你有更好的方法,欢迎留言。
Three js 官方案例:
建议碰撞案例推荐 ammo.js :three.js examples
建议碰撞案例推荐 Octree.js :three.js examples
二、实现原理
1、使用 Box3 计算物体的包围盒的长宽高
    /**
	 * 根据 Object 计算几何长宽高, 并 Vector3 形式返回
	 * @param {Object} object
	 */
	static getObjectBoxSize(object){
		const box3 = new Box3()
		box3.expandByObject(object)
		const v3 = new Vector3()
		box3.getSize(v3)

		console.log("v3 ", v3)
		return v3
	}
2、然后根据移动物体与其他物体的位置差,同移动物体与其他物体包围盒对应的长宽高之和的一半,如果位置差的xyz 都小于移动物体与某个物体包围盒长宽高之和的一半,则可判断碰撞
			  /**
			   * 判断是否碰撞
			   */
			  function isJudgeCollision(){
				  // 声明一个变量用来表示是否碰撞
				  var moveV3 = DashLinesBoxTool.getObjectBoxSize(curMoveObject)
				  var filterObjArr = filterObjects(objectsMesh, curMoveObject)
				  for (var i = 0; i < filterObjArr.length; i++) {
				  	var v3 = DashLinesBoxTool.getObjectBoxSize(filterObjArr[i])

					// 移动物体与场景配置位置之差
					var xValue = Math.abs(filterObjArr[i].position.x - curMoveObject.position.x)
					var yValue = Math.abs(filterObjArr[i].position.y - curMoveObject.position.y)
					var zValue = Math.abs(filterObjArr[i].position.z - curMoveObject.position.z)

					console.log(" filterObjArr[i].position,  curMoveObject.position ", filterObjArr[i].position , curMoveObject.position )

					// 移动物体与场景物体包围盒长宽高一半
					var xCollision = Math.abs(moveV3.x+v3.x) / 2.0
					var yCollision = Math.abs(moveV3.y+v3.y) / 2.0
					var zCollision = Math.abs(moveV3.z+v3.z) / 2.0

					console.log(" xValue , yValue , xCollision , yCollision ", xValue , yValue , xCollision , yCollision )
					// 发生碰撞
					if(xValue < xCollision && yValue < yCollision && zValue < zCollision){
						return true
					}
				  }

				  return false
			  }
3、按键移动物体的监听
			/**
			 * 按键监听,移动物体
			 */
			function keyToMoveObject(){
				document.addEventListener(
				        'keydown',
				        (e) => {
				          var ev = e || window.event
				          switch (ev.keyCode) {
				            case 87:
				              curMoveObject.position.z -= 0.05
				              break
				            case 83:
				              curMoveObject.position.z += 0.05
				              break
				            case 65:
				              curMoveObject.position.x -= 0.05
				              break
				            case 68:
				              curMoveObject.position.x += 0.05
				              break
				            default:
				              break
				          }

						  // 判断是否碰撞
						  if (isJudgeCollision()) {
							  curMoveObject.material.color.set('yellow')
						  } else {
							  curMoveObject.material.color.set(0x00ff00)
						  }

				        },
				        false
				      )

			}
三、注意事项
1、如果有旋转,注意 Box3 获取的也是没有旋转的 Object 的包围盒
2、包围盒 + 位置判断碰撞的方法,存在使用有局限性,仅思路仅供参考
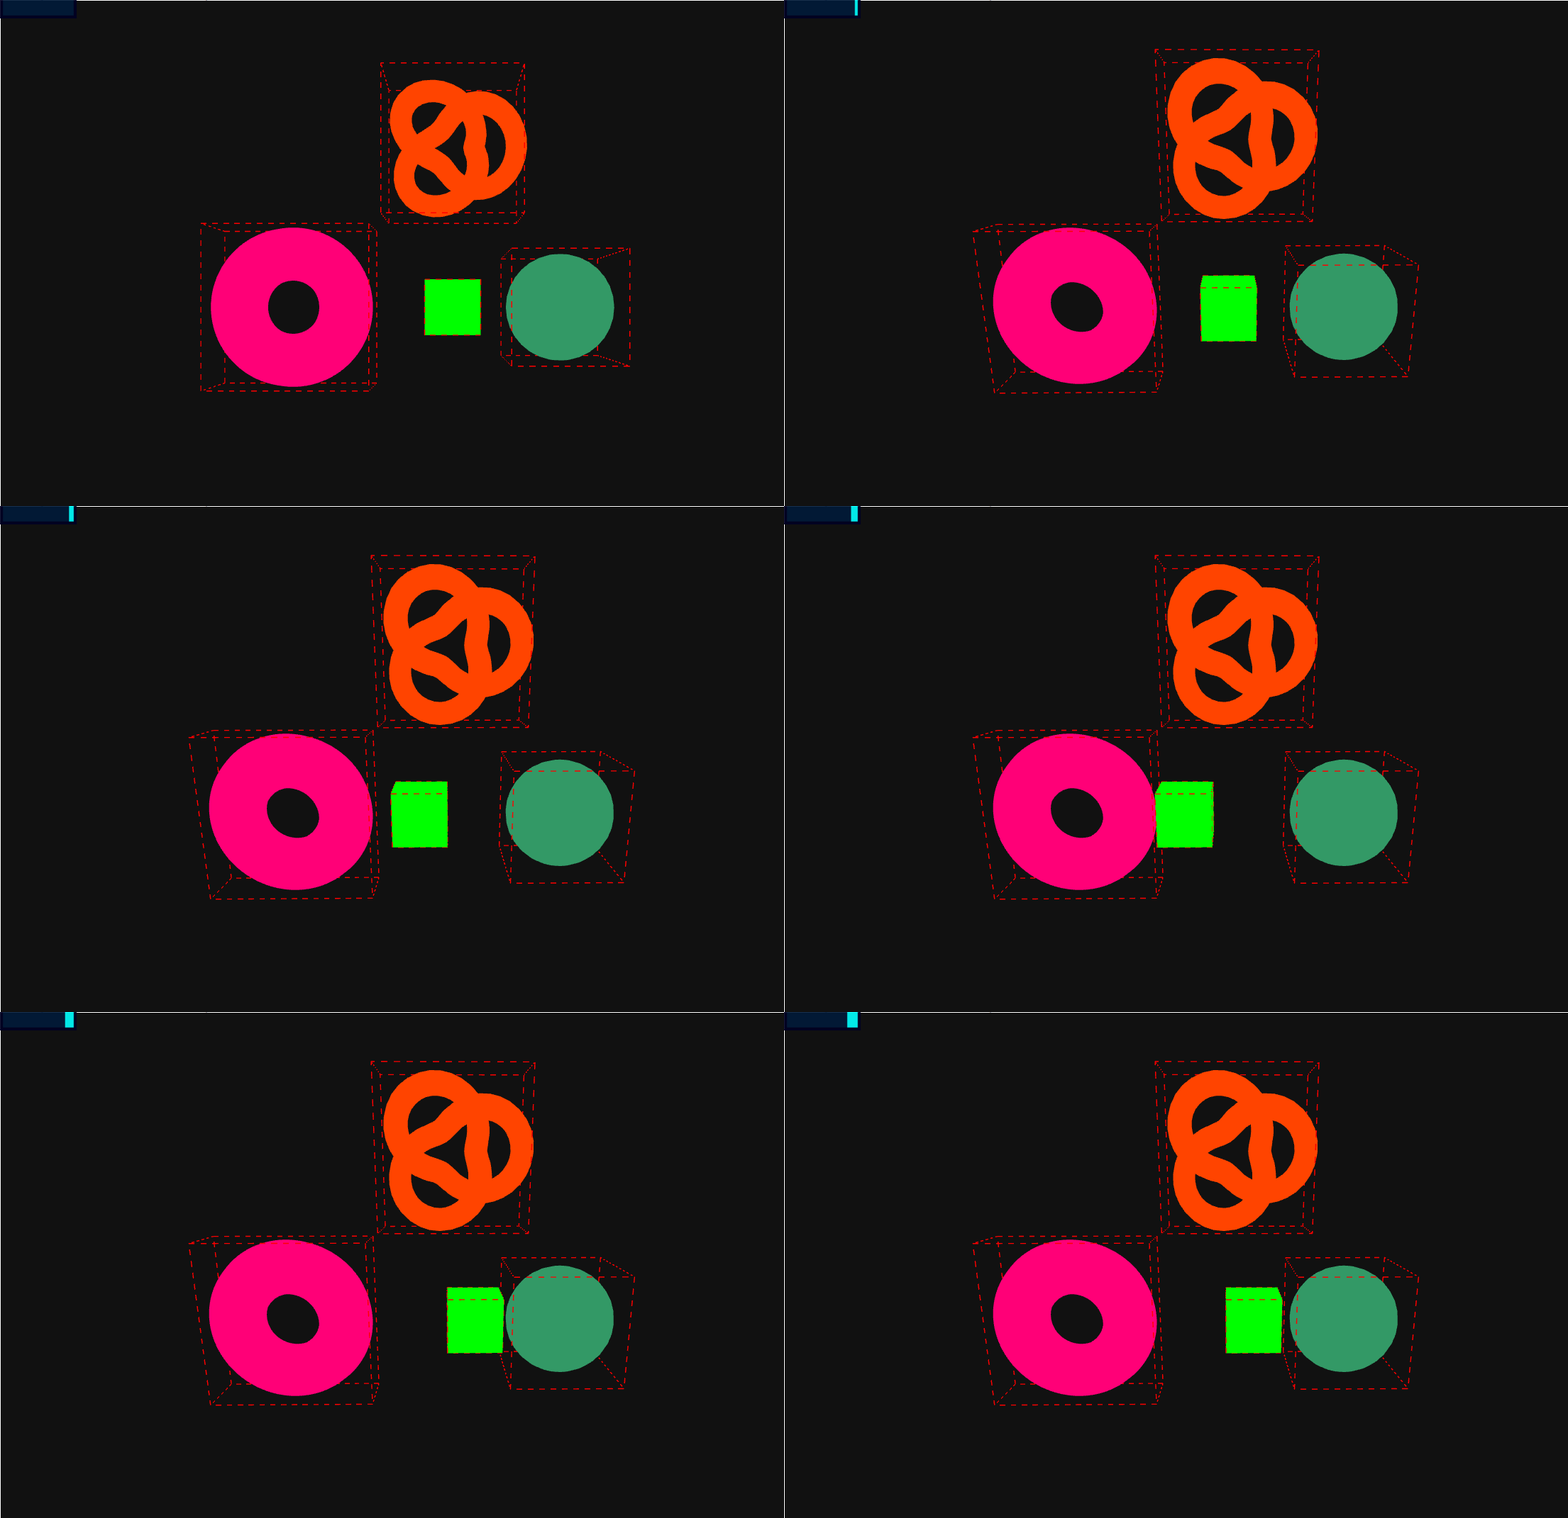
四、效果预览
五、效果案例 实现步骤
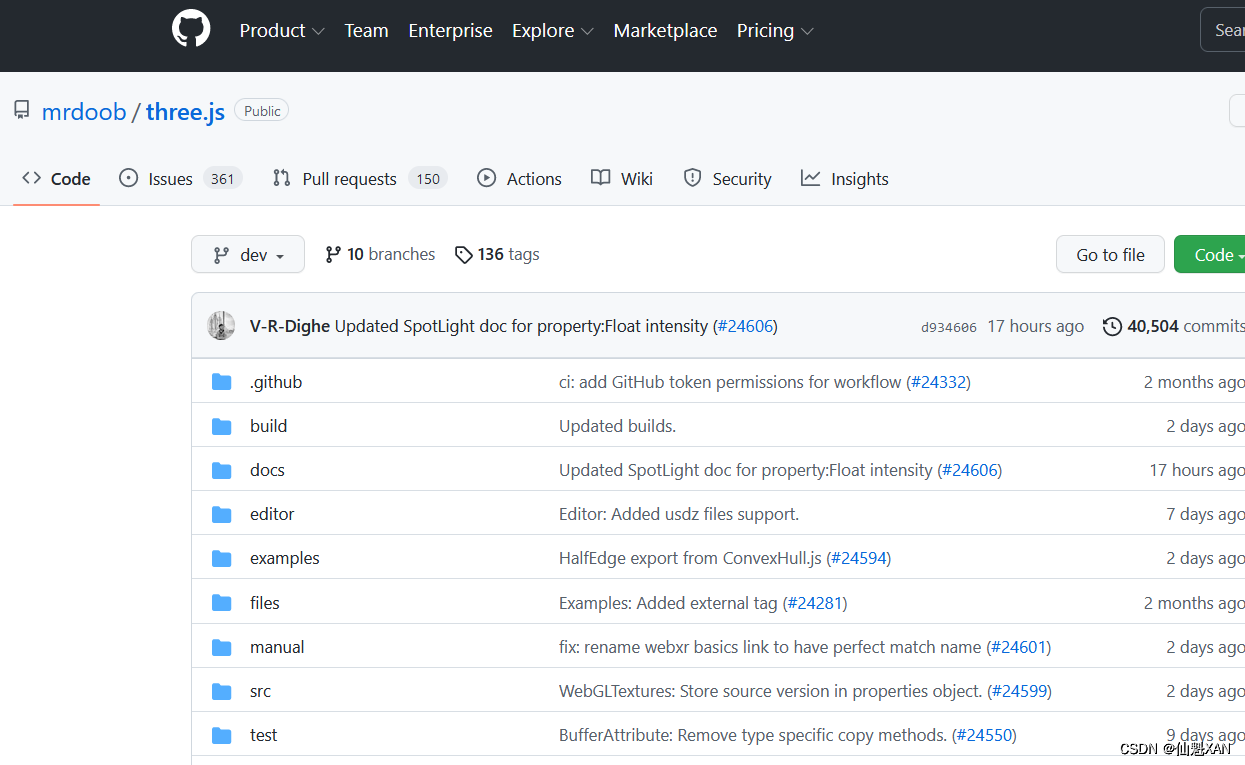
1、为了方便学习,这里是基于 Github 代码,进行开发的,大家可以下载官网代码,很多值得学习的案例
GitHub - mrdoob/three.js: JavaScript 3D Library.
gitcode:mirrors / mrdoob / three.js · GitCode
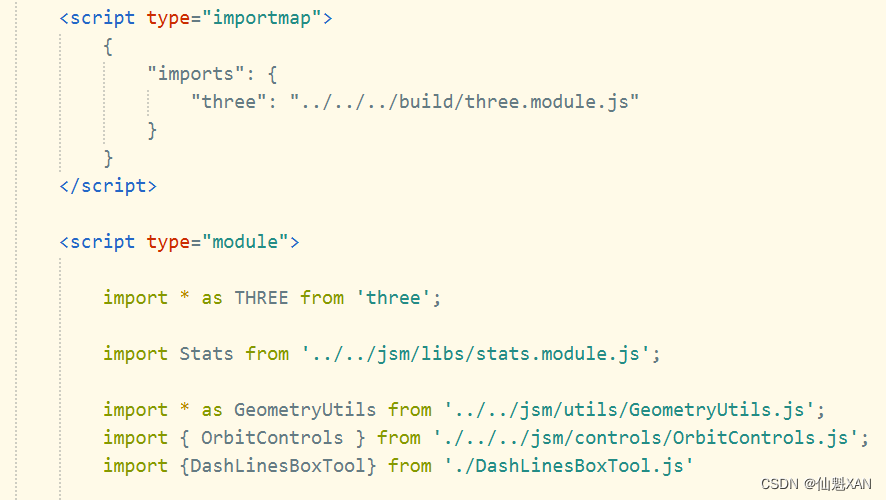
2、在上面的基础上,添加一个 html ,用来实现案例效果,引入相关包
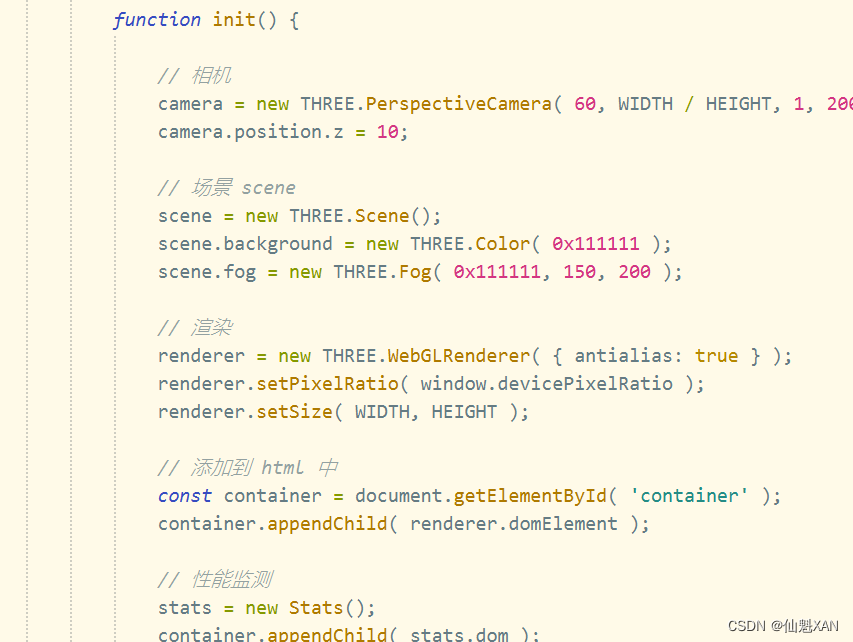
3、初始化构建 3D 场景
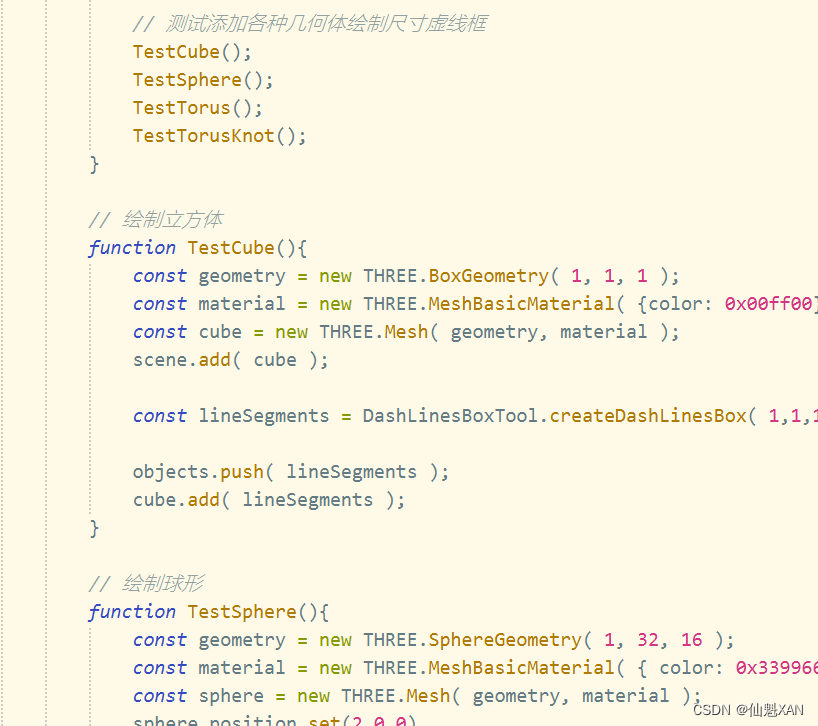
4、向场景中添加测试几何体绘制线框模型,并给模型添加虚线框
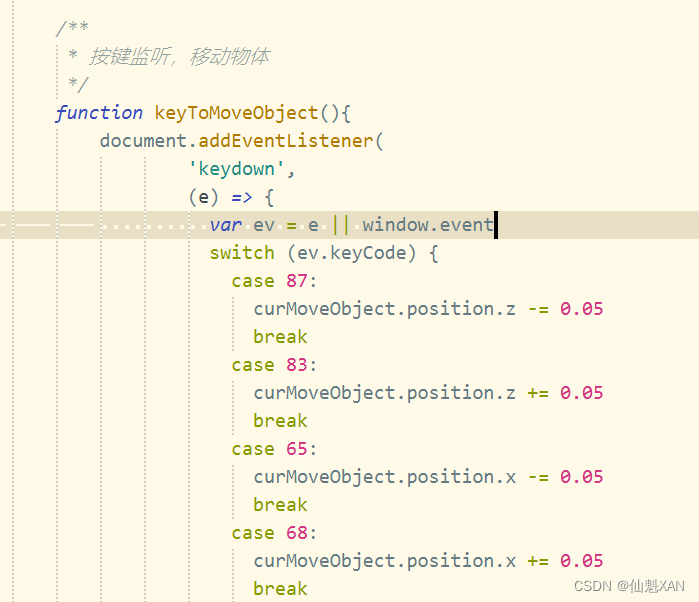
5、添加移动物体按键监听
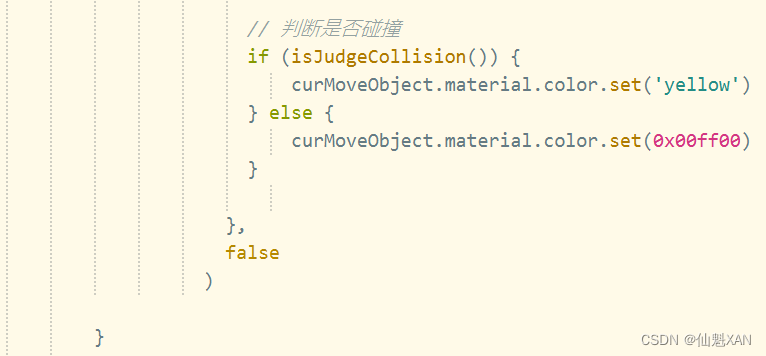
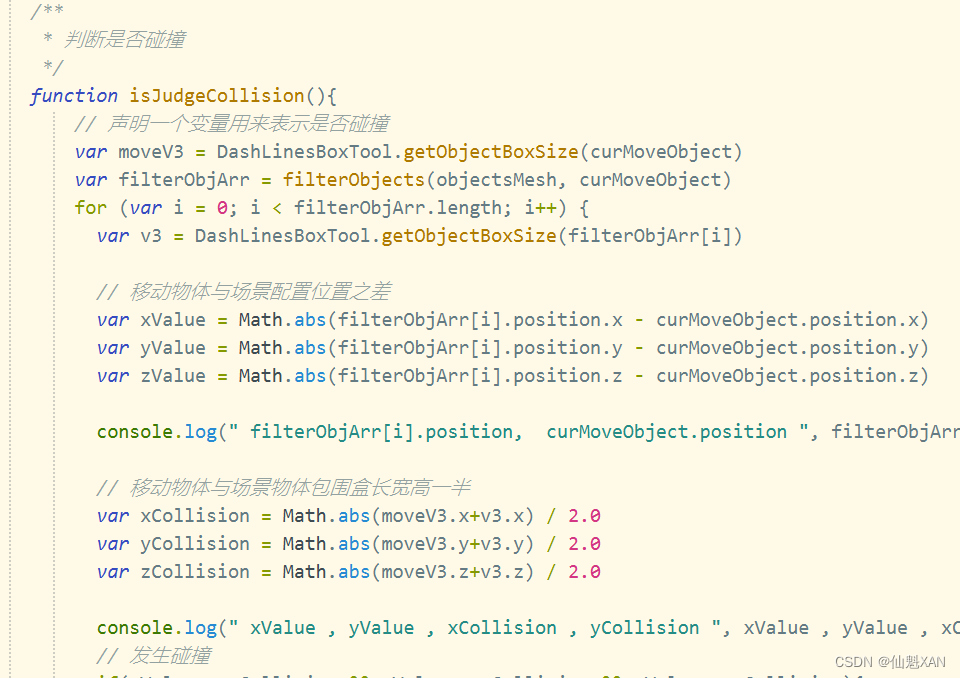
6、添加移动物体碰撞监听
7、运行场景,效果如图
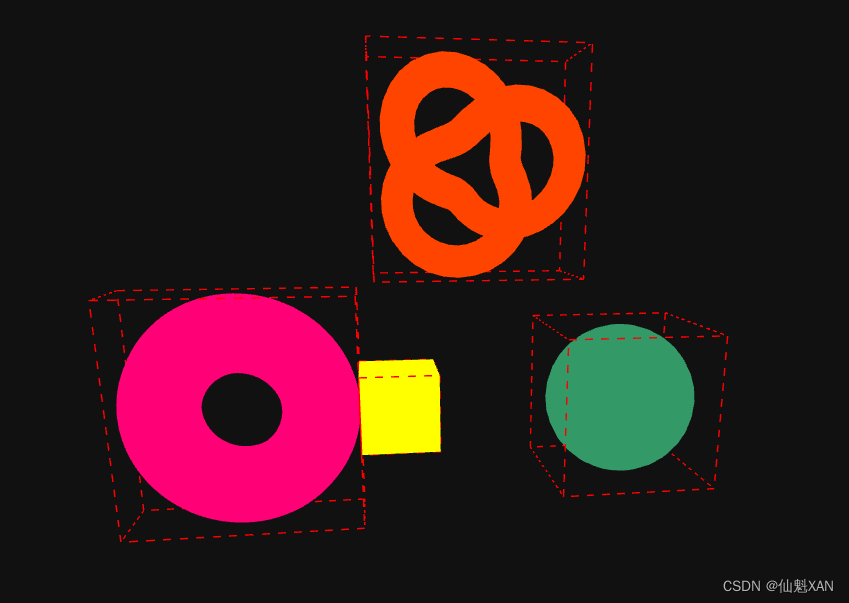
六、关键代码
1、TestMoveCollision.html
<!DOCTYPE html>
<html lang="en">
	<head>
		<title>TestMoveCollision</title>
		<meta charset="utf-8">
		<meta name="viewport" content="width=device-width, user-scalable=no, minimum-scale=1.0, maximum-scale=1.0">
		<link type="text/css" rel="stylesheet" href="main.css">
	</head>

	<body>
		<div id="info"><a href="https://threejs.org" target="_blank" rel="noopener">three.js</a> - dashed lines example</div>
		<div id="container"></div>

		<!-- Import maps polyfill -->
		<!-- Remove this when import maps will be widely supported -->
		<script async src="https://unpkg.com/es-module-shims@1.3.6/dist/es-module-shims.js"></script>

		<script type="importmap">
			{
				"imports": {
					"three": "../../../build/three.module.js"
				}
			}
		</script>

		<script type="module">

			import * as THREE from 'three';

			import Stats from '../../jsm/libs/stats.module.js';

			import * as GeometryUtils from '../../jsm/utils/GeometryUtils.js';
			import { OrbitControls } from './../../jsm/controls/OrbitControls.js';
			import {DashLinesBoxTool} from './DashLinesBoxTool.js'

			let renderer, scene, camera, stats, controls;;
			const objects = [];
			const objectsMesh = [];

			const WIDTH = window.innerWidth, HEIGHT = window.innerHeight;
			let curMoveObject;

			init();
			animate();

			function init() {

				// 相机
				camera = new THREE.PerspectiveCamera( 60, WIDTH / HEIGHT, 1, 200 );
				camera.position.z = 10;

				// 场景 scene
				scene = new THREE.Scene();
				scene.background = new THREE.Color( 0x111111 );
				scene.fog = new THREE.Fog( 0x111111, 150, 200 );

				// 渲染
				renderer = new THREE.WebGLRenderer( { antialias: true } );
				renderer.setPixelRatio( window.devicePixelRatio );
				renderer.setSize( WIDTH, HEIGHT );

				// 添加到 html 中
				const container = document.getElementById( 'container' );
				container.appendChild( renderer.domElement );

				// 性能监测
				stats = new Stats();
				container.appendChild( stats.dom );

				// 控制相机场景中的轨道控制器
				controls = new OrbitControls( camera, renderer.domElement );

				// 窗口变化监控
				window.addEventListener( 'resize', onWindowResize );

				// 测试添加各种几何体绘制尺寸虚线框
				TestCube();
				TestSphere();
				TestTorus();
				TestTorusKnot();

				keyToMoveObject();
			}

			// 绘制立方体
			function TestCube(){
				const geometry = new THREE.BoxGeometry( 1, 1, 1 );
				const material = new THREE.MeshBasicMaterial( {color: 0x00ff00} );
				const cube = new THREE.Mesh( geometry, material );
				scene.add( cube );

				const lineSegments = DashLinesBoxTool.createDashLinesBox( 1,1,1,"#ff0000",0.1,0.1 );

				objects.push( lineSegments );
				objectsMesh.push( cube );
				cube.add( lineSegments );

				curMoveObject = cube
			}

			// 绘制球形
			function TestSphere(){
				const geometry = new THREE.SphereGeometry( 1, 32, 16 );
				const material = new THREE.MeshBasicMaterial( { color: 0x339966 } );
				const sphere = new THREE.Mesh( geometry, material );
				sphere.position.set(2,0,0)
				scene.add( sphere );

				const lineSegments = DashLinesBoxTool.createDashLinesBoxWithObject( sphere,"#ff0000",0.1,0.1 );

				objects.push( lineSegments );
				sphere.add( lineSegments );
				objectsMesh.push( sphere );
			}

			// 绘制圆环
			function TestTorus(){
				const geometry = new THREE.TorusGeometry( 1, 0.5, 16, 100 );
				const material = new THREE.MeshBasicMaterial( { color: 0xff0077 } );
				const torus = new THREE.Mesh( geometry, material );
				torus.position.set(-3,0,0)
				// torus.rotation.set(0, Math.PI/2, 0);
				scene.add( torus );

				const lineSegments = DashLinesBoxTool.createDashLinesBoxWithObject( torus,"#ff0000",0.1,0.1 );

				objects.push( lineSegments );
				torus.add( lineSegments );

				const box3 = new THREE.Box3()
				box3.expandByObject(torus)
				console.log("box3 ",box3)
				objectsMesh.push( torus );
			}

			// 绘制扭曲圆环
			function TestTorusKnot(){
				const geometry = new THREE.TorusKnotGeometry( 0.8, 0.2, 100, 16 );
				const material = new THREE.MeshBasicMaterial( { color: 0xff4400 } );
				const torusKnot = new THREE.Mesh( geometry, material );
				torusKnot.position.set(0,3,0);
				// torusKnot.rotation.set(0, Math.PI/2, 0);
				scene.add( torusKnot );


				const lineSegments = DashLinesBoxTool.createDashLinesBoxWithObject( torusKnot,"#ff0000",0.1,0.1 );
				objects.push( lineSegments );
				torusKnot.add( lineSegments );
				// lineSegments.rotation.set(0, Math.PI/2, 0);
				objectsMesh.push( torusKnot );
			}

			// 窗口尺寸变化监听
			function onWindowResize() {

				camera.aspect = window.innerWidth / window.innerHeight;
				camera.updateProjectionMatrix();

				renderer.setSize( window.innerWidth, window.innerHeight );

			}

			// 动画
			function animate() {

				requestAnimationFrame( animate );

				render();
				stats.update();
				controls.update()
			}

			// 渲染
			function render() {

				renderer.render( scene, camera );

			}

			/**
			 * 按键监听,移动物体
			 */
			function keyToMoveObject(){
				document.addEventListener(
				        'keydown',
				        (e) => {
				          var ev = e || window.event
				          switch (ev.keyCode) {
				            case 87:
				              curMoveObject.position.z -= 0.05
				              break
				            case 83:
				              curMoveObject.position.z += 0.05
				              break
				            case 65:
				              curMoveObject.position.x -= 0.05
				              break
				            case 68:
				              curMoveObject.position.x += 0.05
				              break
				            default:
				              break
				          }

						  // 判断是否碰撞
						  if (isJudgeCollision()) {
							  curMoveObject.material.color.set('yellow')
						  } else {
							  curMoveObject.material.color.set(0x00ff00)
						  }

				        },
				        false
				      )

			}


			  function filterObjects(objArray,target){
				  var arr = []
				  for (var i = 0; i < objArray.length; i++) {
				  	if(objArray[i] === target){
						continue
					}

					arr.push(objArray[i])
				  }
				  return arr
			  }

			  /**
			   * 判断是否碰撞
			   */
			  function isJudgeCollision(){
				  // 声明一个变量用来表示是否碰撞
				  var moveV3 = DashLinesBoxTool.getObjectBoxSize(curMoveObject)
				  var filterObjArr = filterObjects(objectsMesh, curMoveObject)
				  for (var i = 0; i < filterObjArr.length; i++) {
				  	var v3 = DashLinesBoxTool.getObjectBoxSize(filterObjArr[i])

					// 移动物体与场景配置位置之差
					var xValue = Math.abs(filterObjArr[i].position.x - curMoveObject.position.x)
					var yValue = Math.abs(filterObjArr[i].position.y - curMoveObject.position.y)
					var zValue = Math.abs(filterObjArr[i].position.z - curMoveObject.position.z)

					console.log(" filterObjArr[i].position,  curMoveObject.position ", filterObjArr[i].position , curMoveObject.position )

					// 移动物体与场景物体包围盒长宽高一半
					var xCollision = Math.abs(moveV3.x+v3.x) / 2.0
					var yCollision = Math.abs(moveV3.y+v3.y) / 2.0
					var zCollision = Math.abs(moveV3.z+v3.z) / 2.0

					console.log(" xValue , yValue , xCollision , yCollision ", xValue , yValue , xCollision , yCollision )
					// 发生碰撞
					if(xValue < xCollision && yValue < yCollision && zValue < zCollision){
						return true
					}
				  }

				  return false
			  }

	</script>

</body>

</html>
2、DashLinesBoxTool.js
import {
  BufferGeometry,
  Float32BufferAttribute,
  LineSegments,
  LineDashedMaterial,
  Box3,
  Vector3

} from 'three'

/**
 * 画 Box 虚线工具
 */
export class DashLinesBoxTool{

	constructor(){}

	/**
	 * 根据长宽高 创建虚线框
	 * @param {Object} width
	 * @param {Object} height
	 * @param {Object} depth
	 * @param {Object} color
	 * @param {Object} dashSize
	 * @param {Object} gapSize
	 */
	static createDashLinesBox(width, height, depth,color=0x0000ff,dashSize=1,gapSize=1){
		const geometryBox = DashLinesBoxTool.getBoxGeometry( width, height, depth );
		const lineSegments = new LineSegments( geometryBox, new LineDashedMaterial( {  color,  dashSize,  gapSize } ) );
		lineSegments.computeLineDistances();

		return lineSegments
	}

	/**
	 * 根据几何体 object 创建虚线框
	 * @param {Object} object
	 * @param {Object} color
	 * @param {Object} dashSize
	 * @param {Object} gapSize
	 */
	static createDashLinesBoxWithObject(object, color=0x0000ff,dashSize=1,gapSize=1){
		var v3Size = DashLinesBoxTool.getObjectBoxSize(object)
		return DashLinesBoxTool.createDashLinesBox(v3Size.x,v3Size.y,v3Size.z,color,dashSize,gapSize)
	}

	/**
	 * 根据 Object 计算几何长宽高, 并 Vector3 形式返回
	 * @param {Object} object
	 */
	static getObjectBoxSize(object){
		const box3 = new Box3()
		box3.expandByObject(object)
		const v3 = new Vector3()
		box3.getSize(v3)

		console.log("v3 ", v3)
		return v3
	}

	/**
	 * 根据长宽高生产对应线框点集
	 * @param {Object} width
	 * @param {Object} height
	 * @param {Object} depth
	 */
	static getBoxGeometry( width, height, depth ) {

		width = width * 0.5,
		height = height * 0.5,
		depth = depth * 0.5;

		const geometry = new BufferGeometry();
		const position = [];

		// 创建虚线点
		position.push(
			- width, - height, - depth,
			- width, height, - depth,

			- width, height, - depth,
			width, height, - depth,

			width, height, - depth,
			width, - height, - depth,

			width, - height, - depth,
			- width, - height, - depth,

			- width, - height, depth,
			- width, height, depth,

			- width, height, depth,
			width, height, depth,

			width, height, depth,
			width, - height, depth,

			width, - height, depth,
			- width, - height, depth,

			- width, - height, - depth,
			- width, - height, depth,

			- width, height, - depth,
			- width, height, depth,

			width, height, - depth,
			width, height, depth,

			width, - height, - depth,
			width, - height, depth
		 );

		geometry.setAttribute( 'position', new Float32BufferAttribute( position, 3 ) );

		return geometry;

	}
}
最后
以上就是细腻咖啡豆最近收集整理的关于Three 之 three.js (webgl)碰撞检测(非官方的简单的碰撞检测,使用局限性,仅供思路参考)Three 之 three.js (webgl)碰撞检测(非官方的简单的碰撞检测,使用局限性,仅供思路参考)的全部内容,更多相关Three内容请搜索靠谱客的其他文章。


发表评论 取消回复