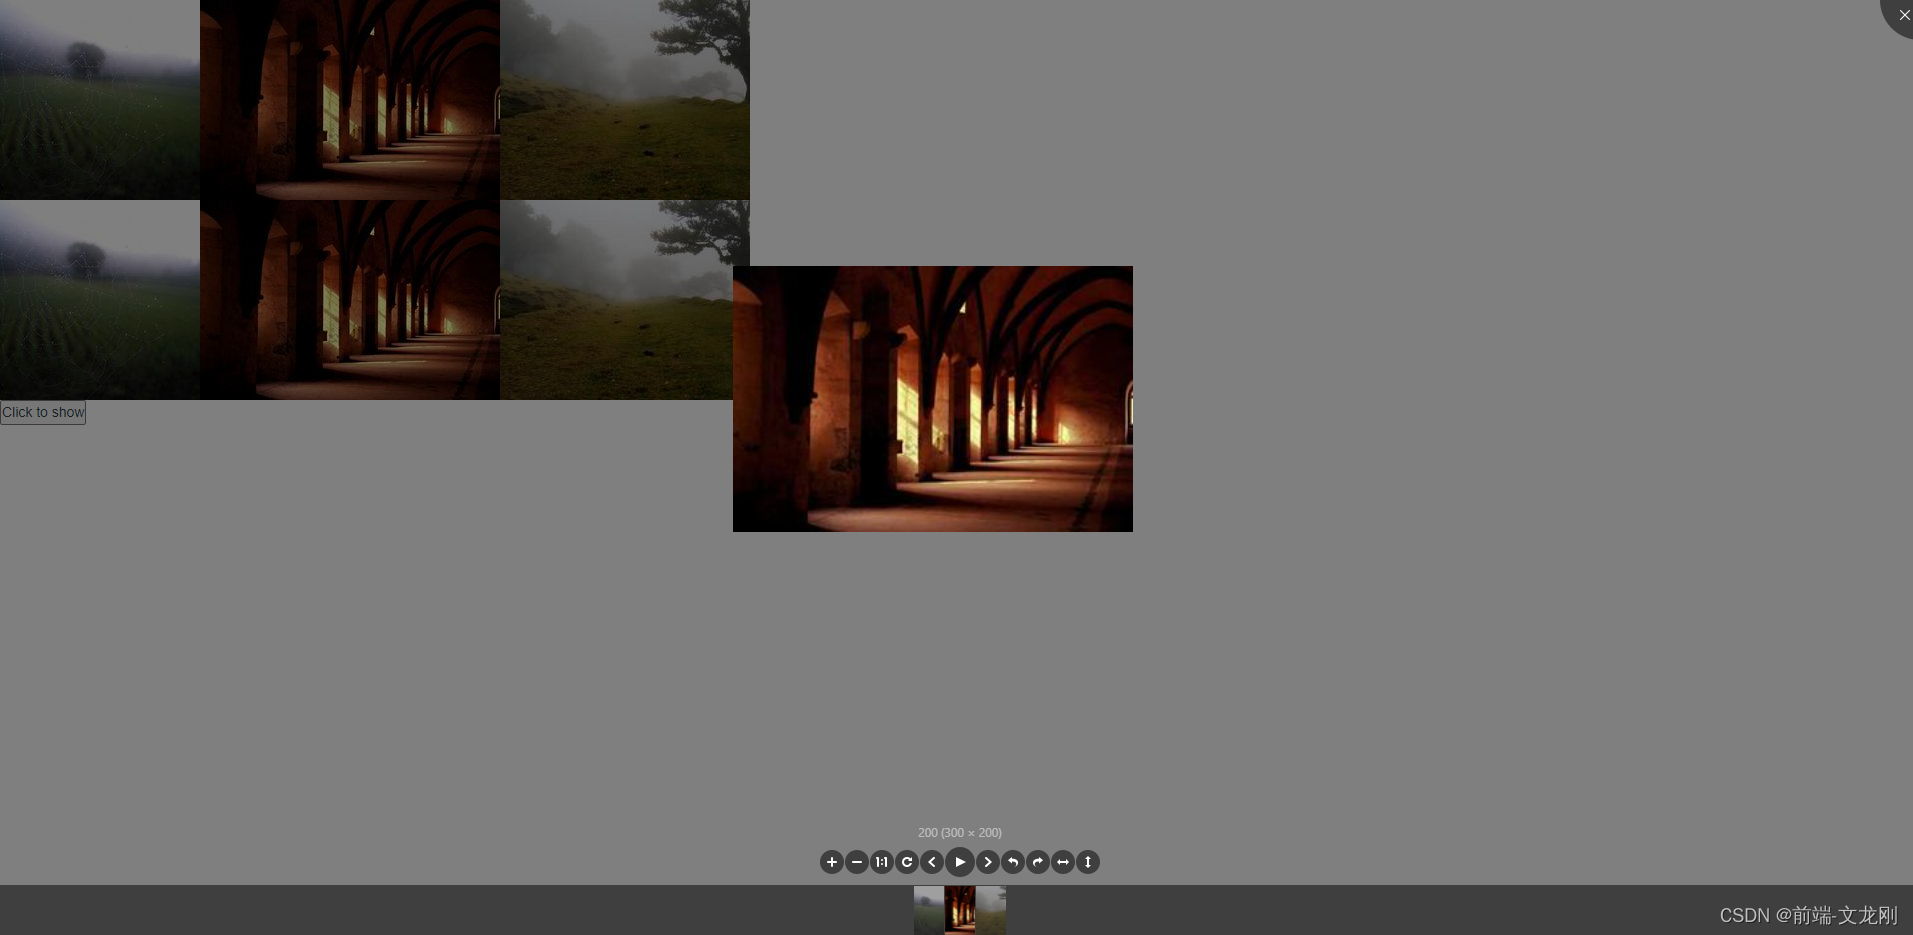
先看效果
第一步:安装该插件
npm install v-viewer
第二步:在对应的组件内导入该插件
import 'viewerjs/dist/viewer.css'
import VueViewer from 'v-viewer'
import Vue from 'vue'
Vue.use(VueViewer)
完整代码如下:
<template>
    <div>
      <!-- directive -->
      <div class="images" v-viewer>
        <img v-for="src in images" :key="src" :src="src">
      </div>
      <!-- component -->
      <viewer :images="images">
        <img v-for="src in images" :key="src" :src="src">
      </viewer>
      <!-- api -->
      <button type="button" @click="show">Click to show</button>
    </div>
  </template>
  <script>
    import 'viewerjs/dist/viewer.css'
    import VueViewer from 'v-viewer'
    import Vue from 'vue'
    Vue.use(VueViewer)
    export default {
      data() {
        return {
          images: [
            "https://picsum.photos/200/200",
            "https://picsum.photos/300/200",
            "https://picsum.photos/250/200"
          ]
        };
      },
      methods: {
        show() {
          this.$viewerApi({
            images: this.images,
          })
        },
      },
    }
  </script>
到这就完成了该插件的基本使用
最后
以上就是阔达柠檬最近收集整理的关于Vue图片浏览组件v-viewer,支持旋转、缩放、翻转等操作的全部内容,更多相关Vue图片浏览组件v-viewer内容请搜索靠谱客的其他文章。
本图文内容来源于网友提供,作为学习参考使用,或来自网络收集整理,版权属于原作者所有。


发表评论 取消回复