一、安装 nvm 版本管理工具
nvm英文全称node.js version management,是一个nodejs的版本管理工具。目的是解决node.js各种版本存在不兼容现象,并且可以通过它可以安装和切换不同版本的node.js。
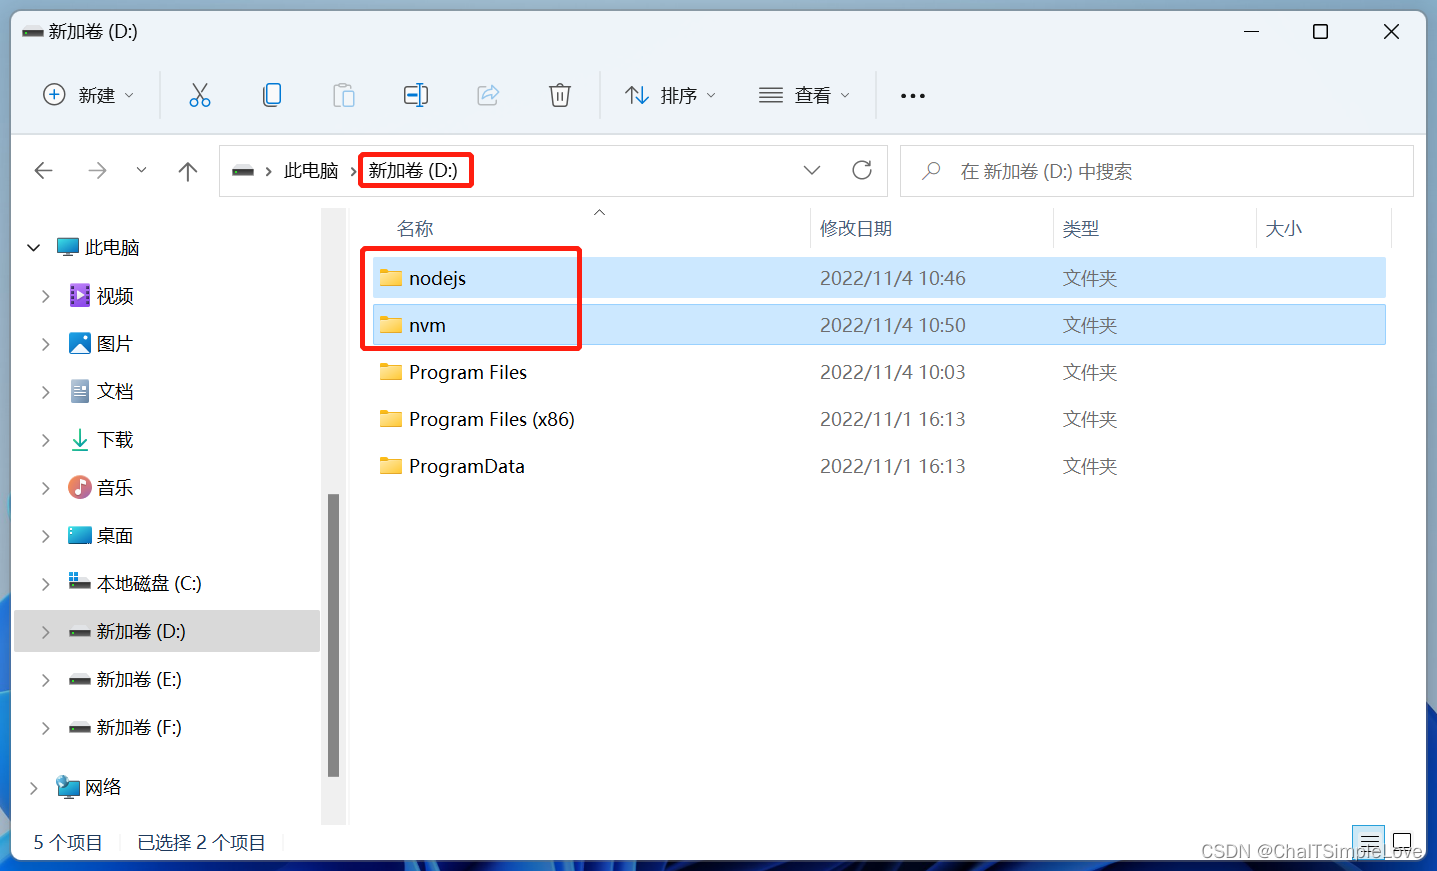
1.1 目标盘符新建文件夹
在安装 nvm 之前,我们现在目标盘符创建两个文件夹(分别是 nodejs 和 nvm 文件夹),此处是选择 D 盘安装,如下所示:
1.2 下在 nvm 并安装
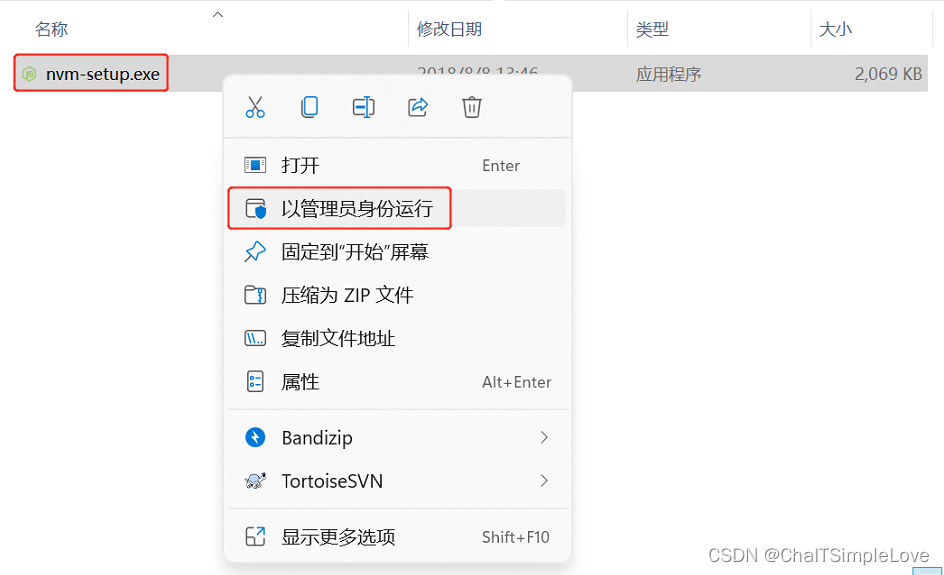
nvm下载地址:https://nvm.uihtm.com/- 使用管理员身份运行
nvm-setup.exe
- 设置
nvm安装路径
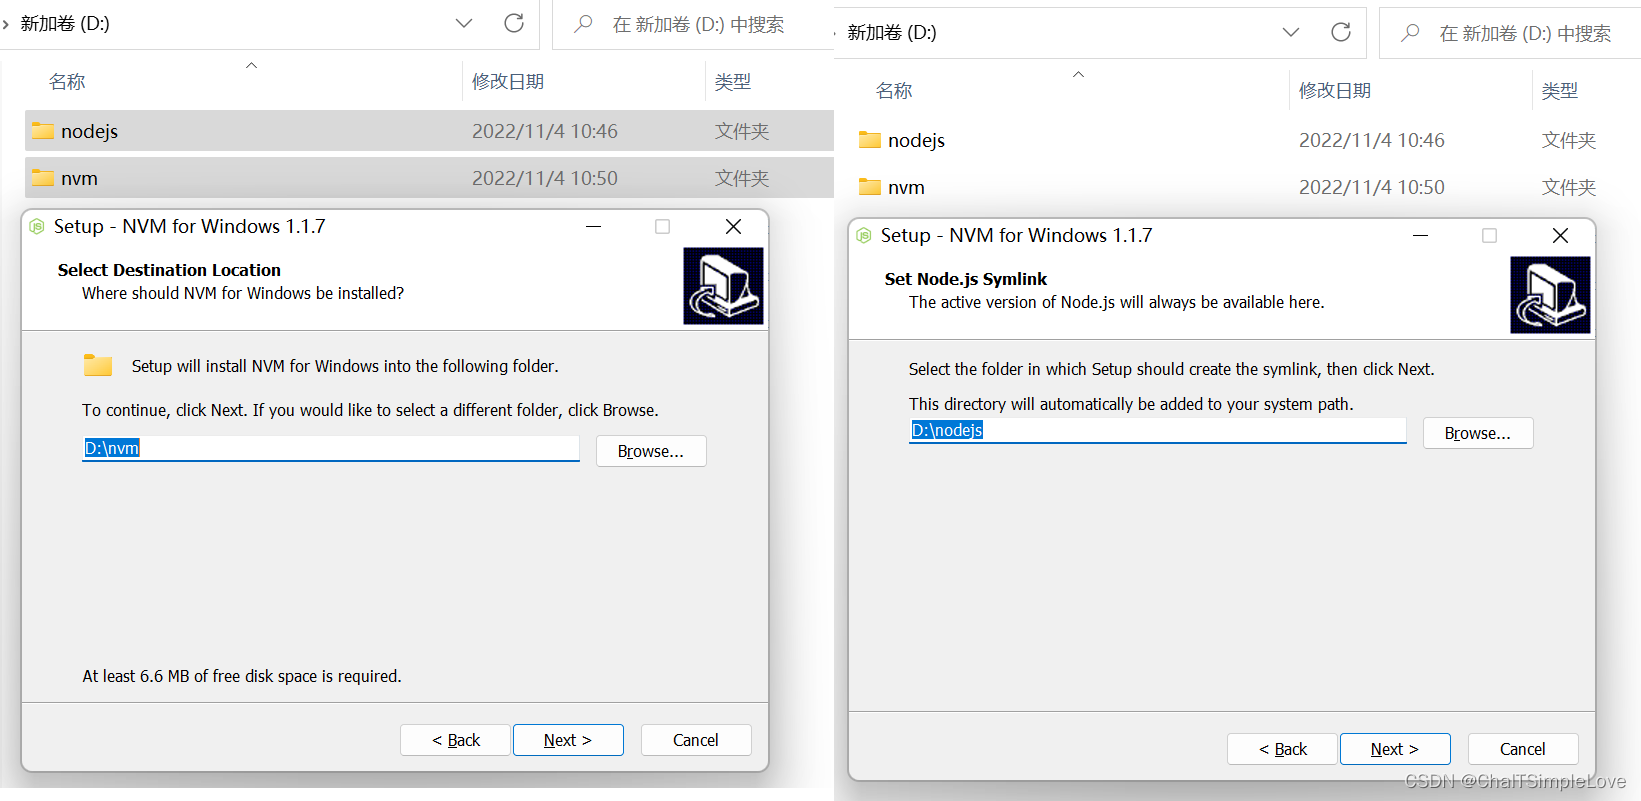
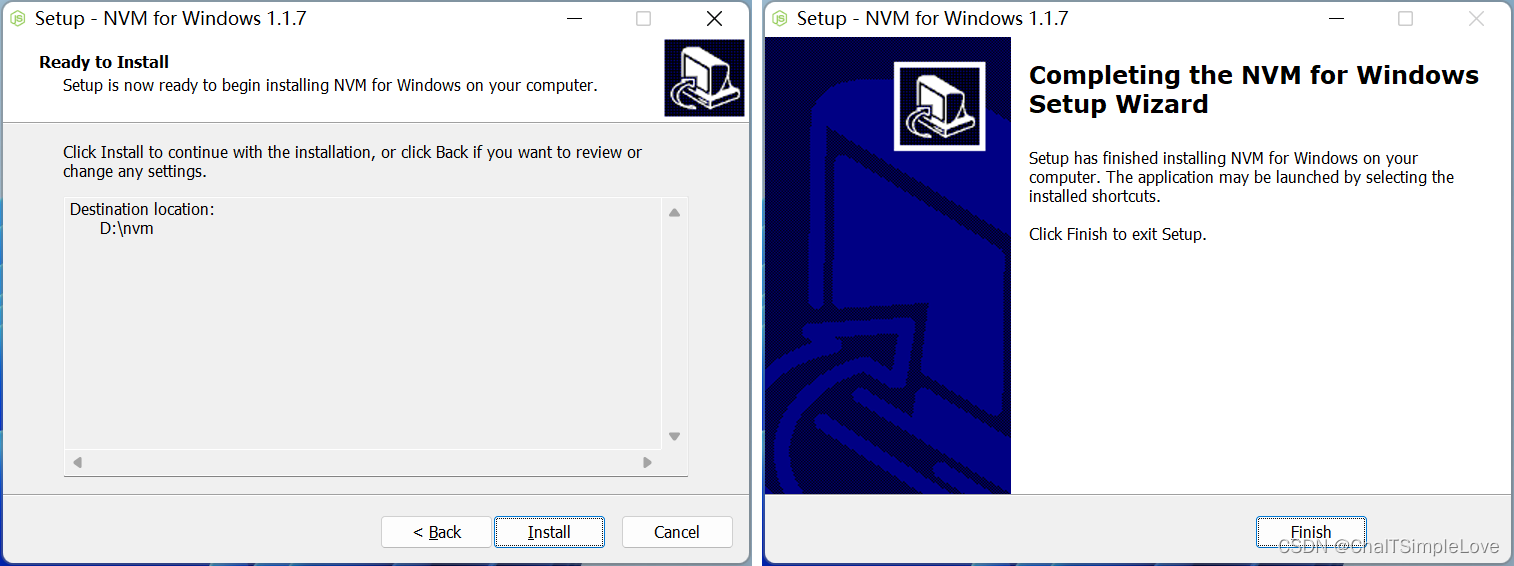
- 继续
Install安装,安装完成后,点击Finish。
1.3 验证 nvm 是否安装成功
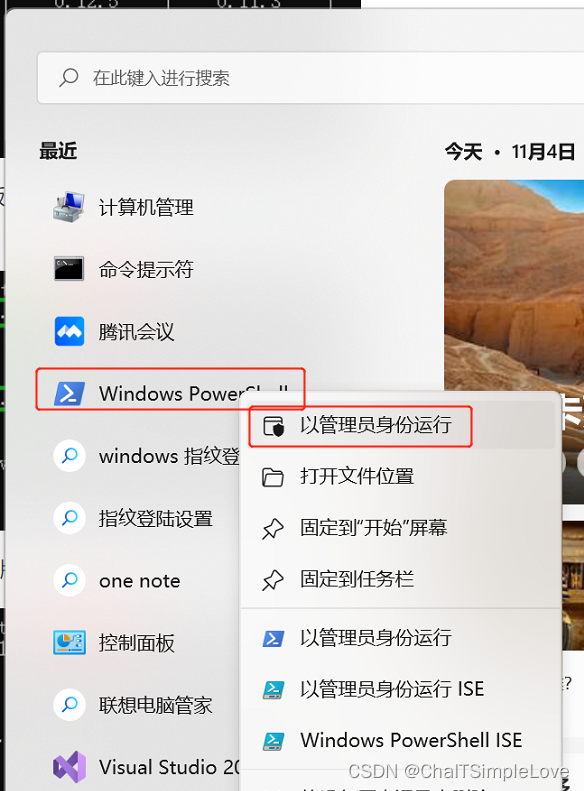
- 以【管理员身份】运行
powershell,如下所示:
- 命令【
nvm v】查看 nvm 版本信息; - 命令【
nvm list available】查看可安装的所有版本;
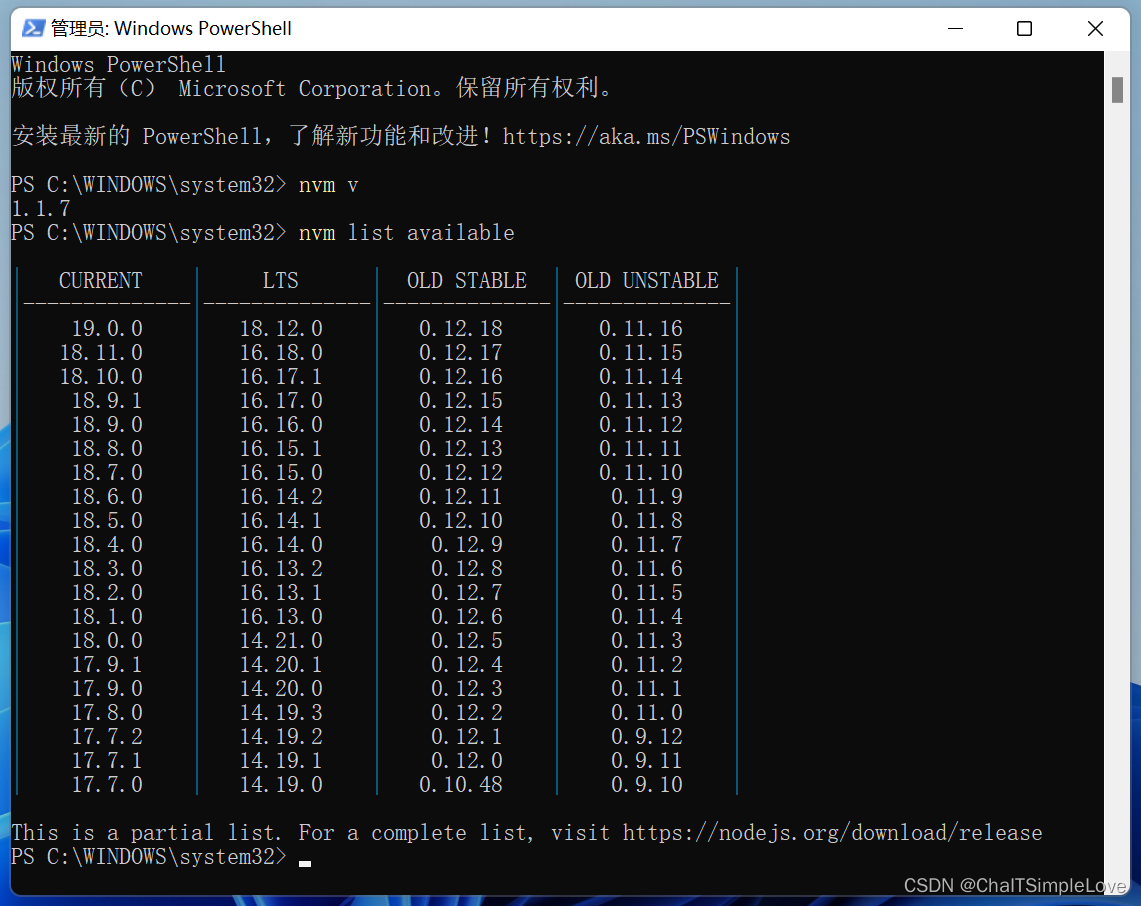
- 输入【
nvm】查看更多命令说明,输出如下信息:
Running version 1.1.7.

Usage:

  nvm arch                     : Show if node is running in 32 or 64 bit mode.
  nvm install <version> [arch] : The version can be a node.js version or "latest" for the latest stable version.
                                 Optionally specify whether to install the 32 or 64 bit version (defaults to system arch).
                                 Set [arch] to "all" to install 32 AND 64 bit versions.
                                 Add --insecure to the end of this command to bypass SSL validation of the remote download server.
  nvm list [available]         : List the node.js installations. Type "available" at the end to see what can be installed. Aliased as ls.
  nvm on                       : Enable node.js version management.
  nvm off                      : Disable node.js version management.
  nvm proxy [url]              : Set a proxy to use for downloads. Leave [url] blank to see the current proxy.
                                 Set [url] to "none" to remove the proxy.
  nvm node_mirror [url]        : Set the node mirror. Defaults to https://nodejs.org/dist/. Leave [url] blank to use default url.
  nvm npm_mirror [url]         : Set the npm mirror. Defaults to https://github.com/npm/cli/archive/. Leave [url] blank to default url.
  nvm uninstall <version>      : The version must be a specific version.
  nvm use [version] [arch]     : Switch to use the specified version. Optionally specify 32/64bit architecture.
                                 nvm use <arch> will continue using the selected version, but switch to 32/64 bit mode.
  nvm root [path]              : Set the directory where nvm should store different versions of node.js.
                                 If <path> is not set, the current root will be displayed.
  nvm version                  : Displays the current running version of nvm for Windows. Aliased as v.
出现以上信息,说明 nvm 已经安装成功,接下来我们就可以使用 nvm 来安装 node.js 实现多版本并存。
1.4 修改 settings.txt 配置
从上面的 nvm 信息中可以看出默认下载地址:
nvm node_mirror [url]        : Set the node mirror. Defaults to https://nodejs.org/dist/. Leave [url] blank to use default url.
nvm npm_mirror [url]         : Set the npm mirror. Defaults to https://github.com/npm/cli/archive/. Leave [url] blank to default url.
进入 nvm 根目录,修改 settings.txt 文件配置,使用国内镜像源(受网络环境影响,默认地址可能下载缓慢)。
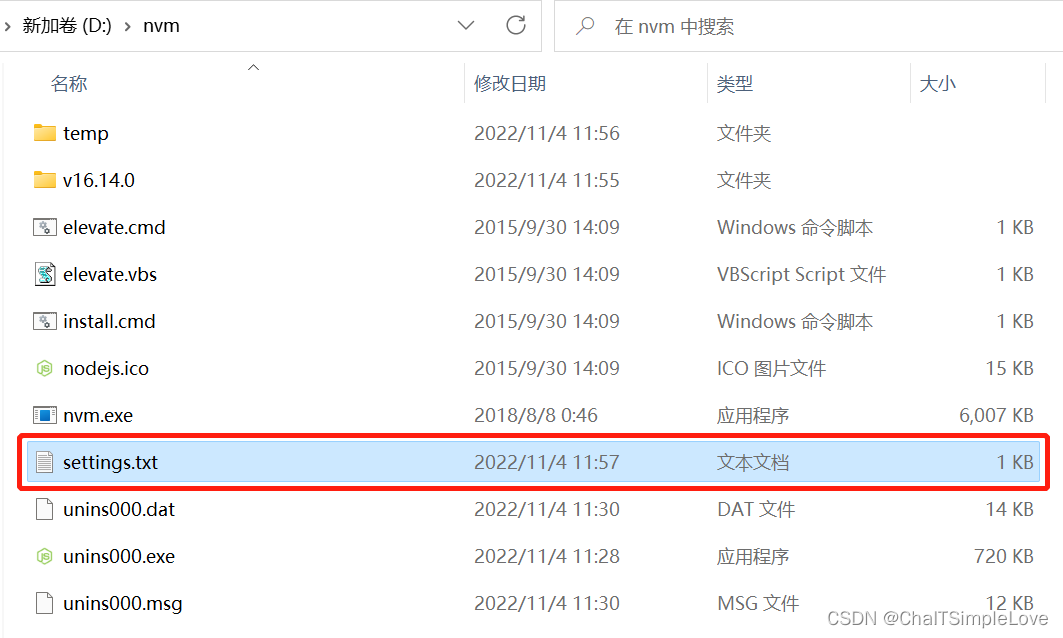
修改 settings.txt 文件配置信息如下:
root: D:nvm
path: D:nodejs
node_mirror: https://npm.taobao.org/mirrors/node/
npm_mirror: https://npm.taobao.org/mirrors/npm/
二、使用 nvm 配置 node.js
注意:以下命令操作,均使用管理员身份运行
powershell执行。
2.1 nvm 安装 node.js
- 使用
nvm安装node.js,上面我们已经查看了可安装的node.js版本信息。
# 此处选择 node.js 的 lts 版本 16.14.0
nvm install 16.14.0

# 查看 nvm 安装的 node.js
nvm ls

# nvm 切换使用 node.js 版本
nvm use 16.14.0

# 使用 nvm 安装最新稳定版 Node.js
nvm install stable
- 查看
node.js版本信息,验证该node.js是否安装成功。
node -v
- 查看
npm版本信息
npm -v
如果出现如下类似的错误信息:
npm : 无法将“npm”项识别为 cmdlet、函数、脚本文件或可运行程序的名称。请检查名称的拼写,如果包括路径,请确保路径正确,然
后再试一次。
所在位置 行:1 字符: 1
+ npm v
+ ~~~
    + CategoryInfo          : ObjectNotFound: (npm:String) [], CommandNotFoundException
    + FullyQualifiedErrorId : CommandNotFoundException
解决方案:使用命令【nvm uninstall 16.14.0】卸载对应的 node.js 版本,再次执行命令【nvm install 16.14.0】重新安装 node.js 环境。
PS C:UsersJeffrey Chai> nvm uninstall 16.14.0
Uninstalling node v16.14.0... done
2.2 npm 全局安装 ng cli
说明:由于这里使用
nvm安装node.js实现多版本并存,需要使用命令:nvm use <node.js版本号>指定具体版本。
npm全局安装ng cli
npm install -g @angular/cli
# 或者指定版本安装
npm install -g @angular/cli@11.1.2
- 如果安装失败,可以卸载再次重新安装,卸载命令如下:
# 全局卸载 angular/cli
npm uninstall -g @angular/cli
# 清空 npm 缓存
npm cache clean
# 删除用户目录下的相关文件夹
Delete the C:Users{User}AppDataRoamingnpmnode_modules@angular folder.
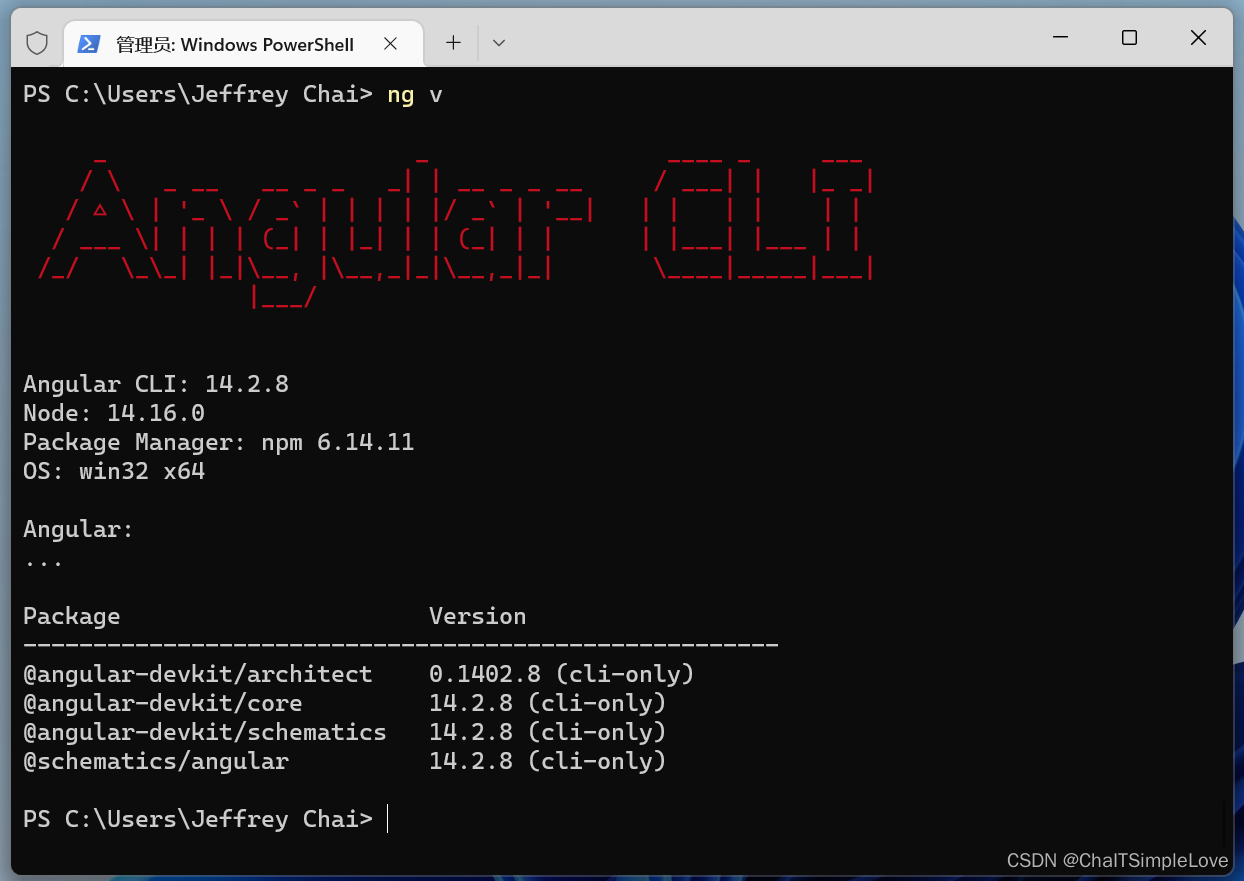
2.3 验证 ng 是否安装成功
- 命令查看
ng版本
ng v
输出如下信息,说明 ng cli 安装成功。
如果出现权限错误,使用管理员身份运行 powershell,执行如下命令:
PS C:WINDOWSsystem32> Set-ExecutionPolicy RemoteSigned

执行策略更改
执行策略可帮助你防止执行不信任的脚本。更改执行策略可能会产生安全风险,如 https:/go.microsoft.com/fwlink/?LinkID=135170
中的 about_Execution_Policies 帮助主题所述。是否要更改执行策略?
[Y] 是(Y)  [A] 全是(A)  [N] 否(N)  [L] 全否(L)  [S] 暂停(S)  [?] 帮助 (默认值为“N”): A
PS C:WINDOWSsystem32> Get-ExecutionPolicy
RemoteSigned
命令说明,请查看 :
- 【
Set-ExecutionPolicy】https://learn.microsoft.com/zh-cn/powershell/module/microsoft.powershell.security/set-executionpolicy?view=powershell-7.2- 【
Get-ExecutionPolicy】https://learn.microsoft.com/zh-cn/powershell/module/microsoft.powershell.security/get-executionpolicy?view=powershell-7.2
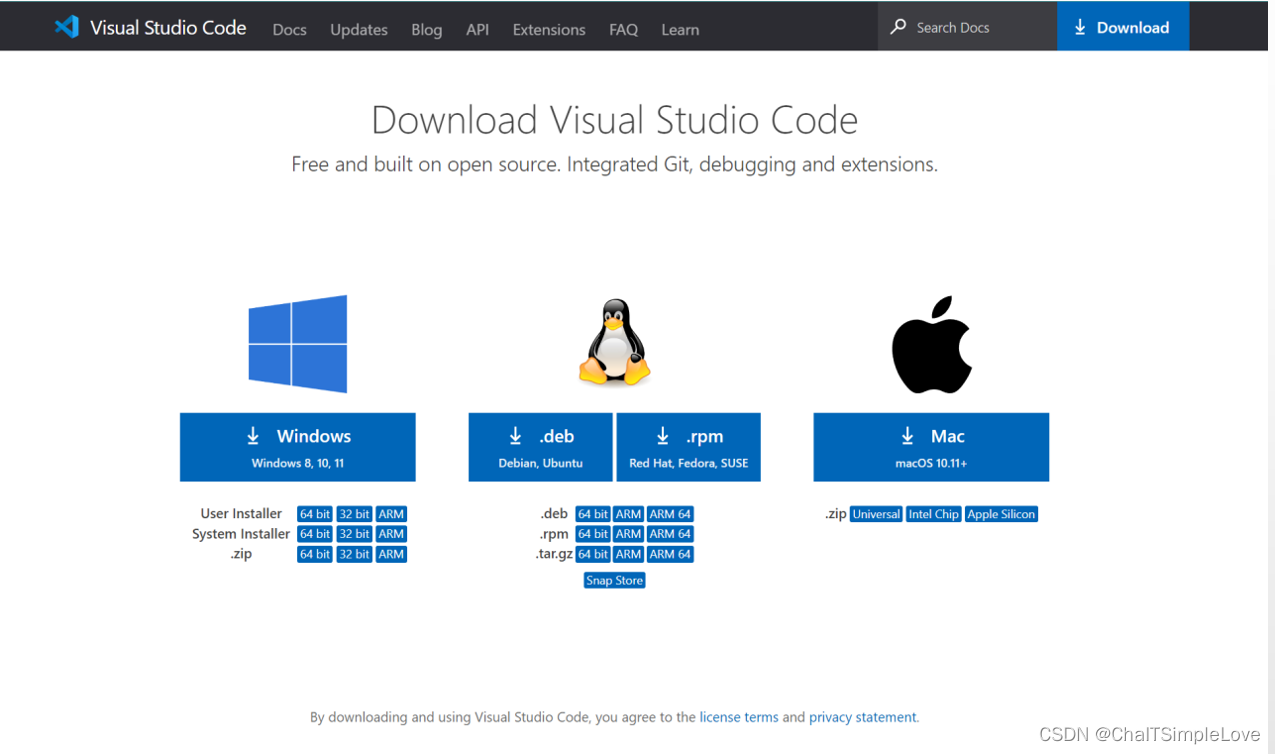
三、安装 vs code 编辑器
3.1 下载并安装 vs code 编辑器
下载 vs code(https://code.visualstudio.com/Download),选择对应操作系统环境下载安装即可。
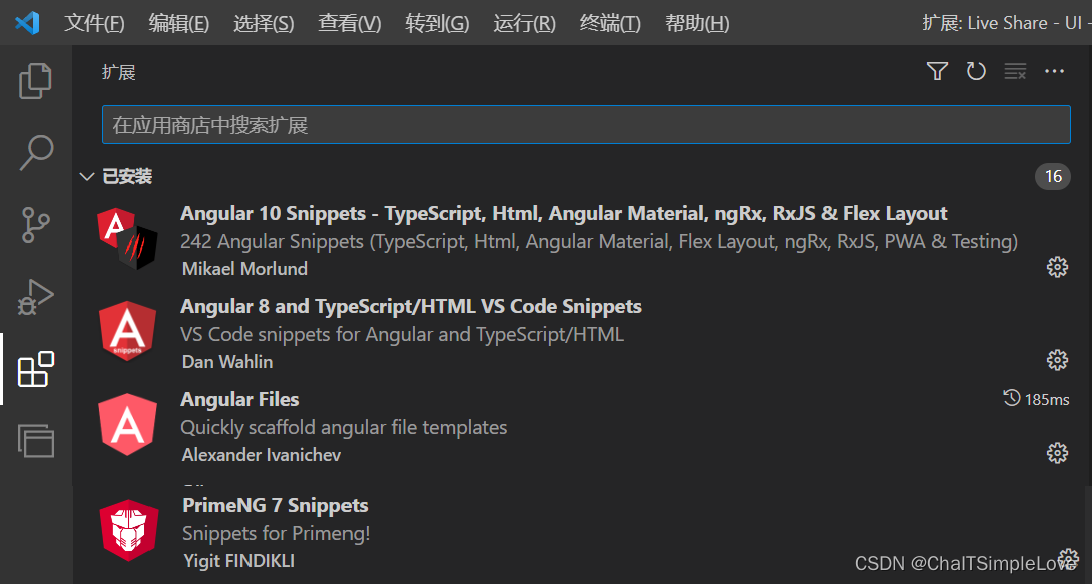
3.2 vs code 插件安装
说明:这里使用的
ng前端框架是PrimeNG(https://www.primefaces.org/primeng/)
在 vs code 扩展里面安装如下扩展插件:
3.3 下载 ng 框架依赖包
- 进入项目目录文件,使用
npm安装ng框架依赖包。
npm i
3.4 访问 ng 网站
- 运行
ng项目
ng serve
# 或者直接浏览器打开
ng serve --open
浏览器输入 url 地址【http://ip:port】,访问网站。
最后
以上就是英勇电灯胆最近收集整理的关于前端框架 ng 环境配置一、安装 nvm 版本管理工具二、使用 nvm 配置 node.js三、安装 vs code 编辑器的全部内容,更多相关前端框架内容请搜索靠谱客的其他文章。


发表评论 取消回复