目录
- 1. 各种私库官网
- 2. nexus安装
- 3. JFrog安装
- 3.1. RPM安装
- 3.1.1. 简单安装命令
- 3.1.2. 安装完成后的目录结构
- 3.1.3. 配置使用mysql
- 3.1.4. 配置使用oracle
- 3.1.4.1. 安装install libaio
- 3.1.4.2. 将libaio的动态库copy一下, 照做
- 3.1.4.3. 给jfrog创建oracle schema, 并给予权限
- 3.1.4.3. 下载oracle客户端, 这里有大坑
- 3.1.4.4. 如果安装了最新版的客户端, LD_LIBRARY_PATH可以不设置了
- 3.1.4.5. 在system.yaml中设置db连接串等
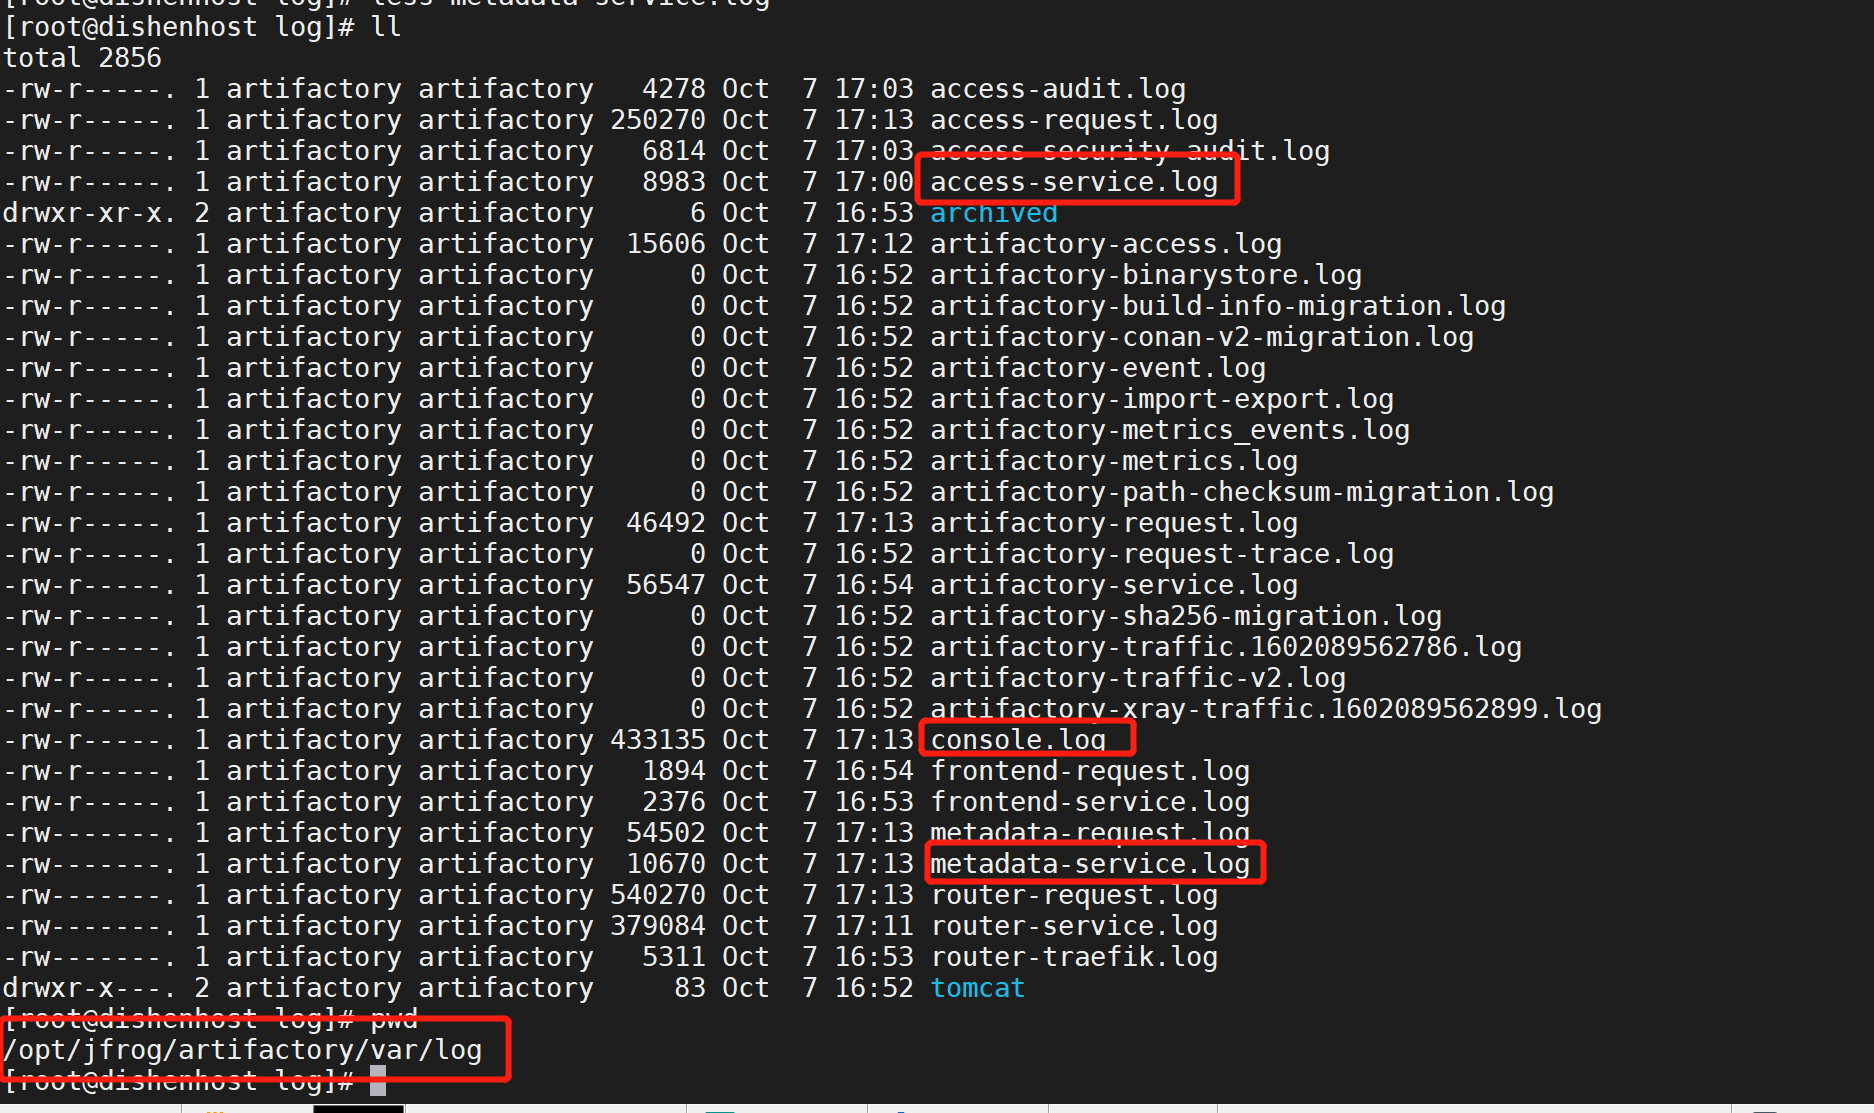
- 3.1.4.6. 如果出现错误, 就查看日志, 可以设置启动出错的模块对应的log level为debug
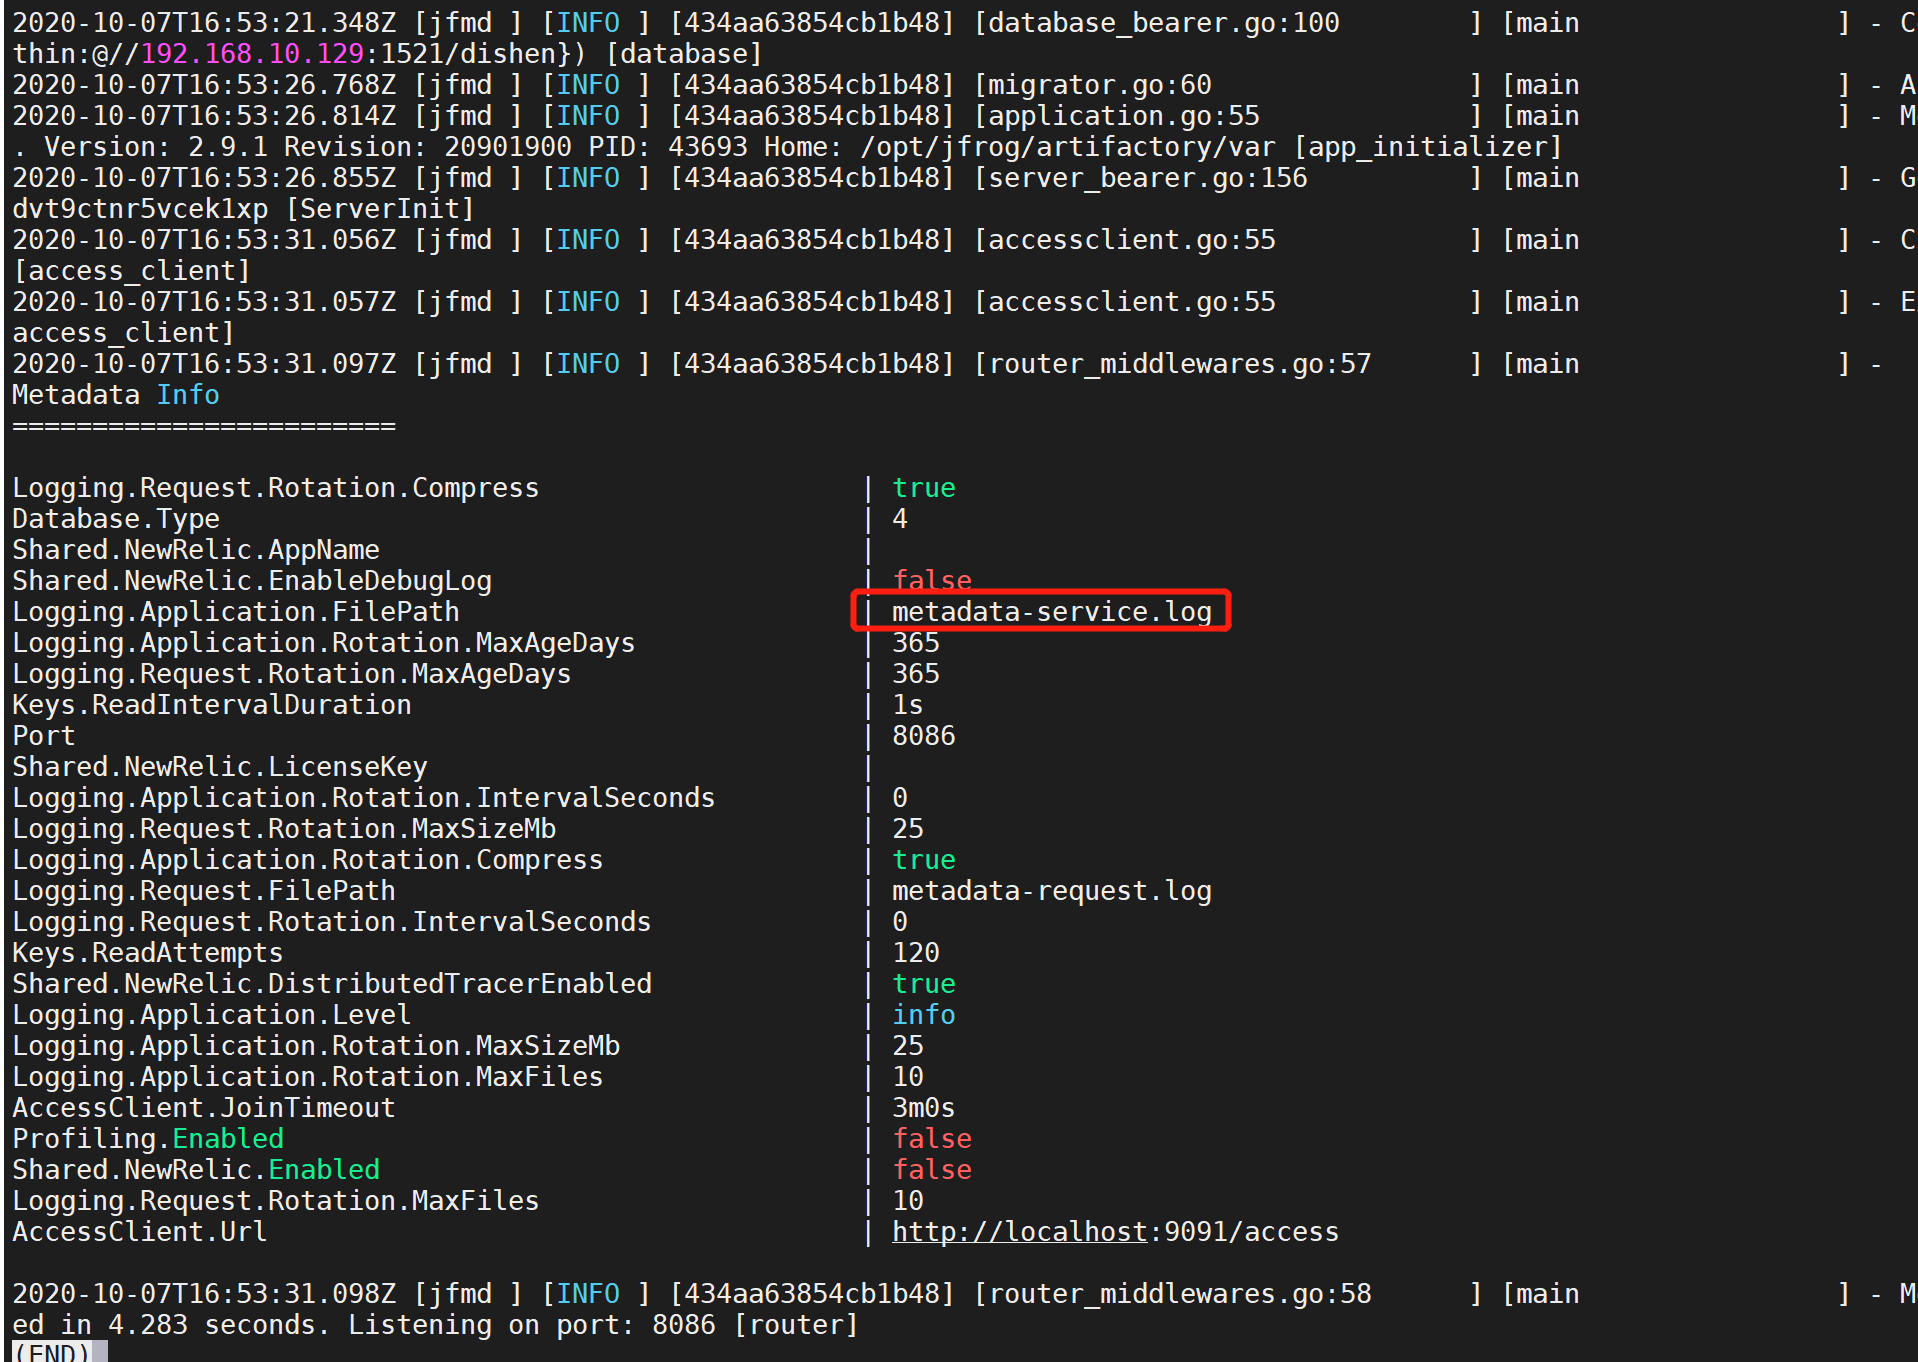
- 3.1.4.7. 启动成功验证
- 3.2. yum安装
1. 各种私库官网
nexus
JFROG
参考链接
2. nexus安装
参考链接
参考链接2
3. JFrog安装
官方参考
下载链接
3.1. RPM安装
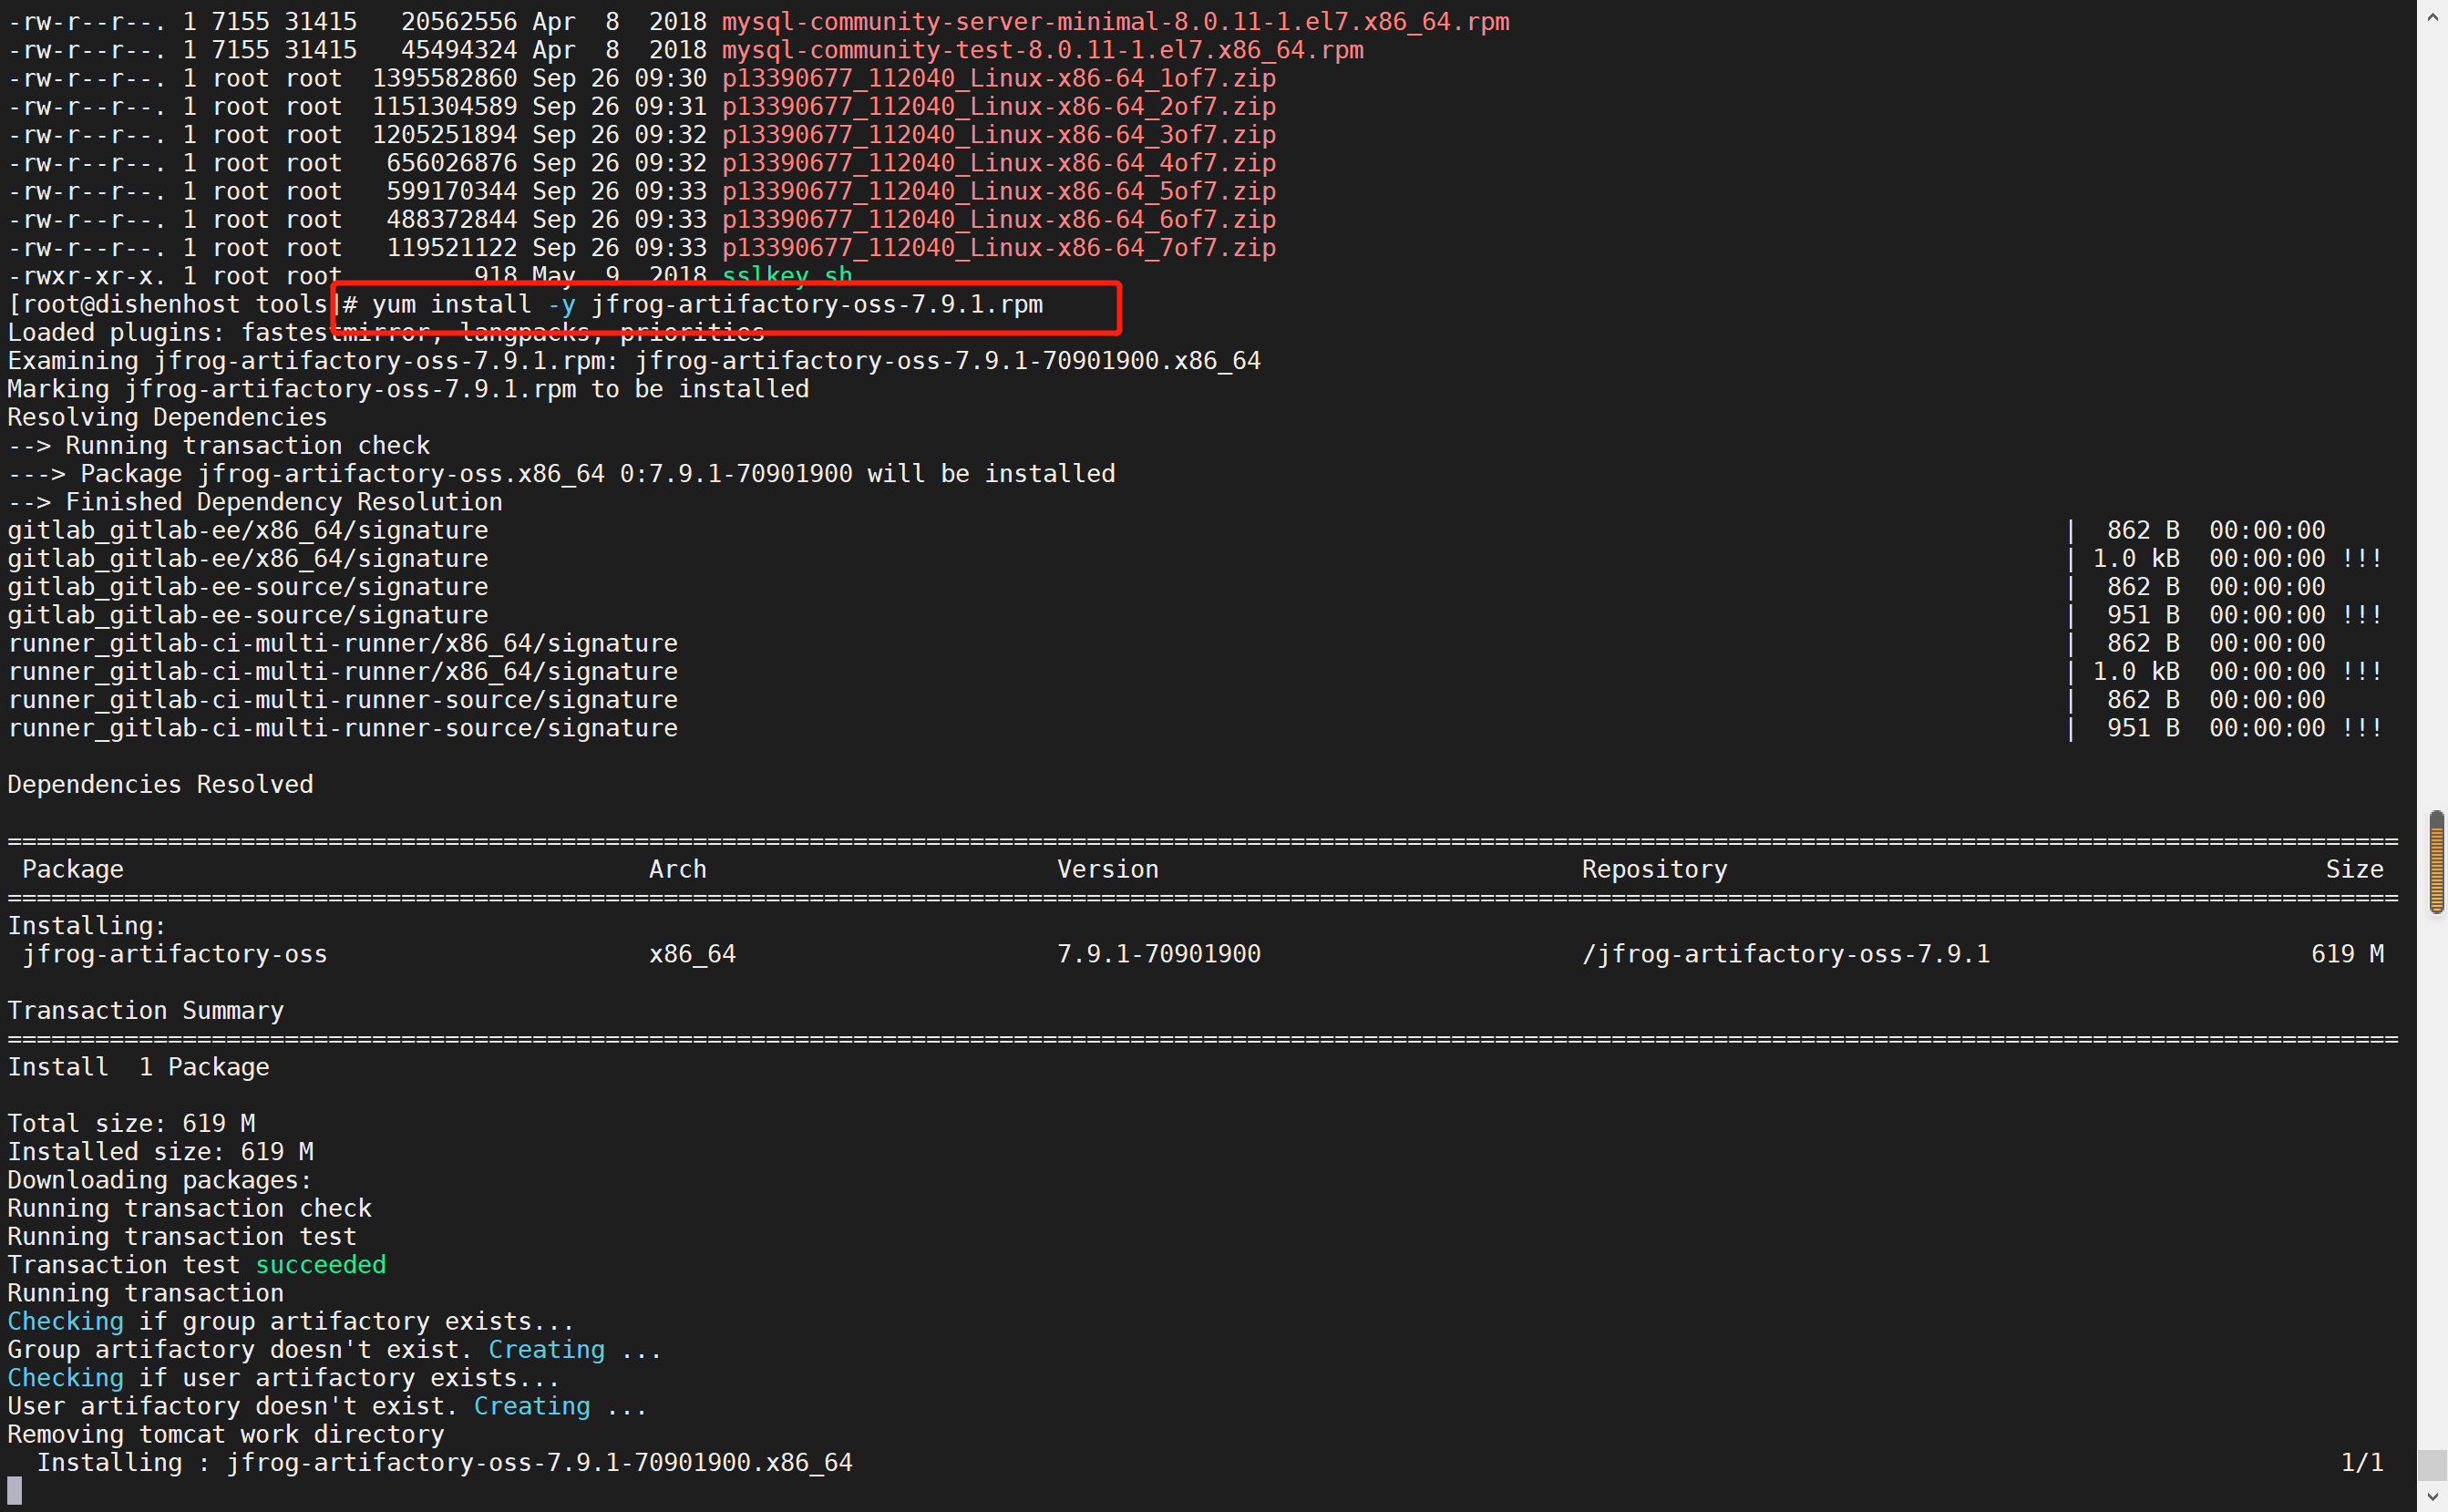
3.1.1. 简单安装命令

3.1.2. 安装完成后的目录结构

请自行在/etc/profie中配置JFROG_HOME环境变量
3.1.3. 配置使用mysql
- 只支持的版本: Artifactory supports MySQL v5.5, 5.6 and 5.7 with InnoDB engine which is the default provided.
- 默认链接数, 不需要修改
- 安装mysql实例, 这个参考网上文章即可(mysql的数据库引擎请设置默认使用innodb)
- 执行jfrog的创建数据库脚本
CREATE DATABASE artdb CHARACTER SET utf8 COLLATE utf8_bin;
CREATE USER 'artifactory'@'%' IDENTIFIED BY '你的密码';
GRANT ALL on artdb.* TO 'artifactory'@'%';
FLUSH PRIVILEGES;
- 下载mysql-connector-java(注意正确的版本, 可以百度一下)
wget https://dev.mysql.com/get/Downloads/Connector-J/mysql-connector-java-8.0.21-1.el7.noarch.rpm
安装完后, 查看安装在哪里:rpm -ql mysql-connector-java-8.0.11-1.el7.noarch- 将jar包copy到jfrog的var目录, 同步修改权限
- 设置system.yaml配置使用mysql数据库
shared:
  database:
    type: mysql
    driver: com.mysql.jdbc.Driver
    url: jdbc:mysql://<your db url, for example: localhost:3306>/artdb?characterEncoding=UTF-8&elideSetAutoCommits=true&useSSL=false
    username: artifactory
    password: password
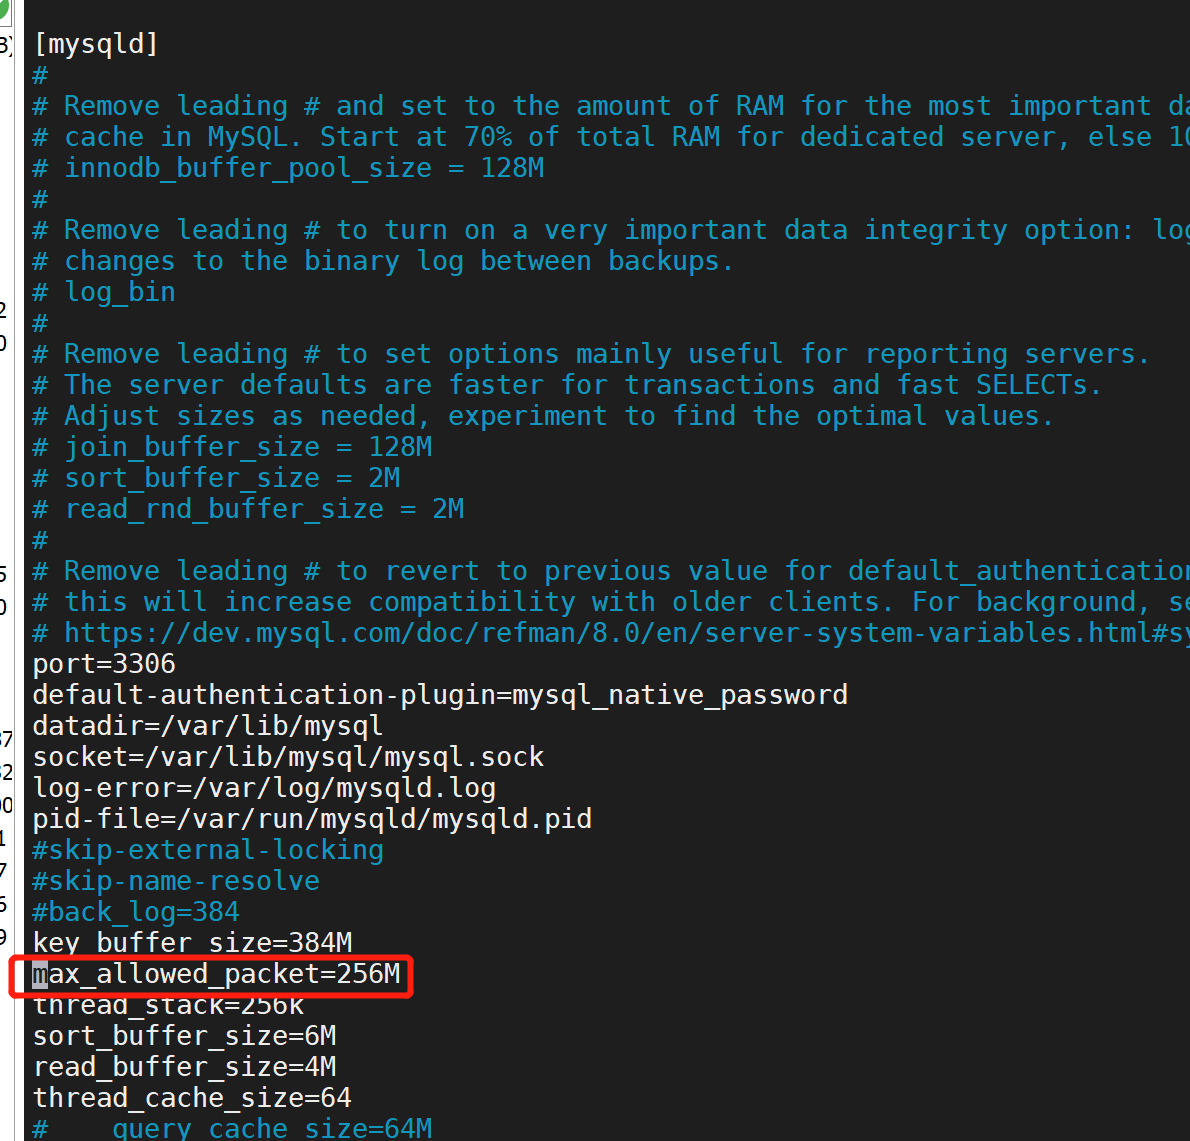
- 修改mysql的max_allowed_packet为256M, 同时优化其他参数, 然后重启mysql
vim /etc/my.cnf
max_allowed_packet=256M
# 4. By default innodb engine use one file for all databases and tables. We recommend changing this to one file per table.
# 5. NOTE: This will take effect only if Artifactory tables are not created yet! Need to be set and MySQL restarted before starting Artifactory for the first time.
innodb_file_per_table

# 6. Theses are tuning parameters that can be set to control and increase the memory buffer sizes.
innodb_buffer_pool_size=1536M
tmp_table_size=512M
max_heap_table_size=512M

# 7. Theses control the innodb log files size and can be changed only when MySQL is down and MySQL will not start if there are some innodb log files left in the datadir.
# 8. So, changing theses means removing the old innodb log files before start.
innodb_log_file_size=256M
innodb_log_buffer_size=4M
- 启动jfrog服务
systemctl start artifactory.service- 即可访问jfrog服务: http://localhost:8082/ui/
3.1.4. 配置使用oracle
官方链接
由于mysql支持的版本比较低, loading不到jdbc驱动, 只能替换到oracle使用
3.1.4.1. 安装install libaio
yum install libaio, 没什么好说的, 一般都已经安装了
3.1.4.2. 将libaio的动态库copy一下, 照做
cp -rp /usr/lib64/libaio.so $JFROG_HOME/artifactory/var/bootstrap/artifactory/tomcat/lib
3.1.4.3. 给jfrog创建oracle schema, 并给予权限
参考, datafile还是要独立给的
CREATE TABLESPACE jfrogdat LOGGING
DATAFILE '/database/oracle/app/oradata/dishen/jfrogdat01.dbf'
SIZE 100M reuse
AUTOEXTEND ON NEXT 32M
MAXSIZE UNLIMITED
EXTENT MANAGEMENT LOCAL;

CREATE temporary TABLESPACE jfrogtmpdat
tempfile '/database/oracle/app/oradata/dishen/jfrogtmpdat01.dbf'
SIZE 100M
AUTOEXTEND ON NEXT 32M
MAXSIZE 10000M
EXTENT MANAGEMENT LOCAL;

CREATE USER artifactory IDENTIFIED BY **** DEFAULT TABLESPACE jfrogdat temporary tablespace jfrogtmpdat;
grant connect,resource to artifactory;
--DBA: 拥有全部特权,是系统最高权限,只有DBA才可以创建数据库结构。
--RESOURCE:拥有Resource权限的用户只可以创建实体,不可以创建数据库结构。
--CONNECT:拥有Connect权限的用户只可以登录Oracle,不可以创建实体,不可以创建数据库结构。
--对于普通用户:授予connect, resource权限。
--对于DBA管理用户:授予connect,resource, dba权限。
alter user artifactory account unlock;
grant create session to artifactory;
alter system set sec_case_sensitive_logon=false;
grant unlimited tablespace to artifactory;

grant CREATE SYNONYM to artifactory;
grant CREATE CLUSTER to artifactory;
grant CREATE INDEXTYPE to artifactory;
grant create any index to artifactory;
grant drop any index to artifactory;
grant ALTER any index to artifactory;

grant  alter ANY PROCEDURE to artifactory;
grant  CREATE PROCEDURE to artifactory;
grant  drop ANY PROCEDURE to artifactory;
grant  ALTER ANY PROCEDURE to artifactory;

grant CREATE SEQUENCE to artifactory;
grant SELECT ANY SEQUENCE to artifactory;
grant drop any SEQUENCE to artifactory;
grant alter ANY SEQUENCE to artifactory;

grant CREATE TABLE to artifactory;
grant CREATE TRIGGER to artifactory;

grant CREATE TYPE to artifactory;
grant drop ANY TYPE to artifactory;
grant ALTER any TYPE to artifactory;


grant CREATE VIEW to artifactory;
grant create materialized view to artifactory;
grant DROP ANY SYNONYM to artifactory;

GRANT SELECT ANY DICTIONARY TO artifactory ;
GRANT SELECT ON  v_$session TO artifactory;
GRANT SELECT ON  v_$sesstat TO artifactory;
GRANT SELECT ON  v_$statname TO artifactory;
3.1.4.3. 下载oracle客户端, 这里有大坑
请直接安装最新版的客户端, 参考链接
直接安装19c-basic的rpm包, 会自动设置好动态库配置,即/etc/ld.so.conf.d/oracle-installclient.conf
然后copy ojdbc8.jar到$JFROG_HOME/artifactory/var/bootstrap/artifactory/tomcat/lib, 并设置好权限
这里特别注意, 由于我使用的是11.2.0.4g版本的oracle数据库, 所以我一开始使用的是11g相匹配的client, metadata-service一直启动报错:
Error while trying to retrieve text for error ORA-01804, 这个从[oracle官网](https://asktom.oracle.com/pls/apex/asktom.search?tag=error-while-trying-to-retrieve-text-for-error-ora-01804-12c-occi-c-application-on-ubuntu)看到是时区设置问题, 但是无论怎么处理都不对, 索性听从答案直接安装最新版client, 就解决了
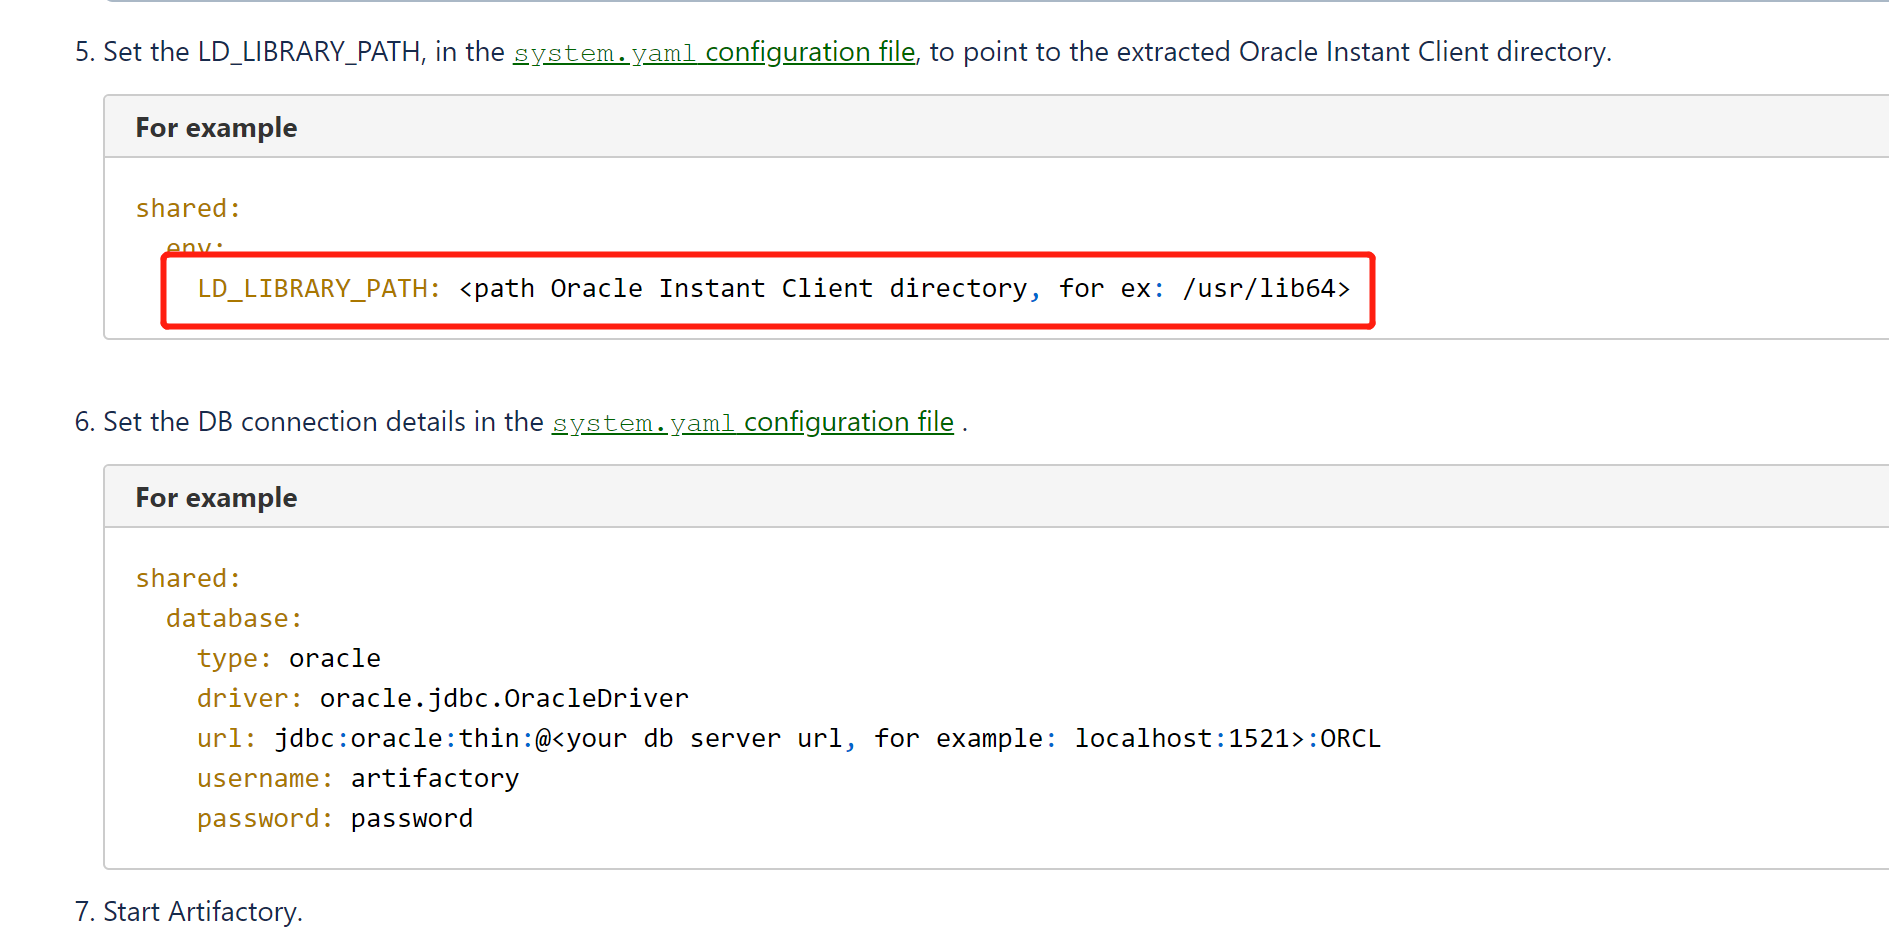
3.1.4.4. 如果安装了最新版的客户端, LD_LIBRARY_PATH可以不设置了
这一步可以不设置
3.1.4.5. 在system.yaml中设置db连接串等
参考, 要注意缩进一定要对.
configVersion: 1
shared:
    env:
        extraJavaOpts: "-server -Xms512m -Xmx2g -Xss256k -XX:+UseG1GC"
    security:
    node:
        ip: 127.0.0.1
    database:
        type: oracle
        driver: oracle.jdbc.OracleDriver
        url: jdbc:oracle:thin:@//192.168.10.129:1521/dishen
        username: artifactory
        password: 5076cd.aesgcm128.ha5g7xFi7TGjuqRqNoll-B0l2-NhwzUcxFrKLqPmuVrT3_Fx8ro
artifactory:
    port: 9091
router:
    entrypoints:
        internalPort: 9046
        externalPort: 9082
metadata:
    logging:
        application:
            level: debug
3.1.4.6. 如果出现错误, 就查看日志, 可以设置启动出错的模块对应的log level为debug
出现端口问题, 可以尝试修改端口; 出现oracle连接问题, 检查客户端(/etc/ld.so.conf.d/oracle-installclient.conf)设置, ojdbc*.jar的设置
我在一台linux机器上装了oracle数据库, 11g客户端, 19c客户端都可以共存. 但其实不需要11g客户端.
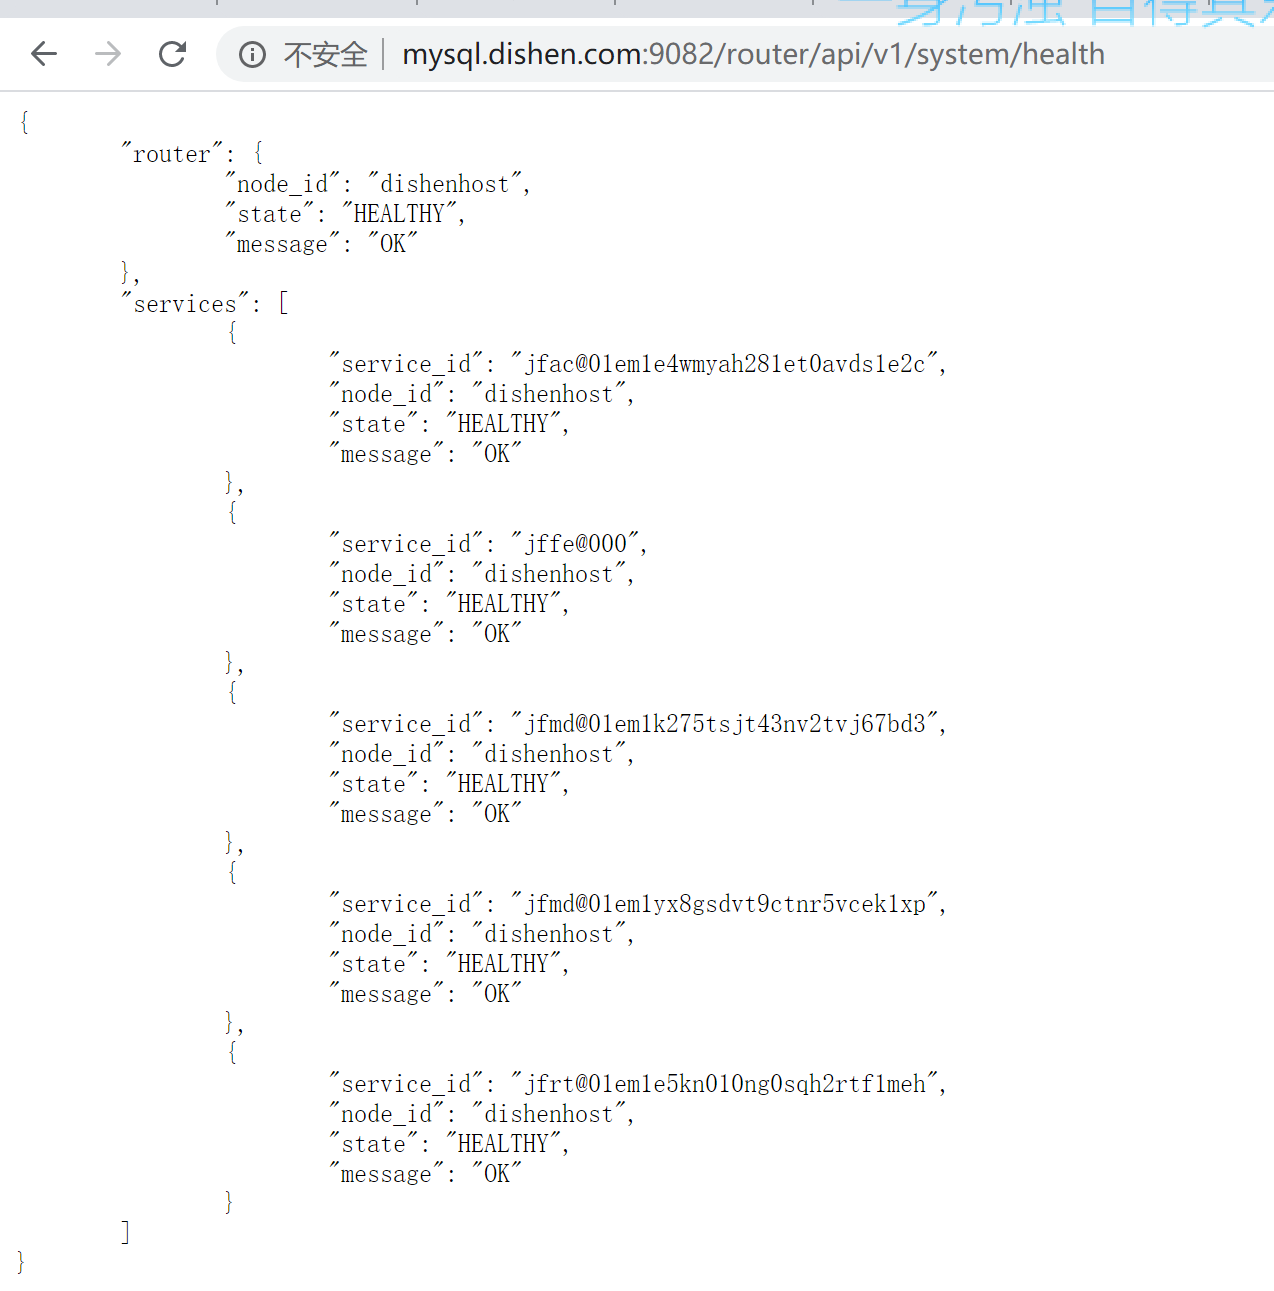
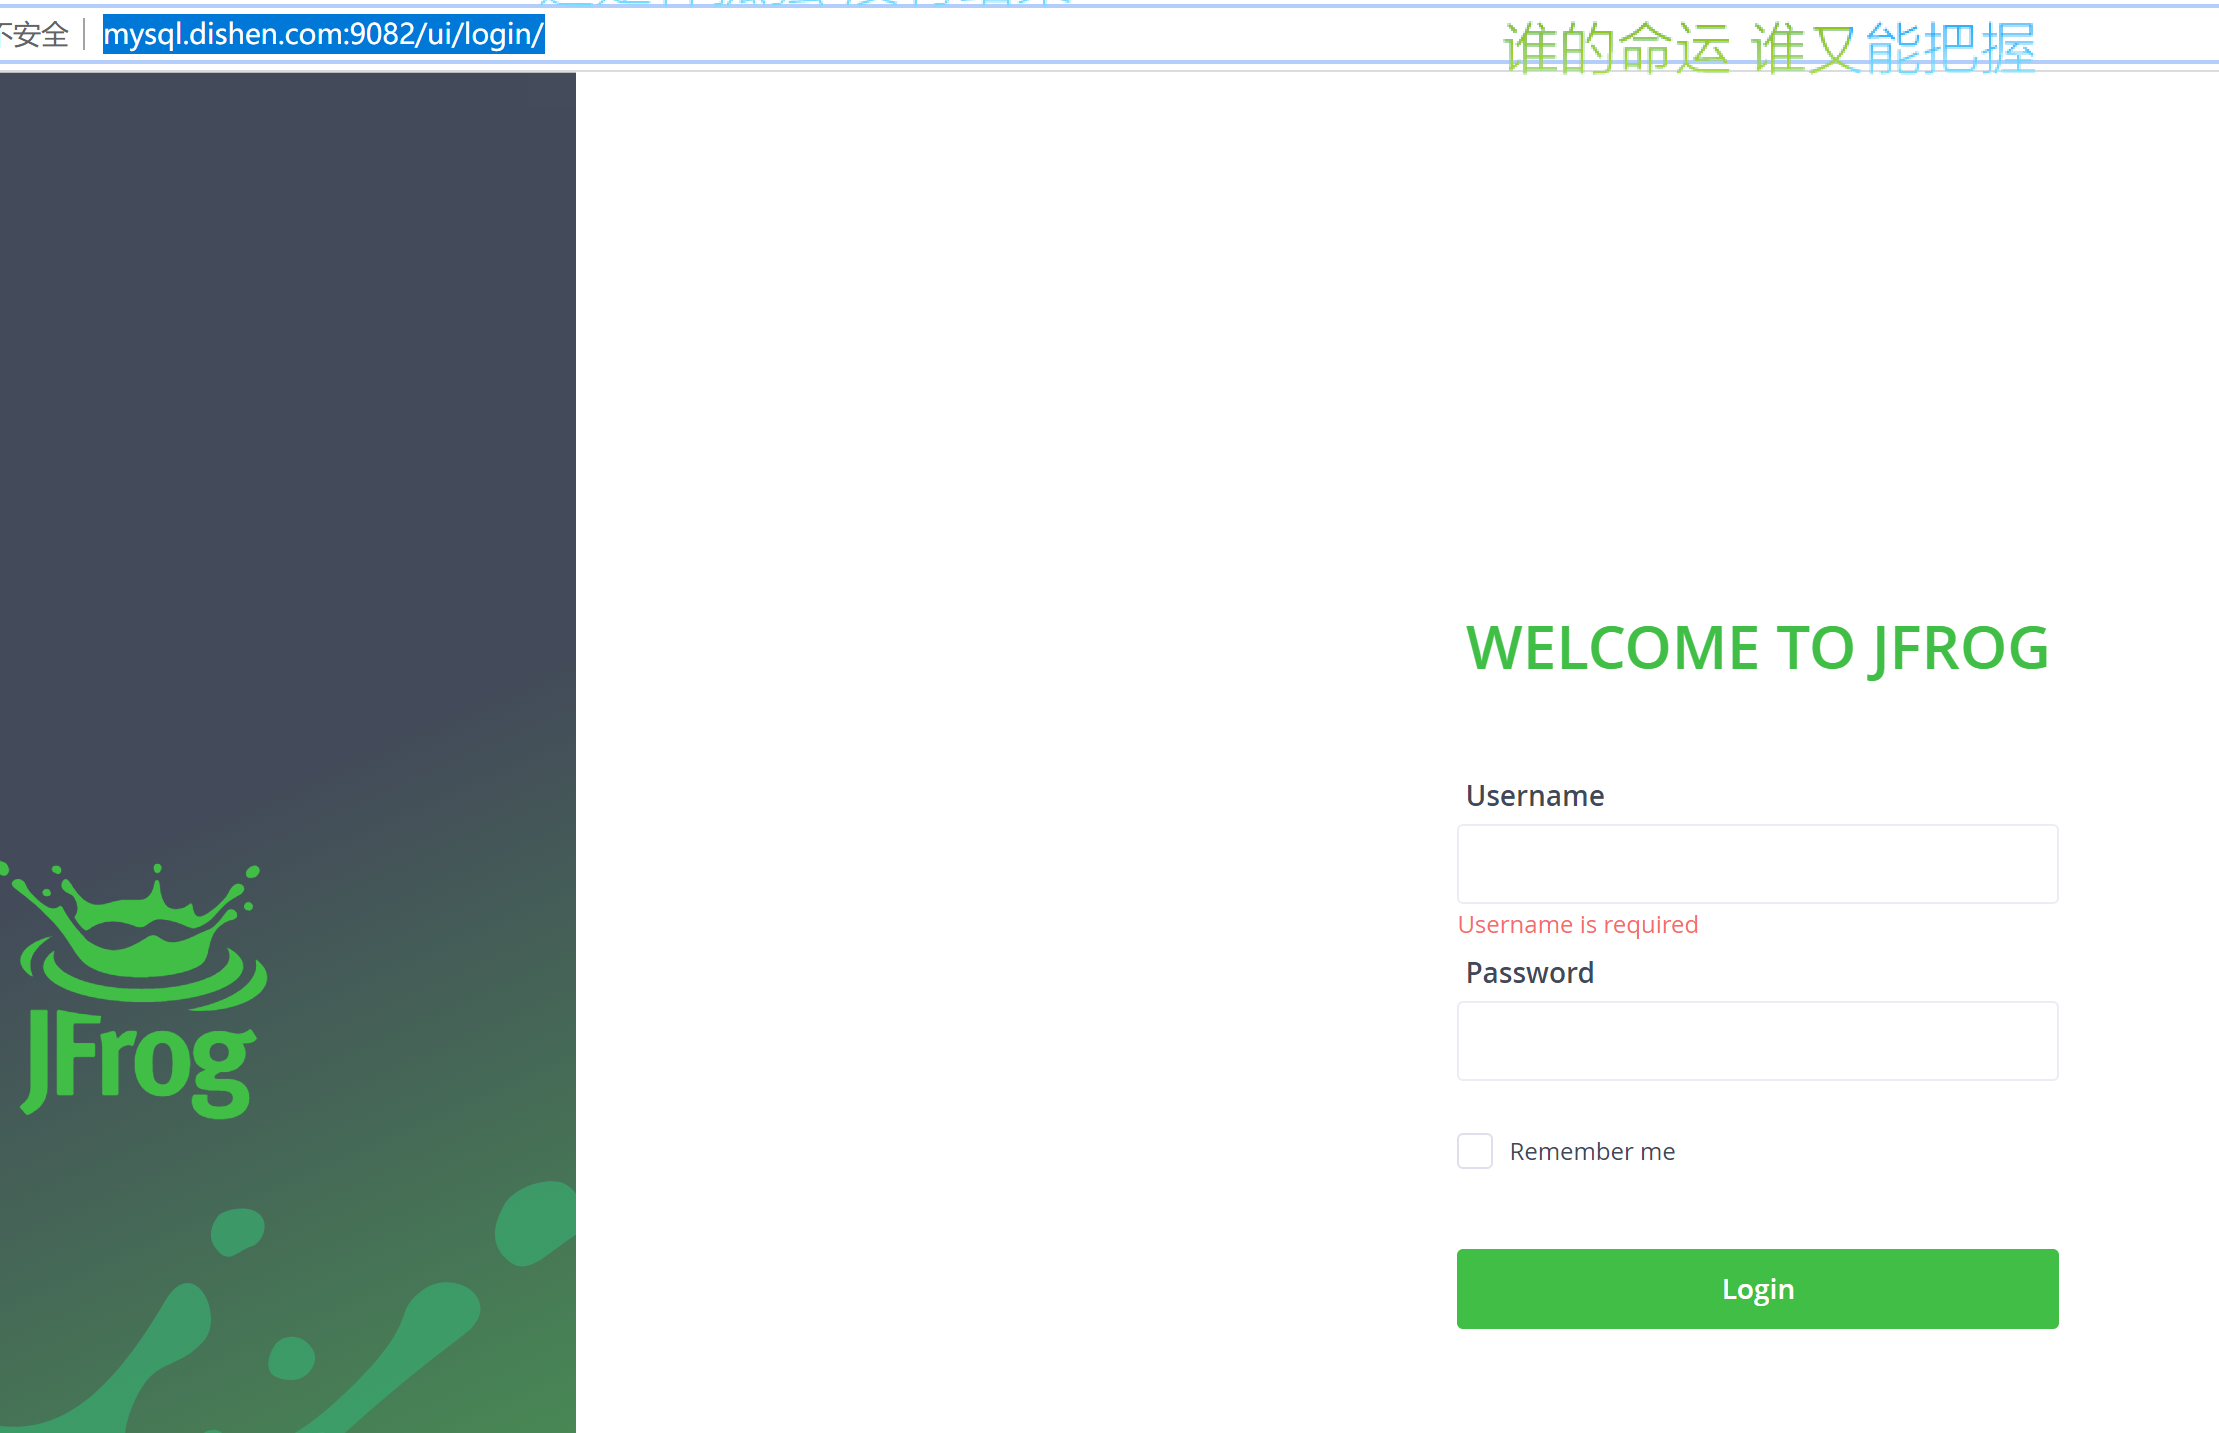
3.1.4.7. 启动成功验证
登陆界面
各模块健康情况
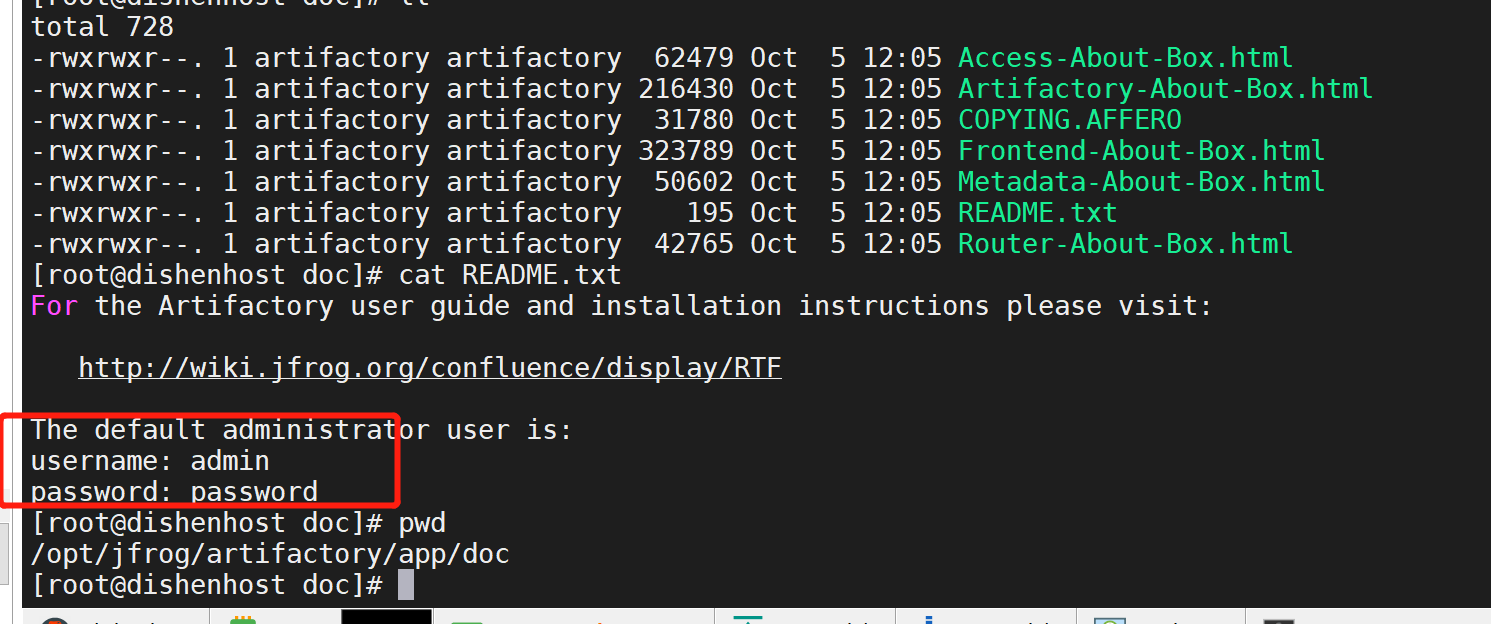
默认密码:
3.2. yum安装
略, 见官网吧
wget https://bintray.com/jfrog/artifactory-rpms/rpm -O bintray-jfrog-artifactory-oss-rpms.repo
sudo mv  bintray-jfrog-artifactory-oss-rpms.repo /etc/yum.repos.d/
yum install jfrog-artifactory-oss
最后
以上就是美丽哈密瓜最近收集整理的关于centos7搭建jfrog artifactory(7.9.1OSS版本)并配置使用oracle1. 各种私库官网2. nexus安装3. JFrog安装的全部内容,更多相关centos7搭建jfrog内容请搜索靠谱客的其他文章。






发表评论 取消回复