系统工具
工具:vmware fusion(虚拟机软件)
系统镜像:centos 7.2(比较稳定的linux系统)
安装软件:Docker、Rancher、K8s、Harbor
基础配置
这里只要求有个linux环境来操作,我选择centos比较方便一点,其它的系统类似。
-
在vmware fusion在安装centos镜像,配置手动设置最低配置 内存4G,核心2
-
使用命令
ifconfig查看系统ip如果
ifconfig提示命令不存在,执行yum install net-tools之后重新输入
我在安装CentOS7的时候选择了最小安装,有些包需要手动来安装。ens33: flags=4163<UP,BROADCAST,RUNNING,MULTICAST> mtu 1500 inet 192.168.237.151 netmask 255.255.255.0 broadcast 192.168.237.255 inet6 fe80::d76d:a56a:4c21:8f36 prefixlen 64 scopeid 0x20<link> ether 00:0c:29:e5:c9:51 txqueuelen 1000 (Ethernet) RX packets 297190 bytes 409971384 (390.9 MiB) RX errors 0 dropped 0 overruns 0 frame 0 TX packets 112724 bytes 8214313 (7.8 MiB) TX errors 0 dropped 0 overruns 0 carrier 0 collisions 0这里可以看到
inet 192.168.237.151,这个是我们的系统IP。 -
将系统的IP设置为静态,避免使用过程中IP变动导致
Rancher/k8s不可用vi /etc/sysconfig/network-scripts/ifcfg-ens33BOOTPROTO="static" #修改为静态,默认为dhcp IPADDR="192.168.237.151" #静态ip地址 NETMASK="255.255.255.0" #子网掩码,固定这么写 GATEWAY="192.168.237.2" #网关地址,前三个网段取ip地址,最后一位填2 DNS1="192.168.237.2" #DNS服务器,前三个网段取ip地址,最后一位填2- 保存后重启
service network restart
-
执行
ping www.baidu.com,查看网络连接是否正常。如果连接正常则往下操作,否则请确认设置静态IP是否正确以及网卡是否没有启用。
安装Docker
-
卸载旧版本,防止互相干扰
sudo yum remove docker docker-client docker-client-latest docker-common docker-latest docker-latest-logrotate docker-logrotate docker-selinux docker-engine-selinux docker-engine -
安装依赖
sudo yum install -y yum-utils device-mapper-persistent-data lvm2 -
切换到国内镜像源
sudo yum-config-manager --add-repo https://mirrors.ustc.edu.cn/docker-ce/linux/centos/docker-ce.repo -
安装Docker
更新yum软件源缓存,并安装docker-ce。sudo yum makecache fast sudo yum install docker-ce -
启动Docker
sudo systemctl enable docker //设置开机启动 sudo systemctl start docker //启动Docker -
测试Dokcer是否正常运行
执行命令:docker run hello-worldUnable to find image 'hello-world:latest' locally latest: Pulling from library/hello-world d1725b59e92d: Pull complete Digest: sha256:0add3ace90ecb4adbf7777e9aacf18357296e799f81cabc9fde470971e499788 Status: Downloaded newer image for hello-world:latest Hello from Docker! This message shows that your installation appears to be working correctly. To generate this message, Docker took the following steps: 1. The Docker client contacted the Docker daemon. 2. The Docker daemon pulled the "hello-world" image from the Docker Hub. (amd64) 3. The Docker daemon created a new container from that image which runs the executable that produces the output you are currently reading. 4. The Docker daemon streamed that output to the Docker client, which sent it to your terminal. To try something more ambitious, you can run an Ubuntu container with: $ docker run -it ubuntu bash Share images, automate workflows, and more with a free Docker ID: https://hub.docker.com/ For more examples and ideas, visit: https://docs.docker.com/get-started/若能正常输出以上信息,则说明安装成功。
-
配置镜像加速
执行sudo vi /etc/docker/daemon.json,并添加如下内容:如果没有目录请手动创建
MacOSWindows搜索一下配置方法,本质是一样的{ "registry-mirrors": [ "https://dockerhub.azk8s.cn", "https://hub-mirror.c.163.com" ] }保存之后执行命令重启服务:
sudo systemctl daemon-reload
sudo systemctl restart docker
建议备份系统
因为很多人都在装完Docker之后各种翻车,为了能更方便的练习整个部署过程,建议对系统、虚拟机进行备份。
我这里直接是通过vmware fusion选择系统右键拷贝,也可以设置快照。
通过Rancher来构建K8s集群
安装 Rancher(V2.x)
-
安装Rancher镜像
docker pull rancher/rancher -
查看镜像是否在列表
docker image ls -
查看Rancher镜像详细信息
docker inspect rancher/rancher:latest -
在宿主机创建两个挂载目录
mkdir -p /docker_volume/rancher_home/rancher mkdir -p /docker_volume/rancher_home/auditlog -
启动Rancher容器
docker run -d --restart=unless-stopped -p 80:80 -p 443:443 -v /docker_volume/rancher_home/rancher:/var/lib/rancher -v /docker_volume/rancher_home/auditlog:/var/log/auditlog --name rancher rancher/rancher -
查看刚才启动的容器信息
docker container ls
Rancher可视化管理
-
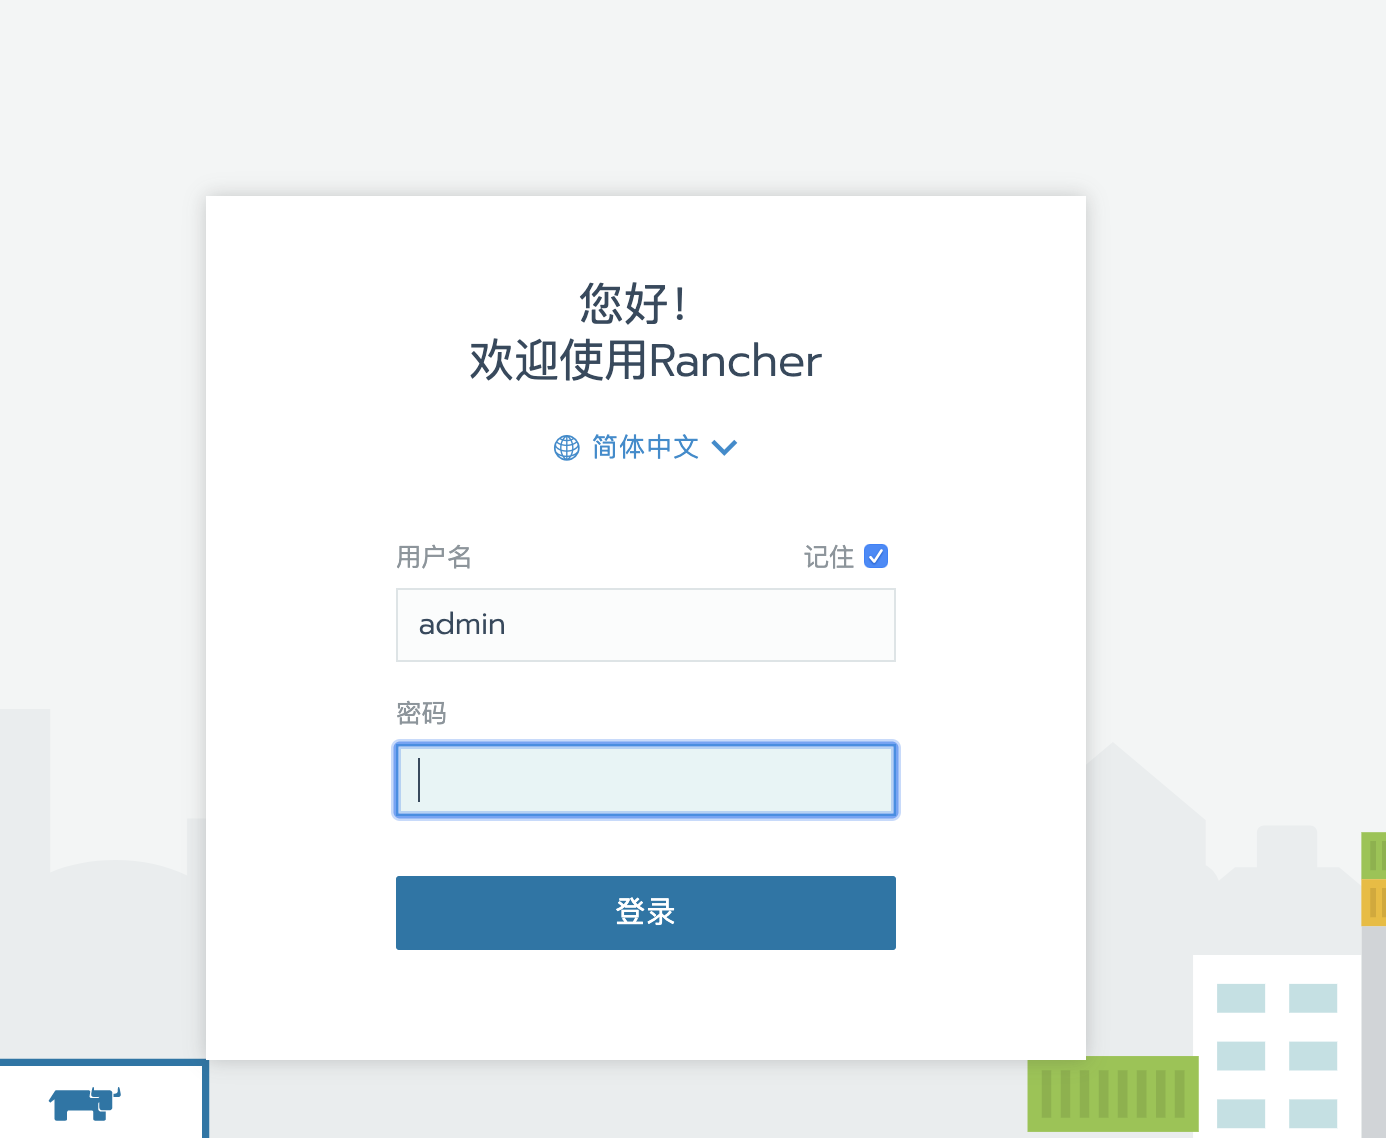
访问rancher的管理web页面:https://192.168.237.151
-
第一次进是需要设置密码
如果登录失败了
执行docker ps | grep rancher/rancher
执行docker container restart ContainerID,ContainerID是上面查找出来的ID。 -
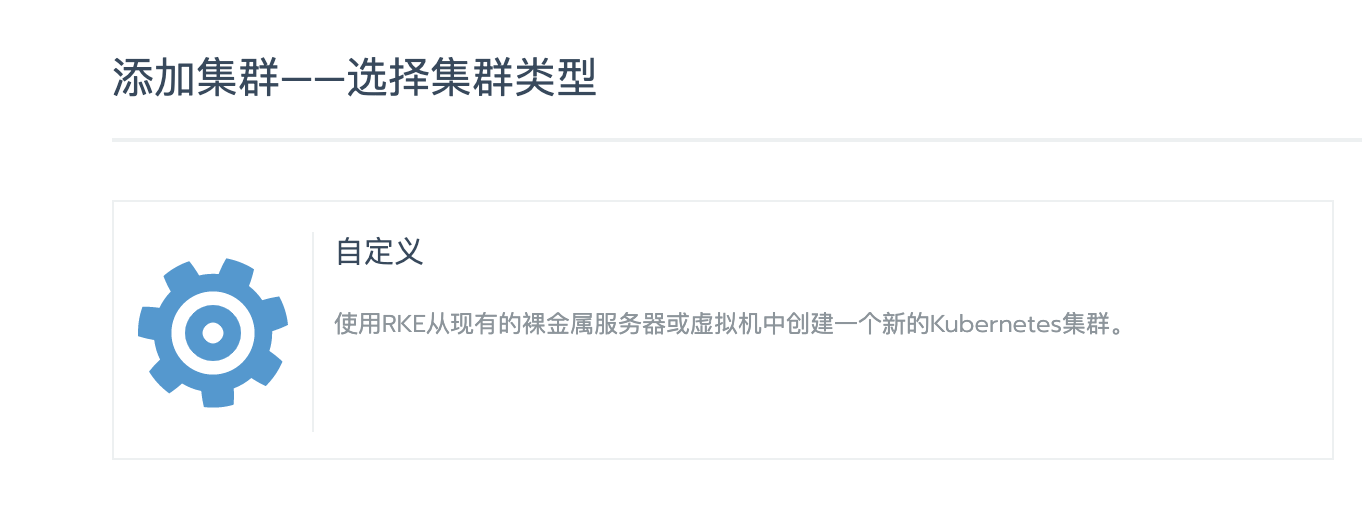
进到主页面先添加集群

- 选择自定义
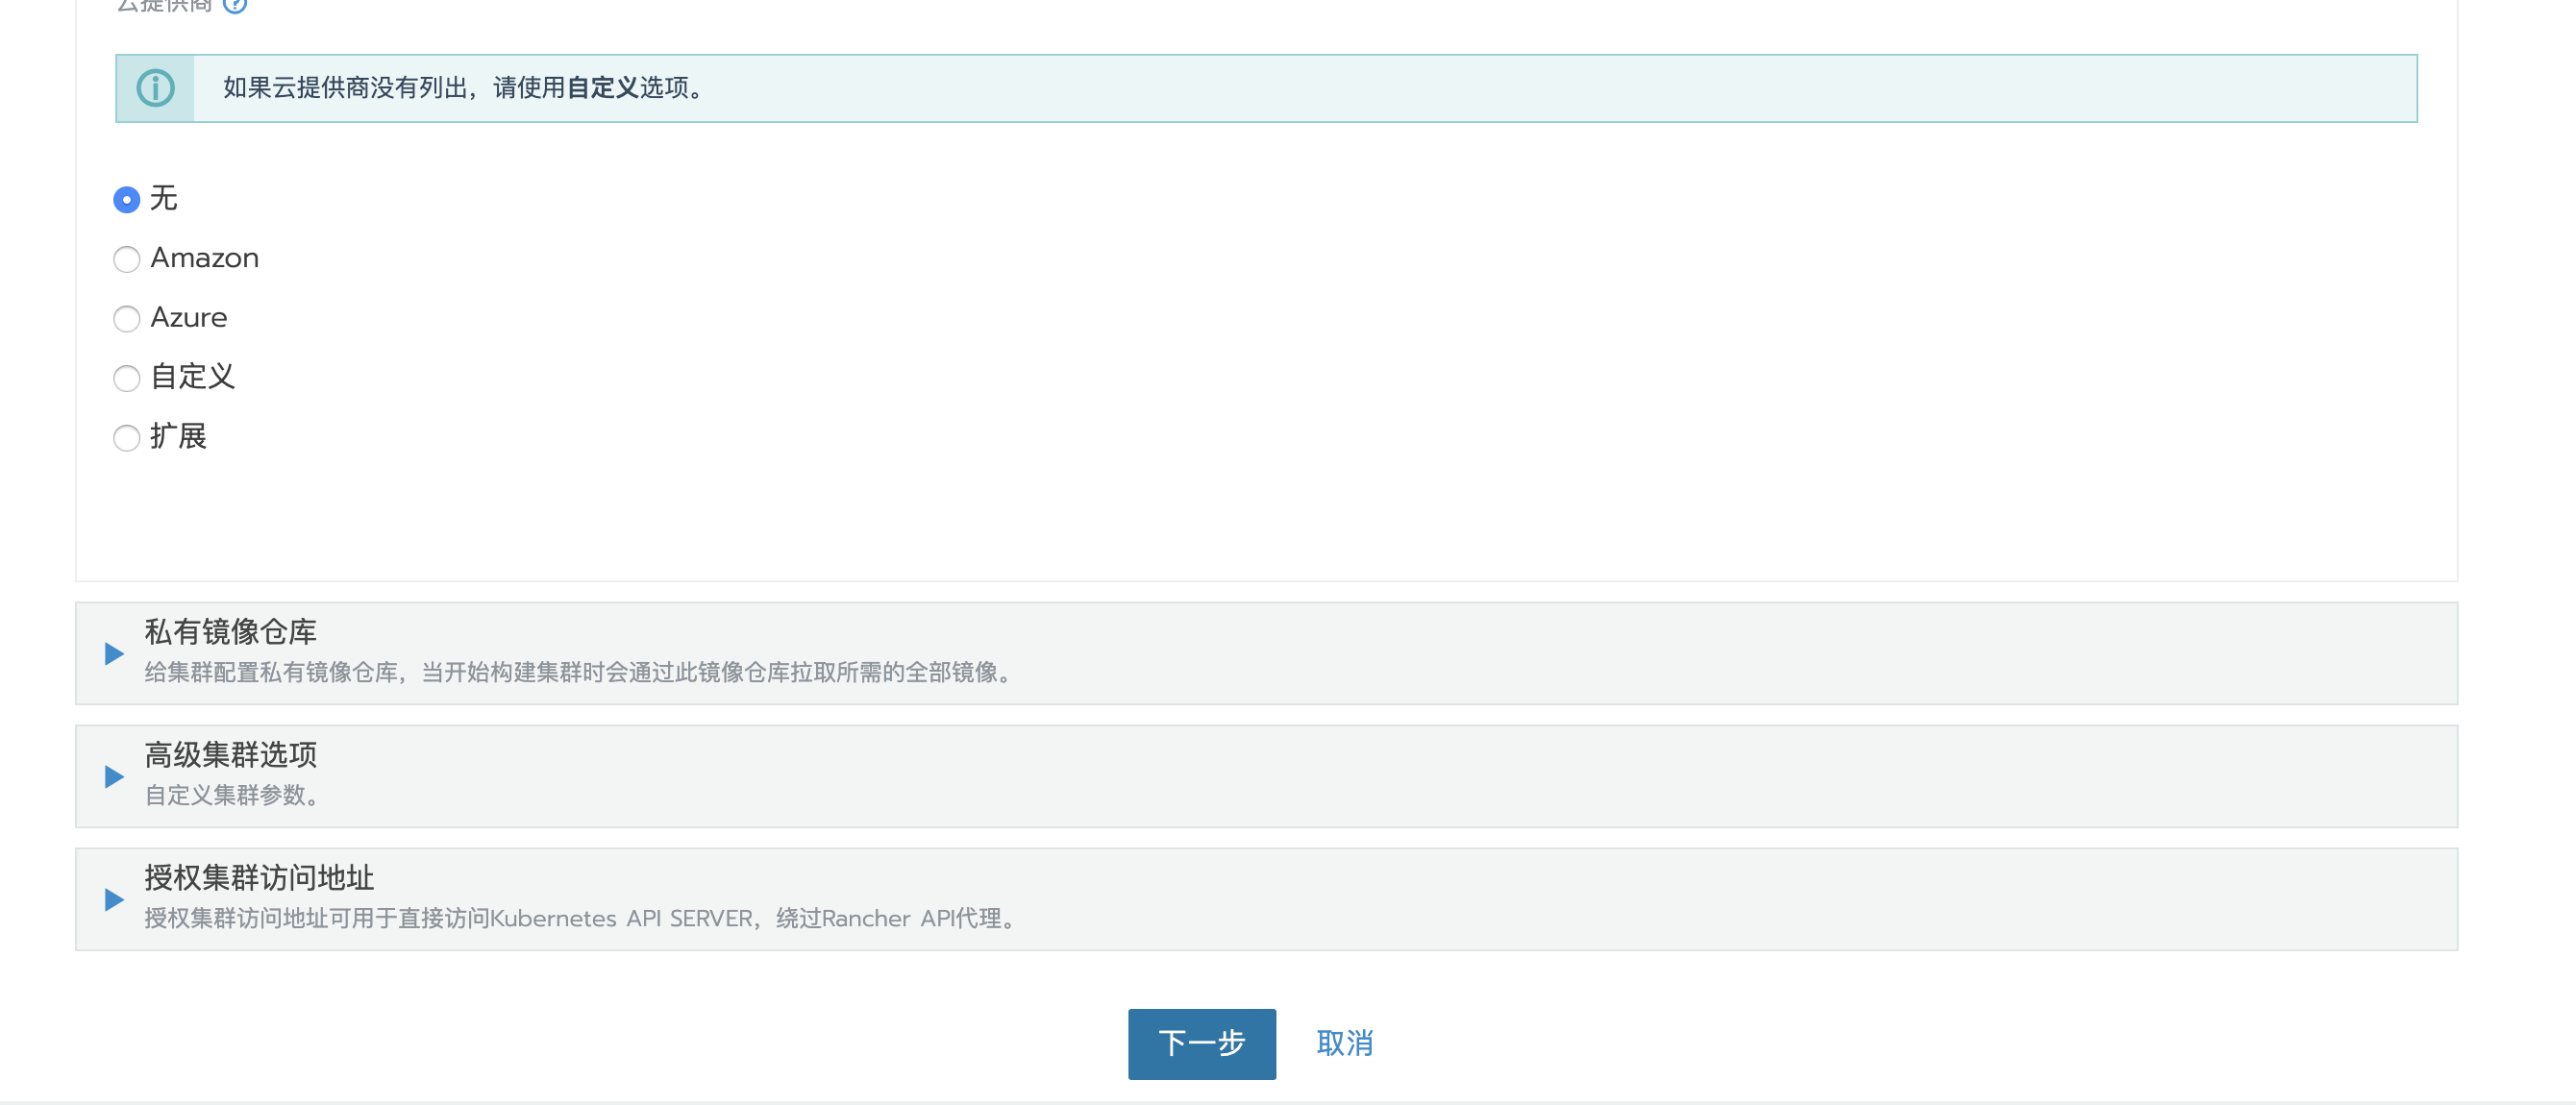
- 输入名字直接下一步

- 第一次添加需要都勾选
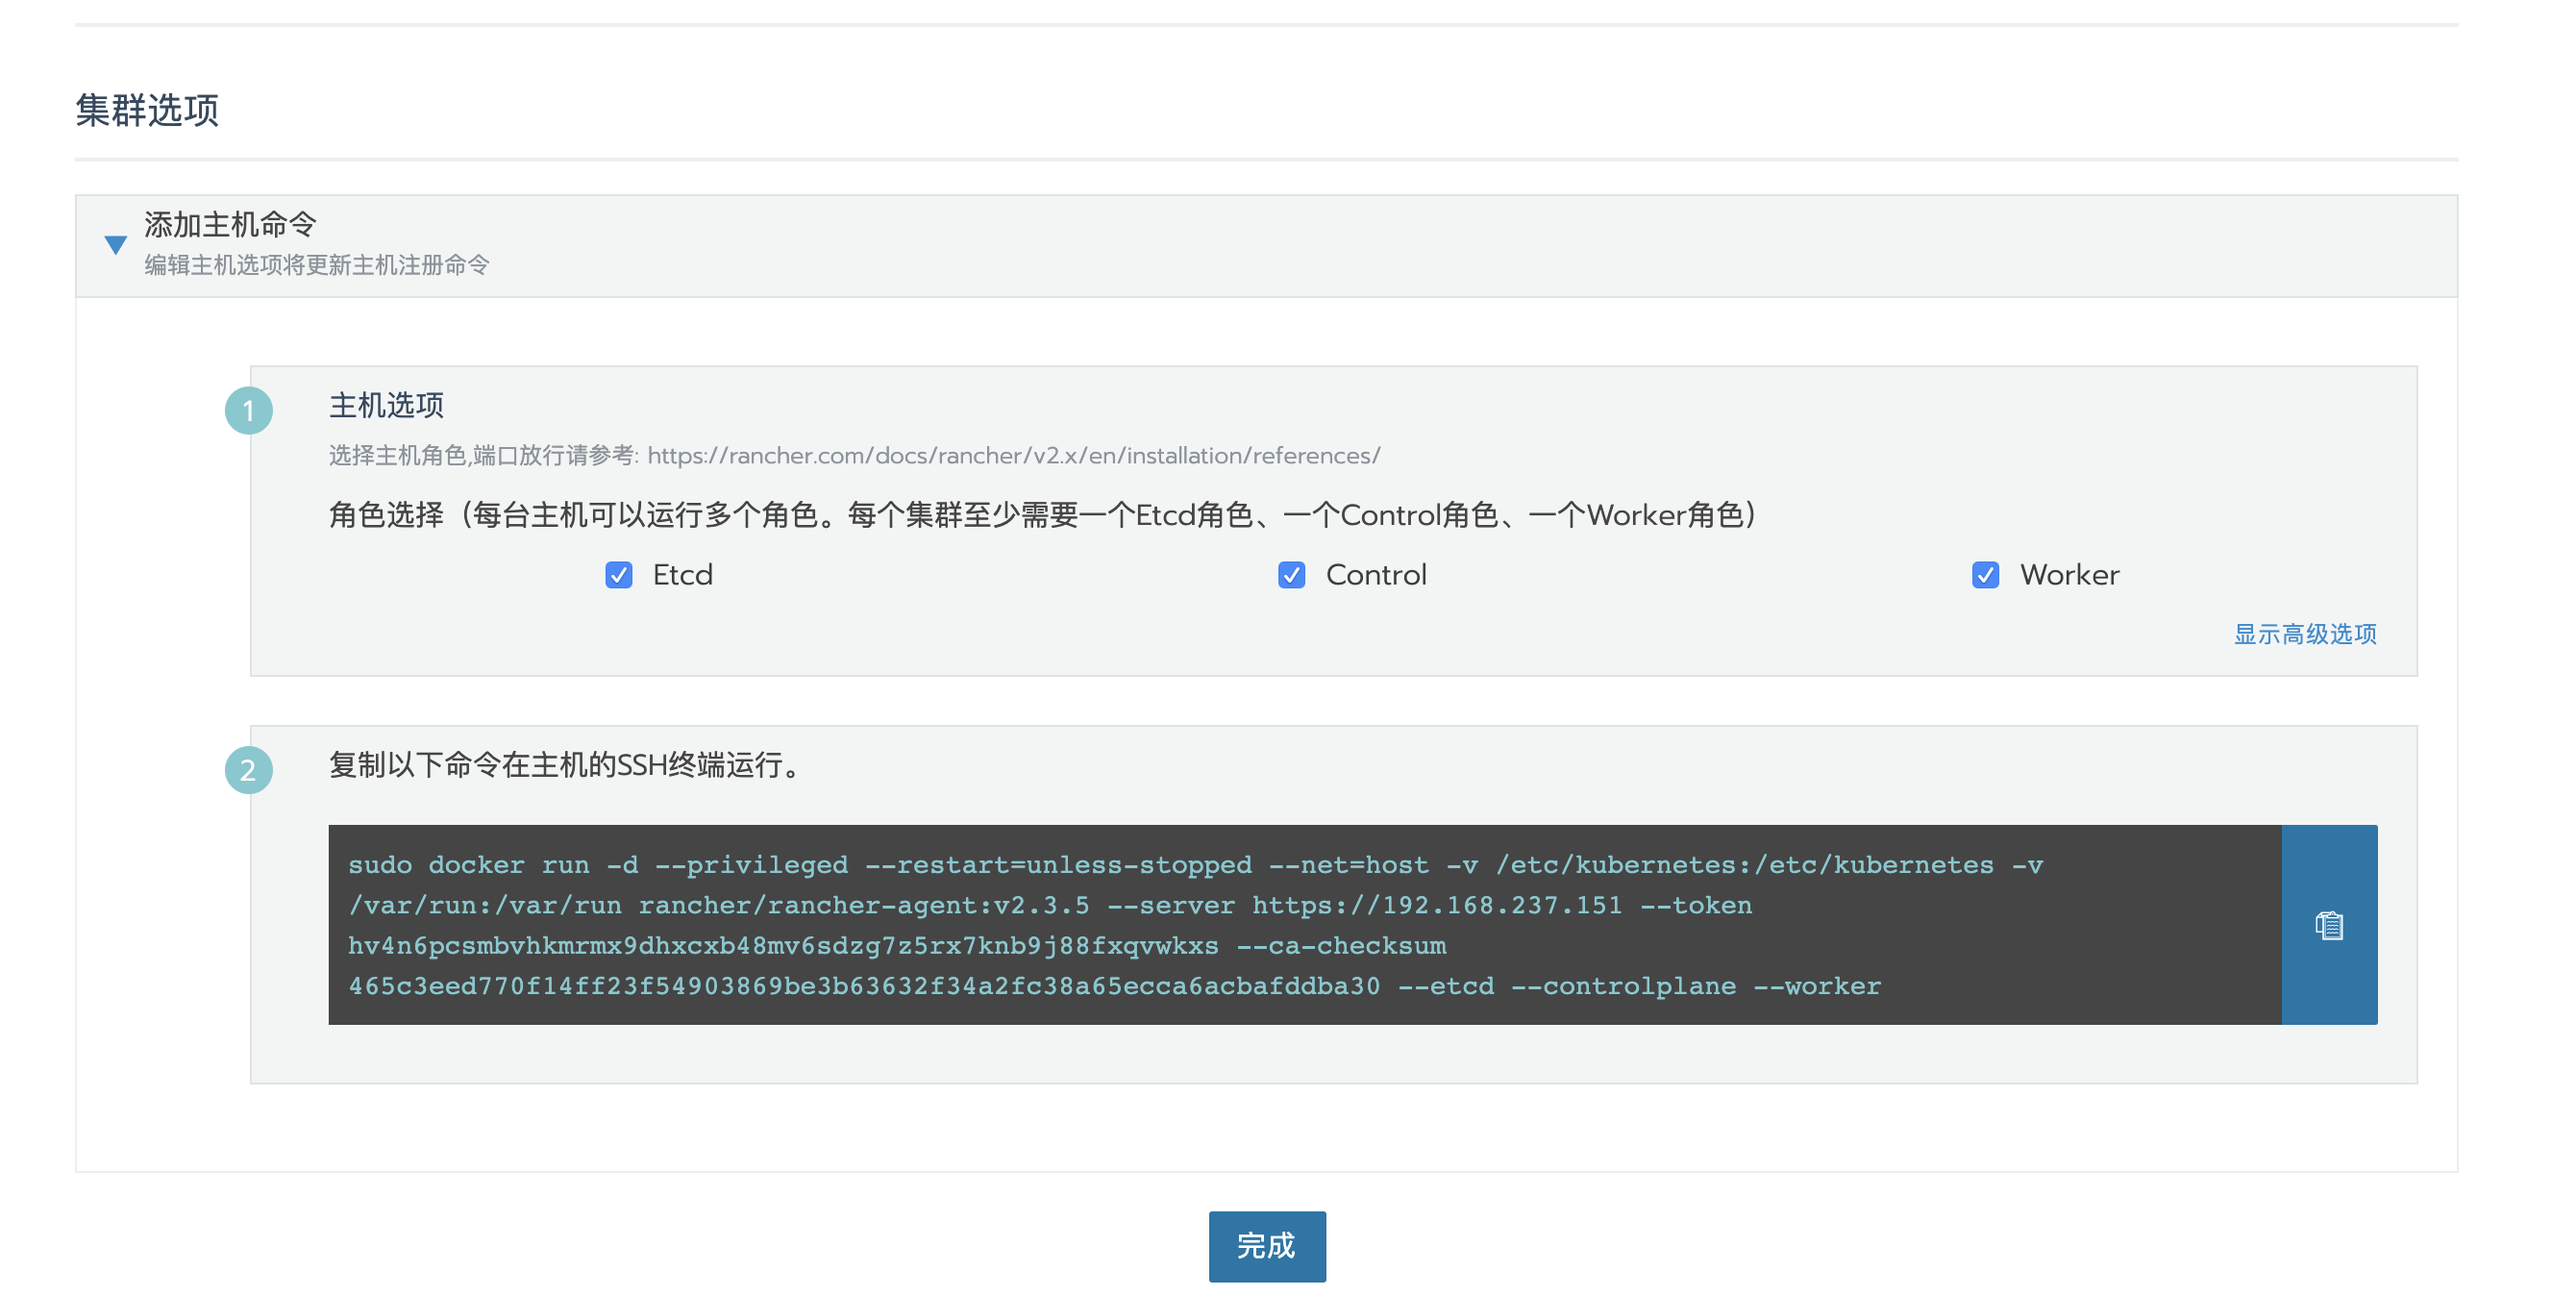
- 之后再终端执行命令,然后点击完成。

- 等待安装完成显示
Active
- 选择自定义
安装私有镜像服务器 Harbor
需要安装两个软件docker-compose,harbor,这里采取离线安装的方法避免翻车。
Harbor的官方仓库
docker-compose官方仓库
我的当前使用版本
Harbor: v1.10.1
docker-compose:1.26.0-rc2
这里使用的的Docker版本是19.x的,需要搭配新版的docker-compose来安装harbor,否则容易翻车。
可以使用迅雷下载等工具加快下载的过程
到这里你应该已经下载完毕了


- 解压
harbor-offline-installer-v1.10.1.tgz
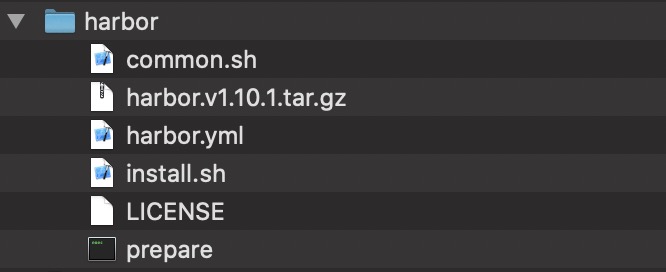
- 之后打开
harbor.yml这个文件,如果你只是用来自己测试的可以避免一些证书的配置。
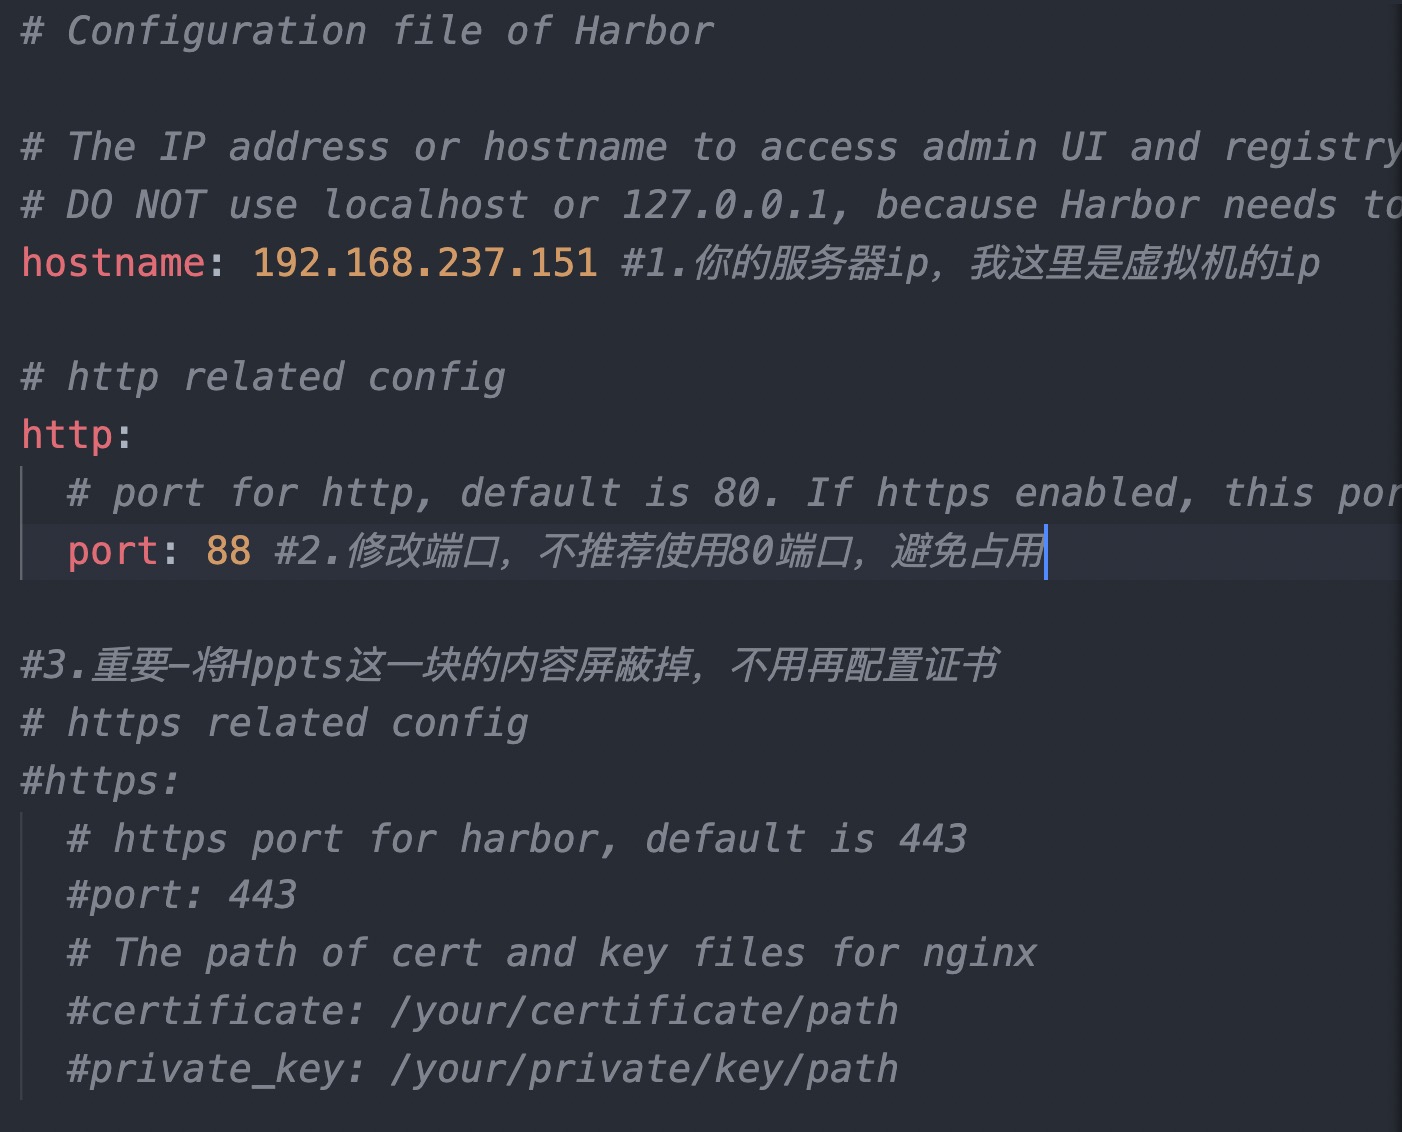
因为我这里Dokcer是部署在CentOS的主机上,所以这里将文件先考到CentOS上scp ./harbor/* root@192.168.237.151:~/harbor/ #如果上传失败手动创建目录 scp ./docker-compose root@192.168.237.151:/usr/local/bin/docker-compose #上传到bin目录 chmod 777 /usr/local/bin/docker-compose # 授权docker-compose操作权限 - 之后输入命令确认操作成功
docker-compose version
- 安装
Harborcd ~/harbor/ #因为之前我是拷贝到这个目录,其它目录同理。 ./prepare #准备环境 ./install.sh #安装harbor
等待安装完毕…在执行
./prepare之前务必已经修改了harbor.yml这个文件
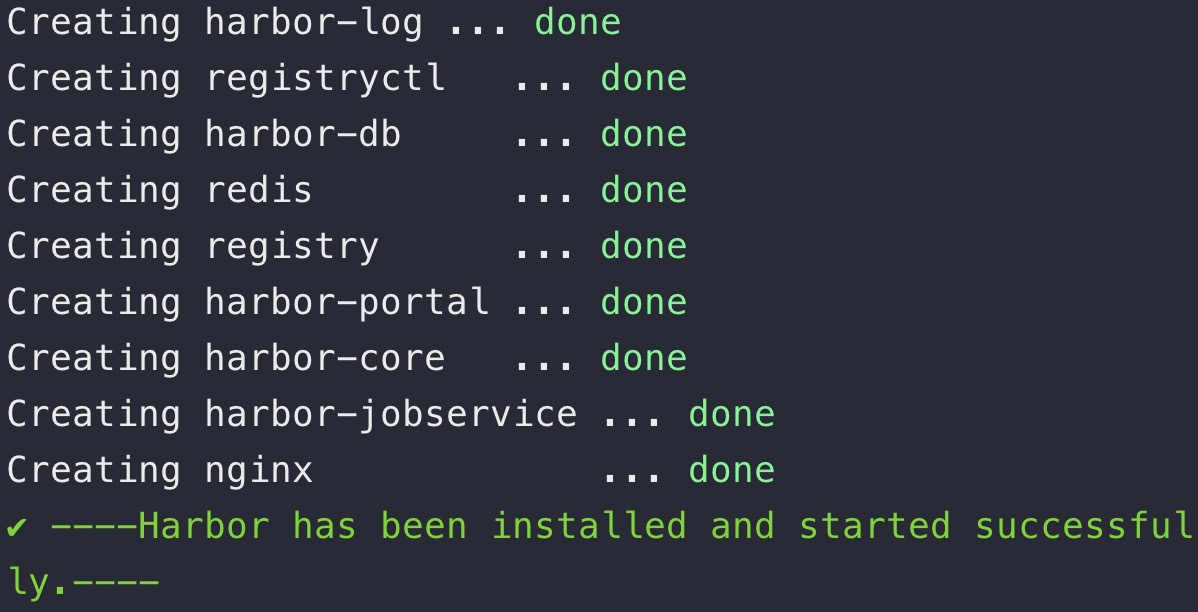
- 打开浏览器
192.168.237.151:88,ip使用自己的。
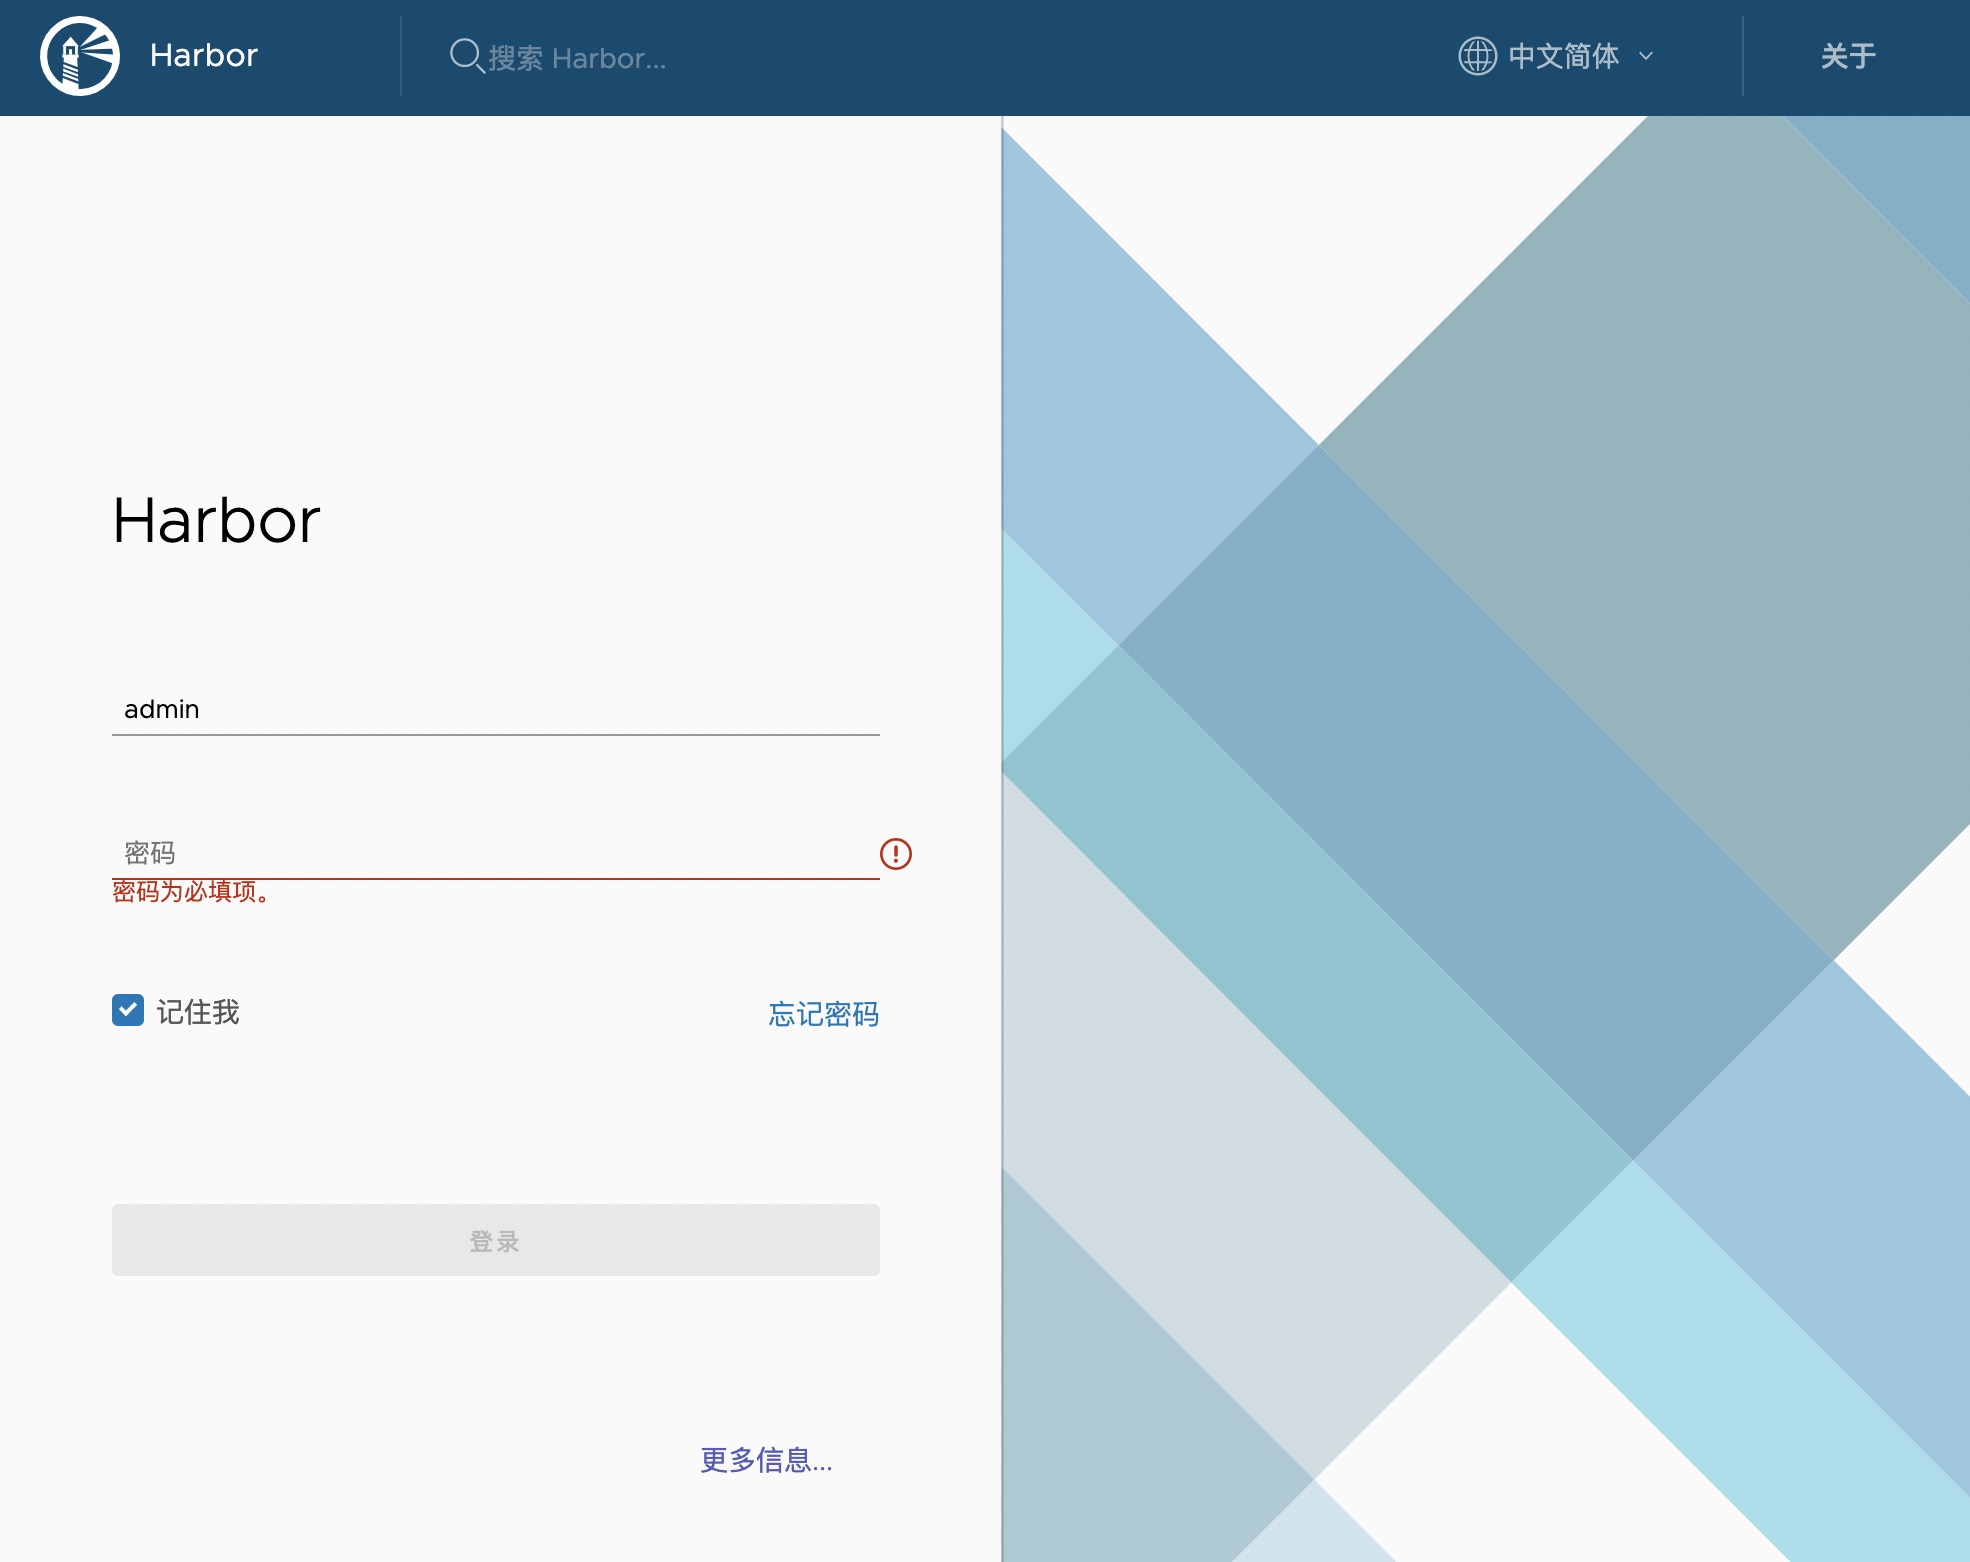
- 登录后台
输入账号 :admin
输入密码:Harbor12345
登录成功…!密码在那个
harbor.yml查看这个字段harbor_admin_password: 密码
一些常用的操作
到这里已经安装完Dokcer、Rancher、Kubernetes、Harbor集群服务
但是目前Harbor是没有办法进行Pull、Push等操作的。
-
授权访问私有仓库
vim /etc/docker/daemon.json{ "registry-mirrors": [ "https://dockerhub.azk8s.cn", "https://hub-mirror.c.163.com" ], "insecure-registries": [ "192.168.237.151:88" #这个就是Harbor路径,因为镜像推上去之后要授权docker访问这个私有仓库 ] } -
重启Harbor、Docker
docker-compose stop
systemctl daemon-reload
systemctl restart docker
docker-compose up -d
需要注意 docker-compose的相关命令需要在之前上传的 ~./harbor这个目录里面执行,目录里有个
docker-compose.yml文件,如果放在别的地方就到那个地方的目录里执行。 -
之后登陆私有仓库进行
Pull、Pushdocker login --username=admin http://192.168.237.151:88/admin为账号,可以修改 密码为仓库登陆密码

-
在Harbor后台创建项目并联系推送镜像
- 创建项目
- 进入项目
- 点击镜像仓库
- 查看相关操作方法。
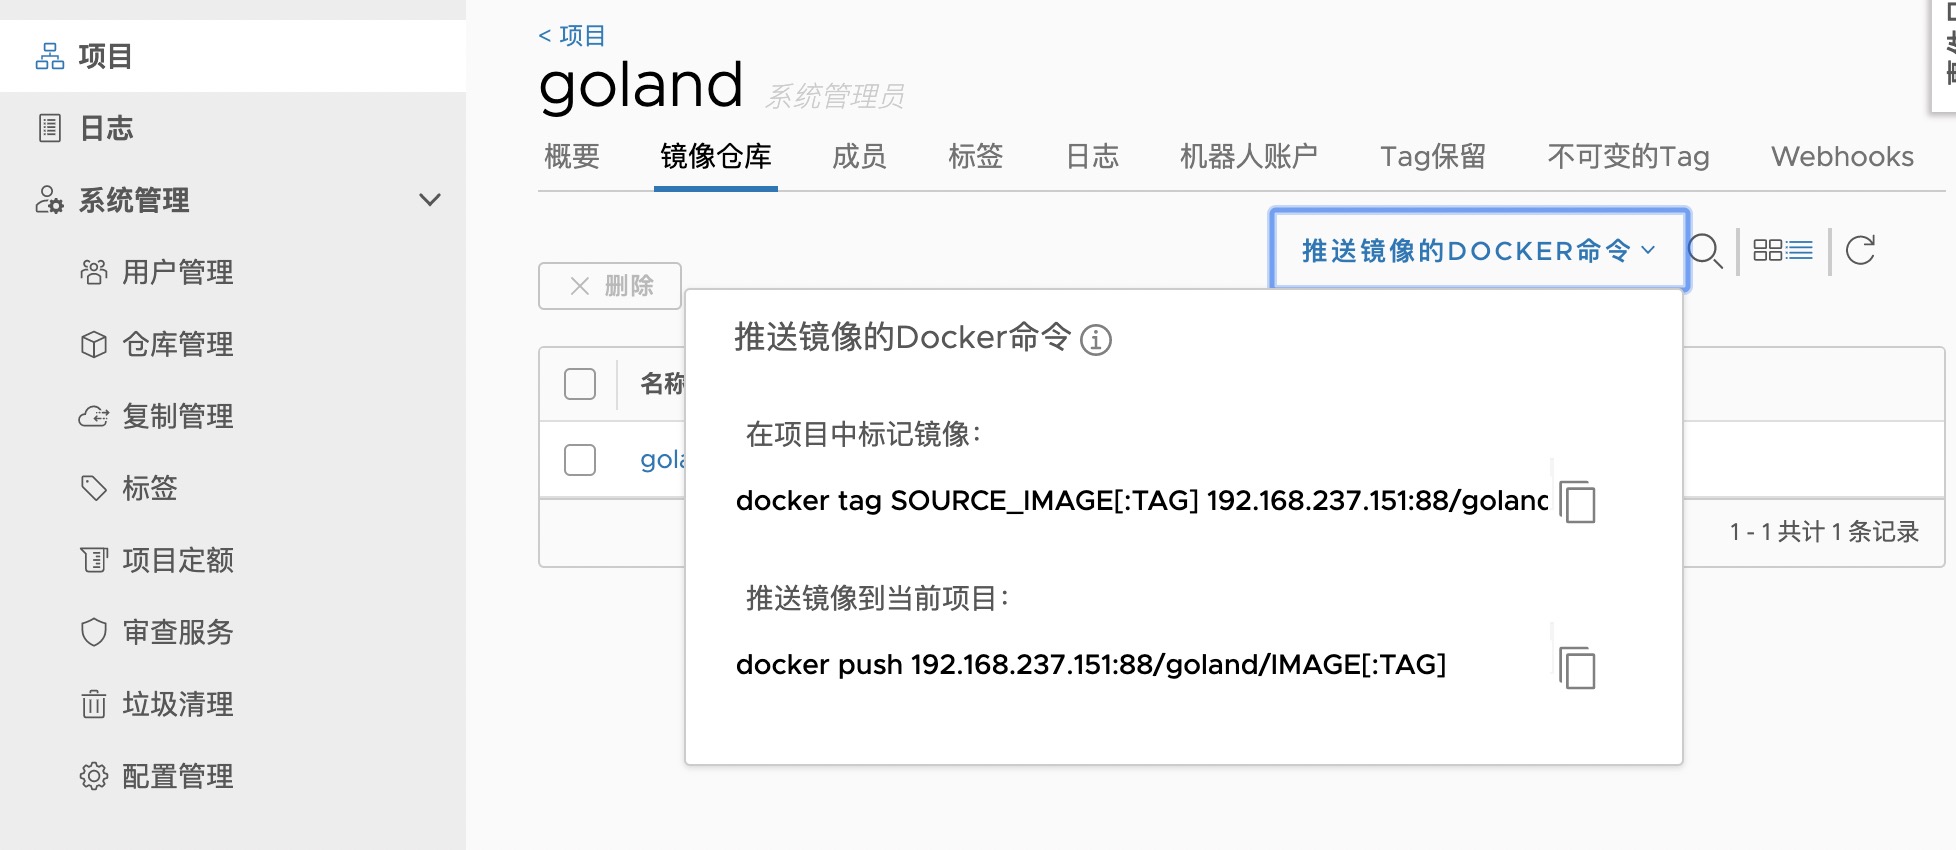
5.操作命令,意思是将本地打包的镜像修改成一个符合 harbor格式的镜像名,之后上传这个镜像。
docker tag ImageID[:TAG] 192.168.237.151:88/goland/gin[:TAG]
docker push 192.168.237.151:88/goland/ImageID[:TAG]
-
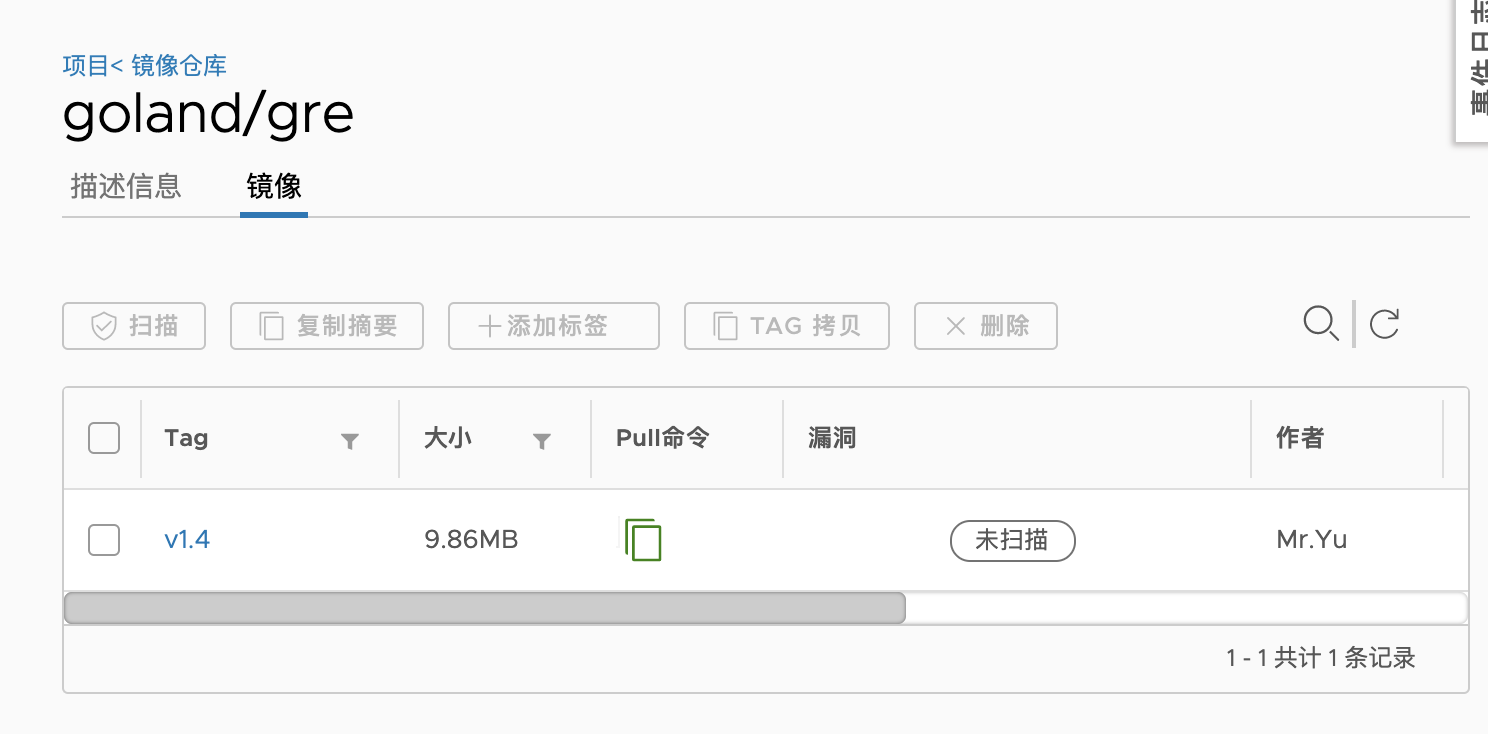
可以看到上传的镜像,这里可以直接复制
Pull命令
-
然后在选择镜像的时候将命令粘贴进去部署。
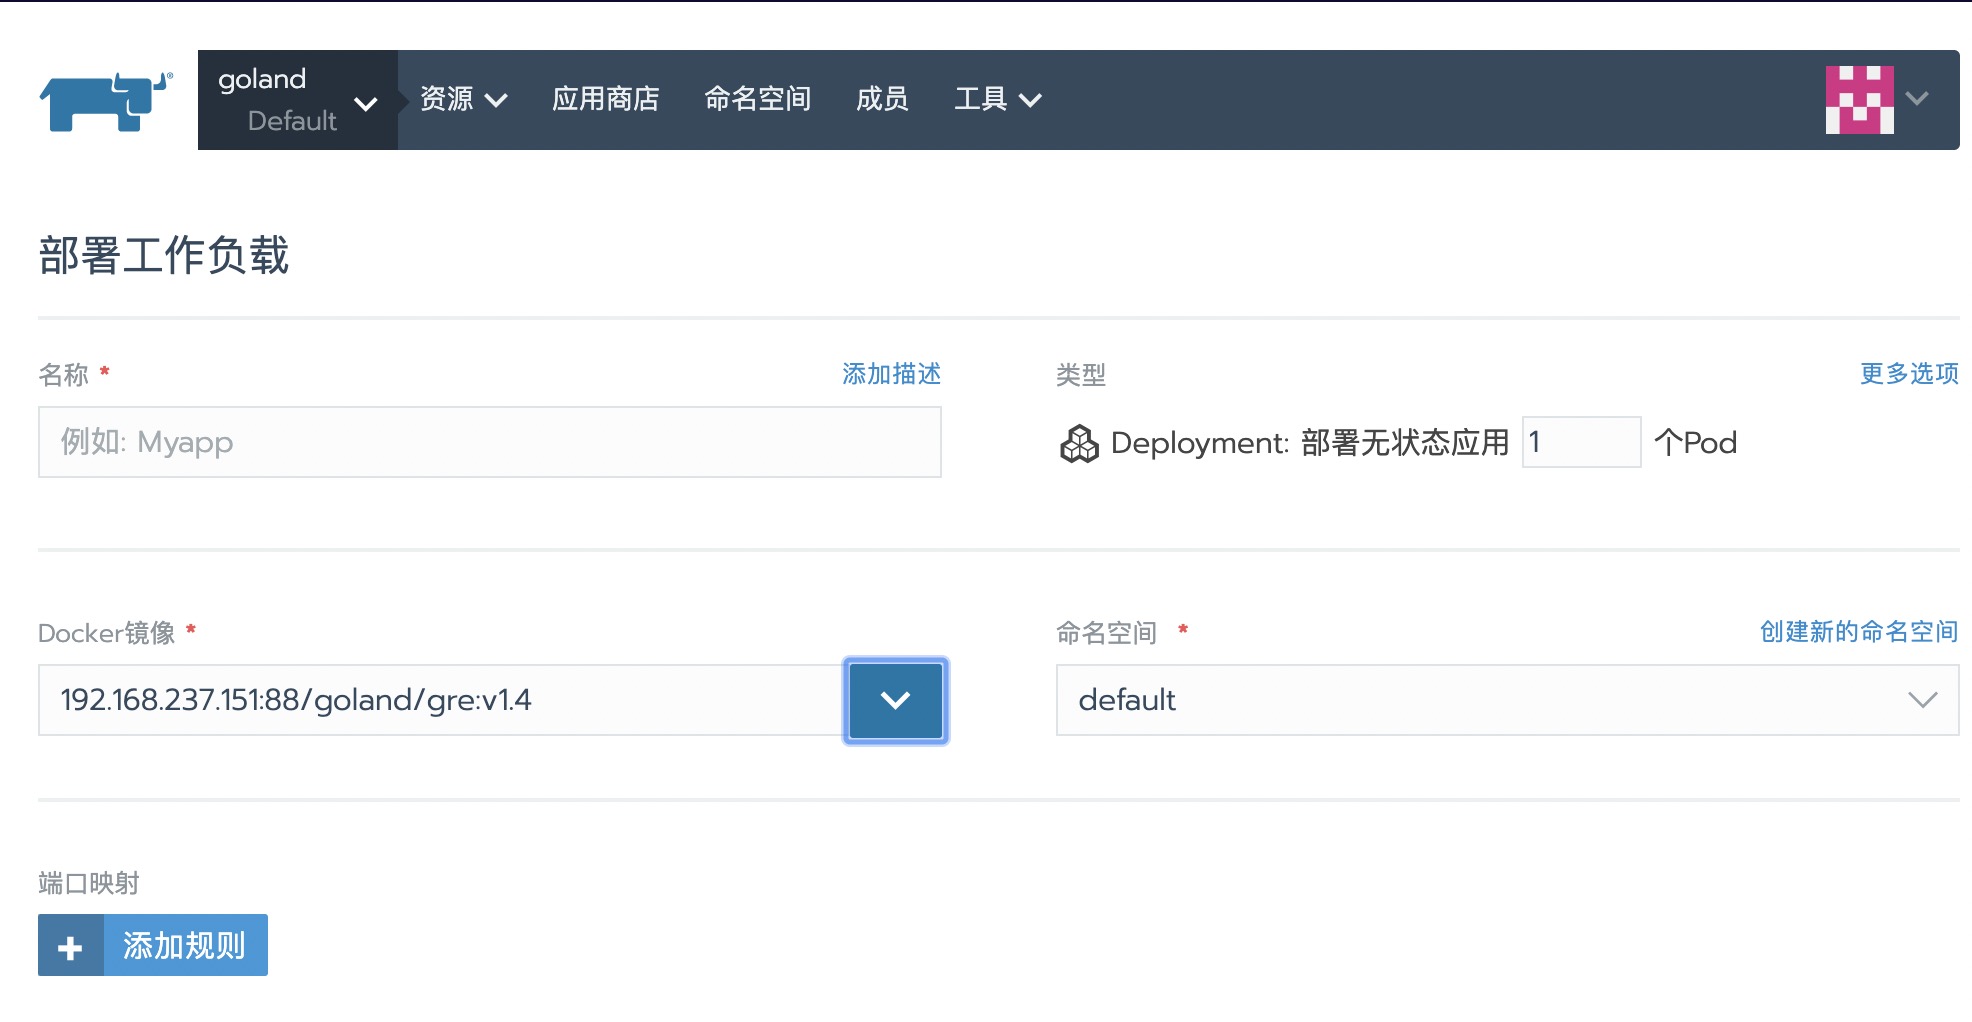
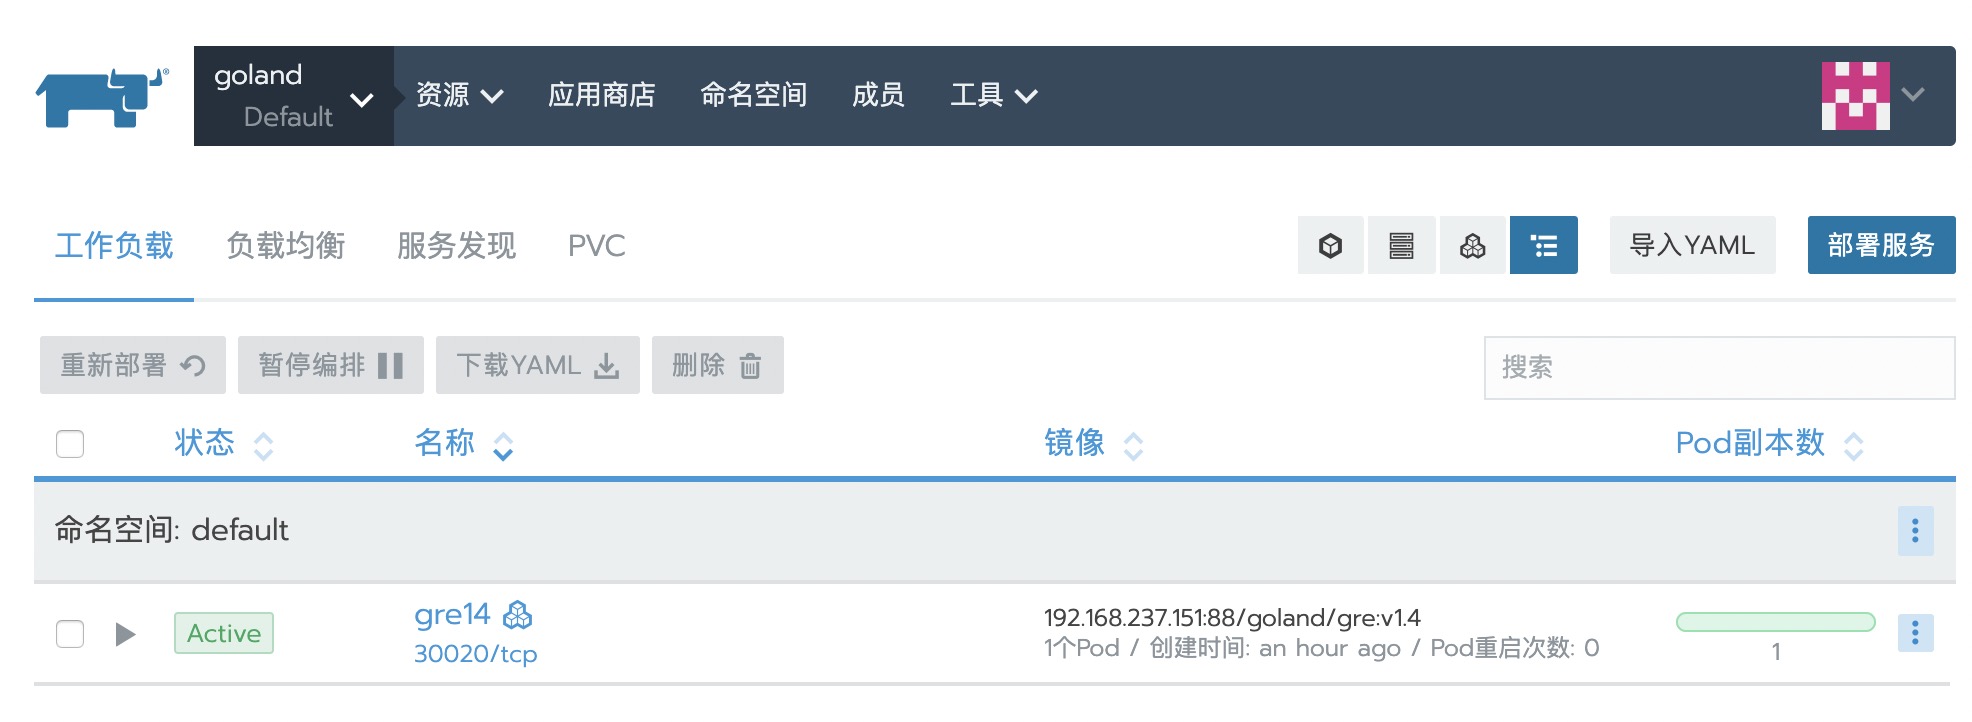
好了 大工告成,感谢收看!
最后
以上就是漂亮音响最近收集整理的关于10分钟部署到落地 Dokcer、Rancher、K8S、Harbor好了 大工告成,感谢收看!的全部内容,更多相关10分钟部署到落地内容请搜索靠谱客的其他文章。


发表评论 取消回复