本文实例为大家分享了微信小程序顶部导航栏的具体代码,供大家参考,具体内容如下
需求:顶部导航栏
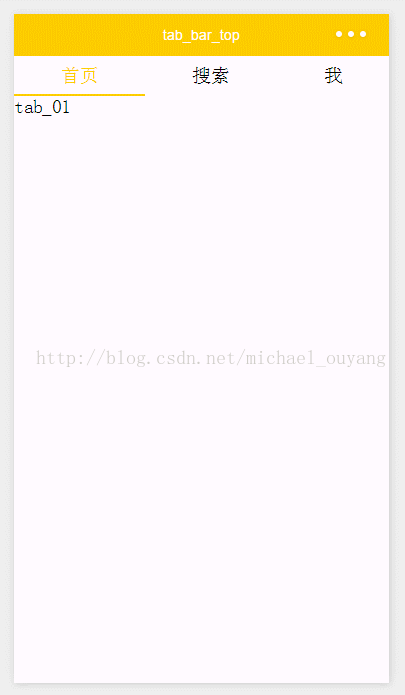
效果图:

wxml:
<!--导航条-->
<view class="navbar">
 <text wx:for="{{navbar}}" data-idx="{{index}}" class="item {{currentTab==index ? 'active' : ''}}" wx:key="unique" bindtap="navbarTap">{{item}}</text>
</view>

<!--首页-->
<view hidden="{{currentTab!==0}}">
 tab_01
</view>

<!--搜索-->
<view hidden="{{currentTab!==1}}">
 tab_02
</view>

<!--我-->
<view hidden="{{currentTab!==2}}">
 tab_03
</view>
wxss:
page{
 display: flex;
 flex-direction: column;
 height: 100%;
}
.navbar{
 flex: none;
 display: flex;
 background: #fff;
}
.navbar .item{
 position: relative;
 flex: auto;
 text-align: center;
 line-height: 80rpx;
}
.navbar .item.active{
 color: #FFCC00;
}
.navbar .item.active:after{
 content: "";
 display: block;
 position: absolute;
 bottom: 0;
 left: 0;
 right: 0;
 height: 4rpx;
 background: #FFCC00;
}
js:
var app = getApp()
Page({
 data: {
 navbar: ['首页', '搜索', '我'],
 currentTab: 0
 },
 navbarTap: function(e){
 this.setData({
  currentTab: e.currentTarget.dataset.idx
 })
 }
})
运行:
以上就是本文的全部内容,希望对大家的学习有所帮助,也希望大家多多支持脚本之家。
最后
以上就是冷酷大雁最近收集整理的关于微信小程序实战之顶部导航栏(选项卡)(1)的全部内容,更多相关微信小程序实战之顶部导航栏(选项卡)(1)内容请搜索靠谱客的其他文章。
本图文内容来源于网友提供,作为学习参考使用,或来自网络收集整理,版权属于原作者所有。


发表评论 取消回复