我是靠谱客的博主 大力火龙果,这篇文章主要介绍shell脚本一键部署lnmp架构1. 创建存放脚本的目录2. 创建脚本文件3. 编写脚本4. 通过IP地址直接访问PHP界面,现在分享给大家,希望可以做个参考。
shell脚本一键部署lnmp架构
- 1. 创建存放脚本的目录
- 2. 创建脚本文件
- 3. 编写脚本
- 4. 通过IP地址直接访问PHP界面
1. 创建存放脚本的目录
[root@localhost ~]# mkdir /script
[root@localhost ~]# cd /script/
2. 创建脚本文件
[root@localhost script]# touch lnmp.sh
[root@localhost script]# mkdir packages  //创建存放tar包的目录

[root@localhost packages]# ls
mysql-5.7.34-linux-glibc2.12-x86_64.tar.gz  nginx-1.20.1.tar.gz  php-8.0.12.tar.gz
3. 编写脚本
nginx下载
MySQL下载
php下载
环境说明
| 系统版本 | 软件包版本 |
|---|---|
| redhat8.2 | nginx-1.20.1、mysql-5.7.34、php-8.0.12 |
[root@localhost script]# cat lnmp.sh
#!/bin/bash
route=/usr/local
data=/opt/data


if [ ! -d $route/nginx-1.20.1 ];then
	tar xf packages/nginx-1.20.1.tar.gz -C $route
fi

if [ ! -d $route/mysql-5.7.34-linux-glibc2.12-x86_64 ];then
	tar xf packages/mysql-5.7.34-linux-glibc2.12-x86_64.tar.gz -C $route
	ln -s $route/mysql-5.7.34-linux-glibc2.12-x86_64 /usr/local/mysql
fi

if [ ! -d $route/php-8.0.12 ];then
	tar xf packages/php-8.0.12.tar.gz -C $route
fi


if [ ! -f /etc/yum.repos.d/CentOS-Base.repo ];then
	curl -o /etc/yum.repos.d/CentOS-Base.repo https://mirrors.aliyun.com/repo/Centos-8.repo
fi

yum -y install pcre-devel pcre gcc gcc-c++ openssl-devel zlib zlib-devel make vim wget openssl openssl-devel gd-devel ncurses-compat-libs perl ncurses-devel cmake epel-release libxml2 libxml2-devel  bzip2 bzip2-devel libcurl libcurl-devel libicu-devel libjpeg libjpeg-devel libpng libpng-devel openldap-devel  freetype freetype-devel gmp gmp-devel libmcrypt libmcrypt-devel readline readline-devel libxslt libxslt-devel mhash mhash-devel php-mysqlnd libsqlite3x-devel libzip-devel

if [ ! -f ./oniguruma-devel-6.8.2-2.el8.x86_64.rpm  ];then
wget http://mirror.centos.org/centos/8/PowerTools/x86_64/os/Packages/oniguruma-devel-6.8.2-2.el8.x86_64.rpm
fi

yum -y install oniguruma-devel-6.8.2-2.el8.x86_64.rpm
id nginx &>/dev/null
if [ $? -ne 0 ];then
	useradd -r -M -s /sbin/nologin nginx
fi

mkdir -p /var/log/nginx
chown -R nginx.nginx /var/log/nginx


cd $route/nginx-1.20.1
if [ ! -d $route/nginx ];then
	./configure
		--prefix=/usr/local/nginx
                --user=nginx
                --group=nginx
                --with-debug
                --with-http_ssl_module
                --with-http_realip_module
                --with-http_image_filter_module
                --with-http_gunzip_module
                --with-http_gzip_static_module
                --with-http_stub_status_module
                --http-log-path=/var/log/nginx/access.log
                --error-log-path=/var/log/nginx/error.log &&
		make && make install
fi

echo 'export PATH=/usr/local/nginx/sbin:$PATH' >/etc/profile.d/nginx.sh

cat > /usr/lib/systemd/system/nginx.service << EOF
[Unit]
Description=Nginx server daemon
After=network.target

[Service]
Type=forking
ExecStart=/usr/local/nginx/sbin/nginx
ExecStop=/usr/local/nginx/sbin/nginx -s quit
ExecReload=/bin/kill -HUP $MAINPID

[Install]
WantedBy=multi-user.target
EOF

systemctl daemon-reload
systemctl enable --now nginx.service

echo "部署MySQL"
id mysql &>/dev/null
if [ $? -ne 0 ];then
	useradd -r -M -s /sbin/nologin mysql
	chown -R mysql.mysql /usr/local/mysql
fi

echo "export PATH=/usr/local/mysql/bin:$PATH" > /etc/profile.d/mysql.sh

mkdir -p $data
chown -R mysql.mysql $data

file=$(ls $data | wc -l)
if [ $file -lt 2 ];then
	$route/mysql/bin/mysqld --initialize-insecure --user mysql --datadir $data/
	cat > /etc/my.cnf <<EOF
[mysqld]
basedir = $route/mysql
datadir = $data
socket = /tmp/mysql.sock
port = 3306
pid-file = $data/mysql.pid
user = mysql
skip-name-resolve
EOF

sed -i 's/basedir=/&/usr/local/mysql/g' $route/mysql/support-files/mysql.server
sed -i 's/datadir=/&/opt/data/g' $route/mysql/support-files/mysql.server
cat > /usr/lib/systemd/system/mysql.service << EOF
[Unit]
Description=mysql server daemon
After=network.target

[Service]
Type=forking
ExecStart=$route/mysql/support-files/mysql.server start
ExecStop=$route/mysql/support-files/mysql.server stop
ExecReload=/bin/kill -HUP $MAINPID

[Install]
WantedBy=multi-user.target
EOF
fi

systemctl daemon-reload
systemctl enable --now mysql.service

echo "部署php"
cd $route/php-8.0.12
if [ ! -d $route/php8 ];then
./configure --prefix=/usr/local/php8  --with-config-file-path=/etc --enable-fpm --disable-debug --disable-rpath --enable-shared --enable-soap --with-openssl --enable-bcmath --with-iconv --with-bz2 --enable-calendar --with-curl --enable-exif  --enable-ftp --enable-gd --with-jpeg --with-zlib-dir --with-freetype --with-gettext --enable-mbstring --enable-pdo --with-mysqli=mysqlnd --with-pdo-mysql=mysqlnd --with-readline --enable-shmop --enable-simplexml --enable-sockets --with-zip --enable-mysqlnd-compression-support --with-pear --enable-pcntl --enable-posix &&
	make && make install
fi

echo 'export PATH=/usr/local/php8/bin:$PATH' > /etc/profile.d/php.sh

if [ -f /etc/php.ini ];then
cd $route/php-8.0.12
cp php.ini-production /etc/php.ini

cp sapi/fpm/init.d.php-fpm /etc/init.d/php-fpm
chmod +x /etc/rc.d/init.d/php-fpm

cp $route/php8/etc/php-fpm.conf.default $route/php8/etc/php-fpm.conf
cp $route/php8/etc/php-fpm.d/www.conf.default $route/php8/etc/php-fpm.d/www.conf

cat > /usr/lib/systemd/system/php-fpm.service << EOF
[Unit]
Description=php server daemon
After=network.target

[Service]
Type=forking
ExecStart=/etc/init.d/php-fpm start
ExecStop=/etc/init.d/php-fpm stop
ExecReload=/bin/kill -HUP $MAINPID

[Install]
WantedBy=multi-user.target
EOF
fi

systemctl daemon-reload
systemctl enable --now php-fpm

if [ ! -f $route/nginx/html/index.php ];then
cat > $route/nginx/html/index.php << EOF
<?php
    phpinfo();
?>
EOF


cd $route/nginx/conf
sed -i "45s/index/c  index.php/" nginx.conf  && sed -i "45s/c/index/" nginx.conf

sed -i "65,71s/#//g" $route/nginx/conf/nginx.conf

sed -i "69s//scripts/$document_root/g" $route/nginx/conf/nginx.conf
fi
systemctl restart nginx.service
若出现任何问题欢迎评论留言
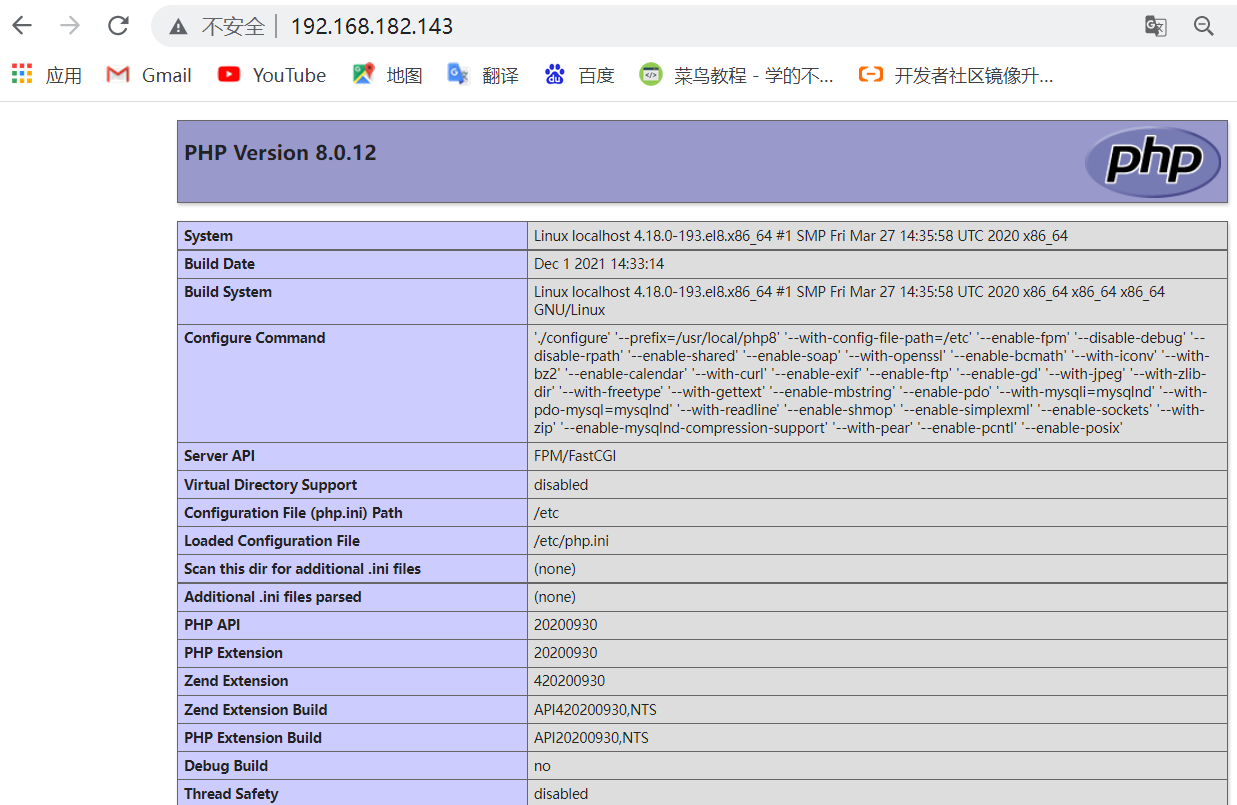
4. 通过IP地址直接访问PHP界面
最后
以上就是大力火龙果最近收集整理的关于shell脚本一键部署lnmp架构1. 创建存放脚本的目录2. 创建脚本文件3. 编写脚本4. 通过IP地址直接访问PHP界面的全部内容,更多相关shell脚本一键部署lnmp架构1.内容请搜索靠谱客的其他文章。
本图文内容来源于网友提供,作为学习参考使用,或来自网络收集整理,版权属于原作者所有。


发表评论 取消回复