VPN客户端使用VPN连接到与Internet相连的VPN服务器。VPN服务器应答验证VPN客户端身份,并在VPN客户端和内部网络之间传送数据。与拨号网络相比,VPN是通过公用网络在VPN客户端和VPN服务器之间建立的一种逻辑连接。要进一步保证数据的安全性,必须对网络上传输的数据进行加密处理。
具体步骤
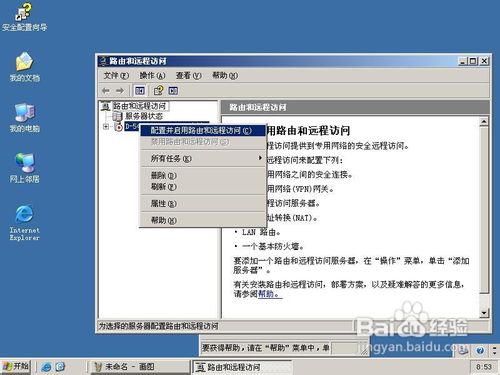
点击开始菜单,选择所有程序--管理工具---选择<路由和远程访问>。如图:
打开<路由和远程访问>的界面,右击选择<配置并启用路由和远程访问>如图:
弹出服务器的安装向导,选择<下一步>,如图:


选择用来做内网卡的本地连接,我这里设置是本地连接2为内网卡。如图:

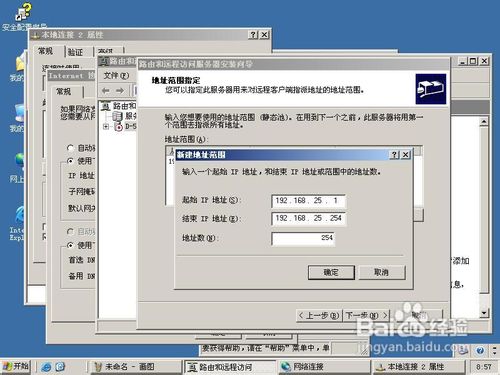
这里可以选择<自动>也可以选择<来自一个指定的地址范围>,如图:


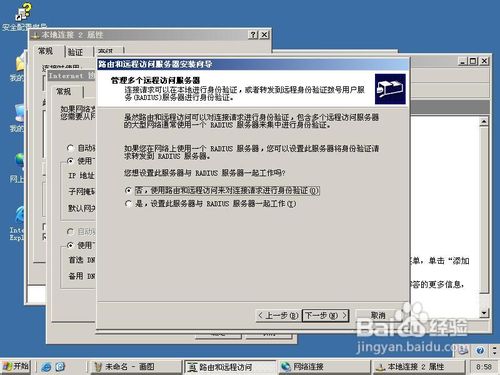
这一步是设置访问的身份验证。如图:
点击下一步,点击完成。如图:


安装完成。如图:

测试VPN连接:
右击<我的电脑>选择<管理>---<本地用户和组>,选择<用户>,新建<新用户>,我提前建了个<VPN>的用户。如图:

选择<VPN>右击属性,设置拨入权限。如图:

在XP客户机上建立一个链接
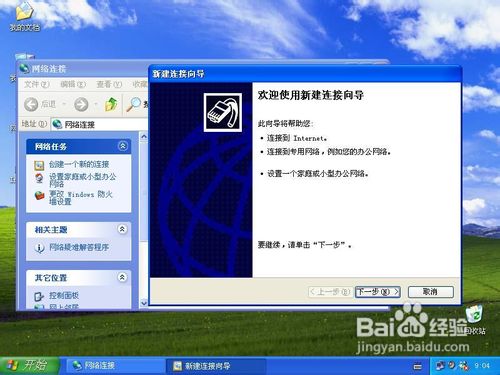
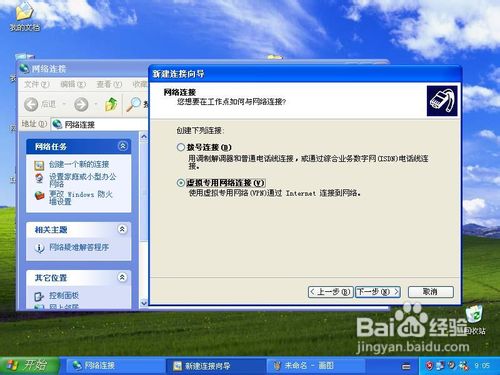
选择连接到我的工作场所的网络。如图:

这是里<公司名>可以随便填写。主机名可以填写你服务器里面的内网卡IP地址。如图:


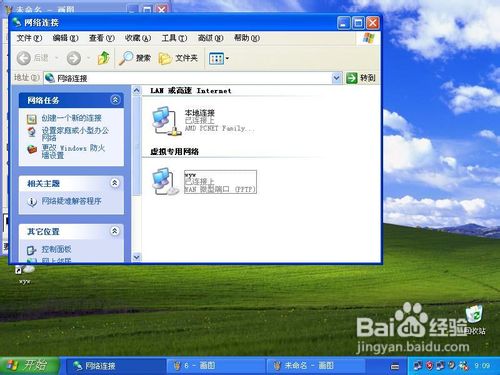
点击连接,输入用户名和密码,如图:


表示已连接上,VPN成功建立。
注意事项
有什么不懂的可以研究研究!
最后
以上就是醉熏中心最近收集整理的关于图解WIN Server 2003配置VPN服务器的具体步骤的全部内容,更多相关图解WIN内容请搜索靠谱客的其他文章。
本图文内容来源于网友提供,作为学习参考使用,或来自网络收集整理,版权属于原作者所有。


发表评论 取消回复