很多时候我们拍的照片有些曝光,今天小编就用LR(lightroom)处理曝光细节,再用PS作色彩平衡。

RAW的宽容度绝大多数摄影人都知道,对过曝的一些问题不大,所以在拍摄时可以放心过曝,这样可以保留暗部细节(比正常曝光暗部提亮后的画质更好)。
以下这张照片在云南拍摄,由于天气非常不好,所以原片很灰。下面我们开始挽救工程!

首先在LR里调整了曝光,调节了色温清晰度对比度后,云层的细节开始显现出来了。(因为当时的光比有些大,太在意暗部的细节,所以天空还是有些过曝了,甚至出现了死白,这是前期的失误,如果有时间可以在同个地方拍2张曝光不同的,一张保留天空的细节以便于后期叠加处理。)


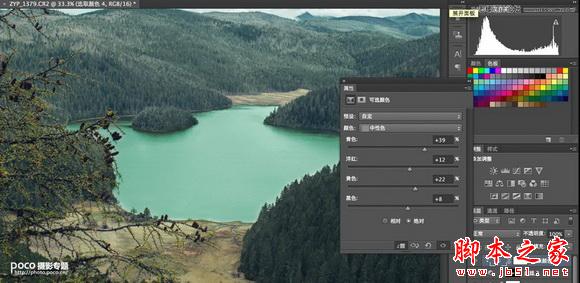
在PS里主要用可选颜色,色彩平衡来调色,并增加对比度。


但是如果欠曝来拍(过多的情况下),提亮暗部的时候你就会发现大量的噪点出现大幅的影响画面的整体质量,所以宁可过曝后来降低亮度相对保险一些,当然一定要掌握一个度。个人的话觉得最多过曝3个档,否则容易出现死白。
最后
以上就是悦耳小丸子最近收集整理的关于Photoshop处理过曝RAW格式风景照片教程的全部内容,更多相关Photoshop处理过曝RAW格式风景照片教程内容请搜索靠谱客的其他文章。
本图文内容来源于网友提供,作为学习参考使用,或来自网络收集整理,版权属于原作者所有。


发表评论 取消回复