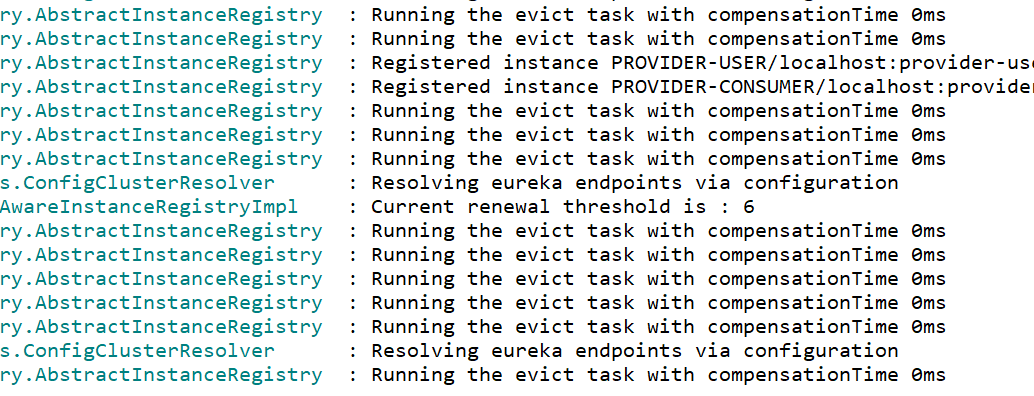
接着上面说,上面我们进行了对微服务的项目状况和配置监控,接下来我们接着做对Eureka的元数据的自定义,首先我们将properties文件的配置上加上eureka.instance.metadata-map.my-metada=#你要加上的元数据
application.properties/yml
#mybatis扫描路径
mybatis.type-aliases-package=com.lyl.cloud.entity

#mysql连接配置
spring.datasource.driver-class-name=com.mysql.jdbc.Driver
spring.datasource.url=jdbc:mysql://127.0.0.1:3306/cloud?useUnicode=true&characterEncoding=UTF-8&useSSL=false
spring.datasource.username=root
spring.datasource.password=root

#springMVC配置
spring.mvc.view.prefix=classpath:/templates/*

#配置端口
server.port=8000

#项目配置说明,通过http://ip(localhost):端口(8000)/info进行查询
info.app.name=@project.artifactId@
info.app.encoding:@project.build.sourceEncoding@
info.app.java.source:@java.version@
info.app.java.target:@java.version@

#整合eureka
#注册到server的应用名称
spring.application.name=provider-user
#注册地址
eureka.client.serviceUrl.defaultZone=http://user:password123@peer1:8761/eureka/,http://user:password123@peer2:8762/eureka
#是否将自己的ip注册到server,如果不设置或者设为false那就将操作系统的hostname注册到server
eureka.instance.prefer-ip-address=true
#修改元数据
eureka.instance.metadata-map.my-metadata=该条是指定的元数据
然后在服务消费者上面将Controller的包里面加上查询的方法
package com.lyl.cloud.controller;

import java.util.List;

import org.springframework.beans.factory.annotation.Autowired;
import org.springframework.beans.factory.annotation.Value;
import org.springframework.cloud.client.ServiceInstance;
import org.springframework.cloud.client.discovery.DiscoveryClient;
import org.springframework.web.bind.annotation.PathVariable;
import org.springframework.web.bind.annotation.RequestMapping;
import org.springframework.web.bind.annotation.RestController;
import org.springframework.web.client.RestTemplate;

import com.lyl.cloud.entity.User;

@RestController
public class ConsumerController {

	@Autowired
	private RestTemplate restTemplate;

	@Value("${user.userServiceURL}")
	private String userServiceUrl;

	@Autowired
	private DiscoveryClient discoveryClient;

	@RequestMapping("/user/{id}")
	public User findById(@PathVariable Long id) {
		return this.restTemplate.getForObject(this.userServiceUrl+id,User.class);
	}

	/**
	 * 查询微服务user并返回
	 * @return user服务的信息
	 */
	@RequestMapping("/user-instance")
	public List<ServiceInstance> showInfo(){
		return this.discoveryClient.getInstances("provider-user");
	}
}
完成初步的配置与代码书写,启动四个服务:Eureka-Server、Eureka-Servertwo、provider-consumer、provider-user

然后在浏览器上输入:http://localhost:8010/user-instance
会看到相应的元数据被打印出来

最后
以上就是健壮石头最近收集整理的关于SpringCloud中Eureka自定义元数据的全部内容,更多相关SpringCloud中Eureka自定义元数据内容请搜索靠谱客的其他文章。
本图文内容来源于网友提供,作为学习参考使用,或来自网络收集整理,版权属于原作者所有。

![[Webpack4.x]配置html-webpack-plugin打包命令行报错解决方案](https://www.shuijiaxian.com/files_image/reation/bcimg11.png)


发表评论 取消回复