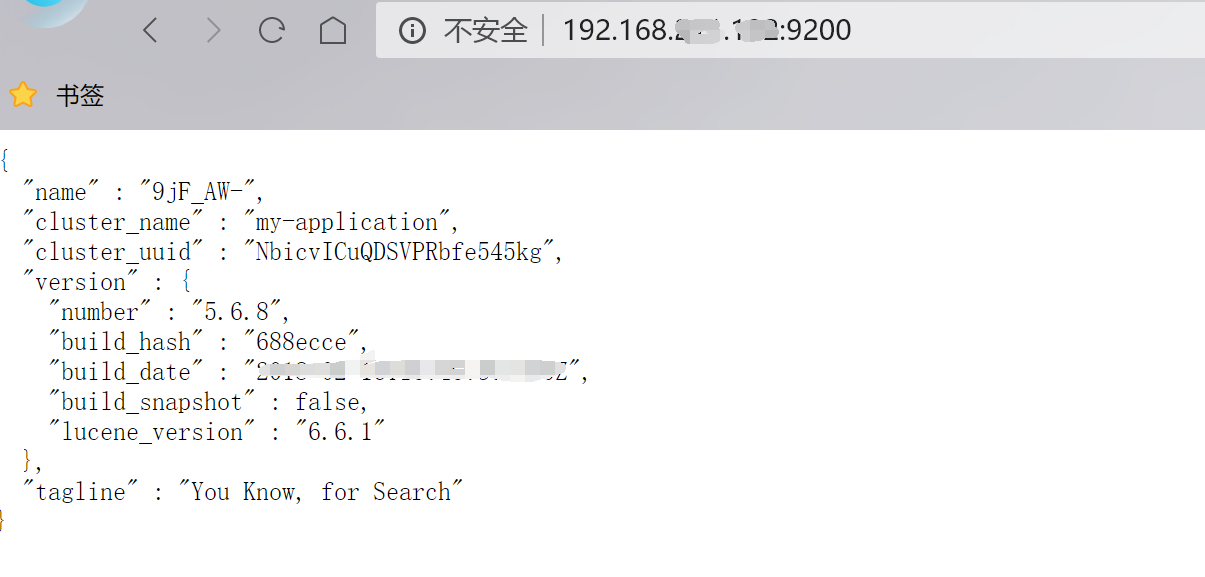
首先确定你是否成功装上es,
下面所有操作是在装好es的情况下进行相应的调改配置。
我将es装在了Linux环境的docker容器中,下面是我进行的相应的操作,假如对你有帮助,请记得一键三连哦!????
上面完成安装后,es并不能正常使用**,elasticsearch从5版本以后默认不开启远程连接,程序直接连接会报如下错误:
failed to load elasticsearch nodes : org.elasticsearch.client.transport.NoNodeAvailableException: None of the configured nodes are available: [{#transport#-1}{5ttLpMhkRjKLkvoY7ltUWg}{192.168.211.132}{192.168.211.132:9300}]
这个时候我们需要修改es配置开启远程连接,代码如下:
登录docker容器(没有装在docker的忽略)
docker exec -it changgou_elasticsearch /bin/bash
查看目录结构 输入: dir
root@07f22eb41bb5:/usr/share/elasticsearch# dir
NOTICE.txt  README.textile  bin  config  data  lib  logs  modules  plugins
进入config目录
cd config
查看文件
root@07f22eb41bb5:/usr/share/elasticsearch/config# ls
elasticsearch.yml  log4j2.properties  scripts
修改elasticsearch.yml文件
root@07f22eb41bb5:/usr/share/elasticsearch/config# vi elasticsearch.yml
bash: vi: command not found
修改elasticsearch.yml配置:
vi elasticsearch.yml
以上操作如下图:

同时添加下面一行代码:
cluster.name: my-application
重启docker
docker restart changgou_elasticsearch
重新启动虚拟机,再次启动容器,发现已经可以启动并远程访问
reboot
跨域配置
修改elasticsearch/config下的配置文件:elasticsearch.yml,增加以下三句命令,并重启:
http.cors.enabled: true    --开启跨域
http.cors.allow-origin: "*"   --允许那些域名跨域
network.host: 192.168.xxx.xxx
其中:
http.cors.enabled: true:此步为允许elasticsearch跨域访问,默认是false。
http.cors.allow-origin: “*”:表示跨域访问允许的域名地址(*表示任意)。
重启
docker restart changgou_elasticsearch
小提示:如果想让容器开启重启,可以执行下面命令
docker update --restart=always 容器名称或者容器id

最后
以上就是危机期待最近收集整理的关于elasticsearch完成安装后,并不能正常使用的全部内容,更多相关elasticsearch完成安装后内容请搜索靠谱客的其他文章。
本图文内容来源于网友提供,作为学习参考使用,或来自网络收集整理,版权属于原作者所有。


发表评论 取消回复