1、RecyclerViewSwipeDismiss(滑动删除recycleView)
项目地址 https://github.com/CodeFalling/RecyclerViewSwipeDismiss
使用:1、导入libary文件到项目中;
2、添加监听器
SwipeDismissRecyclerViewTouchListener listener = new SwipeDismissRecyclerViewTouchListener.Builder(
        recyclerView,
        new SwipeDismissRecyclerViewTouchListener.DismissCallbacks() {
            @Override
            public boolean canDismiss(int position) {
                return true;
            }

            @Override
            public void onDismiss(View view) {
                // 当删除了一个后,要做什么事

            }
        })
        .setIsVertical(false)//是否纵向删除
        .setItemTouchCallback(
                new SwipeDismissRecyclerViewTouchListener.OnItemTouchCallBack() {
                    @Override
                    public void onTouch(int index) {
                    	// 触摸处理事件
                    }
                })
        .setItemClickCallback(new SwipeDismissRecyclerViewTouchListener.OnItemClickCallBack() {
                    @Override
                    public void onClick(int position) {
                        // 点击处理事件
                })
        .setBackgroundId(R.drawable.bg_item_normal, R.drawable.bg_item_selected)
        .create();
recyclerView.setOnTouchListener(listener);
这样就可以用了
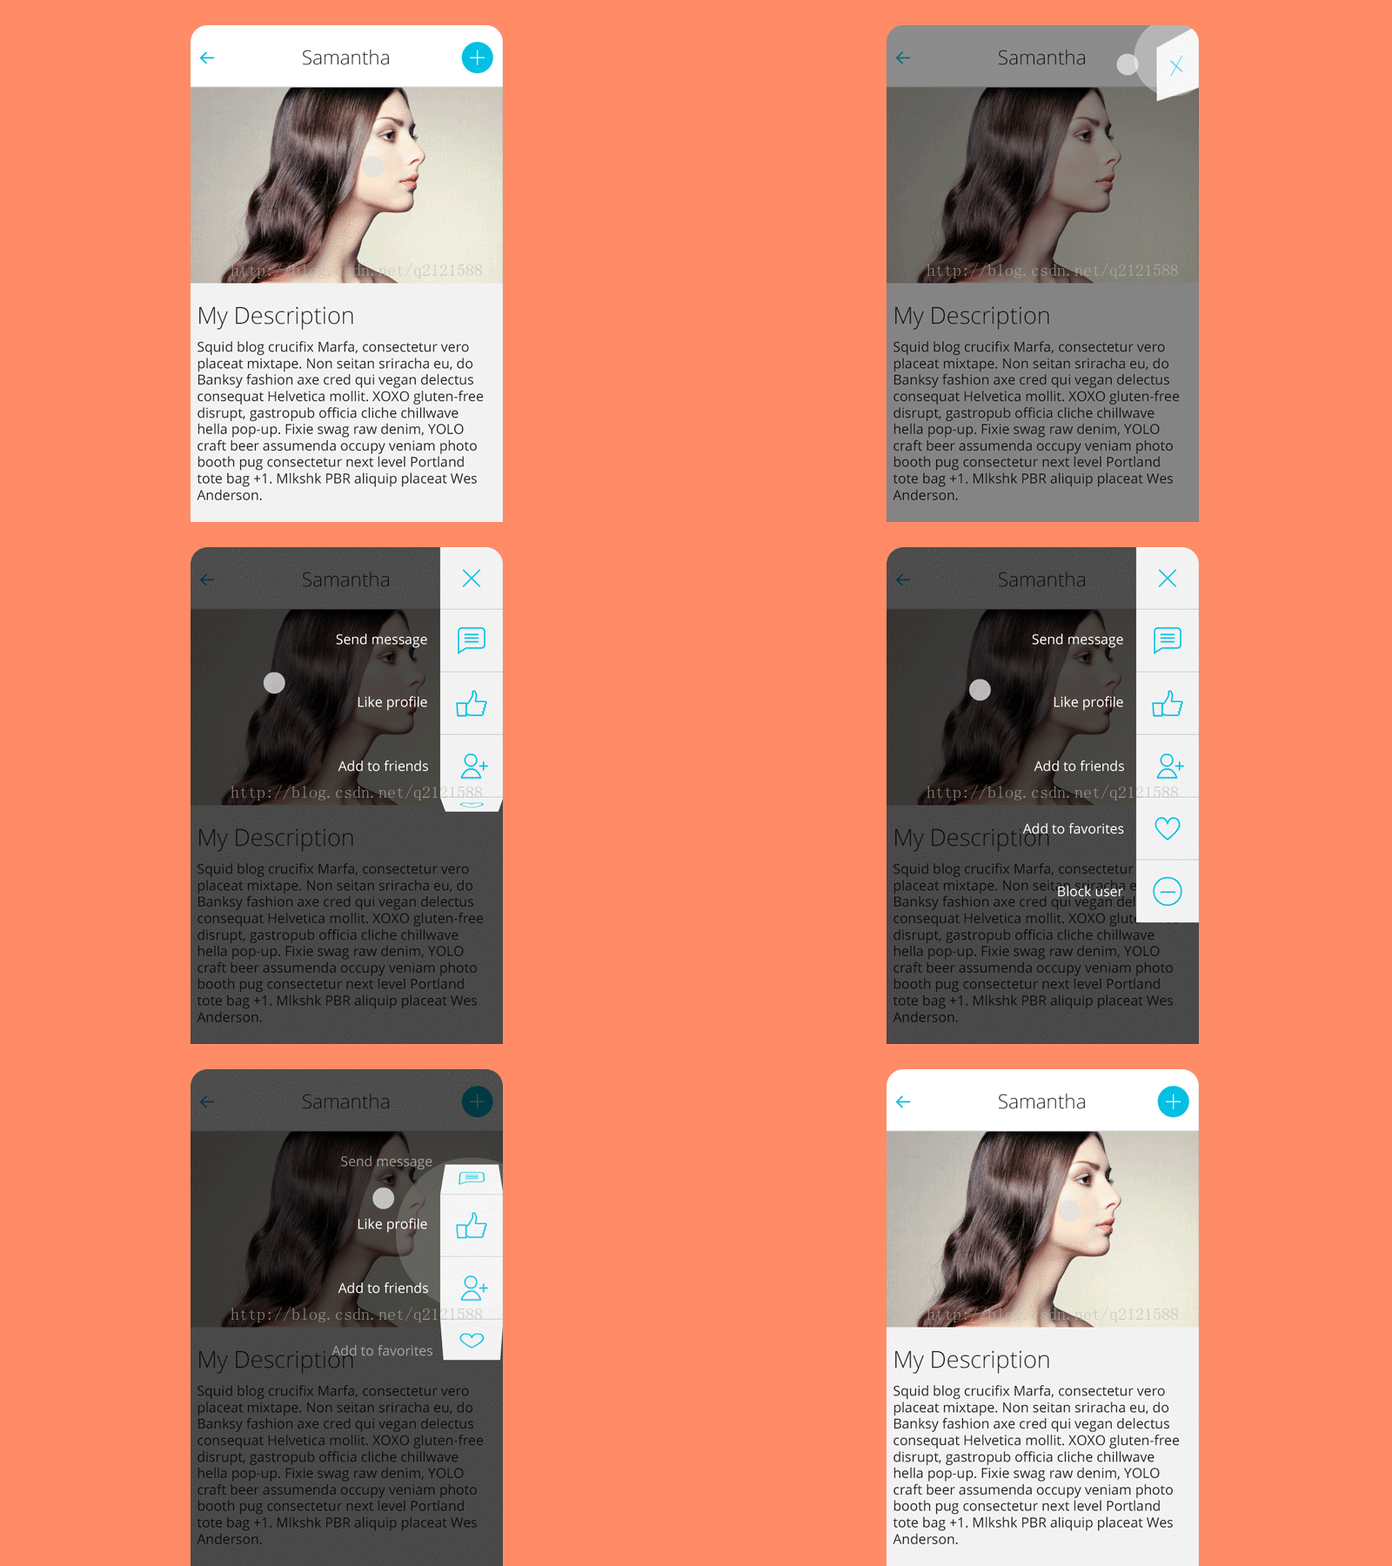
2、Side Menu(动画菜单)
项目地址:https://github.com/Yalantis/Context-Menu.Android
使用方法:
1、导入libiary
2、在主布局中include toolbar的布局
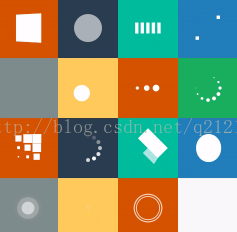
<?xml version="1.0" encoding="utf-8"?> <android.support.v7.widget.Toolbar xmlns:android="http://schemas.android.com/apk/res/android" xmlns:app="http://schemas.android.com/apk/res-auto" android:id="@+id/toolbar" app:theme="@style/ThemeOverlay.AppCompat.ActionBar" android:layout_width="match_parent" android:layout_height="?attr/actionBarSize" android:minHeight="?attr/actionBarSize" android:background="?attr/colorPrimary"> <TextView android:id="@+id/text_view_toolbar_title" android:layout_centerInParent="true" android:layout_width="match_parent" android:layout_height="match_parent" android:textColor="@color/text_color" android:textSize="@dimen/tool_bar_text_size" android:gravity="center" /> </android.support.v7.widget.Toolbar>3、设置菜单按钮以及安装监听器void initMenuObjects() { MenuParams menuParams = new MenuParams(); menuParams.setActionBarSize((int)getResources().getDimension(R.dimen.tool_bar_height)); menuParams.setMenuObjects(getMenuObjects()); menuParams.setClosableOutside(true); mMenuDialogFragment = ContextMenuDialogFragment.newInstance(menuParams); mMenuDialogFragment.setItemClickListener(this); mMenuDialogFragment.setItemLongClickListener(this); }4、设置菜单选项List<MenuObject> getMenuObjects() { List<MenuObject> list = new ArrayList<MenuObject>(); MenuObject send = new MenuObject("frist"); send.setResource(R.drawable.icn_1); MenuObject back = new MenuObject("back"); back.setResource(R.drawable.icn_2); list.add(send); list.add(back); return list; }5、显示菜单在oncreate 中获取fragmentManager =getSupportFragmentManager();重写方法@Override public boolean onCreateOptionsMenu(Menu menu) {//创建菜单时调用 MenuInflater inflater = getMenuInflater(); inflater.inflate(R.menu.menu,menu);//菜单的布局文件,新建一个item id为menu,就是我们要展示的菜单。 return true;//return true 表示显示, } public boolean onOptionsItemSelected(MenuItem item) { switch (item.getItemId()) { case R.id.menu: if (fragmentManager.findFragmentByTag(ContextMenuDialogFragment.TAG) == null) {//判断有无对象存在 mMenuDialogFragment.show(fragmentManager, ContextMenuDialogFragment.TAG); Toast.makeText(this, "getsimplename"+ContextMenuDialogFragment.TAG, Toast.LENGTH_SHORT).show(); } break; } return super.onOptionsItemSelected(item); }通过以上步骤,基本完成使用。3、加载动画Android-spkit效果如下项目地址 https://github.com/ybq/Android-SpinKit使用说明:1、在gradle文件下添加如下语句2、导入libiary。```gradle allprojects { repositories { ... maven { url "https://jitpack.io" } } } ```3、在代码里实现有两种方式。①直接实现,例如textview上添加动画:mCircleDrawable = new Circle();//圆圈型加载动画 mCircleDrawable.setBounds(0, 0, 100, 100); mCircleDrawable.setColor(Color.BLACK);//动画的颜色 textView.setCompoundDrawables(null, null, mCircleDrawable, null);//位置,分别为左上右下 textView.setBackgroundColor(colors[2]);②xml方式<com.github.ybq.android.spinkit.SpinKitView xmlns:app="http://schemas.android.com/apk/res-auto" android:id="@+id/spin_kit" style="@style/SpinKitView.Large.Circle" android:layout_width="wrap_content" android:layout_height="wrap_content" android:layout_gravity="center" app:SpinKit_Color="@color/colorAccent" />当做一个控件添加到需要的地方就行了。
最后
以上就是火星上万宝路最近收集整理的关于Github上一些好用的开源项目(随时记录)的全部内容,更多相关Github上一些好用内容请搜索靠谱客的其他文章。
本图文内容来源于网友提供,作为学习参考使用,或来自网络收集整理,版权属于原作者所有。


发表评论 取消回复