<!DOCTYPE html>
<html>
 <head>
  <title>文件上传</title>
  <meta name="Generator" content="EditPlus">
  <meta name="Author" content="">
  <meta name="Keywords" content="">
  <meta name="Description" content="">
  <meta http-equiv="Content-Type" content="text/html;charset=UTF-8">
 </head>

 <body>
  浏览图片:<input type="file" id="images" multiple accept="image/*" />
  <input type="button" value="显示文件" onclick="showDetails();" />
  <script type="text/javascript">
	var showDetails=function(){
		var imageEle=document.getElementById("images");
		//获取文件上传域内输入的多个文件
		var fileList=imageEle.files;
		//遍历每个文件
		for(var i=0;i<fileList.length;i++){
			var file=fileList[i];
			div=document.createElement("div");
			div.innerHTML="第"+(i+1)+"个文件的文件名是:"+file.name+",该文件类型是:"+file.type+",该文件大小为:"+file.size;
			//把div元素添加到页面中
			document.body.appendChild(div);
		}
	}
  </script>
 </body>
</html>
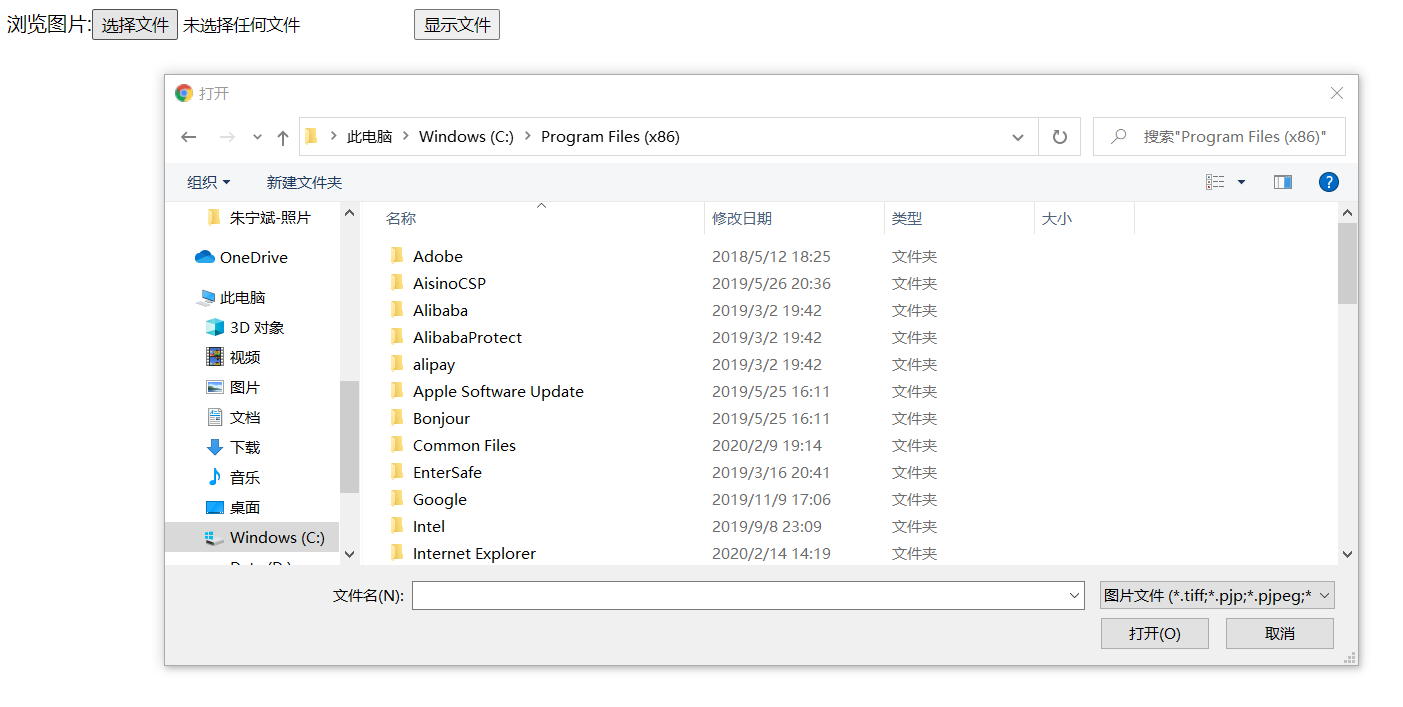
效果如下图:

最后
以上就是靓丽绿茶最近收集整理的关于html5选择本地图片,显示图片名,类型,大小的全部内容,更多相关html5选择本地图片内容请搜索靠谱客的其他文章。
本图文内容来源于网友提供,作为学习参考使用,或来自网络收集整理,版权属于原作者所有。


发表评论 取消回复