Matlab里的种子填充法bwlabel函数C++实现
种子填充法原理
关于种子填充法的详细原理可以参考OpenCV_连通区域分析(Connected Component Analysis/Labeling)
大致算法如下:
设二值化图像A中,像素值为255的点是前景,为0的点是背景。A(x, y)为坐标(x, y)处的像素值,遍历图像的每个像素:
1、 如果像素值不等于255,则继续访问下一个元素。
2、 如果像素值为A(x, y) = 255,则新建一个新的label,当前值A(x, y) = label,并且
a. 检查其4个邻域,如果有属于前景的像素也给它赋予label值,并将它的坐标压栈。
b. 弹出栈顶坐标,重复a的过程,知道堆栈为空。
此时,便找到了一个连通区域,该区域内的像素值被标记为label。
3、 重复1、2的过程,检测出所有的区域。

代码实现
//返回种子填充区域的面积大小
int bwLabel(Mat & src, Mat & dst, vector<Feather> & featherList)
{

	int labelValue = 0;
	Point seed, neighbor;
	stack<Point> pointStack;    // 堆栈

	int area = 0;               // 用于计算连通域的面积
	int leftBoundary = 0;       // 连通域的左边界,即外接最小矩形的左边框,横坐标值,依此类推
	int rightBoundary = 0;
	int topBoundary = 0;
	int bottomBoundary = 0;
	Rect box;                   // 外接矩形框
	Rect box2;                //标签矩形框
	Feather feather;

	featherList.clear();    // 清除数组

	dst.release();
	dst = src.clone();

	int rows = dst.rows;
	int cols = dst.cols;
	//cvtColor(dst, dst , CV_GRAY2BGR);

	for (int j = 0; j < cols; j++)
	{
		//uchar *pRow = dst.ptr<uchar>(j);
		for (int i = 0; i < rows; i++)
		{
			if (dst.at<uchar>(i, j) == 255)
			{
				area = 0;
				labelValue++;           // labelValue最大为254,最小为1.
				seed = Point(j, i);     // Point(横坐标,纵坐标)
				dst.at<uchar>(seed) = labelValue;
				pointStack.push(seed);

				area++;
				leftBoundary = seed.x;
				rightBoundary = seed.x;
				topBoundary = seed.y;
				bottomBoundary = seed.y;

				while (!pointStack.empty())
				{
					neighbor = Point(seed.x + 1, seed.y);
					if ((seed.x != (cols - 1)) && (dst.at<uchar>(neighbor) == 255))
					{
						dst.at<uchar>(neighbor) = labelValue;
						pointStack.push(neighbor);

						area++;
						if (rightBoundary < neighbor.x)
							rightBoundary = neighbor.x;
					}

					neighbor = Point(seed.x, seed.y + 1);
					if ((seed.y != (rows - 1)) && (dst.at<uchar>(neighbor) == 255))
					{
						dst.at<uchar>(neighbor) = labelValue;
						pointStack.push(neighbor);

						area++;
						if (bottomBoundary < neighbor.y)
							bottomBoundary = neighbor.y;

					}

					neighbor = Point(seed.x - 1, seed.y);
					if ((seed.x != 0) && (dst.at<uchar>(neighbor) == 255))
					{
						dst.at<uchar>(neighbor) = labelValue;
						pointStack.push(neighbor);

						area++;
						if (leftBoundary > neighbor.x)
							leftBoundary = neighbor.x;
					}

					neighbor = Point(seed.x, seed.y - 1);
					if ((seed.y != 0) && (dst.at<uchar>(neighbor) == 255))
					{
						dst.at<uchar>(neighbor) = labelValue;
						pointStack.push(neighbor);

						area++;
						if (topBoundary > neighbor.y)
							topBoundary = neighbor.y;
					}

					seed = pointStack.top();
					pointStack.pop();
				}

				//int 转换为String
				std::string s = std::to_string(labelValue);

				box = Rect(leftBoundary, topBoundary, rightBoundary - leftBoundary, bottomBoundary - topBoundary);
				rectangle(dst, box, Scalar(0, 255, 0), 2);
				box2 = Rect(leftBoundary, topBoundary - 40, 40, 40);
				rectangle(dst, box2, Scalar(0, 255, 0), -1);
				putText(dst, s, Point(leftBoundary + 5, topBoundary - 10), FONT_HERSHEY_SIMPLEX, 0.8, Scalar(0, 0, 0), 4, 8);
				Mat ROI_img = src(Rect(leftBoundary, topBoundary, rightBoundary - leftBoundary, bottomBoundary - topBoundary));
				int roi_width = rightBoundary - leftBoundary;
				int roi_height = bottomBoundary - topBoundary;
				Point roi_point = Point(leftBoundary, topBoundary);

				feather.area = area;
				feather.boundingbox = box;
				feather.labelbox = box2;
				feather.label = labelValue;
				feather.num = s;
				feather.textpoint = Point(leftBoundary + 5, topBoundary - 10);
				feather.ROI = ROI_img;
				//feather.ROIwidth = roi_width;
				//feather.ROIheight = roi_height;
				//feather.ROIpoint = roi_point;
				featherList.push_back(feather);`在这里插入代码片`

				//ROI.push_back(ROI_img);
				ROIwidth.push_back(roi_width);
				ROIheight.push_back(roi_height);
				ROIpoint.push_back(roi_point);
				count_num = labelValue;
			}
		}
	}
	return labelValue;
}

//彩色显示
Scalar GetRandomColor()
{
	uchar r = 255 * (rand() / (1.0 + RAND_MAX));
	uchar g = 255 * (rand() / (1.0 + RAND_MAX));
	uchar b = 255 * (rand() / (1.0 + RAND_MAX));
	return Scalar(b, g, r);
}
void main()
{
Mat srcL = imread("preprocess_image/Redraw_imgL.bmp", 0);
	vector<Feather> featherListL;                    // 存放连通域特征
	Mat dstL;
    bwLabel(srcL, dstL, featherListL) ;

	Mat label_imgL;
	cvtColor(dstL, label_imgL, CV_GRAY2BGR);
	// 为了方便观察,可以将label“放大”
	for (int i = 0; i < dstL.rows; i++)
	{
		//uchar *p = dst.ptr<uchar>(i);
		for (int j = 0; j < dstL.cols; j++)
		{
			//p[j] = 30 * p[j];
			if (dstL.at<uchar>(i, j) > 0)
			{
				label_imgL.at<Vec3b>(i, j)[0] = (label_imgL.at<Vec3b>(i, j)[0] + 10) * 15;
				label_imgL.at<Vec3b>(i, j)[1] = (label_imgL.at<Vec3b>(i, j)[1] + 2) * 15;
				label_imgL.at<Vec3b>(i, j)[2] = (label_imgL.at<Vec3b>(i, j)[2] + 10) * 15;
			}
		}
	}

	for (vector<Feather>::iterator it = featherListL.begin(); it < featherListL.end(); it++)
	{
		//cout << it->label << "t" << it->area << endl;
		rectangle(label_imgL, it->boundingbox, Scalar(0, 255, 0), 2);
		rectangle(label_imgL, it->labelbox, Scalar(0, 255, 0), -1);
		putText(label_imgL, it->num, it->textpoint, FONT_HERSHEY_SIMPLEX, 0.8, Scalar(0, 0, 0), 4, 8);
	}
}
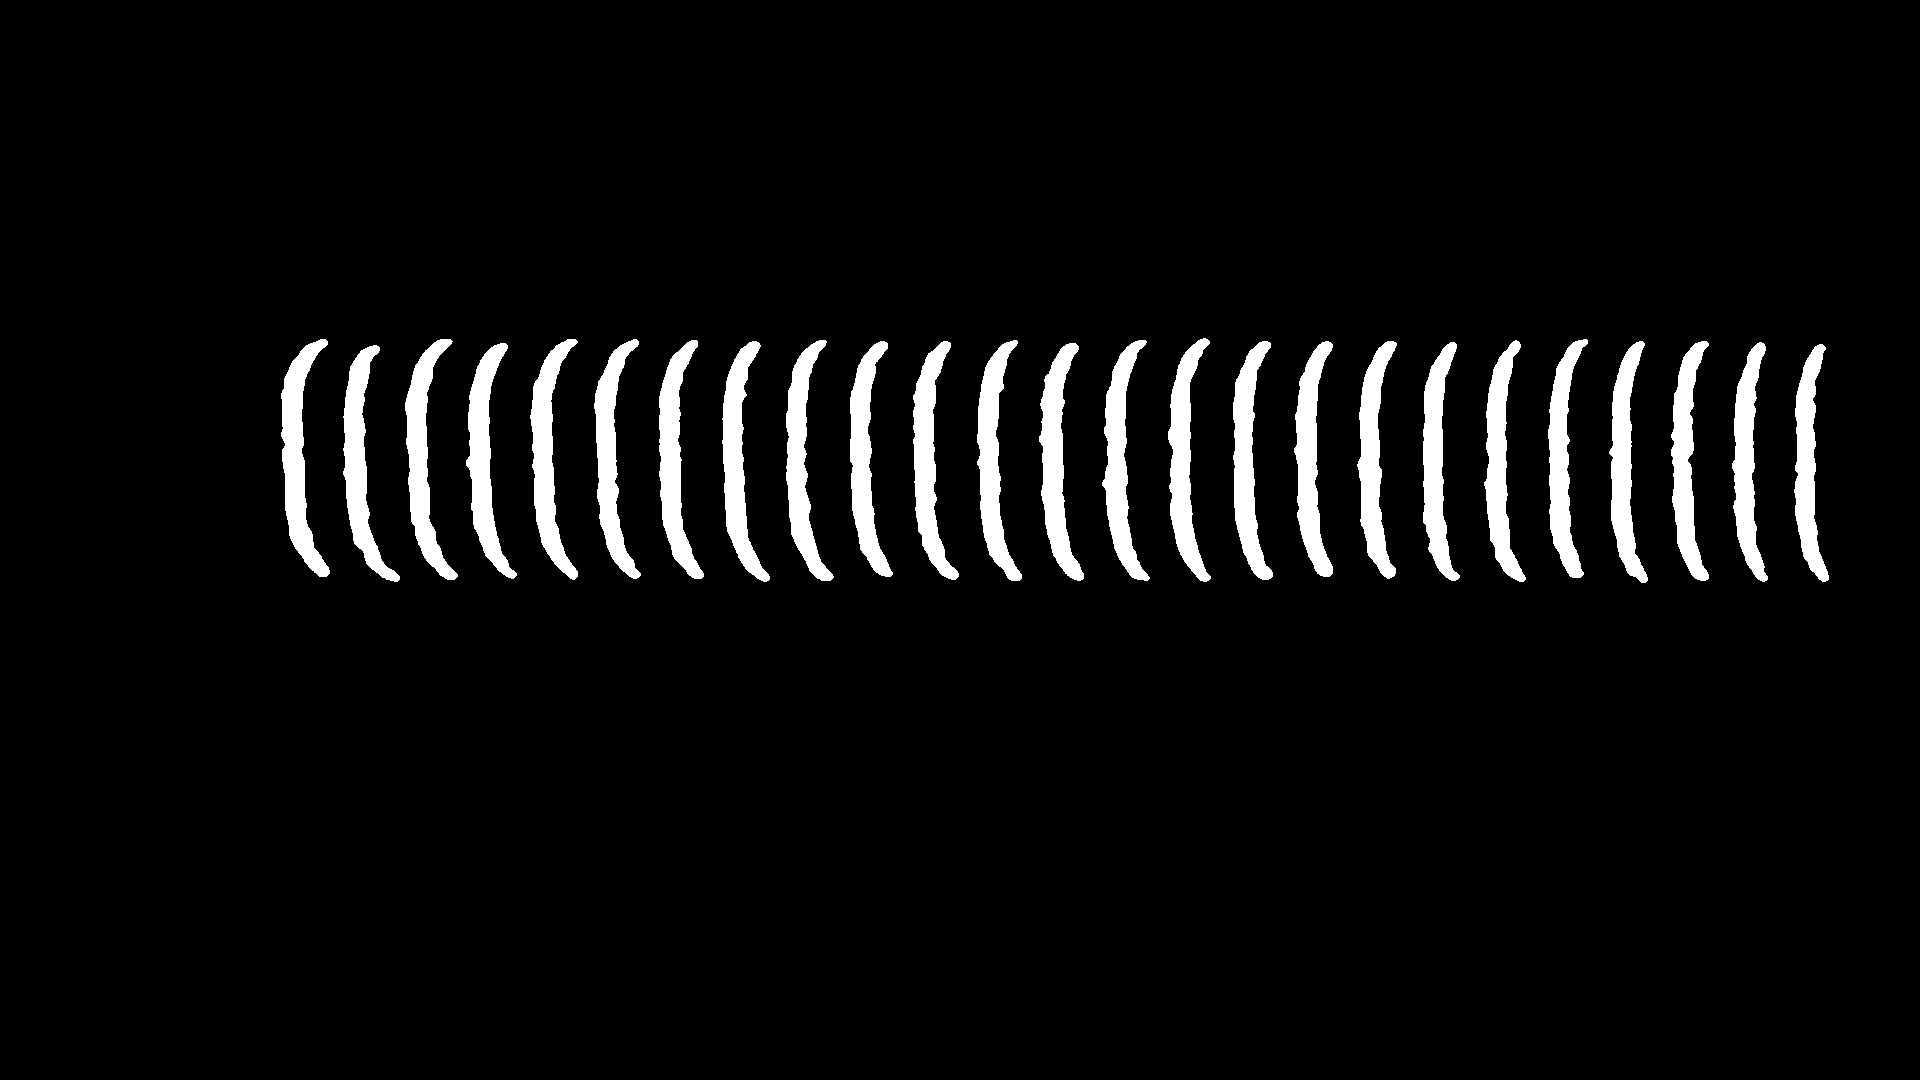
原图片
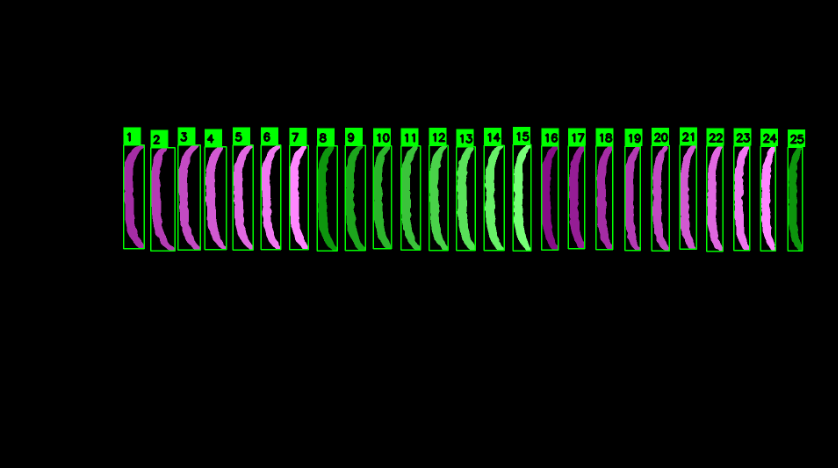
标记后图片
不懂的问题欢迎交流!
最后
以上就是自由棒球最近收集整理的关于Matlab里的种子填充法bwlabel函数C++实现的全部内容,更多相关Matlab里内容请搜索靠谱客的其他文章。
本图文内容来源于网友提供,作为学习参考使用,或来自网络收集整理,版权属于原作者所有。


发表评论 取消回复