陈拓 2021/01/16-2021/01/20
1. 概述
ESP8266的开发环境是在linux系统下构建的。树莓派的官方操作系统就是Linux系统,在《树莓派安装ESP8266_SDK开发环境》
https://zhuanlan.zhihu.com/p/122246166
一文中我们介绍了在树莓派上构建ESP8266开发环境的方法。
在本文中我们介绍在Win10中启用Linux子系统,安装Ubuntu,在Ubuntu上构建ESP8266开发环境。
Win10安装Ubuntu的方法见:《Win10启用Linux子系统安装Ubuntu》https://zhuanlan.zhihu.com/p/341394468
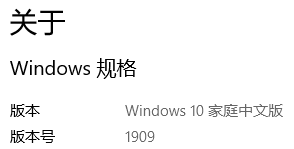
我用的电脑操作系统是64位版的win10,下面是系统版本。
1.1 ESP8266技术文档
https://www.espressif.com/zh-hans/support/documents/technical-documents?keys=&field_type_tid%5B%5D=14

1.2 工具链和SDK
因为ESP8266功能太弱,不足以支持开发工作,所以需要在其他平台上安装开发系统进行开发。我们在Ubuntu下构建ESP8266开发环境,将ESP8266的C程序代码编译链接成ESP8266可执行的bin文件,再将编译好的文件烧写到ESP8266上运行,这个过程就是交叉编译,交叉编译所需的软件工具叫做工具链toolchain。
SDK提供了操作ESP8266的API函数,我们用C语言通过调用这些函数就可以开发出所需功能的程序,再用工具链编译成可执行代码。
多个SDK可以同时存在,ESP8266_NONOS_SDK和ESP8266_RTOS_SDK也可以都安装。
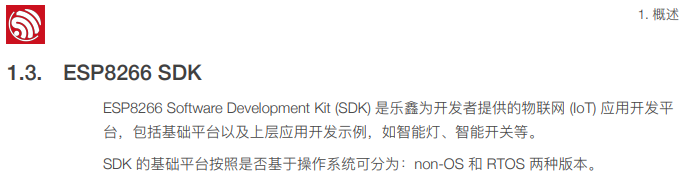
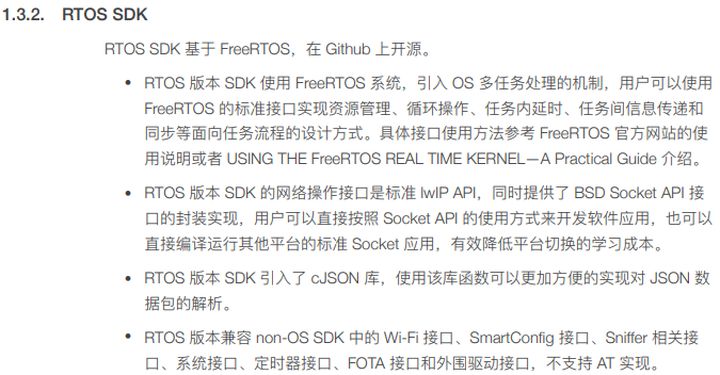
1.3 ESP8266 SDK分类
在官方文档《ESP8266 SDK入门指南》中有关于开ESP8266 SDK的分类。

2. 更新apt源
为例加快软件包的下载速度,我们要将软件源更换到国内。
见《Win10的Linux子系统Ubuntu换源》
https://zhuanlan.zhihu.com/p/342771976
https://blog.csdn.net/chentuo2000/article/details/112387914
3. Linux 平台工具链的标准设置
[https://docs.espressif.com/projects/esp-idf/zh_CN/latest/esp32/get-started/linux-setup.html]
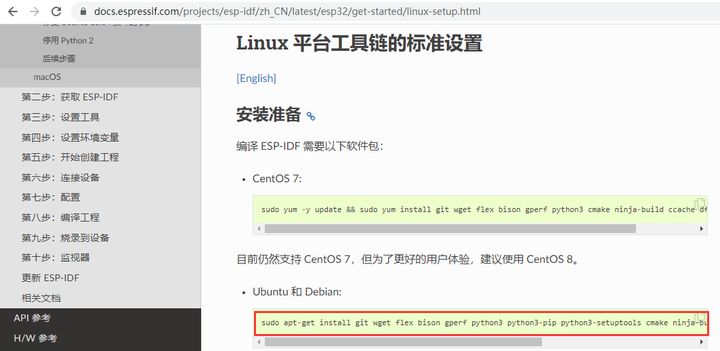
3.1 安装准备
编译工具链需要以下软件包:
sudo apt-get install git wget flex bison gperf python3 python3-pip python3-setuptools cmake ninja-build ccache libffi-dev libssl-dev dfu-util libusb-1.0-0

4. 获取工具链
- 网址
https://github.com/espressif/ESP8266_RTOS_SDK
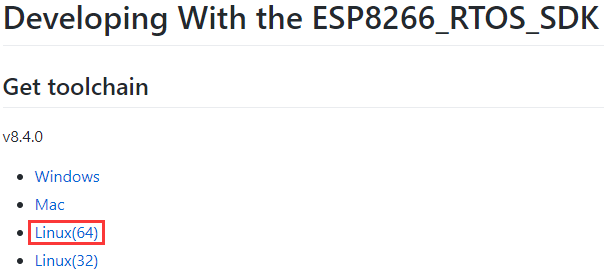
右击Linux(64),复制链接地址:
https://dl.espressif.com/dl/xtensa-lx106-elf-gcc8_4_0-esp-2020r3-linux-amd64.tar.gz
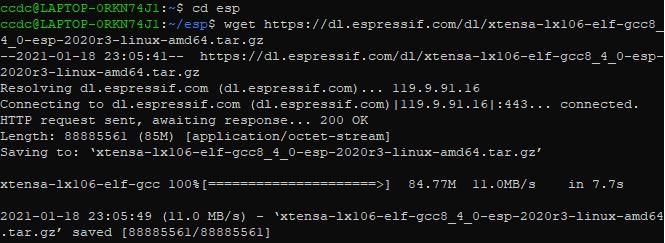
- 创建编译链目录
mkdir esp
cd esp

- 下载
wget https://dl.espressif.com/dl/xtensa-lx106-elf-gcc8_4_0-esp-2020r3-linux-amd64.tar.gz

- 解压
tar -xzvf xtensa-lx106-elf-gcc8_4_0-esp-2020r3-linux-amd64.tar.gz


路径:/home/ccdc/esp/xtensa-lx106-elf
- 设置环境变量
回到家目录,就是我们登录的目录
cd ~

看看有没有文件.bashrc

编辑这个文件nano ~/.bashrc

将export PATH=/home/ccdc/esp/xtensa-lx106-elf/bin:$PATH
添加到最后一行。
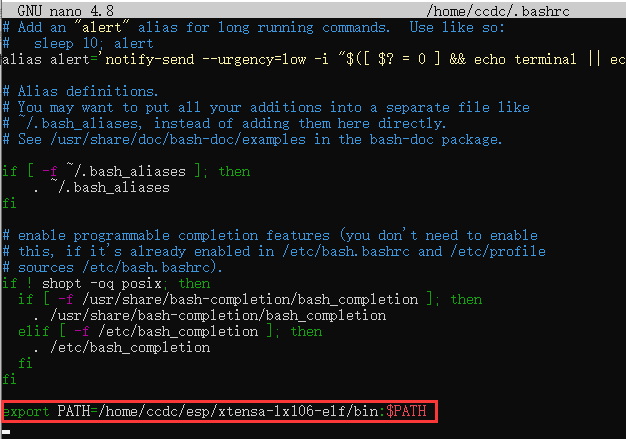
保存,退出。
exit退出Ubuntu,再重新启动Ubuntu。
查看环境变量echo $PATH:
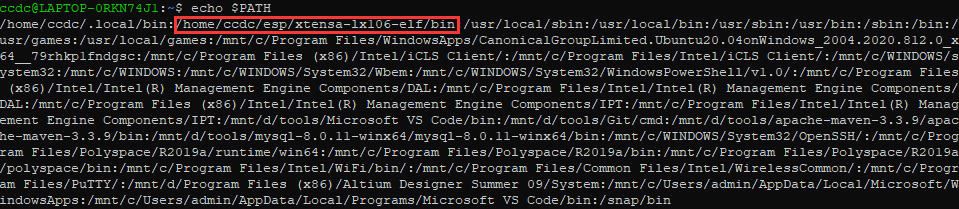
工具链的路径已经在里面了。
- 运行xtensa-lx106-elf-gcc -v来验证安装
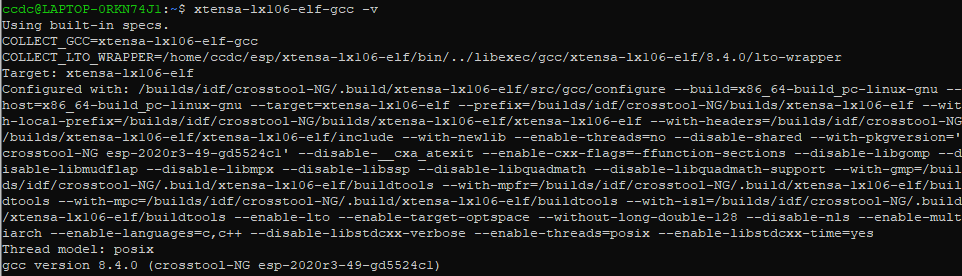
5. 获取ESP8266_RTOS_SDK
cd esp
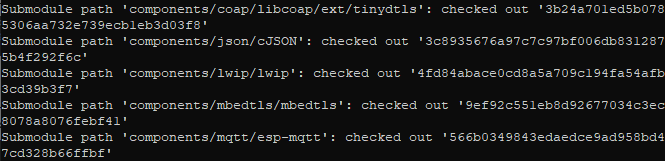
- 克隆ESP8266_RTOS_SDK
git clone --recursive https://github.com/espressif/ESP8266_RTOS_SDK.git

可以备份一下:
tar -zcvf ESP8266_RTOS_SDK.tar.gz ESP8266_RTOS_SDK


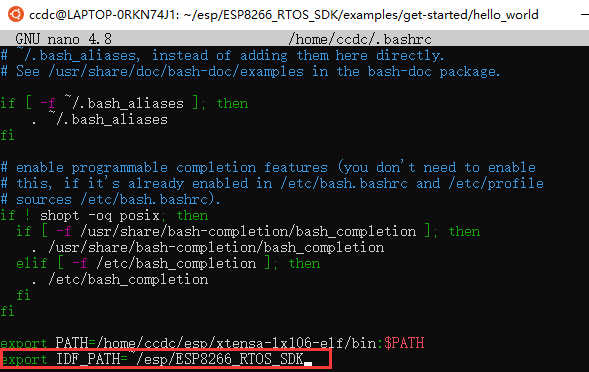
- 设置ESP8266_RTOS_SDK环境变量
和设置工具链环境变量一样在~/.bashrc中添加一行:
export IDF_PATH=~/esp/ESP8266_RTOS_SDK
nano ~/.bashrc
保存,退出。
exit退出Ubuntu,再重新启动Ubuntu。
验证:
echo $IDF_PATH

6. 连接ESP8266开发板到PC上
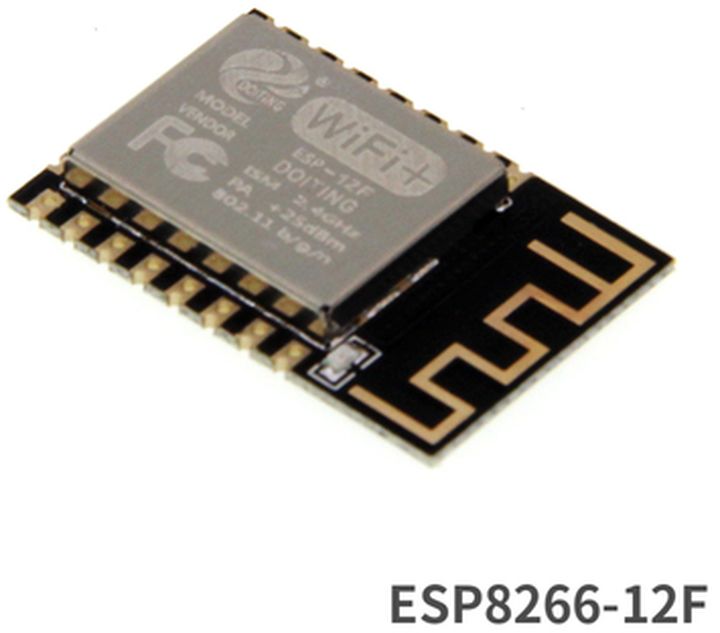
我用的是网上买的下面这种开发板,加上ESP8366-12F模块。
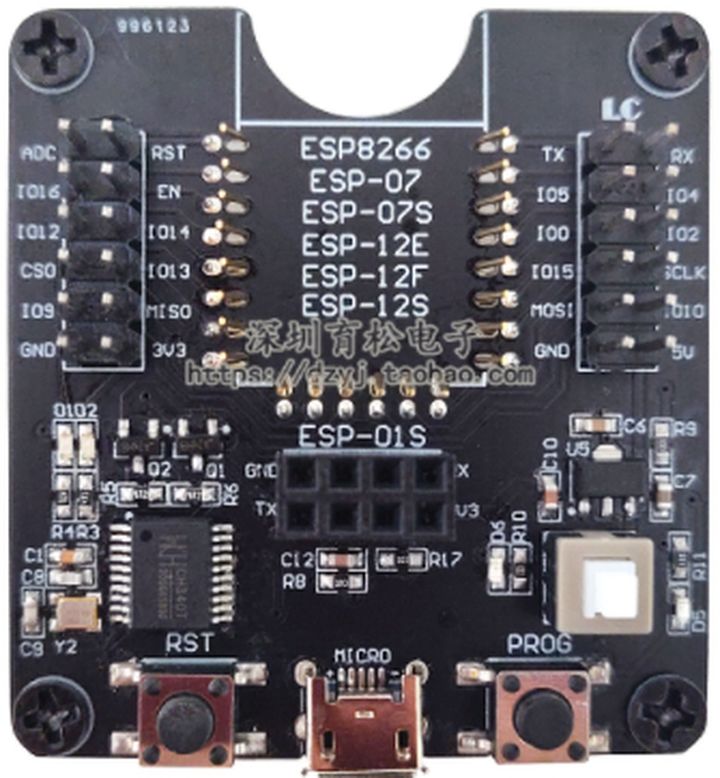
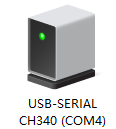
插上USB线后我PC将USB-SERIAL识别为COM4:
7. 测试
用esp8266_rtos_sdk/examples/get-started/hello_world项目进行测试。
参考https://github.com/espressif/ESP8266_RTOS_SDK。
- 进入项目目录
cd ~/esp/ESP8266_RTOS_SDK/examples/get-started/hello_world

- 启动项目配置工具
make menuconfig
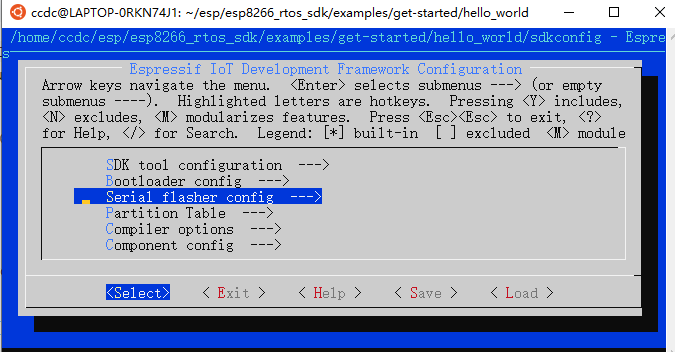
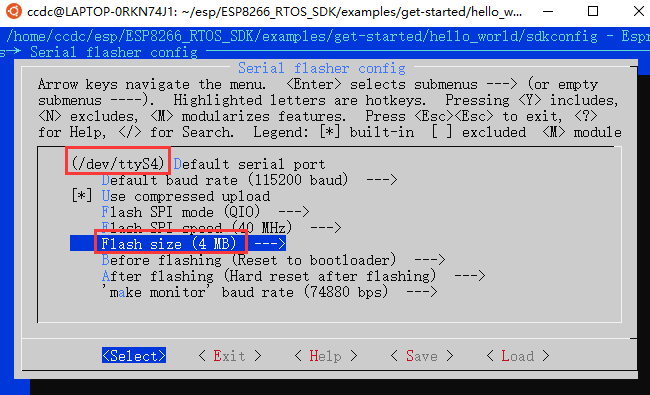
进入Serial flasher config --->,修改串口和芯片Flash大小。
Windows中的串口COM4对应Linux中的设备/dev/ttyS4。
保存,退出。make会继续执行:
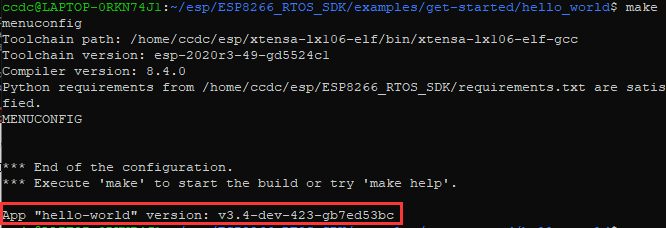
第一次编译比较慢,耐心等待。如果编译没有继续进行,就手工执行make。
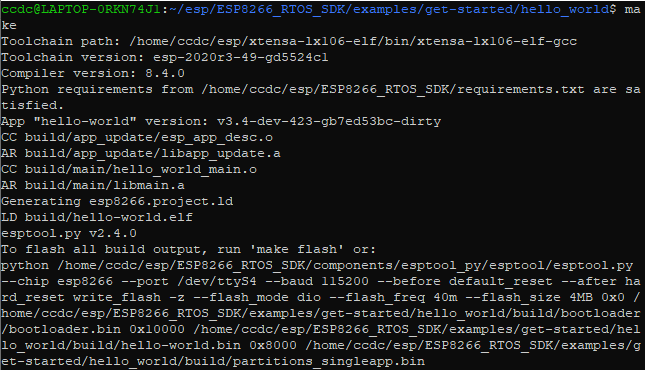
手工make之后显示:
生成了二进制文件hello-world.elf放在build目录下:

elf(executable and link format)文件里面包含了符号表,汇编等。
bin文件是将elf文件中的代码段,数据段,还有一些自定义的段抽取出来形成一个内存映像,bin文件是直接的二进制文件,是我们要烧写到芯片上的。
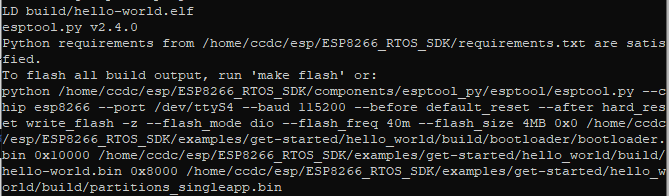
可以用make flash烧写芯片,也可以用python脚本esptool.py烧写芯片:
python /home/ccdc/esp/ESP8266_RTOS_SDK/components/esptool_py/esptool/esptool.py --chip esp8266 --port /dev/ttyS4 --baud 115200 --before default_reset --after hard_reset write_flash -z --flash_mode dio --flash_freq 40m --flash_size 4MB 0x0 /home/ccdc/esp/ESP8266_RTOS_SDK/examples/get-started/hello_world/build/bootloader/bootloader.bin 0x10000 /home/ccdc/esp/ESP8266_RTOS_SDK/examples/get-started/hello_world/build/hello-world.bin 0x8000 /home/ccdc/esp/ESP8266_RTOS_SDK/examples/get-started/hello_world/build/partitions_singleapp.bin
下面我们用make flash烧写芯片。
- 烧写flash
make flash

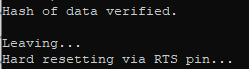
第一次比较慢,以后就快了。
- 查看串口输出
要同时从一个串口烧写芯片和监视输出可以用命令make monitor。


值错误:无法设置自定义波特率(74880):[Errno 25]设备的ioctl (input/output control)不正确。
Win10的Ubuntu子系统不能设置非标准波特率74880,我们用Win10的串口调试助手。
参考《Win10使用CH340 USB-SERIAL串口》
https://zhuanlan.zhihu.com/p/343013801
https://blog.csdn.net/chentuo2000/article/details/112323488
设置:
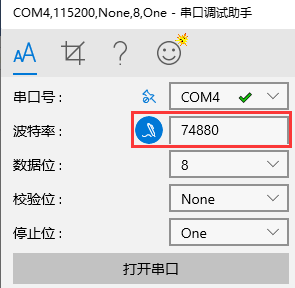
点击波特率设置图标,输入74880,打开串口:
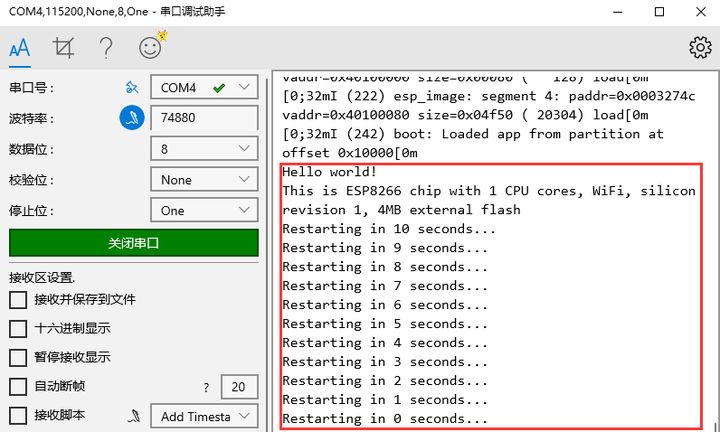
对照源代码hello_world_main.c看看。
cat main/hello_world_main.c

#include <stdio.h>
#include "freertos/FreeRTOS.h"
#include "freertos/task.h"
#include "esp_system.h"
#include "esp_spi_flash.h"

void app_main()
{
    printf("Hello world!n"); // 打印Hello world!

    /* Print chip information 打印芯片信息*/
    esp_chip_info_t chip_info;
    esp_chip_info(&chip_info);
    printf("This is ESP8266 chip with %d CPU cores, WiFi, ",
            chip_info.cores);

    printf("silicon revision %d, ", chip_info.revision);

    printf("%dMB %s flashn", spi_flash_get_chip_size() / (1024 * 1024),
            (chip_info.features & CHIP_FEATURE_EMB_FLASH) ? "embedded" : "external");

    for (int i = 10; i >= 0; i--) {
        printf("Restarting in %d seconds...n", i);
        vTaskDelay(1000 / portTICK_PERIOD_MS);
    }
    printf("Restarting now.n");
    fflush(stdout);
    esp_restart();
}
8. 修改波特率
74880是ESP8266上电时的默认波特率,下面我们将波特率改为常用的115200。
- 修改main/hello_world_main.c
nano main/hello_world_main.c
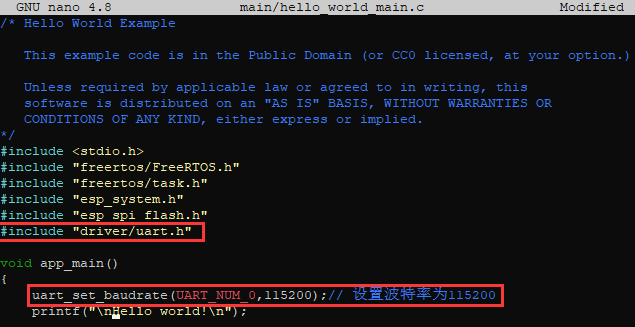
添加红框中的代码。
完整代码如下:
#include <stdio.h>
#include "freertos/FreeRTOS.h"
#include "freertos/task.h"
#include "esp_system.h"
#include "esp_spi_flash.h"
#include "driver/uart.h"

void app_main()
{
    uart_set_baudrate(UART_NUM_0,115200);// 设置波特率为115200

    printf("nHello world!n"); // 打印Hello world!

    /* Print chip information 打印芯片信息*/
    esp_chip_info_t chip_info;
    esp_chip_info(&chip_info);
    printf("This is ESP8266 chip with %d CPU cores, WiFi, ",
            chip_info.cores);

    printf("silicon revision %d, ", chip_info.revision);

    printf("%dMB %s flashn", spi_flash_get_chip_size() / (1024 * 1024),
            (chip_info.features & CHIP_FEATURE_EMB_FLASH) ? "embedded" : "external");

    for (int i = 10; i >= 0; i--) {
        printf("Restarting in %d seconds...n", i);
        vTaskDelay(1000 / portTICK_PERIOD_MS);
    }
    printf("Restarting now.n");
    fflush(stdout);
    esp_restart();
}- 编译
make
- 烧写
make flash
- 测试
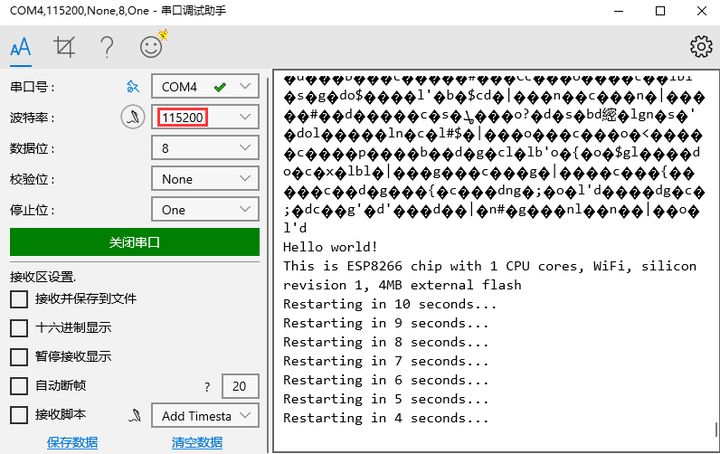
串口调试助手的波特率设置为115200。ESP8266的初始化信息还是使用74880波特率,这个改不了,所以是乱码。之后的数据就使用115200传输了。
最后
以上就是愉快帽子最近收集整理的关于rtos常用调试命令_Win10-Ubuntu子系统构建ESP8266_RTOS_SDK开发环境的全部内容,更多相关rtos常用调试命令_Win10-Ubuntu子系统构建ESP8266_RTOS_SDK开发环境内容请搜索靠谱客的其他文章。


![[转]PID在智能车中的简单使用()](https://www.shuijiaxian.com/files_image/reation/bcimg16.png)


发表评论 取消回复