1.quartz插件
引入pom插件
<!-- 定时器 -->
<dependency>
   <groupId>org.quartz-scheduler</groupId>
   <artifactId>quartz</artifactId>
   <version>2.3.0</version>
</dependency>
import org.quartz.*;
import org.quartz.impl.StdSchedulerFactory;
import org.springframework.boot.ApplicationArguments;
import org.springframework.boot.ApplicationRunner;
import org.springframework.stereotype.Component;


@Component
public class TestScheduler implements ApplicationRunner {

    @Override
    public void run(ApplicationArguments args) throws Exception {
        appStart();
    }

    /**
     * 定时任务调度器,具体给定执行的时间和频率设置
     * @throws SchedulerException
     * @throws InterruptedException
     */
    public  void appStart() throws SchedulerException, InterruptedException {
        // 1、创建调度器Scheduler
        SchedulerFactory schedulerFactory = new StdSchedulerFactory();
        Scheduler scheduler = schedulerFactory.getScheduler();
        // 2、创建JobDetail实例,并与PrintWordsJob类绑定(Job执行内容)
        JobDetail jobDetail = JobBuilder.newJob(TestTimer.class)
                .withIdentity("job1", "group1").build();
        // 3、构建Trigger实例,每隔1s执行一次
       /* Trigger trigger = TriggerBuilder.newTrigger().withIdentity("trigger1", "triggerGroup1")
                .startNow()//立即生效
                .withSchedule(SimpleScheduleBuilder.simpleSchedule()
                        .withIntervalInSeconds(1*60)//每隔1s执行一次
                        .repeatForever()).build();//一直执行*/

        // 3、构建Trigger实例,按照cron表达式执行 在线表达式网址:https://cron.qqe2.com/
        CronTrigger trigger = TriggerBuilder.newTrigger().withIdentity("trigger1", "triggerGroup1")
                .usingJobData("trigger1", "这是jobDetail1的trigger")
                .startNow()//立即生效
                .withSchedule(CronScheduleBuilder.cronSchedule("1-30 * * * * ? * "))
                .build();

        //4、执行
        scheduler.scheduleJob(jobDetail, trigger);
        System.out.println("--------scheduler start ! ------------");
        scheduler.start();

        //睡眠
       /* TimeUnit.MINUTES.sleep(1);
        scheduler.shutdown();
        System.out.println("--------scheduler shutdown ! ------------");*/


    }
}
import org.quartz.Job;
import org.quartz.JobExecutionContext;
import org.quartz.JobExecutionException;
import org.springframework.stereotype.Component;
import javax.annotation.PostConstruct;
import java.text.SimpleDateFormat;
import java.util.Date;
import java.util.Random;
@Component
public class TestTimer implements Job {
private static TestTimer testTimer ;
@PostConstruct //通过@PostConstruct实现初始化bean之前进行的操作
public void init() {
testTimer = this;
// 初使化时将已静态化的testService实例化
}
/**
* 定时器具体要执行的逻辑
* @param jobExecutionContext
* @throws JobExecutionException
*/
@Override
public void execute(JobExecutionContext jobExecutionContext) throws JobExecutionException {
String printTime = new SimpleDateFormat("yy-MM-dd HH-mm-ss").format(new Date());
System.out.println("PrintWordsJob start at:" + printTime + ", prints: Hello Job-" + new Random().nextInt(100));
}
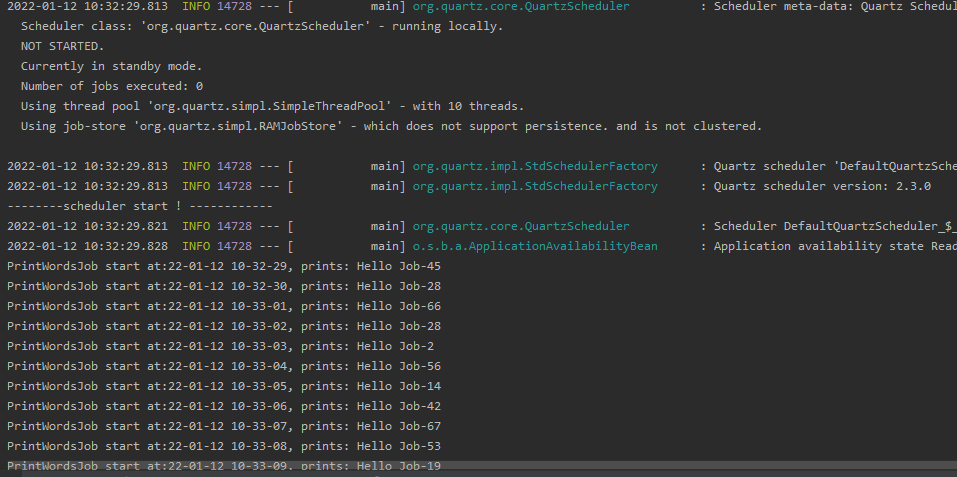
}控制台打印效果图:
2.springboot自带的@Scheduled注解
在需要调用定时器的方法上加入这个注解
@Scheduled(cron = "${corn.time}")然后再配置文件里填入时间表达式
corn.time=0 */2 * * * ?最后
以上就是深情跳跳糖最近收集整理的关于定时器的2种方式和用法的全部内容,更多相关定时器内容请搜索靠谱客的其他文章。
本图文内容来源于网友提供,作为学习参考使用,或来自网络收集整理,版权属于原作者所有。


发表评论 取消回复