俗话说"工欲善其事必先利其器",之前在Ubuntu上运行的ROS项目都是用vim或者gedit编写和修改代码,然后在终端编译运行,很不方便,函数跳转查看都没办法实现。所以今天我决定找一个方便的开发工具,也就是找一个像Windows上的VS那样的集成开发工具(IDE),ROS官网上有一个不同IDE的对比文章,网址在这里
我选择使用VScode.下载安装好VScode后,在扩展栏安装C/C++,CMake,CMake Tools,Code Runner,ROS(deprecated),Chinese 这些插件.接下来用一个简单的话题发布栗子来演示操作过程
创建ROS工作环境
首先新建一个文件夹,我命名为test_ros,在该文件夹中打开终端,执行以下命令来创建ROS工作环境:
mkdir src && cd src
catkin_init_workspace
cd ../
catkin_make
然后在VScode中打开test_ros文件夹,此时的文件目录如下

右键单击src,选择Create Catkin Package,Package命名为helloworld

添加roscpp, rospy作为依赖项

之后src目录下会出现以下文件:

继续在src/helloworld/src目录下添加一个cpp文件,命名为helloworld.cpp,内容如下:
#include <iostream>
#include <string>
#include <sstream>
using namespace std;

#include "ros/ros.h"
#include "std_msgs/String.h"

int main(int argc, char** argv)
{
	ros::init(argc, argv, "talker");
	ros::NodeHandle n;
	ros::Publisher chatter_pub = n.advertise<std_msgs::String>("chatter", 1000);
	ros::Rate loop_rate(10);
	int count = 0;
	while(ros::ok())
	{
		std_msgs::String msg;
		std::stringstream ss;
		ss << "hello world " << count;
		msg.data = ss.str();
		ROS_INFO("%s", msg.data.c_str());
		chatter_pub.publish(msg);
		ros::spinOnce();
		loop_rate.sleep();
		count++;
	}
	return 0;
}
此时会提示找不到ros/ros.h和std_msgs/String.h,我们继续通过后面的步骤来解决.
配置.json文件
接下来配置c_cpp_properties.json,launch.json,tasks.json分别如下:
c_cpp_properties.json,用于指定C/C++类库和包含路径以及配置
按住Fn+F1,找到C/C++:编辑配置(JSON)

之后就会生产c_cpp_properties.json文件,修改文件内容如下:
{
 "configurations": [
 {
 "name": "Linux",
 "includePath": [
 "${workspaceFolder}/**",
 "/opt/ros/melodic/include"
 ],
 "defines": [],
 "compilerPath": "/usr/bin/gcc",
 "cStandard": "c11",
 "cppStandard": "c++17",
 "intelliSenseMode": "clang-x64",
 "compileCommands": "${workspaceFolder}/build/compile_commands.json"
 }
 ],
 "version": 4
}
其中/opt/ros/melodic/include为ROS相关头文件所在的路径,此时可能仍然找不到ros/ros.h和std_msgs/String.h,继续运行以下命令即可在build文件夹下生成compile_commands.json文件
catkin_make -DCMAKE_EXPORT_COMPILE_COMMANDS=1
然后就可以找到ros/ros.h和std_msgs/String.h了
launch.json,用于调试
按住Fn+F5启动调试,就会生成launch.json,修改launch.json文件内容如下:
{
 // 使用 IntelliSense 了解相关属性。
 // 悬停以查看现有属性的描述。
 // 欲了解更多信息,请访问: https://go.microsoft.com/fwlink/?linkid=830387
 "version": "0.2.0",
 "configurations": [
 {
 "name": "(gdb) Launch",
 "type": "cppdbg",
 "request": "launch",
 "program": "${workspaceFolder}/build/helloworld/helloworld",// 表示可执行程序所在的路径,其中,${workspaceRoot}表示VScode加载的文件夹的根目录
 "args": [],
 "stopAtEntry": false,
 "cwd": "${workspaceFolder}",
 "environment": [],
 "externalConsole": false,
 "MIMode": "gdb",
 "setupCommands": [
 {
  "description": "Enable pretty-printing for gdb",
  "text": "-enable-pretty-printing",
  "ignoreFailures": true
 }
 ],
 //"preLaunchTask": "make build"//最好删了,不然会影响调试,每次调试都直接执行make build
 }
 ]
}
tasks.json,用于编译
按住Fn+F1,找到任务:配置任务,创建tasks.json文件,修改tasks.json文件内容如下:
{
 "version": "2.0.0",
 "tasks": [
 {
 "label": "catkin_make", //代表提示的描述性信息
 "type": "shell", //可以选择shell或者process,如果是shell代码是在shell里面运行一个命令,如果是process代表作为一个进程来运行
 "command": "catkin_make",//这个是我们需要运行的命令
 "args": [],//如果需要在命令后面加一些后缀,可以写在这里,比如-DCATKIN_WHITELIST_PACKAGES=“pac1;pac2”
 "group": {"kind":"build","isDefault":true},
 "presentation": {
 "reveal": "always"//可选always或者silence,代表是否输出信息
 },
 "problemMatcher": "$msCompile"
 },
 ]
}
修改CMakeLists.txt
继续修改src/helloworld/CMakeLists.txt文件,在其中添加以下程序:
# 头文件路径
include_directories(
include
 ${catkin_INCLUDE_DIRS}
)
# 生成可执行文件
add_executable( helloworld src/helloworld.cpp )
# 链接库
target_link_libraries(helloworld ${catkin_LIBRARIES})
结果测试
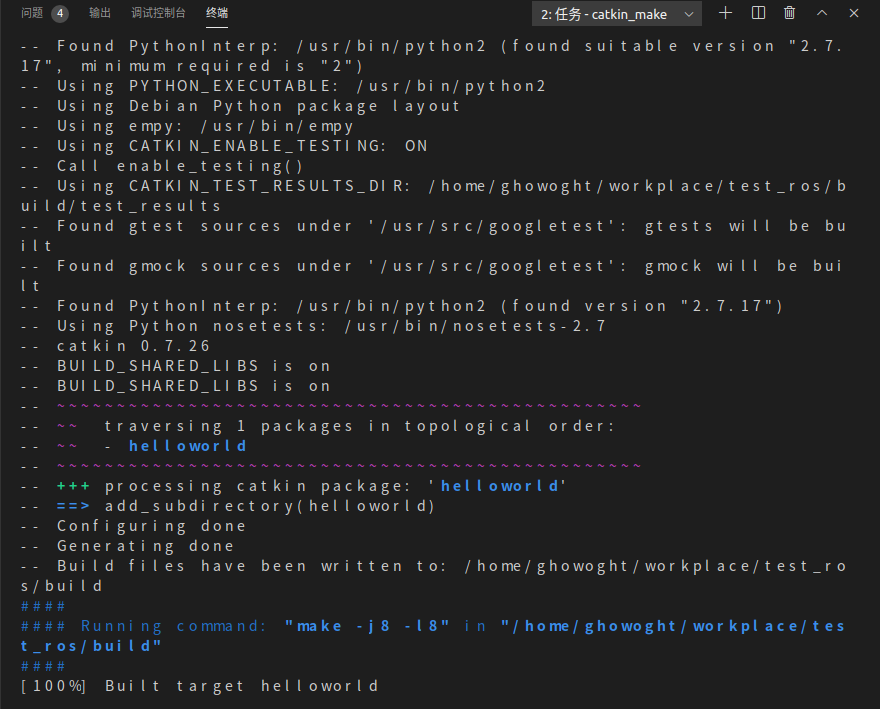
按住Ctrl+Shift+B编译该程序,就可以看到与catkin_make一样的编译过程
最后测试生成的可执行文件.新开一个终端,运行ROS的master节点,然后按住Fn+F5运行生成的可执行文件,结果如下;

在另一个终端中输出该程序发布的话题:

这样,VScode的ROS开发环境就搭建好了
参考
ros项目调试:vscode下配置开发ROS项目
到此这篇关于使用VScode搭建ROS开发环境的教程详解的文章就介绍到这了,更多相关VScode搭建ROS开发环境内容请搜索靠谱客以前的文章或继续浏览下面的相关文章希望大家以后多多支持靠谱客!
最后
以上就是坚强马里奥最近收集整理的关于使用VScode搭建ROS开发环境的教程详解的全部内容,更多相关使用VScode搭建ROS开发环境内容请搜索靠谱客的其他文章。


发表评论 取消回复