本文实例为大家分享了Android使用GridView实现横向滚动效果的具体代码,供大家参考,具体内容如下
第一次做横向滑动,看了一些列子,基本就2总:HorizontalListView和GridView。考虑的了下选择用比较熟的GridView,并且在2种方案都使用过,根据本人实际情况,采用了更适合的GridView。
也希望看过这篇博客的大神们,能指点下HorizontalListView和GridView两个方案的优缺点。
思路:
XML界面:用HorizontalScrollView + GridView 配合使用。
Java代码部分:和普通GridView使用基本一致,但需要手动设置GridView的width以及Item的Width等。
笔者实际情况是:左右滑动,1行以4个为基准。
在不同尺寸的平板下,呈现都是一个界面4个Item。
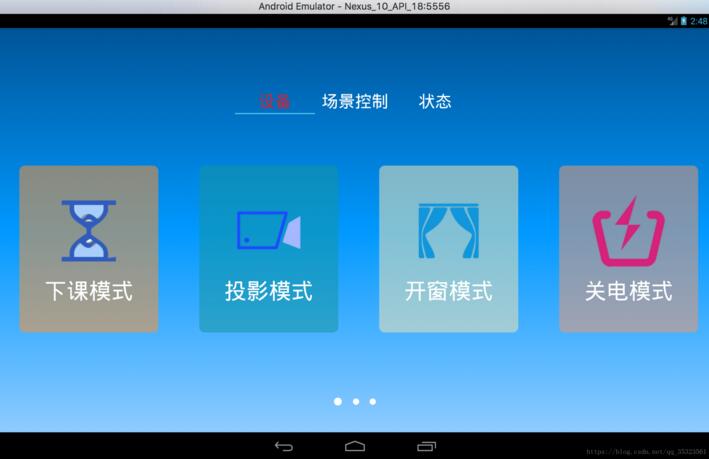
先上效果图
模拟器Nexus 10 API 18 2560x1600: xhdpi 效果如下:
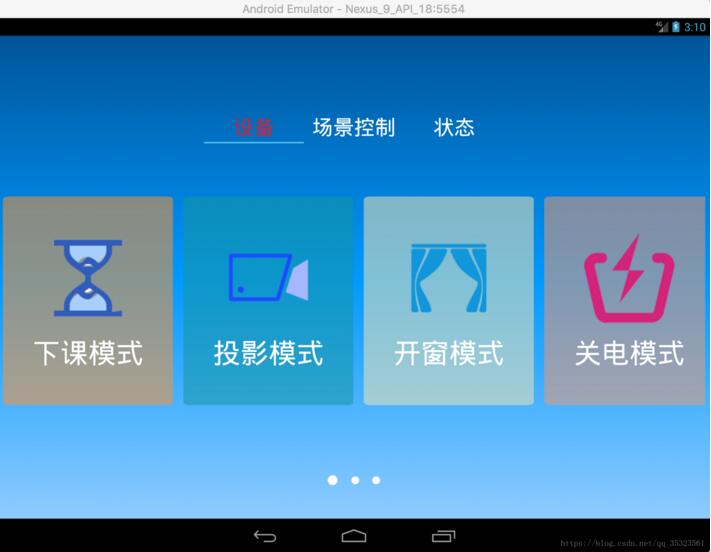
模拟器Nexus 9 API 18 2048x1536: xhdpi 效果如下:
XML代码
<?xml version="1.0" encoding="utf-8"?>
<LinearLayout
  xmlns:android="http://schemas.android.com/apk/res/android"
  android:layout_width="match_parent"
  android:layout_height="match_parent"
  android:gravity="center">

  <HorizontalScrollView
    android:layout_width="match_parent"
    android:layout_height="wrap_content">

    <LinearLayout
      android:layout_width="match_parent"
      android:layout_height="wrap_content"
      android:layout_margin="10dp">

      <GridView
        android:id="@+id/dev_gv"
        android:layout_width="match_parent"
        android:layout_height="wrap_content"
        android:gravity="center"
        android:numColumns="auto_fit"
        android:stretchMode="spacingWidthUniform">
      </GridView>

    </LinearLayout>

  </HorizontalScrollView>

</LinearLayout>
android:numColumns=”auto_fit” –>列数量自适应
android:stretchMode=”spacingWidthUniform” –>Item间距均匀
Java
这里是参考了网上他人的代码后,更具自己的实际情况进行更改,并附上了详细的注释。
/**
   * 水平GridView设置
   * @param size Item总数
   * @param gridView 需要设置的GridView
   */
  private void setHorizontalGridView(int size, GridView gridView) {
    int length = size;
    //一个界面要显示的几个Item
    int AnInterfaceNum=4;
    //每个Item的间距(注:如果间距过大,但屏幕宽度不够,多出的部份会被无视)
    int spcing = 30;
    //计算当个Item的宽度( 屏幕宽度 减去- 一个屏幕下要总item数量的间距之和 最后除/ 单个屏幕要显示几个Item)
    int itemWidth = ((getResources().getDisplayMetrics().widthPixels) - ((AnInterfaceNum - 1) * spcing)) / AnInterfaceNum;
    //这里笔者并不理解为什么网上有些代码这里需要用到屏幕密度,但会影响我最终效果,就注释掉
    //    float density = dm.density;
    //
    //    int gridviewWidth = (int) (size * (length) * density)+((size-1)*30);
    //    int itemWidth = (int) ((length) * density);
    //笔者更具实际情况改写如下:
    //GridView总长度
    int gridviewWidth = (length * (itemWidth)) + ((length - 1) * spcing);

    @SuppressWarnings("deprecation")
    LinearLayout.LayoutParams params = new LinearLayout.LayoutParams(
        gridviewWidth, LinearLayout.LayoutParams.MATCH_PARENT);
    gridView.setLayoutParams(params);      // 设置GirdView布局参数,横向布局的关键
    gridView.setColumnWidth(itemWidth);     // 设置列表项宽
    gridView.setHorizontalSpacing(spcing);   // 设置列表项水平间距
    gridView.setStretchMode(GridView.NO_STRETCH);
    gridView.setNumColumns(length);       // 设置列数量=列表集合数

  }
这块代码是核心部分,并不建议直接copy使用,建议先看懂后,再根据实际情况进行更改。
以上就是本文的全部内容,希望对大家的学习有所帮助,也希望大家多多支持靠谱客。
最后
以上就是迅速学姐最近收集整理的关于Android使用GridView实现横向滚动效果的全部内容,更多相关Android使用GridView实现横向滚动效果内容请搜索靠谱客的其他文章。


发表评论 取消回复