1.配置root的用户密码(不是必须)

2.安装samba服务
yum install openssh-server

3.查看是否已成功安装openssh-server
rpm -qa | grep openssh-server

4.配置samba服务

找到Share Definitions
加入要共享的目录:

确保在根目录底下有 task文件夹,并且至少访问权限在755以上,我用的是777

5.尼玛的没找到smbpasswd命令
直接

终于可以了

6.再次确保vi写了以下的,而且wq了保存下来了:

7.因为我用的是root登录,用户早已存在,所以直接:

8.开启服务
在服务管理上,fedora16推出了新的管理程序,即 systemctl,具体可以查看手册.
执行指令:
systemctl start smb.service
systemctl start nmb.service

9.查看服务状态
测试一下 samba 能否打开,如果没有错误提示则证明可以开启。
systemctl is-enabled smb.service nmb.service 来查看两个服务是否已经开启成功

10.执行下面的代码,可以让上述两个服务开机自动启动
systemctl enable smb.service nmb.service

11.关掉防火墙、设置SELinux

并重启linux

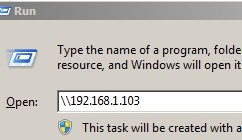
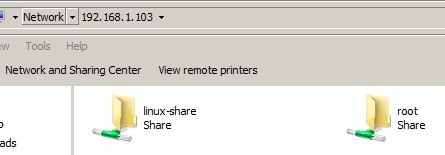
12.访问测试

最后
以上就是妩媚缘分最近收集整理的关于WIN7+VMWARE+fedora18 samba服务器的搭建指南的全部内容,更多相关WIN7+VMWARE+fedora18内容请搜索靠谱客的其他文章。
本图文内容来源于网友提供,作为学习参考使用,或来自网络收集整理,版权属于原作者所有。


发表评论 取消回复