环境
| 系统 | 主机名 | IP | 安装的服务 |
|---|---|---|---|
| CentOS7 | wyt1 | 192.168.179.128 | httpd-2.4 mysql-5.7 tomcat9.0 |
安装apache
关闭防火墙及selinux
[root@wyt1 ~]# systemctl disable --now firewalld
Removed symlink /etc/systemd/system/multi-user.target.wants/firewalld.service.
Removed symlink /etc/systemd/system/dbus-org.fedoraproject.FirewallD1.service.
[root@wyt1 ~]# setenforce 0
[root@wyt1 ~]# sed -ri 's/^(SELINUX=).*/1disabled/g' /etc/selinux/config
配置yum源
[root@wyt1 ~]# curl -o /etc/yum.repos.d/CentOS-Base.repo https://mirrors.aliyun.com/repo/Centos-7.repo
[root@wyt1 ~]# sed -i 's/$releasever/7/g' /etc/yum.repos.d/CentOS-Base.repo
[root@wyt1 ~]# sed -i -e '/mirrors.cloud.aliyuncs.com/d' -e '/mirrors.aliyuncs.com/d' /etc/yum.repos.d/CentOS-Base.repo
[root@wyt1 ~]# yum -y install vim wget
[root@wyt1 ~]# wget -O /etc/yum.repos.d/epel.repo http://mirrors.aliyun.com/repo/epel-7.repo
创建apache服务的用户和组
[root@wyt1 ~]# useradd -r -M -s /sbin/nologin apache
[root@wyt1 ~]# id apache
uid=997(apache) gid=995(apache) groups=995(apache)
安装依赖包
[root@wyt1 ~]# yum -y install openssl-devel pcre-devel expat-devel libtool gcc gcc-c++
下载apr以及apr-util
[root@wyt1 ~]# wget http://mirror.bit.edu.cn/apache/apr/apr-1.7.0.tar.gz
[root@wyt1 ~]# wget http://mirror.bit.edu.cn/apache/apr/apr-util-1.6.1.tar.gz
[root@wyt1 ~]# tar xf apr-1.7.0.tar.gz
[root@wyt1 ~]# tar xf apr-util-1.6.1.tar.gz
[root@wyt1 ~]# ls
apr-1.7.0         apr-util-1.6.1
apr-1.7.0.tar.gz  apr-util-1.6.1.tar.gz
安装apr
[root@wyt1 ~]# cd apr-1.7.0
[root@wyt1 apr-1.7.0]# vim configure
...
    cfgfile=${ofile}T
    trap "$RM "$cfgfile"; exit 1" 1 2 15
    $RM "$cfgfile"  //将此行注释或者删除
...
[root@wyt1 apr-1.7.0]# ./configure --prefix=/usr/local/apr
[root@wyt1 apr-1.7.0]# make && make install
安装apr-util
[root@wyt1 apr-1.7.0]# cd apr-util-1.6.1
[root@wyt1 apr-util-1.6.1]# ./configure --prefix=/usr/local/apr-util --with-apr=/usr/local/apr
[root@wyt1 apr-util-1.6.1]# make && make install
下载并编译安装httpd
[root@wyt1 ~]# wget https://mirror.bit.edu.cn/apache/httpd/httpd-2.4.43.tar.gz
[root@wyt1 ~]# tar xf httpd-2.4.43.tar.gz
[root@wyt1 ~]# cd httpd-2.4.43
[root@wyt1 httpd-2.4.43]# ./configure --prefix=/usr/local/apache
--sysconfdir=/etc/httpd24
--enable-so
--enable-ssl
--enable-cgi
--enable-rewrite
--with-zlib
--with-pcre
--with-apr=/usr/local/apr
--with-apr-util=/usr/local/apr-util/
--enable-modules=most
--enable-mpms-shared=all
--with-mpm=prefork
[root@wyt1 httpd-2.4.43]# make && make install
配置apache
[root@wyt1 ~]# echo 'export PATH=/usr/local/apache/bin:$PATH' > /etc/profile.d/httpd.sh
[root@wyt1 ~]# source /etc/profile.d/httpd.sh
[root@wyt1 ~]# ln -s /usr/local/apache/include/ /usr/include/httpd
[root@wyt1 ~]# echo 'MANPATH /usr/local/apache/man' >> /etc/man_db.conf
[root@wyt1 ~]# sed -i '/#ServerName/s/#//g' /etc/httpd24/httpd.conf //取消ServerName前面的注释
启动apache
[root@wyt1 ~]# apachectl start
[root@wyt1 ~]# ss -antl |grep 80
LISTEN     0      128         :::80                      :::*

2.安装mysql
安装依赖包
[root@wyt1 ~]# yum -y install ncurses-devel openssl-devel openssl cmake mariadb-devel
创建用户和组
[root@wyt1 ~]# useradd -r -M -s /sbin/nologin -u 306 mysql
[root@wyt1 ~]# id mysql
uid=306(mysql) gid=306(mysql) groups=306(mysql)
下载二进制格式的mysql软件包并解压
[root@wyt1 ~]# wget https://dev.mysql.com/get/Downloads/MySQL-5.7/mysql-5.7.30-linux-glibc2.12-x86_64.tar.gz
[root@wyt1 ~]# ls
mysql-5.7.30-linux-glibc2.12-x86_64.tar.gz
[root@wyt1 ~]# tar xf mysql-5.7.30-linux-glibc2.12-x86_64.tar.gz -C /usr/local/
修改配置文件属主和属组及创建软链接
[root@wyt1 ~]# cd  /usr/local/
[root@wyt1 local]# ln -s mysql-5.7.30-linux-glibc2.12-x86_64/ mysql
[root@wyt1 local]# chown -R mysql.mysql mysql*
[root@wyt1 local]# ll -d mysql
lrwxrwxrwx 1 mysql mysql 36 8月   3 11:06 mysql -> mysql-5.7.30-linux-glibc2.12-x86_64/
添加环境变量
[root@wyt1 ~]# echo 'export PATH=/usr/local/mysql/bin:$PATH' > /etc/profile.d/mysql.sh
[root@wyt1 ~]# source /etc/profile.d/mysql.sh
建立数据存放目录
[root@wyt1 ~]# mkdir /opt/data
[root@wyt1 ~]# chown -R mysql.mysql /opt/data
[root@wyt1 local]# ll -d /opt/data
drwxr-xr-x 2 mysql mysql 6 8月   3 11:08 /opt/data
初始化数据库
[root@wyt1 local]#  /usr/local/mysql/bin/mysqld --initialize --user=mysql --datadir=/opt/data
2020-08-03T03:09:09.029206Z 0 [Warning] TIMESTAMP with implicit DEFAULT value is deprecated. Please use --explicit_defaults_for_timestamp server option (see documentation for more details).
2020-08-03T03:09:09.388090Z 0 [Warning] InnoDB: New log files created, LSN=45790
2020-08-03T03:09:09.454135Z 0 [Warning] InnoDB: Creating foreign key constraint system tables.
2020-08-03T03:09:09.513954Z 0 [Warning] No existing UUID has been found, so we assume that this is the first time that this server has been started. Generating a new UUID: b2ee63b5-d536-11ea-8e9d-000c29b30c45.
2020-08-03T03:09:09.516140Z 0 [Warning] Gtid table is not ready to be used. Table 'mysql.gtid_executed' cannot be opened.
2020-08-03T03:09:10.957785Z 0 [Warning] CA certificate ca.pem is self signed.
2020-08-03T03:09:11.145264Z 1 [Note] A temporary password is generated for root@localhost: PX6gViNxAp&*
//记住这里的root用户登录的临时密码,密码是:PX6gViNxAp&*
配置mysql
[root@wyt1 ~]# ln -s /usr/local/mysql/include/ /usr/local/include/mysql
[root@wyt1 ~]# echo '/usr/local/mysql/lib' > /etc/ld.so.conf.d/mysql.conf
[root@wyt1 ~]# ldconfig
生成配置文件
[root@wyt1 ~]# cat > /etc/my.cnf <<EOF
[mysqld]
basedir = /usr/local/mysql
datadir = /opt/data
socket = /tmp/mysql.sock
port = 3306
pid-file = /opt/data/mysql.pid
user = mysql
skip-name-resolve
EOF
配置服务启动脚本
[root@wyt1 ~]# cp -a /usr/local/mysql/support-files/mysql.server /etc/init.d/mysqld
[root@wyt1 ~]# sed -ri 's#^(basedir=).*#1/usr/local/mysql#g' /etc/init.d/mysqld
[root@wyt1 ~]# sed -ri 's#^(datadir=).*#1/opt/data#g' /etc/init.d/mysqld
启动mysql
[root@wyt1 ~]# chkconfig mysqld on    //设置为开机自动启动
[root@wyt1 ~]# service mysqld start
[root@wyt1 ~]# ss -antl |grep 3306
LISTEN     0      80          :::3306                    :::*
修改密码
[root@wyt1 ~]# mysql -uroot -p'PX6gViNxAp&*'  //用临时密码登录
mysql: [Warning] Using a password on the command line interface can be insecure.
Welcome to the MySQL monitor.  Commands end with ; or g.
Your MySQL connection id is 11
Server version: 5.7.30
Copyright (c) 2000, 2020, Oracle and/or its affiliates. All rights reserved.
Oracle is a registered trademark of Oracle Corporation and/or its
affiliates. Other names may be trademarks of their respective
owners.
Type 'help;' or 'h' for help. Type 'c' to clear the current input statement.

mysql> set password = password('123456'); //修改密码
Query OK, 0 rows affected, 1 warning (0.01 sec)
mysql> quit
Bye
安装tomcat
安装jdk环境
[root@wyt2 ~]# yum -y install java-1.8.0-openjdk*
查看安装的版本
[root@wyt2 ~]# java -version
openjdk version "1.8.0_222-ea"
OpenJDK Runtime Environment (build 1.8.0_222-ea-b03)
OpenJDK 64-Bit Server VM (build 25.222-b03, mixed mode)
下载tomcat并解压
[root@wyt2 ~]# wget https://archive.apache.org/dist/tomcat/tomcat-9/v9.0.37/bin/apache-tomcat-9.0.37.tar.gz
[root@wyt2 ~]# tar xf apache-tomcat-9.0.37.tar.gz
[root@wyt1 ~]# mv apache-tomcat-9.0.37 /usr/local/tomcat //移动到指定目录
启动tomcat
[root@wyt1 ~]# /usr/local/tomcat/bin/startup.sh
Using CATALINA_BASE:   /usr/local/tomcat
Using CATALINA_HOME:   /usr/local/tomcat
Using CATALINA_TMPDIR: /usr/local/tomcat/temp
Using JRE_HOME:        /usr
Using CLASSPATH:       /usr/local/tomcat/bin/bootstrap.jar:/usr/local/tomcat/bin/tomcat-juli.jar
Tomcat started.
[root@wyt1 ~]# ss -antl|grep 8080
LISTEN     0      100       [::]:8080                  [::]:*
[root@wyt1 ~]# ss -antl|grep 8005
LISTEN     0      1       [::ffff:127.0.0.1]:8005                  [::]:*

配置apache
启用httpd的相关模块
[root@wyt1 ~]# sed -i '/proxy_module/s/#//g' /etc/httpd24/httpd.conf
[root@wyt1 ~]# sed -i '/proxy_http_module/s/#//g' /etc/httpd24/httpd.conf
配置虚拟主机
[root@wyt1 ~]# vim /etc/httpd24/httpd.conf   //配置//Tomcat的访问地址
<VirtualHost *:80>
    DocumentRoot "/usr/local/apache/htdocs"
    ProxyPass / http://192.168.179.128:8080/
    ProxyPassReverse / http://192.168.179.128:8080/
    <Directory "/usr/local/apache/htdocs">
        Options none
        AllowOverride none
        Require all granted
    </Directory>
</VirtualHost>
重启服务
[root@wyt1 ~]# apachectl restart
[root@wyt1 ~]# ss -antl
State       Recv-Q Send-Q Local Address:Port               Peer Address:Port
LISTEN      0      100    127.0.0.1:25                    *:*
LISTEN      0      128       *:22                    *:*
LISTEN      0      100       [::1]:25                 [::]:*
LISTEN      0      1        [::ffff:127.0.0.1]:8005               [::]:*
LISTEN      0      80     [::]:3306               [::]:*
LISTEN      0      100    [::]:8080               [::]:*
LISTEN      0      128    [::]:80                 [::]:*
LISTEN      0      128    [::]:22                 [::]:*
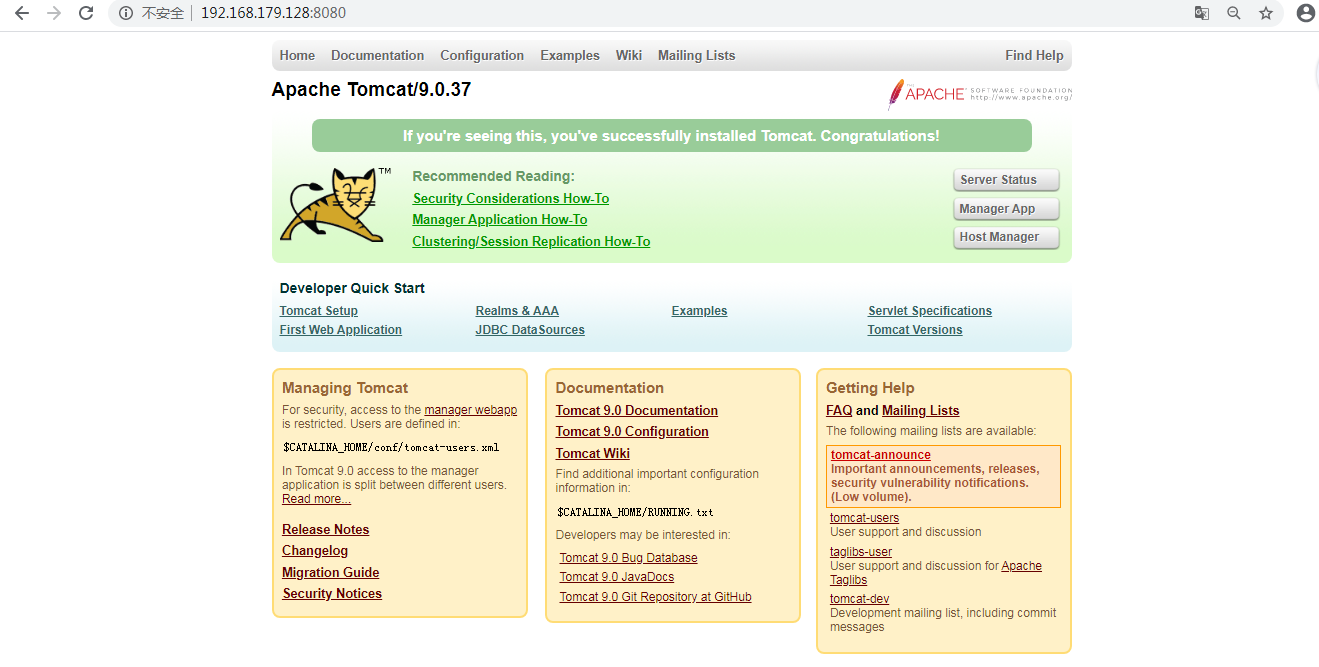
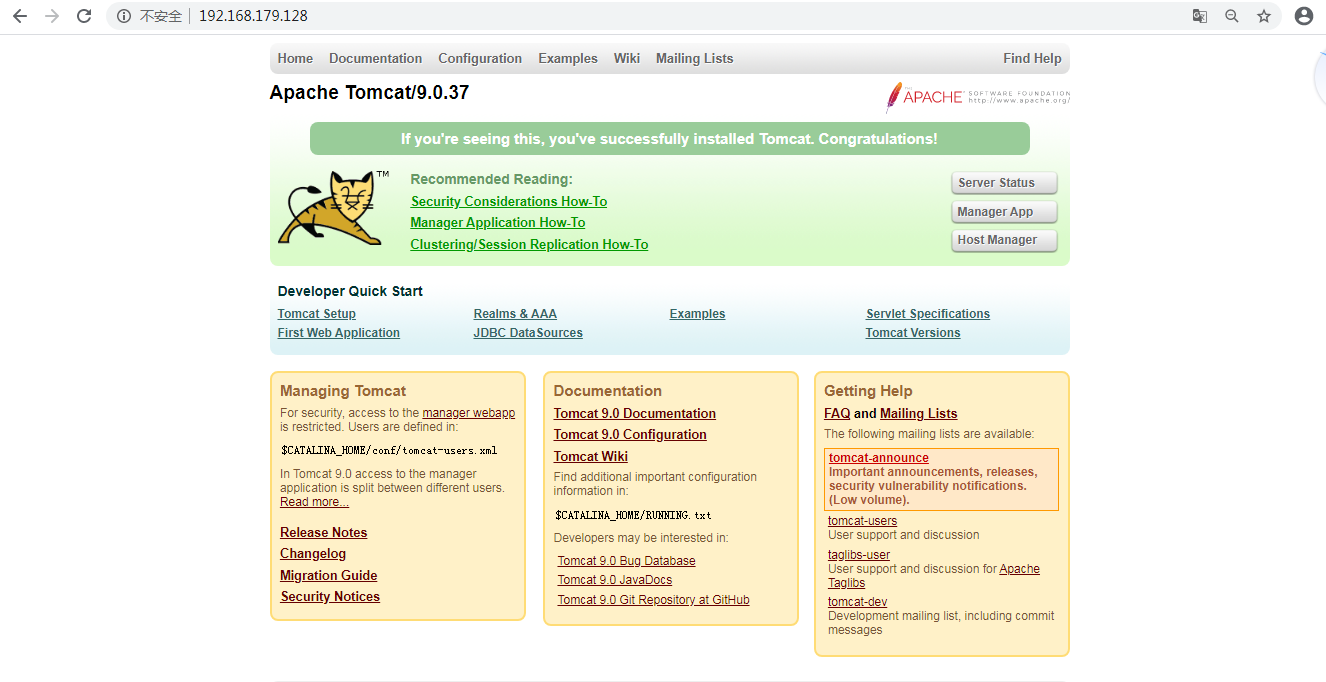
访问80端口自动跳转到8080端口

生成测试页面
[root@wyt1 ~]# cd /usr/local/tomcat/webapps/
[root@wyt1 webapps]# mkdir test
[root@wyt1 webapps]# vim test/index.jsp

<html>
<head>
        <title>test page</title>
</head>
<body>
        <%
            out.println("Hellow World");
        %>
</body>
</html
重启服务
[root@wyt1 ~]# /usr/local/tomcat/bin/catalina.sh start
Using CATALINA_BASE:   /usr/local/tomcat
Using CATALINA_HOME:   /usr/local/tomcat
Using CATALINA_TMPDIR: /usr/local/tomcat/temp
Using JRE_HOME:        /usr
Using CLASSPATH:       /usr/local/tomcat/bin/bootstrap.jar:/usr/local/tomcat/bin/tomcat-juli.jar
Tomcat started.
访问网页

最后
以上就是大意鲜花最近收集整理的关于lamt部署环境安装apache2.安装mysql安装tomcat配置apache的全部内容,更多相关lamt部署环境安装apache2内容请搜索靠谱客的其他文章。
本图文内容来源于网友提供,作为学习参考使用,或来自网络收集整理,版权属于原作者所有。


发表评论 取消回复