最近想搞一个gerrit服务器自己管理代码用,之前没搞过,从零开始,写笔记记录下。
我用的是ubuntu1~20.04
1.拿到服务器先更新下 ,不然有些包下不下来
sudo apt-get update
2.创建一个gerrit账号,用来管理gerrit
adduser gerrit
3.给账号赋sudo权限
在/etc/sudoers增加一行 gerrit ALL=(ALL:ALL) ALL
vim /etc/sudoers

#
# This file MUST be edited with the 'visudo' command as root.
#
# Please consider adding local content in /etc/sudoers.d/ instead of
# directly modifying this file.
#
# See the man page for details on how to write a sudoers file.
#
Defaults        env_reset
Defaults        mail_badpass
Defaults        secure_path="/usr/local/sbin:/usr/local/bin:/usr/sbin:/usr/bin:/sbin:/bin:/snap/bin"

# Host alias specification

# User alias specification

# Cmnd alias specification

# User privilege specification
root    ALL=(ALL:ALL) ALL
gerrit  ALL=(ALL:ALL) ALL

# Members of the admin group may gain root privileges
%admin ALL=(ALL) ALL

# Allow members of group sudo to execute any command
%sudo   ALL=(ALL:ALL) ALL

# See sudoers(5) for more information on "#include" directives:

#includedir /etc/sudoers.d
4.安装git
sudo apt-get install git
5.安装jdk
sudo apt-get install default-jdk
6.下载gerrit安装包
这步建议在gerrit账户下执行,因为等下需要在gerrit家目录下解压
wget https://gerrit-releases.storage.googleapis.com/gerrit-3.1.3.war
7.安装初始化gerrit
将gerrit安装初始化到gerrit用户家目录下的gerrit_service目录下
java -jar gerrit-3.1.3.war init --batch -d /home/gerrit/gerrit_service
8.安装apache2
sudo apt-get install apache2
9.修改apache配置
总共需要修改三个文件
-
/etc/apache2/httpd.conf -
/etc/apache2/apache2.conf -
/etc/apache2/ports.conf
httpd.conf需要手动创建,默认没有
我是需要用122.243.12.14这个当gerrit服务器地址,61118作为对外端口 61119作为对内端口
/etc/apache2/httpd.conf 内容如下
<VirtualHost *:61118>
    ServerName 122.243.12.14

    ProxyRequests Off
    ProxyVia Off
    ProxyPreserveHost On

    <Proxy *>
          Order deny,allow
          Allow from all
    </Proxy>
    <Location "/login/">
        AuthType Basic
        AuthName "Gerrit Code Review"
        Require valid-user
        AuthBasicProvider file
        AuthUserFile /home/gerrit/gerrit_auth/passwd
    </Location>
    AllowEncodedSlashes On
    ProxyPass / http://122.243.12.14:61119/ nocanon

    ProxyPassReverse / http://122.243.12.14:61119/

</VirtualHost>
在apache.conf文件中加入Include httpd.conf
我是添加在 ports.conf之后了
# Include list of ports to listen on
Include ports.conf

Include httpd.conf
在ports.conf中加入Listen 61118 对外端口
Listen 61118
下面这个配置是做什么的我还没明白:
cd /etc/apache2/mods-enabled
sudo ln -s ../mods-available/proxy.load
sudo ln -s ../mods-available/proxy.conf
sudo ln -s ../mods-available/proxy_http.load
sudo ln -s ../mods-available/proxy_balancer.conf
sudo ln -s ../mods-available/proxy_balancer.load
sudo ln -s ../mods-available/rewrite.load
sudo ln -s ../mods-available/ssl.conf
sudo ln -s ../mods-available/ssl.load
sudo ln -s ../mods-available/slotmem_shm.load
sudo ln -s ../mods-available/socache_shmcb.load
10.然后配置gerrit
这个文件路径是/home/gerrit/gerrit_service/etc/gerrit.config
如果需要使用邮箱还需要配置/home/gerrit/gerrit_service/etc/secure.config
我的gerrit.config配置文件如下
[gerrit]
        basePath = git
        canonicalWebUrl = http://122.243.12.14:61118/
        serverId = d1e5acc1-3739-aaae-asd1-09a3d29b77a3
[container]
        javaOptions = "-Dflogger.backend_factory=com.google.common.flogger.backend.log4j.Log4jBackendFactory#getInstance"
        javaOptions = "-Dflogger.logging_context=com.google.gerrit.server.logging.LoggingContext#getInstance"
        user = gerrit
        javaHome = /usr/lib/jvm/java-11-openjdk-amd64
[database]
        type = h2
        database = /home/gerrit/gerrit_service/db/ReviewDB
[noteDb "changes"]
        disableReviewDb = true
        primaryStorage = note db
        read = true
        sequence = true
        write = true
[index]
        type = lucene
[auth]
        type = HTTP
[oauth]
        allowEditFullName = true
        allowRegisterNewEmail = true
[receive]
        enableSignedPush = false
        maxBatchCommits = 10000000 #最大提交数的限制
[sendemail]
        enable = true
        smtpServer = smtp.163.com #我使用的是163邮箱
        smtpServerPort = 465
        smtpEncryption = SSL
        sslVerify = true
        smtpUser = *****@163.com #自己邮箱
        from = 12@163.com #自己邮箱
[sshd]
        listenAddress = *:29418
[httpd]
        listenUrl = http://*:61119/
[cache]
        directory = cache
secure.config配置文件如下
[auth]
        registerEmailPrivateKey = 5AsdfaS8ojfasdfaFcvsoL/L40t/7hDasdfazAaM=
[sendemail]
        smtpPass = IADASDFAWJQEQRA #这里放邮箱授权码,可以从网页登录邮箱获取
11.创建账户
上面httpd.conf中 AuthUserFile /home/gerrit/gerrit_auth/passwd
先创建/home/gerrit/gerrit_auth/passwd文件
然后用 创建用户名为admin 密码为adminpasswd的账户
htpasswd -b /home/gerrit/gerrit_auth/passwd admin adminpasswd
也可以用此指令继续创建其他用户,第一个登陆的账户默认为管理员账户
12.然后重启gerrit和apache服务
/home/gerrit/gerrit_service/bin/gerrit.sh restart
sudo /etc/init.d/apache2 restart
可以用 netstat -ltnp 查看服务启动状态,可以看到61119 61118都在监听中
(Not all processes could be identified, non-owned process info
 will not be shown, you would have to be root to see it all.)
Active Internet connections (only servers)
Proto Recv-Q Send-Q Local Address           Foreign Address         State       PID/Program name
tcp        0      0 127.0.0.53:53           0.0.0.0:*               LISTEN      -
tcp        0      0 0.0.0.0:22              0.0.0.0:*               LISTEN      -
tcp6       0      0 :::443                  :::*                    LISTEN      -
tcp6       0      0 :::61118                :::*                    LISTEN      -
tcp6       0      0 :::61119                :::*                    LISTEN      10598/GerritCodeRev
tcp6       0      0 :::29418                :::*                    LISTEN      10598/GerritCodeRev
tcp6       0      0 :::80                   :::*                    LISTEN      -
tcp6       0      0 :::22                   :::*                    LISTEN      -
13.使用gerrit
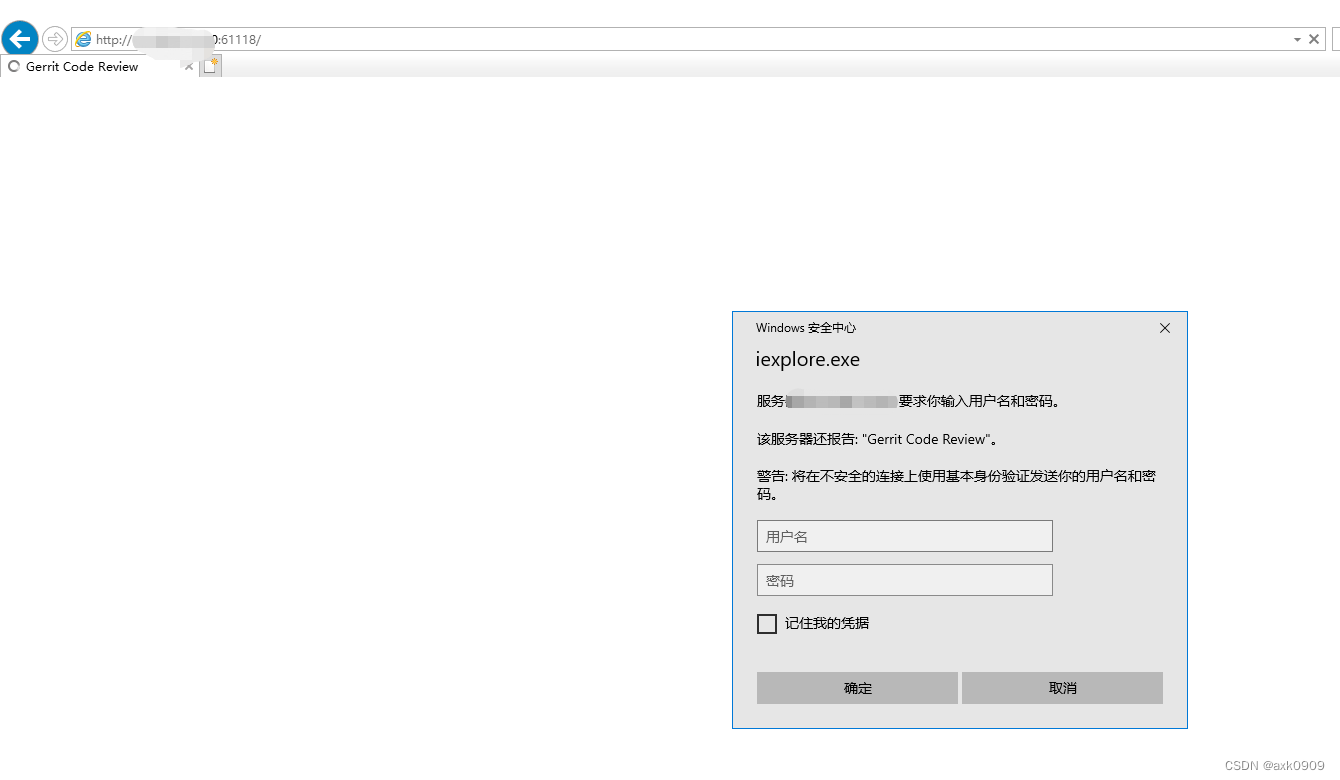
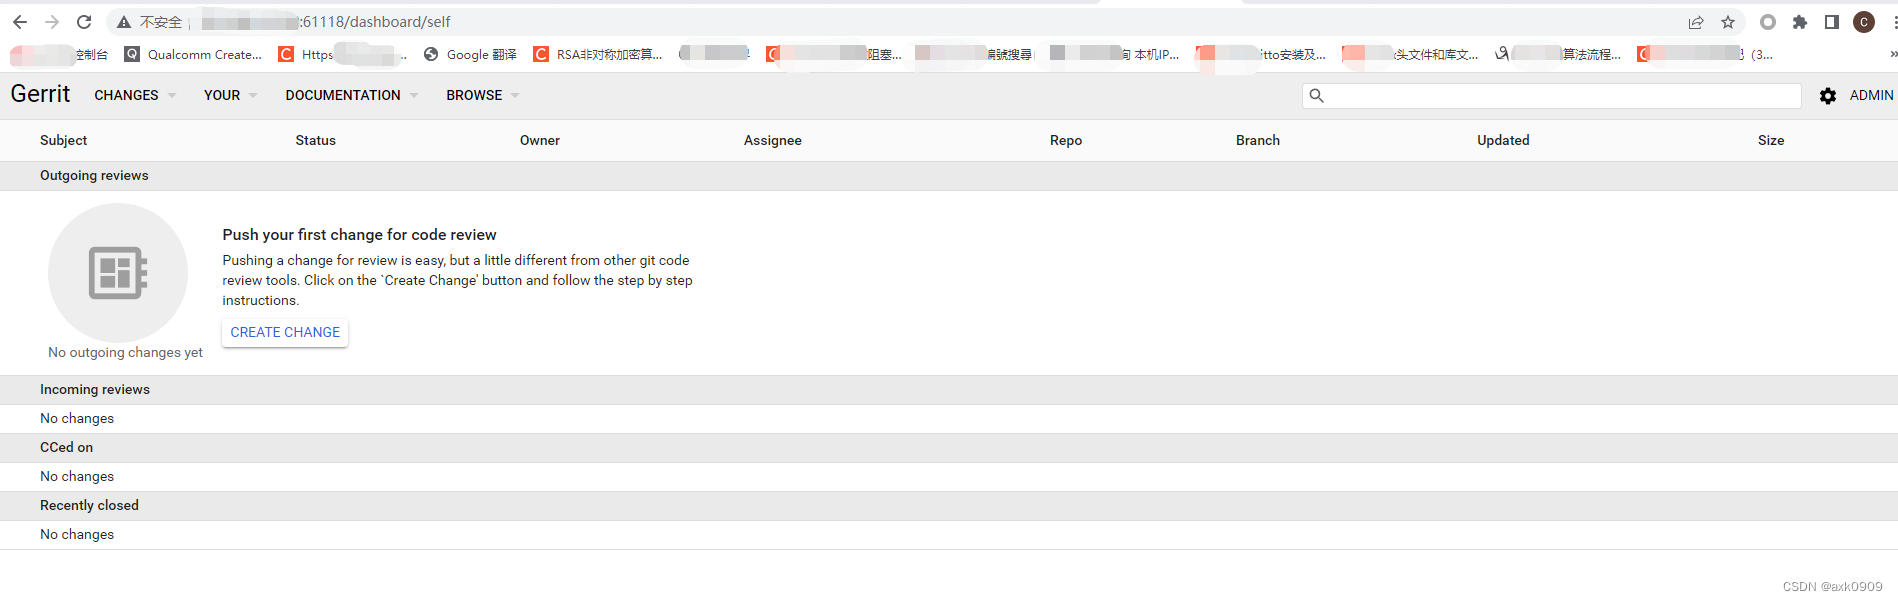
此时服务已经部署完成了,可以使用 http://122.243.12.14:61118/ 访问了,用户名和密码使用刚刚创建的即可,下面是我部署完成访问的登录界面,部署之后的配置后面再写
注意:如果访问不了,可以先排查云服务器是否禁止端口61118 61119通过,大部分服务器默认只开部分端口
最后
以上就是灵巧黑夜最近收集整理的关于华为云 ubuntu 搭建gerrit服务器 一的全部内容,更多相关华为云内容请搜索靠谱客的其他文章。


发表评论 取消回复