文章目录:
▶ 环境要求
▶ node下载
▶ node安装
▶ head插件下载
▶ head插件安装
▶ 启动ElasticSearch-head
▶ 访问验证ElasticSearch-head
环境要求
安装elasticsearch-head插件需要nodejs的支持
node下载
下载地址:https://nodejs.org/en/download/
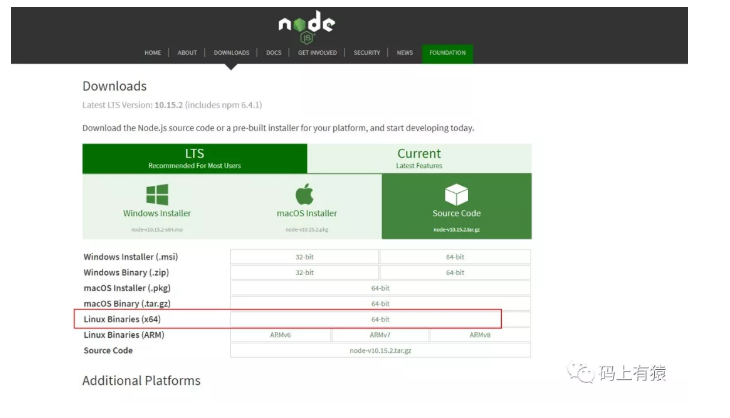
node安装
- 方法1:(centos不推荐)
yum install nodejs npm -y
- 以下为方法2:
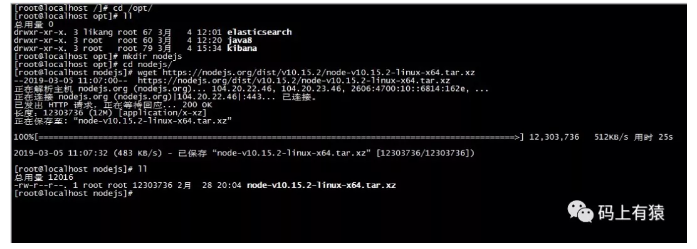
切换到 /opt 目录下:
在opt目录下,创建nodejs文件夹,并进入文件夹内:
获取nodejs安装包:
方式1:可以使用在线下载命令,下载安装包:
wget https://nodejs.org/dist/v10.15.2/node-v10.15.2-linux-x64.tar.xz
如果当前系统没有wget命令,则需要在线安装wget命令,任意目录下,执行如下命令:yum install wget -y
方法2:可以将之前已经下载好的安装包上传到当前目录下:
使用WinSCP工具,将下载到本地的安装包,上传到linux目录下
解压node安装包(解压可能耗时比较长,耐心等待):
xz -dk node-v10.15.2-linux-x64.tar.xz
tar xvf node-v10.15.2-linux-x64.tar
或者:tar xf node-v10.16.0-linux-x64.tar.xz

-
解压文件的 bin 目录底下包含了 node、npm 等命令,我们可以使用 ln 命令来设置软连接:
ln -s bin/npm /usr/local/bin/ ln -s bin/node /usr/local/bin/ -
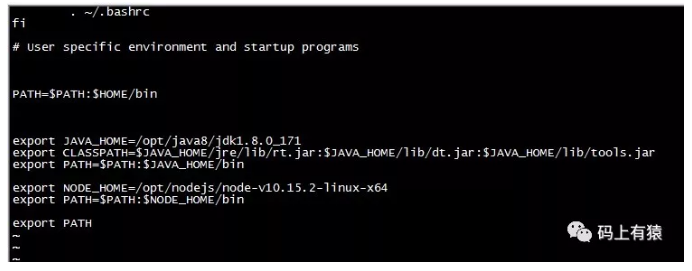
在/etc/profile中配置好path环境变量
         vi ~/.bash_profile
     export NODE_HOME=/opt/nodejs/node-v10.15.2-linux-x64
     export PATH=$PATH:$NODE_HOME/bin
-
保存退出,使文件生效
source ~/.bash_profile -
查看node安装版本
-
执行 node -v 验证安装

另外源码方式安装:(时间较长) -
下载地址:
wget https://nodejs.org/dist/v10.16.0/node-v10.16.0.tar.gz
- 解压:tar -zvxf node-v10.16.0.tar.gz
- 安装:
yum install gcc-c++    -y
./configure -- prefix=/opt/node/node10.16.0
需要依赖gcc和c++预编译命令
make
make install
配置:
vi ~/.bash_profile
    export NODE_HOME=/opt/node/node10.16.0
    export PATH=$NODE_HOME/bin:$PATH
生效:source ~/.bash_profile
验证:node -v
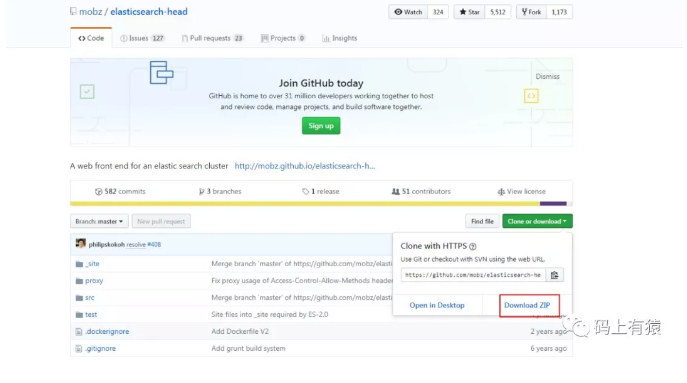
head插件下载
下载地址:https://github.com/mobz/elasticsearch-head
head插件安装
安装git
yum install git -y
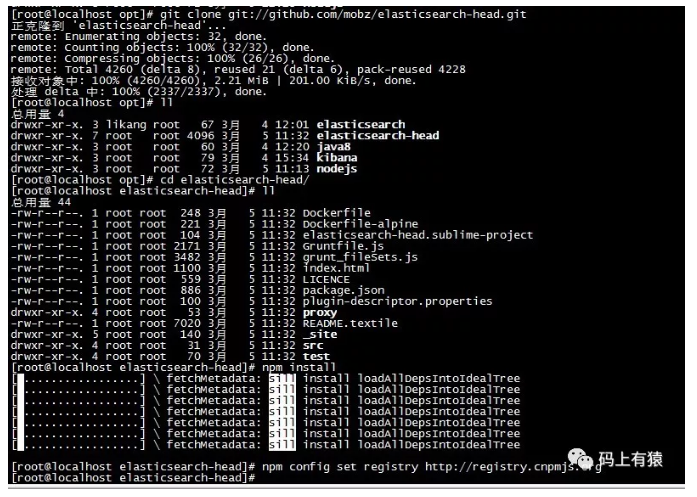
切换到/opt目录下:clone elasticsearch-head
git clone git://github.com/mobz/elasticsearch-head.git
进入到elasticsearch-head目录
cd elasticsearch-head
执行npm install 命令
npm install
如果一直卡在:
[ .................]  fetchMetadata: sill install loadAllDepsIntoIdealTree
则需要进行配置使用淘宝镜像:

永久使用:
    npm config set registry https://registry.npm.taobao.org
临时使用:
    npm install node-sass --registry=http://registry.npm.taobao.org
错误1
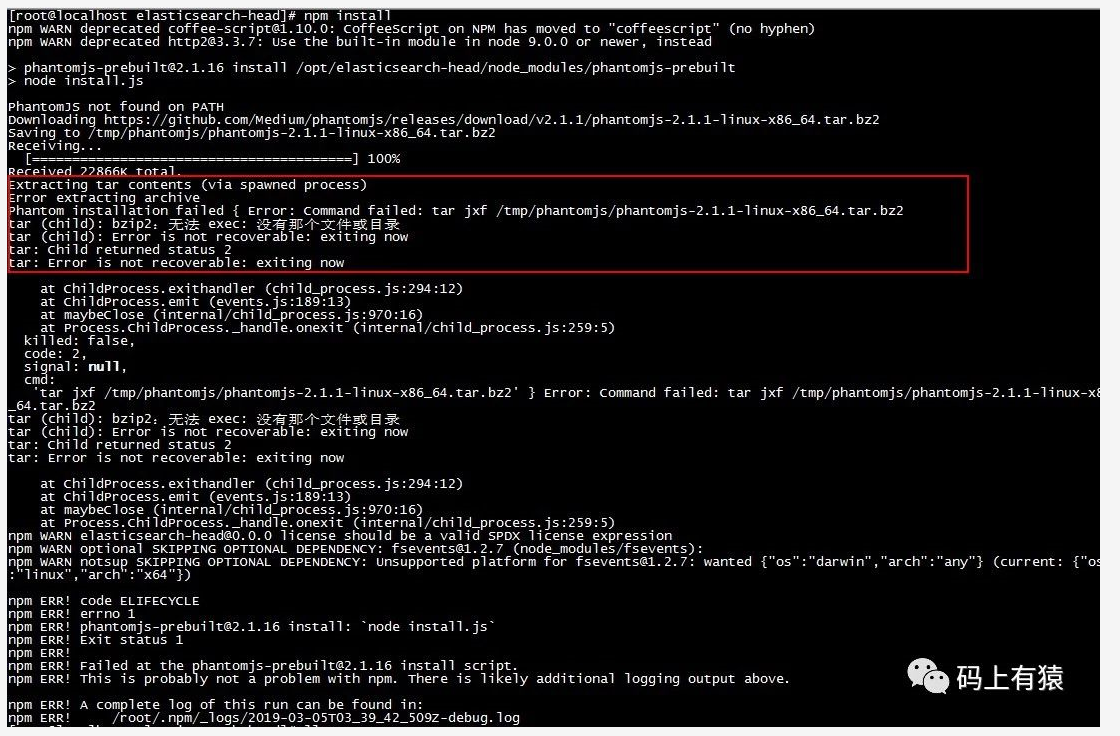
解决
在head目录下,执行 :
npm install phantomjs-prebuilt@2.1.16 --ignore-scripts
再次执行安装命令:
npm install
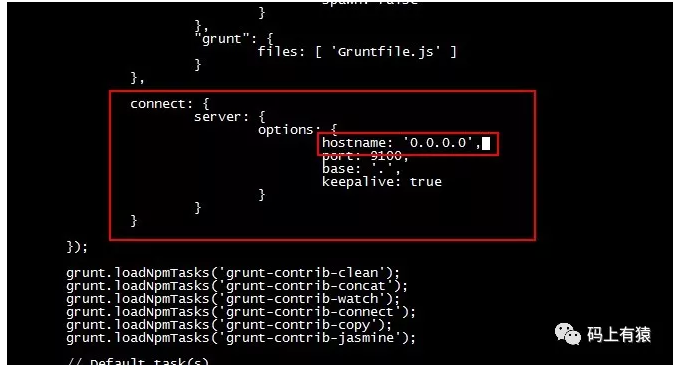
启动ES-head
修改Gruntfile.js,设置远程访问
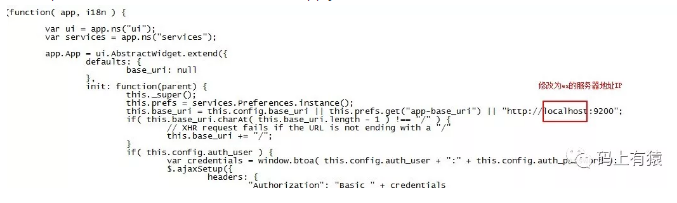
修改/opt/elasticsearch-head/_site目录下的app.js文件
执行启动命令:npm run start
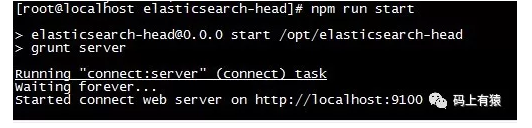
或者进入到/opt/elasticsearch-head/node_modules/grunt/bin目录下启动
./grunt server &
验证ES-head
在浏览器中输入主机地址和端口
http://192.168.73.131:9100
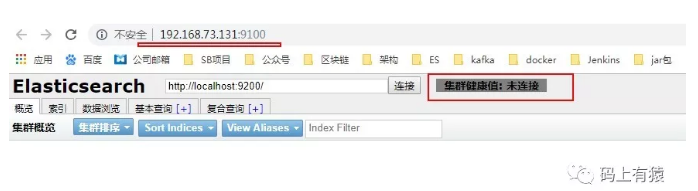
- 仔细观察,我们会发现客户端默认连接的是我们elasticsearch的默认路径而此时elasticsearch服务未启动,所以集群健康值是未连接
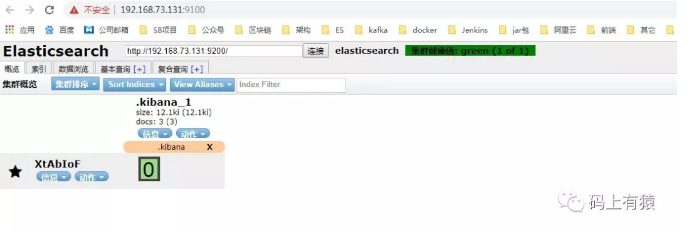
- 集群健康值的几种状态如下:
绿色:最健康的状态,代表所有的分片包括备份都可用
黄色:基本的分片可用,但是备份不可用(也可能是没有备份)
红色:部分的分片可用,表明分片有一部分损坏。此时执行查询部分数据仍然可以查到,遇到这种情况,还是赶快解决比较好
灰色:未连接到elasticsearch服务
- 接下来启动es服务之前,我们需要进行es的配置修改
切换到/opt/elasticsearch/elasticsearch-6.6.1/config目录
cd /opt/elasticsearch/elasticsearch-6.6.1/config
执行如下命令:
vi elasticsearch.yml
在文件的最后面,增加如下内容:

    http.cors.enabled: true
    http.cors.allow-origin: "*"
- 然后启动es服务
- 然后切换到elasticsearch-head目录,启动elasticsearch-head服务
参考链接 :
ES | Linux下基于ElasticSearch的head插件安装 :https://mp.weixin.qq.com/s/ut63jWKcdcjoi6CK1TgdCA
最后
以上就是勤奋鞋子最近收集整理的关于ES | CentOS下基于ElasticSearch的head插件安装环境要求node下载node安装head插件下载head插件安装启动ES-head验证ES-head的全部内容,更多相关ES内容请搜索靠谱客的其他文章。


发表评论 取消回复