下载地址:Elasticsearch 7.6.0 | Elastic安装包内自带jdk,无需自己安装
将安装包上传到linux环境并解压 :tax -xf xxx.tar.gz

修改配置文件:vim 安装包路径/config/elasticsearch.yml
添加
cluster.name: my-es
node.name: master
node.master: true
node.data: true
path.data: /data/ES-files/elasticsearch-7.6.0/data
path.logs: /data/ES-files/elasticsearch-7.6.0/logs
# 通过为 cluster.initial_master_nodes 参数设置符合主节点条件的节点的 IP 地址来引导启动集群
cluster.initial_master_nodes: ["master"]
network.host: 0.0.0.0 #如果需要外网访问则需要设置成0.0.0.0
http.port: 9200
discovery.seed_hosts: ["127.0.0.1"]
transport.tcp.port: 9300
# 开启跨域访问支持
http.cors.enabled: true
# 跨域访问允许的域名地址
http.cors.allow-origin: "*"
http.cors.allow-headers: Authorization,X-Requested-With,Content-Length,Content-Type

允许端口通过防火墙
/sbin/iptables -I INPUT -p tcp --dport 9200 -j ACCEPT
/sbin/iptables -I INPUT -p tcp --dport 9300 -j ACCEPT
启动时不能使用root用户,新建用户
useradd user -p pwd
chown -R user(用户名):esuser(用户组名) /data/ES-files/elasticsearch-7.6.0/*(安装包路径)
切换用户su - user
将该安装包路径下的所有文件赋予最高权限
chmod -R 777 /安装路径/*
在路径 /data/ES-files/elasticsearch-7.6.0/bin下执行./elasticsearch启动数据库
若报错max file descriptors [4096] for elasticsearch process is too low, increase to at least [65536]
修改文件:vim /etc/security/limits.conf
添加
* hard nofile 655360
* soft nofile 131072
* hard nproc 4096
* soft nproc 4096

修改文件:vim /etc/sysctl.conf
添加
fs.file-max = 655360
vm.max_map_count=655360

执行sysctl -p重新启动
修改完成后重新登录该账号,使用 ulimit -Sn和 ulimit -Hn查询可看到已修改
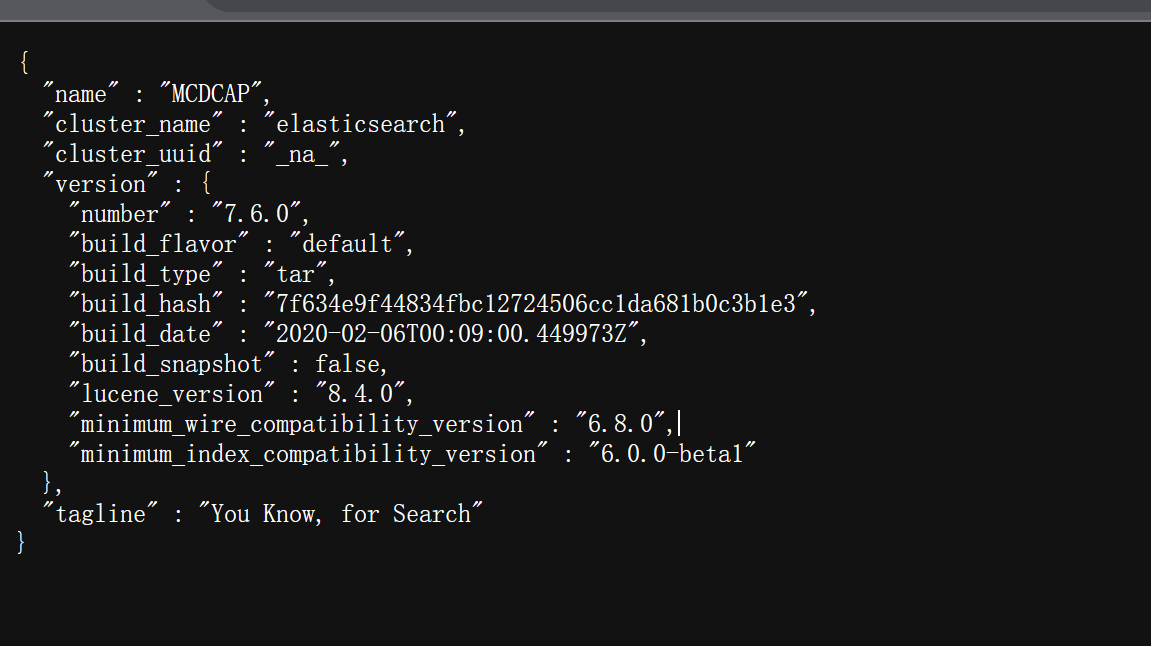
7.数据库安装启动成功后浏览器输入ip:9200

最后
以上就是欣慰小馒头最近收集整理的关于linux环境Elasticsearch 7.6.0安装的全部内容,更多相关linux环境Elasticsearch内容请搜索靠谱客的其他文章。


发表评论 取消回复