前言
android的默认控件:TextView,相信大家都不会陌生,但是原生的TextView是不支持描边效果的,下面,将会对原生的TextView进行拓展,使其支持自定义内部和外部颜色的描边TextView,对于会接下来会涉及的自定义XML属性的使用,有不明白的请看前一篇博客,里面有详细讲解。
正题
描边效果的实现原理,是利用TextView在onDraw的时候,获取到画笔,先进行一次比默认大小的文字内容稍微大一点的绘制,然后再进行一次默认大小的文字内容的绘制,这样就产生出了描边效果,以下是具体的代码实现:
public class StrokeTextView extends TextView {

	TextPaint m_TextPaint;
	int mInnerColor;
	int mOuterColor;

	public StrokeTextView(Context context,int outerColor,int innnerColor) {
		super(context);
		m_TextPaint = this.getPaint();
		this.mInnerColor = innnerColor;
		this.mOuterColor = outerColor;

		// TODO Auto-generated constructor stub
	}

	public StrokeTextView(Context context, AttributeSet attrs) {
		super(context, attrs);
		m_TextPaint = this.getPaint();
		//获取自定义的XML属性名称
		TypedArray a = context.obtainStyledAttributes(attrs,R.styleable.StrokeTextView);
		//获取对应的属性值
		this.mInnerColor = a.getColor(R.styleable.StrokeTextView_innnerColor,0xffffff);
		this.mOuterColor = a.getColor(R.styleable.StrokeTextView_outerColor,0xffffff);

	}

	public StrokeTextView(Context context, AttributeSet attrs, int defStyle,int outerColor,int innnerColor) {
		super(context, attrs, defStyle);
		m_TextPaint = this.getPaint();
		this.mInnerColor = innnerColor;
		this.mOuterColor = outerColor;
		// TODO Auto-generated constructor stub
	}

	private boolean m_bDrawSideLine = true; // 默认采用描边

	/**
	 *
	 */
	@Override
	protected void onDraw(Canvas canvas) {
		if (m_bDrawSideLine) {
			// 描外层
			// super.setTextColor(Color.BLUE); // 不能直接这么设,如此会导致递归
			setTextColorUseReflection(mOuterColor);
			m_TextPaint.setStrokeWidth(5); // 描边宽度
			m_TextPaint.setStyle(Style.FILL_AND_STROKE); // 描边种类
			m_TextPaint.setFakeBoldText(true); // 外层text采用粗体
			m_TextPaint.setShadowLayer(1, 0, 0, 0); // 字体的阴影效果,可以忽略
			super.onDraw(canvas);

			// 描内层,恢复原先的画笔

			// super.setTextColor(Color.BLUE); // 不能直接这么设,如此会导致递归
			setTextColorUseReflection(mInnerColor);
			m_TextPaint.setStrokeWidth(0);
			m_TextPaint.setStyle(Style.FILL_AND_STROKE);
			m_TextPaint.setFakeBoldText(false);
			m_TextPaint.setShadowLayer(0, 0, 0, 0);

		}
		super.onDraw(canvas);
	}

	/**
	 * 使用反射的方法进行字体颜色的设置
	 * @param color
	 */
	private void setTextColorUseReflection(int color) {
		Field textColorField;
		try {
			textColorField = TextView.class.getDeclaredField("mCurTextColor");
			textColorField.setAccessible(true);
			textColorField.set(this, color);
			textColorField.setAccessible(false);
		} catch (NoSuchFieldException e) {
			e.printStackTrace();
		} catch (IllegalArgumentException e) {
			e.printStackTrace();
		} catch (IllegalAccessException e) {
			e.printStackTrace();
		}
		m_TextPaint.setColor(color);
	}

}
接下来,为了方便使用,将使用自定义的XML属性,使得可以直接在XML中进行TextView的描边颜色和内部颜色的设置:
1.定义XML属性:
<?xml version="1.0" encoding="utf-8"?>
<resources>
    <!-- 自定义控件的名称 -->
    <declare-styleable name="StrokeTextView">
        <!-- 自定义的属性名称 和对应的单位 -->
        <attr name="outerColor" format="color|reference" />
        <attr name="innnerColor" format="color|reference" />
    </declare-styleable>
</resources><RelativeLayout xmlns:android="http://schemas.android.com/apk/res/android"
xmlns:tools="http://schemas.android.com/tools"
xmlns:app="http://schemas.android.com/apk/res-auto"
android:layout_width="match_parent"
android:layout_height="match_parent"
>
<com.example.demo.StrokeTextView
android:layout_width="wrap_content"
android:layout_height="wrap_content"
android:text="@string/hello_world"
android:textSize="28sp"
app:outerColor="#000000"
app:innnerColor="#ffffff"
android:layout_centerInParent="true"/>
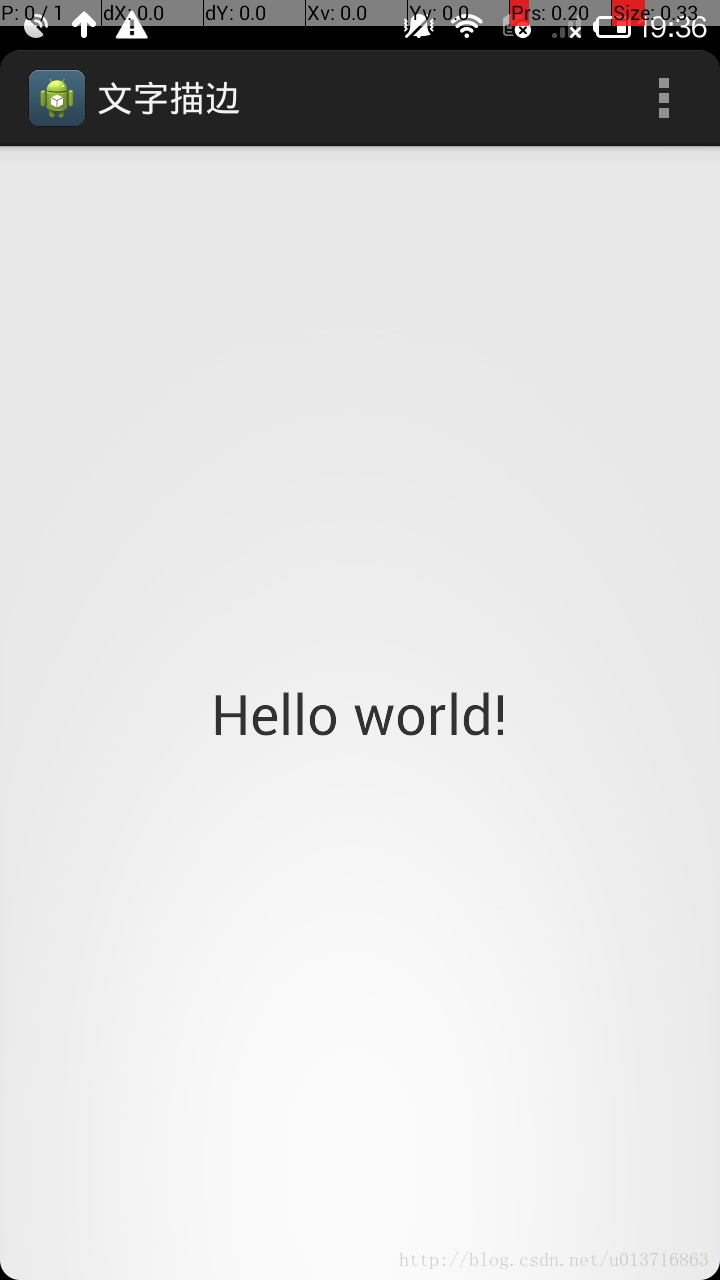
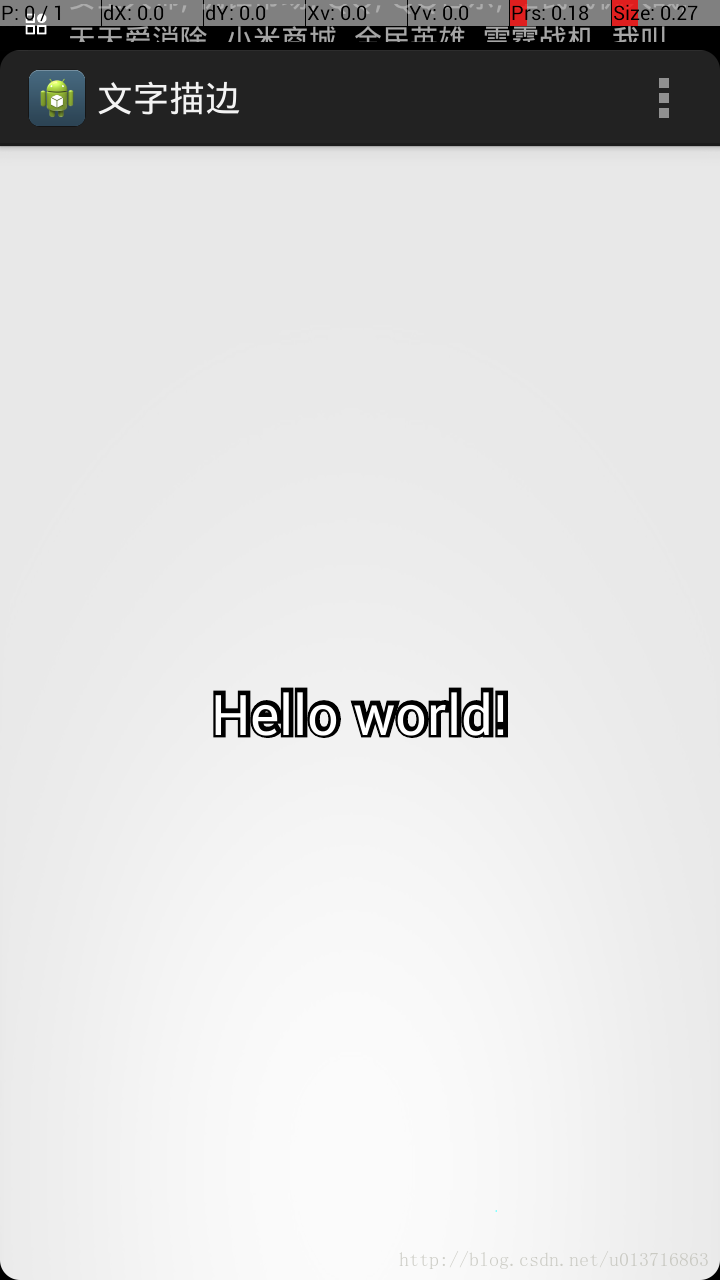
</RelativeLayout>效果演示
最后
以上就是无奈自行车最近收集整理的关于Android自定义控件:具有描边效果的TextView的全部内容,更多相关Android自定义控件:具有描边效果内容请搜索靠谱客的其他文章。
本图文内容来源于网友提供,作为学习参考使用,或来自网络收集整理,版权属于原作者所有。


发表评论 取消回复