import pyautogui as pg
b = pg.alert(text='hahh',title='test',button='ok')
#显示一个弹窗
print(b)#点击弹窗后返回button名
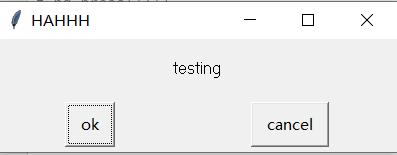
b1 = pg.confirm(text='testing',title='HAHHH',buttons=['ok','cancel'])#显示一个确认窗口
print(b1)#获取点击的值,如果'x'掉了窗口,则返回none
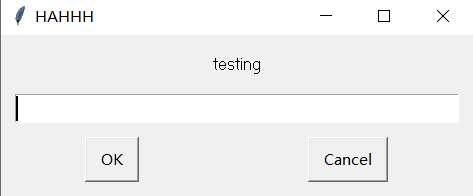
'''消息弹窗可以输入文字'''
b2 = pg.prompt(text='testing',title='HAHHH',default='')
print(b2)
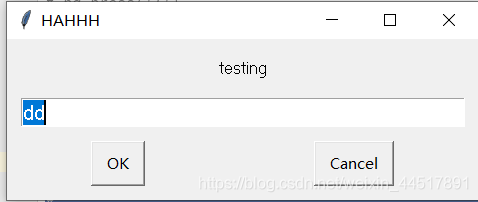
b3 = pg.prompt(text='testing',title='HAHHH',default='dd')
print(b3)
'''密码框'''
b4 = pg.password(text='testing',title='HAHHH',default='',mask='')#可以输入密码的密码框,密码框明文显示
b5 = pg.password(text='testing',title='HAHHH',default='',mask='*')#可以输入密码的密码框,密码框*显示

最后
以上就是贪玩羽毛最近收集整理的关于pyautogui的简单操作(2)-弹窗操作的全部内容,更多相关pyautogui内容请搜索靠谱客的其他文章。
本图文内容来源于网友提供,作为学习参考使用,或来自网络收集整理,版权属于原作者所有。


发表评论 取消回复