文章目录
- 前言
- 准备工作
- 如何发送阿里云短信
- 批量发送短信
前言
整合阿里云短信发送。
准备工作
-
需要申请一个阿里云账号
-
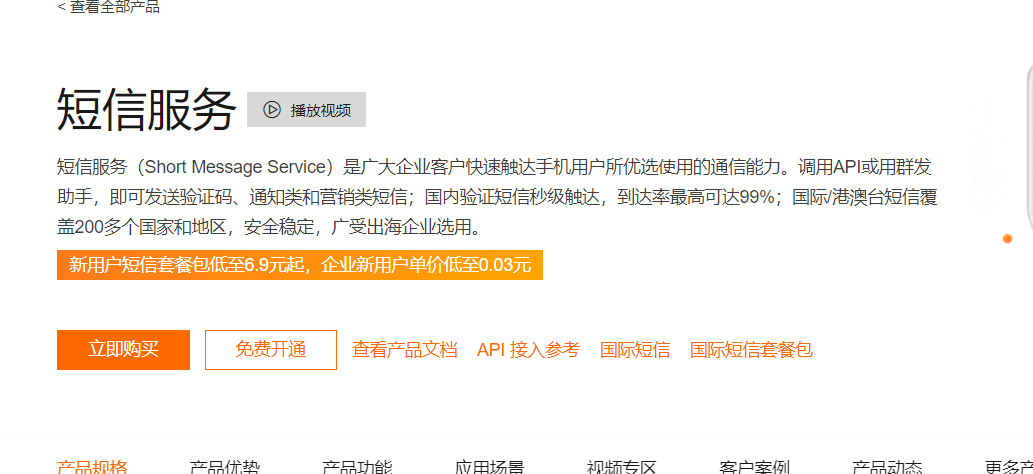
开通短信服务
-
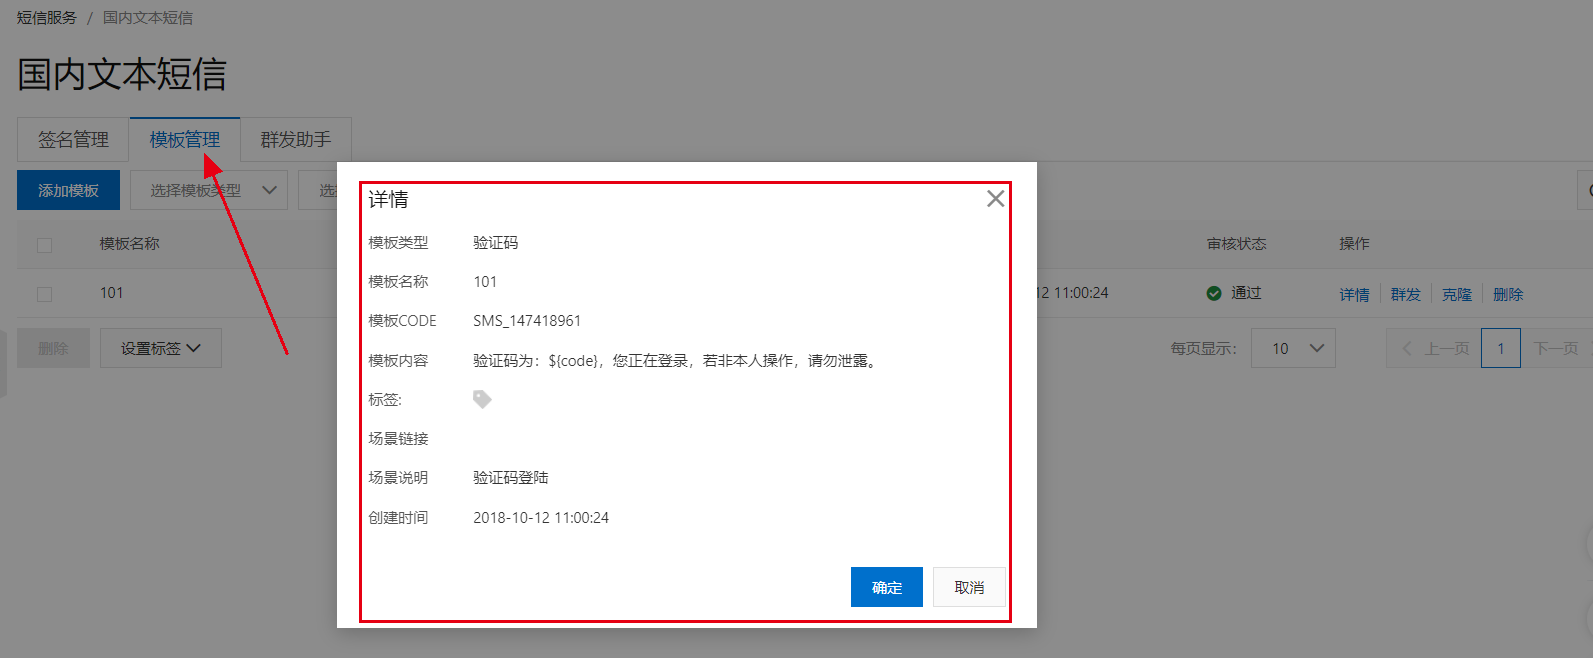
添加签名和模板(需要保证签名和模板的审核状态通过,才能进行短信服务的调用)


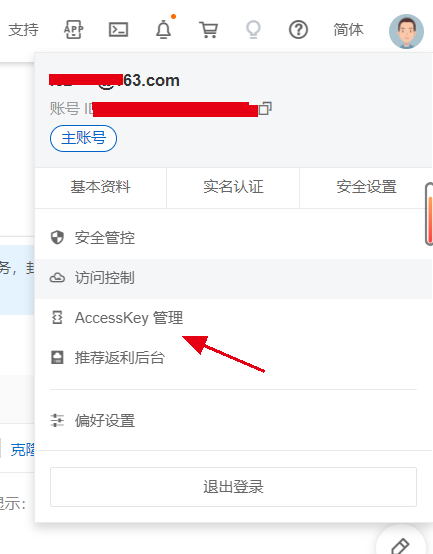
- 申请AccessKey密钥

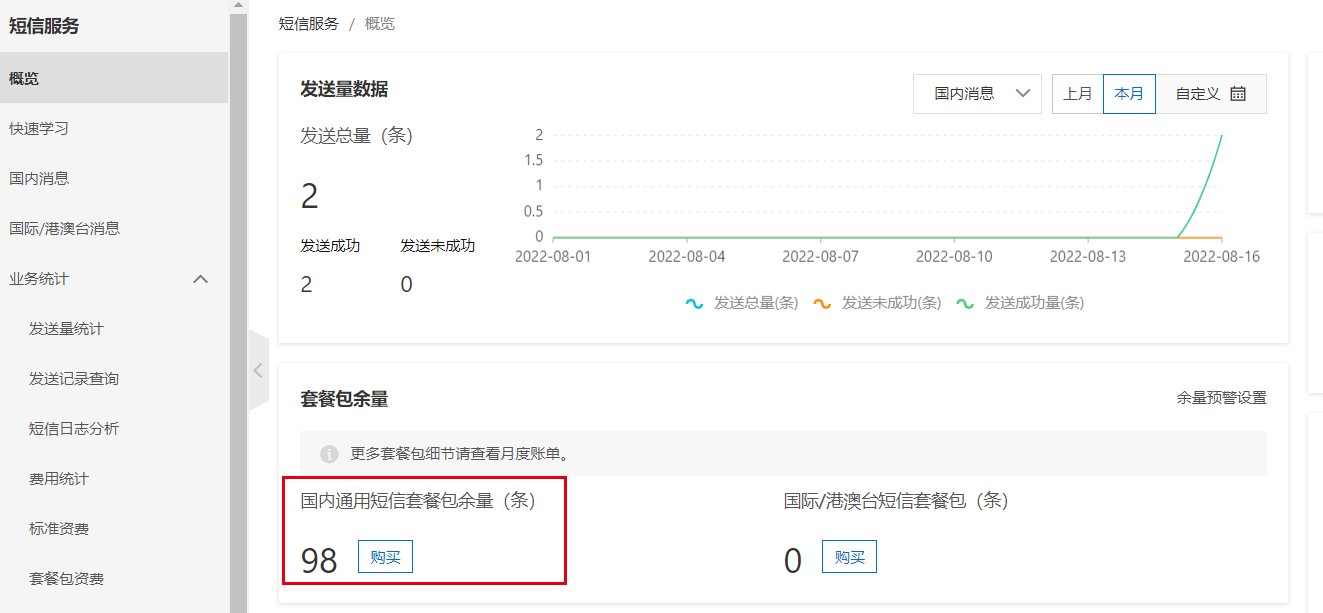
注意如果没有短信包额度,将无法发送。
如果是个人学习使用,建议在阿里云市场低价短信。
或者阿里云免费试用产品专区,可能会有免费的短信服务包用于学习和测试。
如何发送阿里云短信
- 导入依赖
 <dependency>
            <groupId>com.alibaba.cloud</groupId>
            <artifactId>spring-cloud-alicloud-sms</artifactId>
            <version>2.2.0.RELEASE</version>
        </dependency>
- 配置密钥(从阿里云后台获取)
spring:
  cloud:
    alicloud:
      access-key: xxxxxx
      secret-key: xxxxxx
- 编写测试用例,并运行
package com.lcz;
import com.alibaba.alicloud.sms.SmsServiceImpl;
import com.aliyuncs.dysmsapi.model.v20170525.SendSmsResponse;
import com.aliyuncs.exceptions.ClientException;
import org.junit.Test;
import org.junit.runner.RunWith;
import org.springframework.beans.factory.annotation.Autowired;
import org.springframework.boot.test.context.SpringBootTest;
import org.springframework.test.context.junit4.SpringRunner;

@RunWith(SpringRunner.class)
@SpringBootTest
public class SendSmsDemo2 {

    @Autowired
    private SmsServiceImpl smsService;

    @Test
    public void testSendSms2() throws ClientException {
//        SmsRequest
        // 组装请求对象-具体描述见控制台-文档部分内容
        com.aliyuncs.dysmsapi.model.v20170525.SendSmsRequest request = new com.aliyuncs.dysmsapi.model.v20170525.SendSmsRequest();
        // 必填:待发送手机号
        request.setPhoneNumbers("15900000000");
        // 必填:短信签名-可在短信控制台中找到
        request.setSignName("xxxx");
        // 必填:短信模板-可在短信控制台中找到
        request.setTemplateCode("SMS_1234567891");
        // 可选:模板中的变量替换JSON串,如模板内容为"亲爱的${name},您的验证码为${code}"时,此处的值为
        request.setTemplateParam("{code:" + "999999" + "}");
        SendSmsResponse  response=smsService.sendSmsRequest(request);
        System.out.println("短信接口返回的数据----------------");
        System.out.println("Code=" + response.getCode());
        System.out.println("Message=" + response.getMessage());
        System.out.println("RequestId=" + response.getRequestId());
        System.out.println("BizId=" + response.getBizId());//消息回执id
    }
}

批量发送短信
    @Test
    public void testSendBatchSms() throws ClientException {
        System.out.println("--------批量短信发送-------");
        //批量短信发送
        SendBatchSmsRequest sendBatchSmsRequest = new SendBatchSmsRequest();
        sendBatchSmsRequest.setPhoneNumberJson("["15900000000","15900000001"]");
        sendBatchSmsRequest.setTemplateCode("SMS_123456789");
        sendBatchSmsRequest.setSignNameJson("["你的签名","你的签名"]");
        sendBatchSmsRequest.setTemplateParamJson("[{"code":"111111"},{"code":"666666"}]");

        SendBatchSmsResponse response=smsService.sendSmsBatchRequest(sendBatchSmsRequest);
        System.out.println("短信接口返回的数据----------------");
        System.out.println("Code=" + response.getCode());
        System.out.println("Message=" + response.getMessage());
        System.out.println("RequestId=" + response.getRequestId());
        System.out.println("BizId=" + response.getBizId());//消息回执id
    }
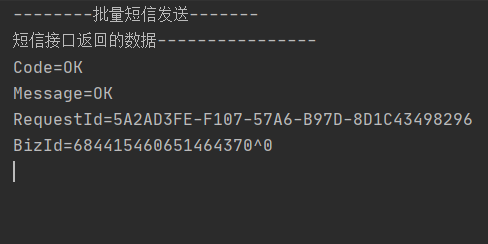
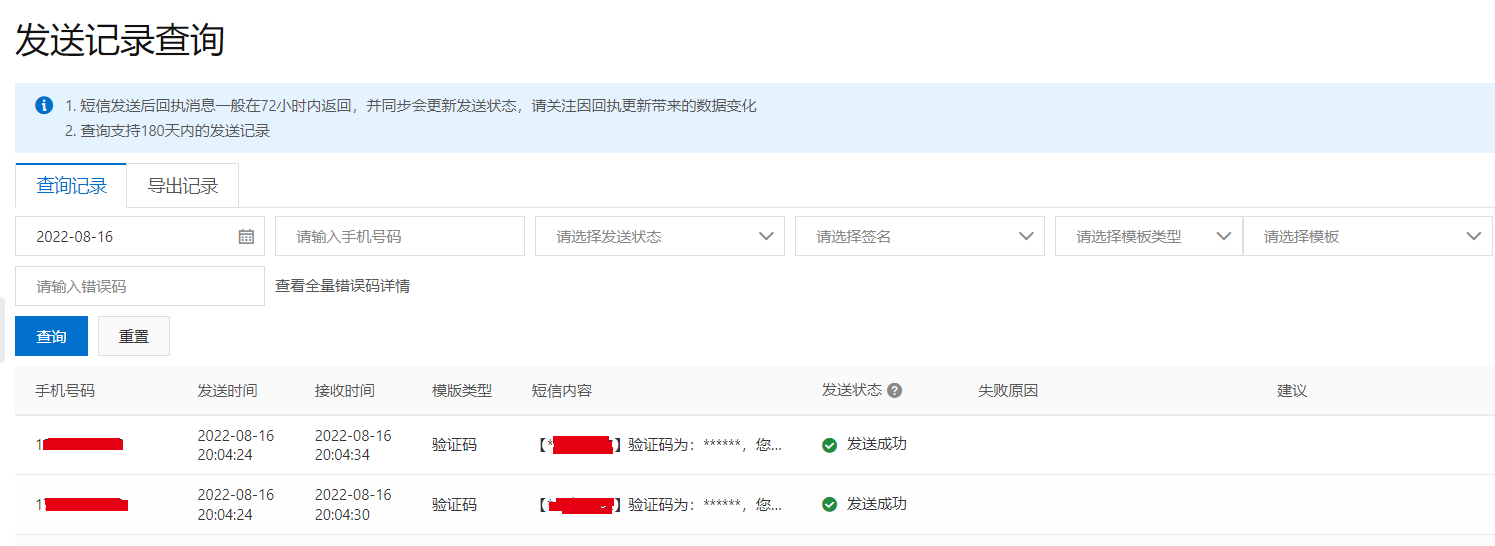
运行测试结果,阿里云后台查看结果显示发送成功
使用说明
- SendBatchSms接口是短信批量发送接口,支持在一次请求中分别向多个不同的手机号码发送不同签名的短信。手机号码等参数均为JSON格式,字段个数相同,一一对应,短信服务根据字段在JSON中的顺序判断发往指定手机号码的签名。如果您需要往+ 多个手机号码中发送同样签名的短信,请使用SendSms接口实现。
- 发送短信会根据发送量计费,价格请参见计费说明。
- 在一次请求中,最多可以向100个手机号码分别发送短信。
- SendBatchSms接口群发整体请求量限定在128k以内。
最后
以上就是害怕钢笔最近收集整理的关于springboot基础(63):Springboot整合阿里云短信发送前言准备工作如何发送阿里云短信批量发送短信的全部内容,更多相关springboot基础(63)内容请搜索靠谱客的其他文章。
本图文内容来源于网友提供,作为学习参考使用,或来自网络收集整理,版权属于原作者所有。


发表评论 取消回复