我是靠谱客的博主 大气鱼,这篇文章主要介绍【Ruby on Rails】第一章 Ruby on Rails 之 创建项目前言一、事前准备二、新建项目三、修改相关配置并运行四、目录介绍,现在分享给大家,希望可以做个参考。
第一章 Ruby on Rails 之 创建项目
- 前言
- 一、事前准备
- 二、新建项目
- 三、修改相关配置并运行
- 四、目录介绍
前言
废话不多数 做个Ruby on Rails 项目
新手必备 拿走不谢 Ruby Guide 新手指南
一、事前准备
ruby版本
开发 ruby 的程序最好使用 Mac 或者 Linux 系统, windows 系统会有一堆莫名其妙的错误, 不建议使用。
-
Ruby安装方式一:rvm
-
Ruby安装方式一:rbenv
# 安装完成后 在控制台输入 ruby -v 查看当前的 ruby 版本
ruby -v
# ruby 3.0.1p64 (2021-04-05 revision 0fb782ee38) [x86_64-darwin19]
rails版本
# 安装rails
gem install rails

# 安装完成后 在控制台输入 rails -v 查看当前的 rails 版本
rails -v
# Rails 7.0.2.3
二、新建项目
创建指定rails版本的项目:rails _版本号_ new 项目名称
#rails new 项目名称 [options]
#Options:
#      [--skip-namespace], [--no-skip-namespace]              # Skip namespace (affects only isolated engines)
#      [--skip-collision-check], [--no-skip-collision-check]  # Skip collision check
#  -r, [--ruby=PATH]                                          # Path to the Ruby binary of your choice
#  -m, [--template=TEMPLATE]                                  # Path to some application template (can be a filesystem path or URL)
#  -d, [--database=DATABASE]                                  # Preconfigure for selected database (options: mysql/postgresql/sqlite3/oracle/sqlserver/jdbcmysql/jdbcsqlite3/jdbcpostgresql/jdbc)  Default: sqlite3
#  -G, [--skip-git], [--no-skip-git]                          # Skip .gitignore file
#      [--skip-keeps], [--no-skip-keeps]                      # Skip source control .keep files
#  -M, [--skip-action-mailer], [--no-skip-action-mailer]      # Skip Action Mailer files
#      [--skip-action-mailbox], [--no-skip-action-mailbox]    # Skip Action Mailbox gem
#      [--skip-action-text], [--no-skip-action-text]          # Skip Action Text gem
#  -O, [--skip-active-record], [--no-skip-active-record]      # Skip Active Record files
#      [--skip-active-job], [--no-skip-active-job]            # Skip Active Job
#      [--skip-active-storage], [--no-skip-active-storage]    # Skip Active Storage files
#  -C, [--skip-action-cable], [--no-skip-action-cable]        # Skip Action Cable files
#  -A, [--skip-asset-pipeline], [--no-skip-asset-pipeline]    # Indicates when to generate skip asset pipeline
#  -a, [--asset-pipeline=ASSET_PIPELINE]                      # Choose your asset pipeline [options: sprockets (default), propshaft]  Default: sprockets
#  -J, [--skip-javascript], [--no-skip-javascript]            # Skip JavaScript files
#      [--skip-hotwire], [--no-skip-hotwire]                  # Skip Hotwire integration
#      [--skip-jbuilder], [--no-skip-jbuilder]                # Skip jbuilder gem
#  -T, [--skip-test], [--no-skip-test]                        # Skip test files
#      [--skip-system-test], [--no-skip-system-test]          # Skip system test files
#      [--skip-bootsnap], [--no-skip-bootsnap]                # Skip bootsnap gem
#      [--dev], [--no-dev]                                    # Set up the application with Gemfile pointing to your Rails checkout
#      [--edge], [--no-edge]                                  # Set up the application with Gemfile pointing to Rails repository
#  --master, [--main], [--no-main]                            # Set up the application with Gemfile pointing to Rails repository main branch
#      [--rc=RC]                                              # Path to file containing extra configuration options for rails command
#      [--no-rc], [--no-no-rc]                                # Skip loading of extra configuration options from .railsrc file
#      [--api], [--no-api]                                    # Preconfigure smaller stack for API only apps
#      [--minimal], [--no-minimal]                            # Preconfigure a minimal rails app
#  -j, [--javascript=JAVASCRIPT]                              # Choose JavaScript approach [options: importmap (default), webpack, esbuild, rollup] Default: importmap
#  -c, [--css=CSS]                                            # Choose CSS processor [options: tailwind, bootstrap, bulma, postcss, sass... check https://github.com/rails/cssbundling-rails]
#  -B, [--skip-bundle], [--no-skip-bundle]                    # Don't run bundle install

rails _7.0.2.3_ new tingsummer-rails --database postgresql --css=tailwind --skip-action-text --skip-git

# 安装过程中 由于网络的一些原因 可能安装失败
# 将 Gemfile 文件中的源 替换成 rubychina 的源在进行安装

source "https://rubygems.org"
git_source(:github) { |repo| "https://github.com/#{repo}.git" }
# 替换成:
source 'http://gems.ruby-china.com'

# cd 到项目文件下下面 再次执行 bundle install
bundle install
# 安装成功后 执行我们所指定配置的命令 具体哪些 rails new 时候会打在控制台上面 复制执行就行了
rails importmap:install
rails turbo:install stimulus:install
rails tailwindcss:install
三、修改相关配置并运行
# 修改数据库相关的信息
# config/database.yml
development:
  <<: *default
  database: 你的数据库名称
  host: 地址
  port: 端口号
  username: 用户名
  password: 密码

# 创建数据库
rails db:create

# 运行项目
# rails server -u [thin/puma/webrick] [options]
# Options:
#  -e, [--environment=ENVIRONMENT]              # Specifies the environment to run this server under (test/development/production).
#  -p, [--port=port]                            # Runs Rails on the specified port - defaults to 3000.
#  -b, [--binding=IP]                           # Binds Rails to the specified IP - defaults to 'localhost' in development and '0.0.0.0' in other environments'.
#  -c, [--config=file]                          # Uses a custom rackup configuration. Default: config.ru
#  -d, [--daemon], [--no-daemon]                # Runs server as a Daemon.
#  -u, [--using=name]                           # Specifies the Rack server used to run the application (thin/puma/webrick).
#  -P, [--pid=PID]                              # Specifies the PID file - defaults to tmp/pids/server.pid.
#  -C, [--dev-caching], [--no-dev-caching]      # Specifies whether to perform caching in development.
#      [--early-hints], [--no-early-hints]      # Enables HTTP/2 early hints.
#      [--log-to-stdout], [--no-log-to-stdout]  # Whether to log to stdout. Enabled by default in development when not daemonized.
rails s
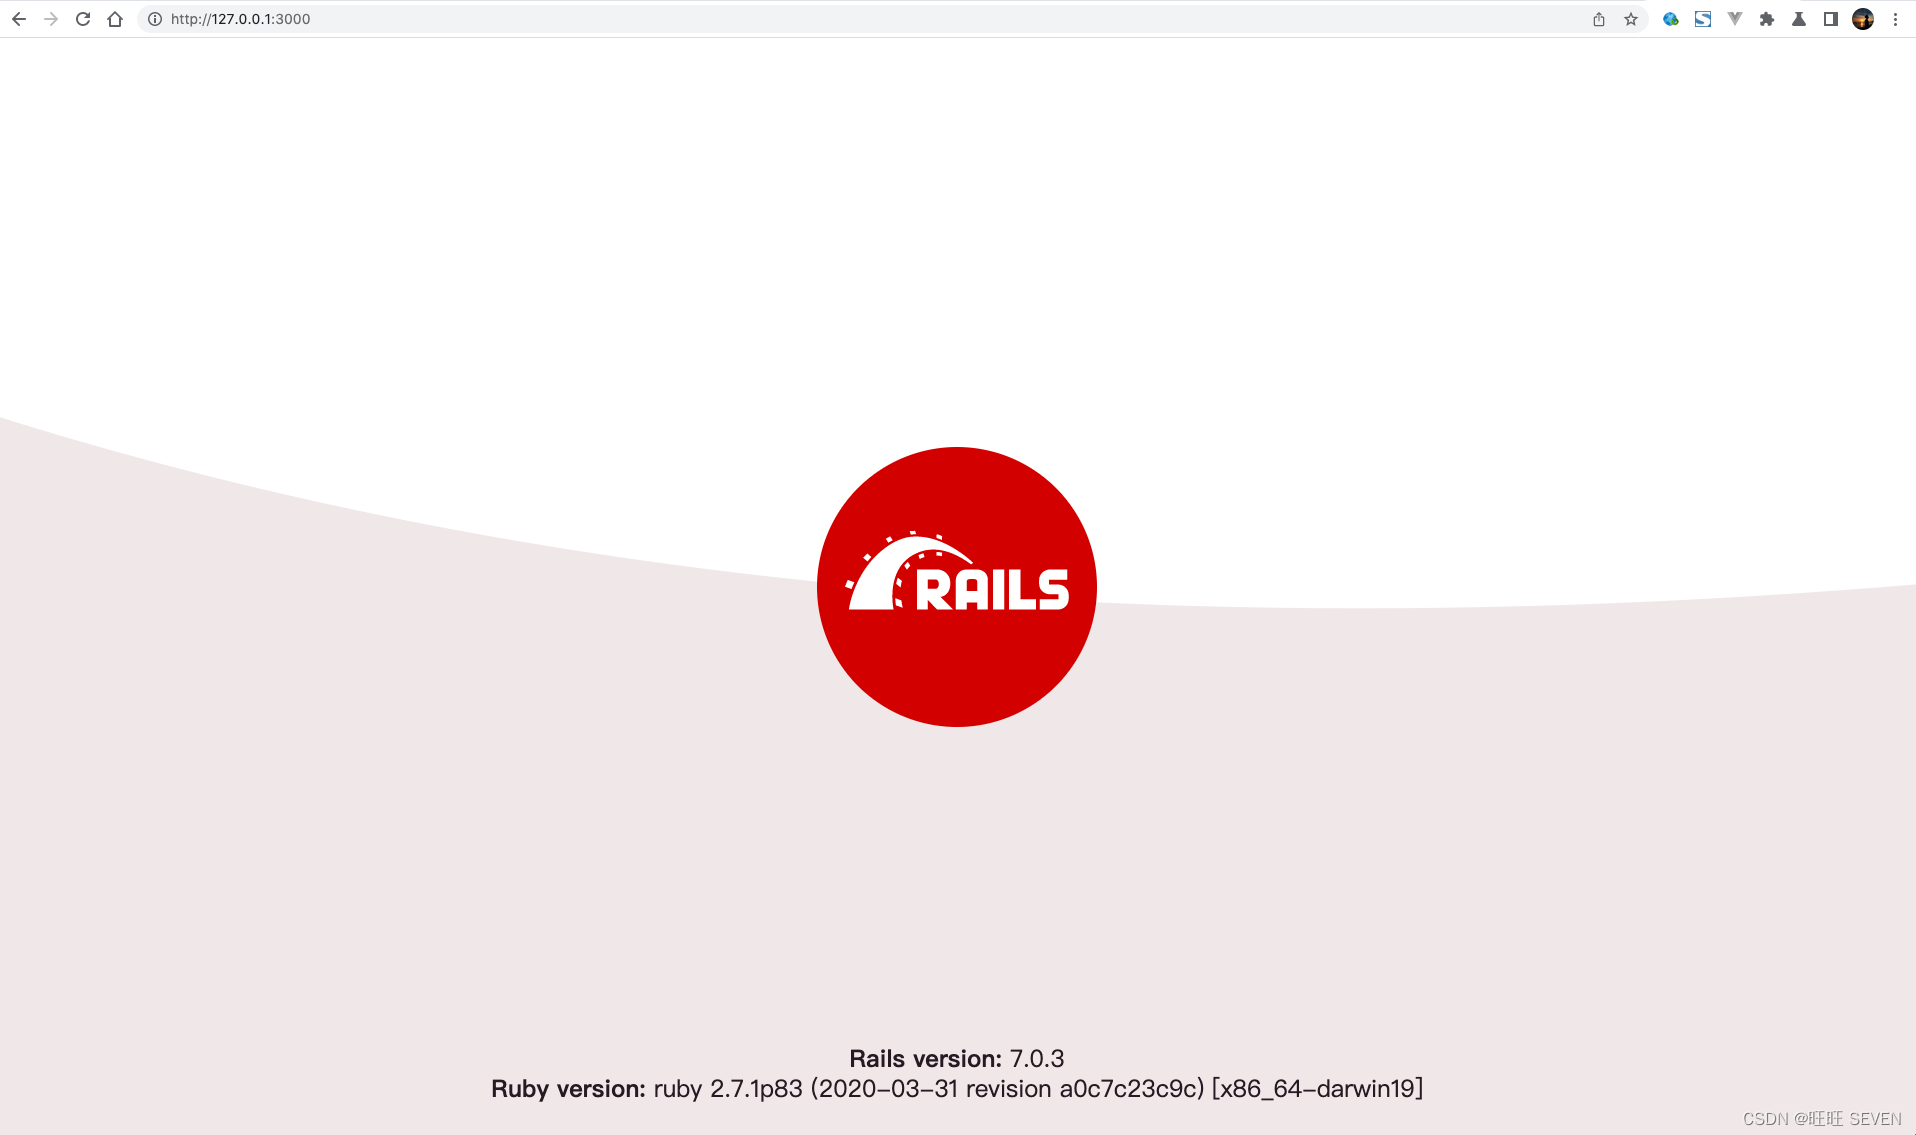
在浏览器里面输入 http://127.0.0.1:3000/ 出现一下页面就代表新建项目成功了 ???? ???? ????

四、目录介绍
| 文件/文件夹 | 作用 |
|---|---|
| app/ | 包含应用的控制器、模型、视图、辅助方法、邮件程序、频道、作业和静态资源文件。这个文件夹是本文剩余内容关注的重点。 |
| bin/ | 包含用于启动应用的 rails 脚本,以及用于安装、更新、部署或运行应用的其他脚本。 |
| config/ | 配置应用的路由、数据库等。详情请参阅 配置 Rails 应用。 |
| config.ru | 基于 Rack 的服务器所需的 Rack 配置,用于启动应用。 |
| db/ | 包含当前数据库的模式,以及数据库迁移文件。 |
| Gemfile, Gemfile.lock | 这两个文件用于指定 Rails 应用所需的 gem 依赖。Bundler gem 需要用到这两个文件。关于 Bundler 的更多介绍,请访问 Bundler 官网。 |
| lib/ | 应用的扩展模块。 |
| log/ | 应用日志文件。 |
| public/ | 仅有的可以直接从外部访问的文件夹,包含静态文件和编译后的静态资源文件。 |
| Rakefile | 定位并加载可在命令行中执行的任务。这些任务在 Rails 的各个组件中定义。如果要添加自定义任务,请不要修改 Rakefile,直接把自定义任务保存在 lib/tasks 文件夹中即可。 |
| README.md | 应用的自述文件,说明应用的用途、安装方法等。 |
| test/ | 单元测试、固件和其他测试装置。 |
| tmp/ | 临时文件(如缓存和 PID 文件)。 |
| vendor/ | 包含第三方代码,如第三方 gem。 |
| .gitignore | 告诉 Git 要忽略的文件(或模式)。 |
最后
以上就是大气鱼最近收集整理的关于【Ruby on Rails】第一章 Ruby on Rails 之 创建项目前言一、事前准备二、新建项目三、修改相关配置并运行四、目录介绍的全部内容,更多相关【Ruby内容请搜索靠谱客的其他文章。
本图文内容来源于网友提供,作为学习参考使用,或来自网络收集整理,版权属于原作者所有。


发表评论 取消回复