swarm集群:
    当有多台物理机的时候,就要考虑使用集群的模式了,那么docker如何来使用集群来进行管理呢?在这里主要
    使用的是docker自带的swarm mode,也就是docker集群的管理和编排。所谓的编排就是指多台集群的管理,
    主机的配置,容器的调度等。
    swarm mode是docker engine中自带的一种模式,很容易使用,并且无须安装其他的软件。
    swarm mode的使用:
    在使用swarm mode的时候,几台主机上都要先安装好docker。
实验环境:
1. manager:172.25.254.84
2. server1:172.25.254.11
3. server2:172.25.254.12
首先在三台机子均安装docker:
[root@foundation38 ~]# systemctl start docker
[root@foundation38 Desktop]# docker swarm init --advertise-addr 172.25.254.84
Swarm initialized: current node (epzwfk7ricu0okf97qjo1dcah) is now a manager.

To add a worker to this swarm, run the following command:

    docker swarm join
    --token SWMTKN-1-2ezaq50c7h1f1u1iwrr2bagoae4n1694916z8vit4p1jcwlc2z-5usc4mbpnn6a1rkpskn0wbanc
    172.25.254.84:2377

To add a manager to this swarm, run 'docker swarm join-token manager' and follow the instructions.
该–advertise-addr标志配置管理器节点将其地址发布为192.168.99.100。群中的其他节点必须
能够访问IP地址的管理者。
输出包括将新节点加入到群中的命令。根据–token 标志的价值,节点将作为经理或工人加入。根据
上面输出在节点上执行,token是唯一标识
server1:
[root@server1 ~]# ls
docker-engine-17.03.1.ce-1.el7.centos.x86_64.rpm  docker-engine-selinux-17.03.1.ce-1.el7.centos.noarch.rpm
[root@server1 ~]# vim /etc/yum.repos.d/yum.repo
[root@server1 ~]# yum repolist
Loaded plugins: product-id, subscription-manager
This system is not registered to Red Hat Subscription Management. You can use subscription-manager to register.
repo id                        repo name                                                             status
!rhel-source                   Red Hat Enterprise Linux 7Server - x86_64 - Source                    4,305
repolist: 4,305
[root@server1 ~]# yum install * -y
[root@server1 ~]# systemctl start docker
[root@server1 ~]# docker swarm join  --token SWMTKN-1-2ezaq50c7h1f1u1iwrr2bagoae4n1694916z8vit4p1jcwlc2z-5usc4mbpnn6a1rkpskn0wbanc 172.25.254.84:2377
This node joined a swarm as a worker.
server2:
[root@server2 ~]# ls
docker-engine-17.03.1.ce-1.el7.centos.x86_64.rpm  docker-engine-selinux-17.03.1.ce-1.el7.centos.noarch.rpm
[root@server2 ~]# vim /etc/yum.repos.d/yum.repo   配置7.3yum源
[root@server2 ~]# yum repolist
Loaded plugins: product-id, subscription-manager
This system is not registered to Red Hat Subscription Management. You can use subscription-manager to register.
repo id                        repo name                                                             status
rhel-source                    Red Hat Enterprise Linux 7Server - x86_64 - Source                    4,305
repolist: 4,305
[root@server2 ~]# yum install docker-engine-* -y
[root@server2 ~]# systemctl start docker
[root@server2 ~]# docker swarm join  --token SWMTKN-1-2ezaq50c7h1f1u1iwrr2bagoae4n1694916z8vit4p1jcwlc2z-5usc4mbpnn6a1rkpskn0wbanc 172.25.254.84:2377
This node joined a swarm as a worker.
[root@foundation38 Desktop]# docker info  查看所有节点状态
Containers: 3
 Running: 2
 Paused: 0
 Stopped: 1
Images: 7
Server Version: 17.03.1-ce
Storage Driver: overlay
 Backing Filesystem: xfs
 Supports d_type: false
Logging Driver: json-file
Cgroup Driver: cgroupfs
Plugins:
 Volume: local
 Network: bridge host macvlan null overlay
Swarm: active
 NodeID: epzwfk7ricu0okf97qjo1dcah
 Is Manager: true
 ClusterID: qipx7hnvjusn2il88pfl87joy
 Managers: 1
 Nodes: 3
 Orchestration:
  Task History Retention Limit: 5
 Raft:
  Snapshot Interval: 10000
  Number of Old Snapshots to Retain: 0
  Heartbeat Tick: 1
  Election Tick: 3
 Dispatcher:
  Heartbeat Period: 5 seconds
 CA Configuration:
  Expiry Duration: 3 months
 Node Address: 172.25.254.84
 Manager Addresses:
  172.25.254.84:2377
Runtimes: runc
Default Runtime: runc
Init Binary: docker-init
containerd version: 4ab9917febca54791c5f071a9d1f404867857fcc
runc version: 54296cf40ad8143b62dbcaa1d90e520a2136ddfe
init version: 949e6fa
Security Options:
 seccomp
  Profile: default
Kernel Version: 3.10.0-229.el7.x86_64
Operating System: Red Hat Enterprise Linux Server 7.1 (Maipo)
OSType: linux
Architecture: x86_64
CPUs: 4
Total Memory: 7.388 GiB
Name: foundation38.ilt.example.com
ID: 5XOY:NMVX:KRXT:WWIQ:RE6I:DJCP:WJQD:ONMX:A7UH:LLIS:AKGH:7QES
Docker Root Dir: /var/lib/docker
Debug Mode (client): false
Debug Mode (server): false
Registry: https://index.docker.io/v1/
WARNING: bridge-nf-call-ip6tables is disabled
Experimental: false
Insecure Registries:
 127.0.0.0/8
Live Restore Enabled: false
[root@foundation38 Desktop]# docker node ls   查看所有节点信息
ID                           HOSTNAME                      STATUS  AVAILABILITY  MANAGER STATUS
2drpp42jfkajmalbb8424v66w    server1                       Ready   Active
epzwfk7ricu0okf97qjo1dcah *  foundation38.ilt.example.com  Ready   Active        Leader
o5i3sivzf2zyknas7heaaczri server2 Ready Active 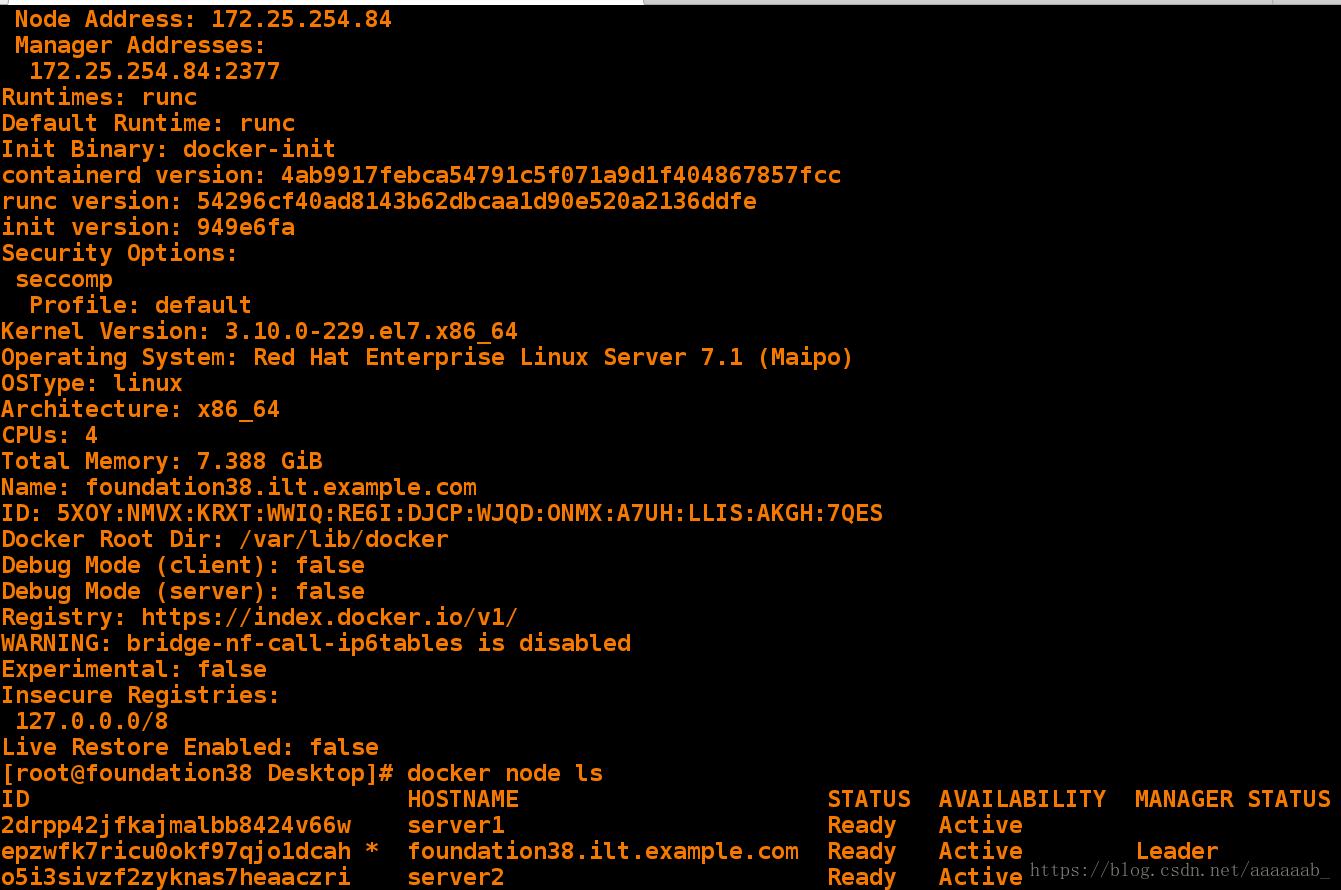
部署一个服务群集:
[root@foundation38 Desktop]# docker service create --replicas 1 --name hellowalld alpine ping 172.25.254.100
v1r7925h36lyjhxza9jvj4j33
[root@foundation38 Desktop]# docker service ls
ID            NAME        MODE        REPLICAS  IMAGE
v1r7925h36ly  hellowalld  replicated  1/1       alpine:latest
该docker service create命令创建该服务。
该–name标志命名该服务helloworld。
该–replicas标志指定了正在运行的实例的所需状态。
参数alpine ping xxx将服务定义为执行命令的Alpine Linux容器ping xxx。
运行docker service ls以查看正在运行的服务的列表:检查集群服务:
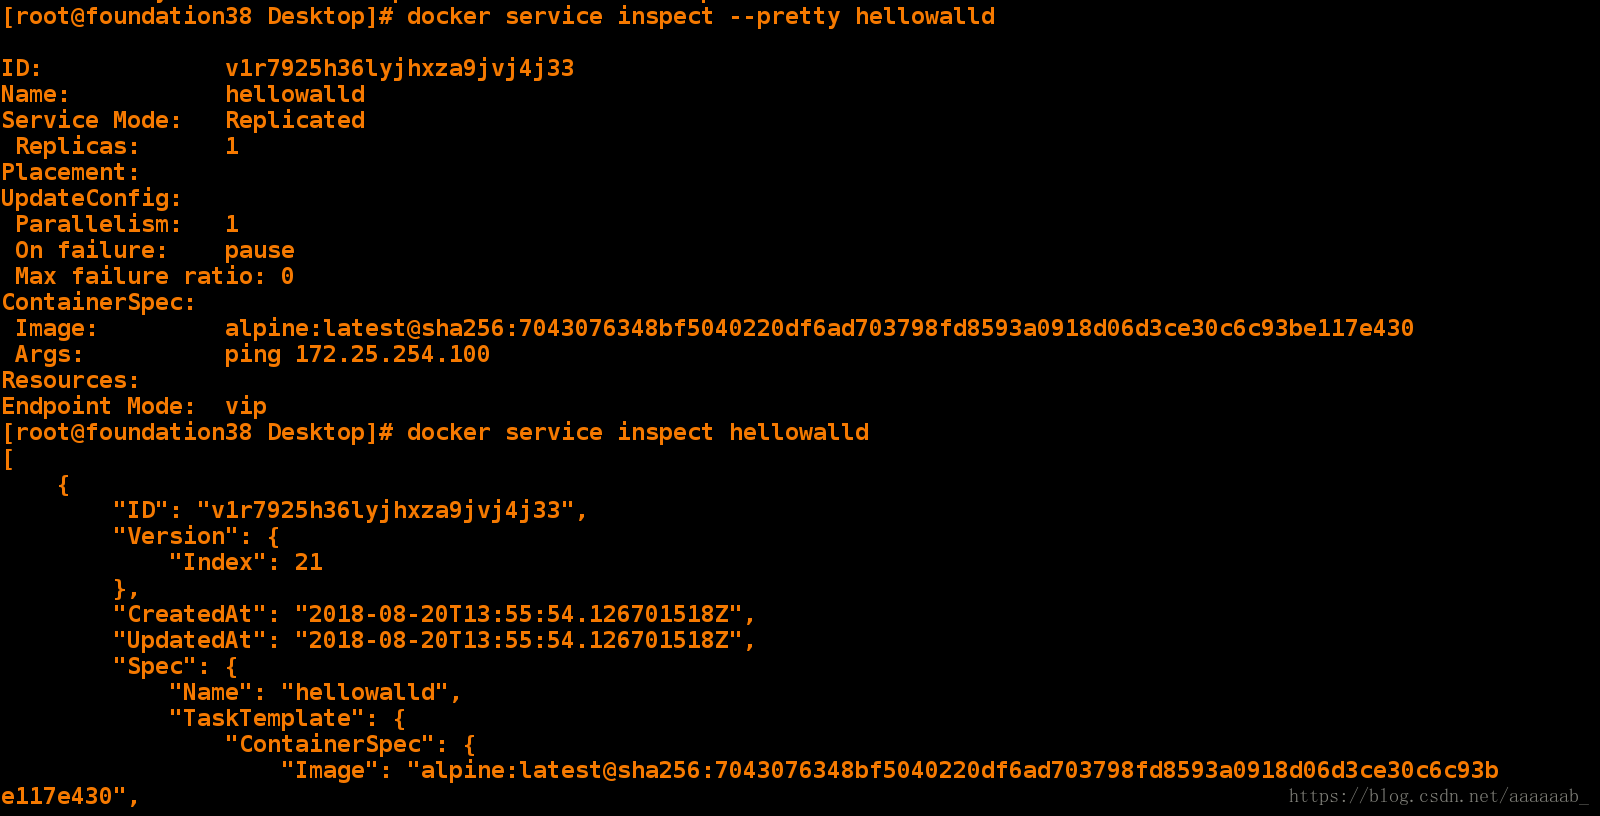
[root@foundation38 Desktop]# docker service inspect --pretty hellowalld

ID:     v1r7925h36lyjhxza9jvj4j33
Name:       hellowalld
Service Mode:   Replicated
 Replicas:  1
Placement:
UpdateConfig:
 Parallelism:   1
 On failure:    pause
 Max failure ratio: 0
ContainerSpec:
 Image:     alpine:latest@sha256:7043076348bf5040220df6ad703798fd8593a0918d06d3ce30c6c93be117e430
 Args:      ping 172.25.254.100
Resources:
Endpoint Mode:  vip
[root@foundation38 Desktop]# docker service inspect hellowalld
[
    {
        "ID": "v1r7925h36lyjhxza9jvj4j33",
        "Version": {
            "Index": 21
        },
        "CreatedAt": "2018-08-20T13:55:54.126701518Z",
        "UpdatedAt": "2018-08-20T13:55:54.126701518Z",
        "Spec": {
            "Name": "hellowalld",
            "TaskTemplate": {
                "ContainerSpec": {
                    "Image": "alpine:latest@sha256:7043076348bf5040220df6ad703798fd8593a0918d06d3ce30c6c93be117e430",
                    "Args": [
                        "ping",
                        "172.25.254.100"
                    ],
                    "DNSConfig": {}
                },
                "Resources": {
                    "Limits": {},
                    "Reservations": {}
                },
                "RestartPolicy": {
                    "Condition": "any",
                    "MaxAttempts": 0
                },
                "Placement": {},
                "ForceUpdate": 0
            },
            "Mode": {
                "Replicated": {
                    "Replicas": 1
                }
            },
            "UpdateConfig": {
                "Parallelism": 1,
                "FailureAction": "pause",
                "MaxFailureRatio": 0
            },
            "EndpointSpec": {
                "Mode": "vip"
            }
        },
        "Endpoint": {
            "Spec": {}
        },
        "UpdateStatus": {
            "StartedAt": "0001-01-01T00:00:00Z",
            "CompletedAt": "0001-01-01T00:00:00Z"
        }
    }
]
检查哪些节点在使用该服务:
[root@foundation38 Desktop]# docker service ps hellowalld
ID            NAME          IMAGE          NODE                          DESIRED STATE  CURRENT STATE          ERROR  PORTS
ifdyvv68ope8  hellowalld.1  alpine:latest  foundation38.ilt.example.com  Running        Running 3 minutes ago
[root@foundation38 Desktop]# docker ps
CONTAINER ID        IMAGE                                                                            COMMAND                  CREATED             STATUS              PORTS               NAMES
61367d9e17a9        alpine@sha256:7043076348bf5040220df6ad703798fd8593a0918d06d3ce30c6c93be117e430   "ping 172.25.254.100"    21 minutes ago      Up 21 minutes                           hellowalld.1.ifdyvv68ope8mqal9gulryqg4
90565b96c147        nginx                                                                            "nginx -g 'daemon ..."   About an hour ago   Up About an hour    80/tcp              vm2
2b8d70405744        game2048                                                                         "/bin/sh -c 'sed -..."   About an hour ago   Up About an hour    80/tcp, 443/tcp     vm1
一旦您将服务部署到群集中,就可以使用Docker CLI来扩展服务中的容器数量。运行在服务中的容器被称为“任务”。运行以下命令以更改在群集中运行的服务的所需状态:
ocker service scale =
[root@foundation38 Desktop]# docker service scale hellowalld=5
hellowalld scaled to 5
[root@foundation38 Desktop]# docker service ps hellowalld   查看更改之后的信息
ID            NAME              IMAGE          NODE                          DESIRED STATE  CURRENT STATE                    ERROR                             PORTS
ifdyvv68ope8  hellowalld.1      alpine:latest  foundation38.ilt.example.com  Running        Running 26 minutes ago
wqeu0kanb951  hellowalld.2      alpine:latest                                Ready          Pending less than a second ago
lc6xp0er37bt   _ hellowalld.2  alpine:latest  server2                       Shutdown       Rejected 3 seconds ago           "No such image: alpine@sha256:…"
xp2b6vu3avia   _ hellowalld.2  alpine:latest  server2                       Shutdown       Rejected 6 seconds ago           "No such image: alpine@sha256:…"
sh3ohb2mqfy2  hellowalld.3      alpine:latest  server2                       Ready          Rejected 3 seconds ago           "No such image: alpine@sha256:…"
h8f6l5zz6c7u   _ hellowalld.3  alpine:latest  server2                       Shutdown       Rejected 5 seconds ago           "No such image: alpine@sha256:…"
1gm8vxv4i1l9  hellowalld.4      alpine:latest  foundation38.ilt.example.com  Running        Running 5 seconds ago
qu5t7x9ujmad  hellowalld.5      alpine:latest  server2                       Ready          Accepted less than a second ago
c56eynow1pfe   _ hellowalld.5  alpine:latest  server1                       Shutdown       Rejected 3 seconds ago           "No such image: alpine@sha256:…"
ktmu4ulhewnj   _ hellowalld.5  alpine:latest  server1                       Shutdown       Rejected 5 seconds ago           "No such image: alpine@sha256:…"
您可以看到,swarm创建了4个新任务,可以扩展到总共5个运行的Alpine Linux实例。
任务分布在群体的三个节点之间。一个正在运行manager1。删除服务节点:
[root@foundation38 Desktop]# docker service rm hellowalld
hellowalld
[root@foundation38 Desktop]# docker service inspect helloworld
[]
Status: Error: no such service: helloworld, Code: 1
将滚动更新应用于服务:
[root@foundation38 Desktop]# docker service create --replicas 3 --name redis --update-delay 10s redis:3.0.6
55882crlxuf9d6qnr1j276dte
检查redis服务:
[root@foundation38 Desktop]# docker service inspect --pretty redis

ID:     55882crlxuf9d6qnr1j276dte
Name:       redis
Service Mode:   Replicated
 Replicas:  3
Placement:
UpdateConfig:
 Parallelism:   1
 Delay:     10s
 On failure:    pause
 Max failure ratio: 0
ContainerSpec:
 Image:     redis:3.0.6@sha256:6a692a76c2081888b589e26e6ec835743119fe453d67ecf03df7de5b73d69842
Resources:
Endpoint Mode:  vip
更新节点版本:
[root@foundation38 Desktop]# docker service update --image redis:3.0.7 redis
redis
```
更新过程:
停止第一个任务。
为已停止的任务计划更新。
启动更新的任务的容器。
如果更新任务返回RUNNING,请等待指定的延迟时间,然后开始下一个任务。
如果在更新期间的任何时候任务返回FAILED,请暂停更新。
查看更新后的状态:变成了新的版本
查看更新节点信息:
[root@foundation38 Desktop]# docker service inspect --pretty redis

ID:     55882crlxuf9d6qnr1j276dte
Name:       redis
Service Mode:   Replicated
 Replicas:  3
UpdateStatus:
 State:     paused
 Started:   2 minutes
 Message:   update paused due to failure or early termination of task zrt7rjnuy73l6vnmaau7xr5oi
Placement:
UpdateConfig:
 Parallelism:   1
 Delay:     10s
 On failure:    pause
 Max failure ratio: 0
ContainerSpec:
 Image:     redis:3.0.7@sha256:730b765df9fe96af414da64a2b67f3a5f70b8fd13a31e5096fee4807ed802e20
Resources:
Endpoint Mode:  vip
[root@foundation38 Desktop]# docker node ls
ID                           HOSTNAME                      STATUS  AVAILABILITY  MANAGER STATUS
2drpp42jfkajmalbb8424v66w    server1                       Ready   Active
epzwfk7ricu0okf97qjo1dcah *  foundation38.ilt.example.com  Ready   Active        Leader
o5i3sivzf2zyknas7heaaczri server2 Ready Active 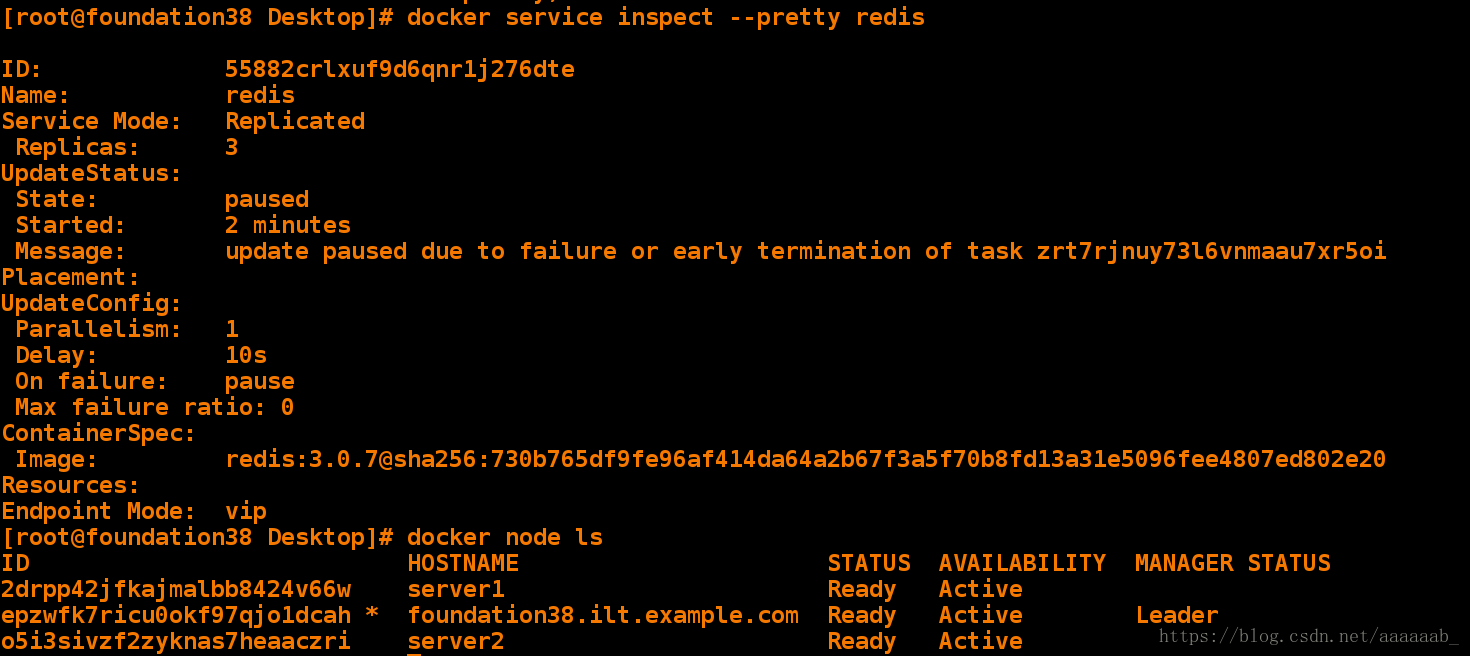
将server1节点下线:
[root@foundation38 Desktop]# docker node update --availability drain server1
server1
[root@foundation38 Desktop]# docker service ps redis |grep Running
a1w7n1oh8a6v  redis.1      redis:3.0.6  foundation38.ilt.example.com  Running        Running 35 minutes ago
46ziwdmbzczc  redis.2      redis:3.0.7  foundation38.ilt.example.com  Running        Preparing 9 minutes ago
imgnqk20578c  redis.3      redis:3.0.6  foundation38.ilt.example.com  Running        Running 35 minutes ago
[root@foundation38 Desktop]# docker node inspect --pretty server1
ID:         2drpp42jfkajmalbb8424v66w
Hostname:       server1
Joined at:      2018-08-20 13:51:35.856400581 +0000 utc
Status:
 State:         Ready
 Availability:      Drain
 Address:       172.25.254.11
Platform:
 Operating System:  linux
 Architecture:      x86_64
Resources:
 CPUs:          1
 Memory:        490.1 MiB
Plugins:
  Network:      bridge, host, macvlan, null, overlay
  Volume:       local
Engine Version:     17.03.1-ce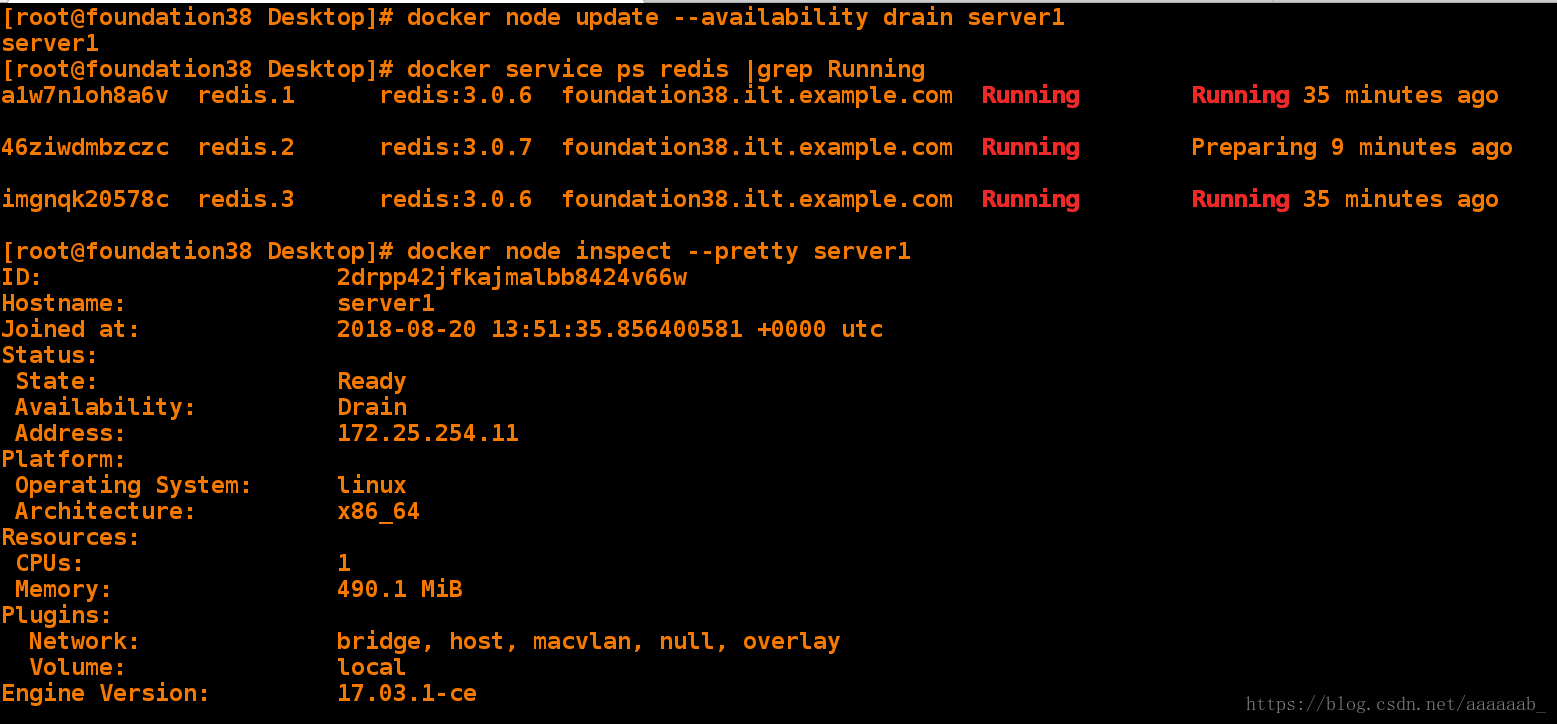
将server1节点重新上线:
将节点设置回Active可用性时,可以接收新的任务:
在服务更新期间要扩大规模
在滚动更新
当你设置另一个节点的Drain可用性
当一个任务在另一个活动节点上失败时
即后备,等下一个滚动更新,加入集群或者替代死的
[root@foundation38 Desktop]# docker node update --availability active server1
server1
[root@foundation38 Desktop]# docker node inspect --pretty server1
ID: 2drpp42jfkajmalbb8424v66w
Hostname: server1
Joined at: 2018-08-20 13:51:35.856400581 +0000 utc
Status:
State: Ready
Availability: Active
Address: 172.25.254.11
Platform:
Operating System: linux
Architecture: x86_64
Resources:
CPUs: 1
Memory: 490.1 MiB
Plugins:
Network: bridge, host, macvlan, null, overlay
Volume: local
Engine Version: 17.03.1-ce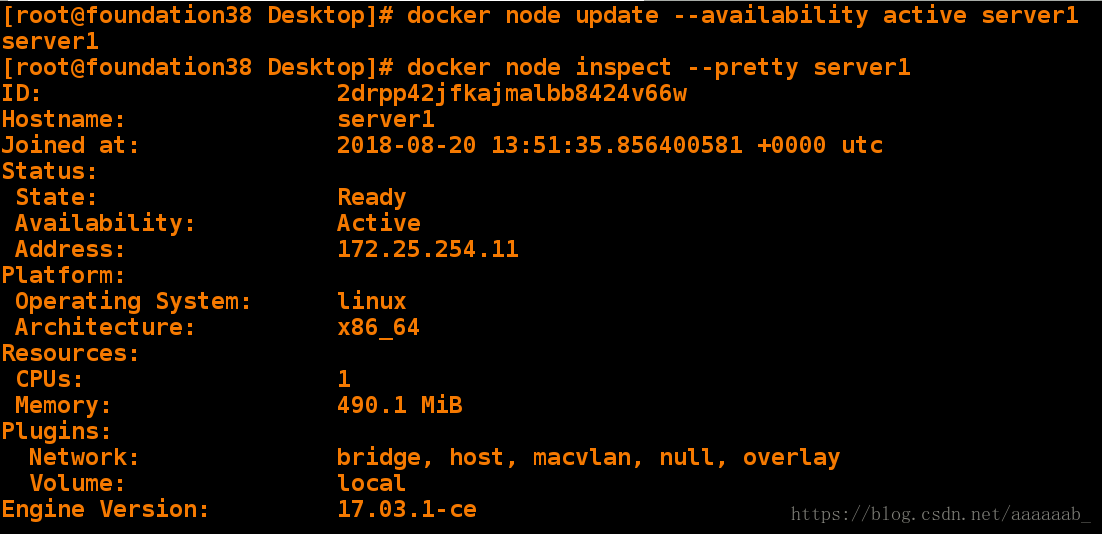
最后
以上就是无限大炮最近收集整理的关于Docker容器学习 --- swarm集群的全部内容,更多相关Docker容器学习内容请搜索靠谱客的其他文章。
本图文内容来源于网友提供,作为学习参考使用,或来自网络收集整理,版权属于原作者所有。


发表评论 取消回复